There are a few secret cookie baking tips that our foremothers knew intuitively from hundreds of batches of cookies. Today these cooking baking secrets are not so intuitive. But allow me to share these tips with you so that you, too, can bake perfect cookies every time.
10 Cookie Baking Secrets that Grandma Knew, That Made Her Famous in the Neighborhood

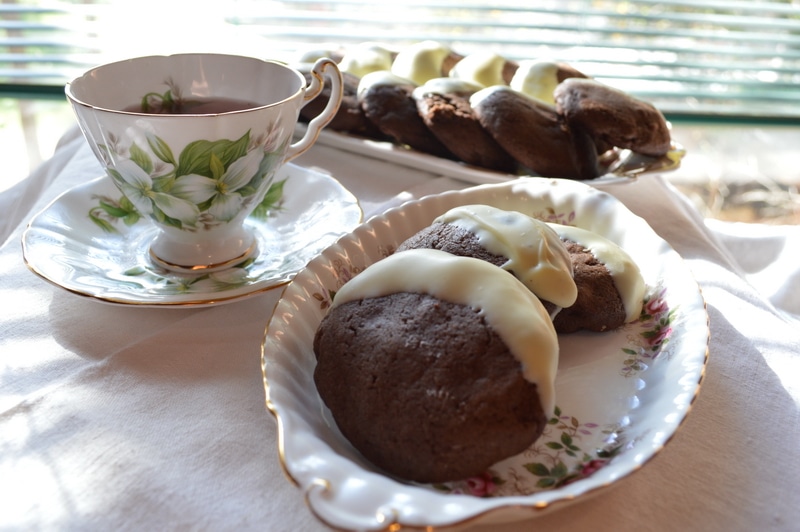
When I was a young lass of 15 years old, I lived briefly with a family that was not my own. The grandmother in the family, who lived just two houses away, was a professional baker before marriage and continued to use her profound knowledge of cookie baking skills almost daily. That family had an ever-full cookie jar and fancy squares in several plastic containers in the fridge. When guests popped in unexpectedly, the tea kettle went on the stove and at least 5 different kinds of homemade cookies and squares were skillfully arranged on the Royal Albert Old Country Roses serving plate.
Matching teacups and saucers were placed on the round maple kitchen table, along with the Old Country Roses sugar bowl, filled with sugar cubes, never loose sugar. The Old Country Roses cream pitcher, filled with half and half creamer, sat next to the sugar bowl on the Old Country Roses oval dish.
The house was always immaculately clean, and the Royal Doulton figurines were dusted once a week whether they needed it or not. I loved those Royal Doulton “Bedtime” and Royal Doulton “Choir Boy” figures. The grand piano in the living room, although not actually played very often, gave an air of sophistication and upper echelon grace. I was clearly out of my element and absorbed as much wisdom as I could in my 6 months stay there.
Grandma Cook baked cookies one at a time. She checked each cookie for loft, chewiness, and crunch, adjusting the recipe with a teaspoon more of flour or extra egg yolk until she had the perfect cookie. Then she completed her baking with a dozen cookies at a time. Her daughter-in-law, whom I was living with, used to mock her MIL’s fastidiousness in cookie baking and the time wasted on these delectable hospitality foods. Mrs. Cook senior had mastery in cookie baking, something she obviously loved to do. Mrs. Cook junior clearly couldn’t compete.
Mrs. Cook was a genteel English lady married to a German pastor. Her daughter-in-law was of German Mennonite stock. I was more interested in the cookies and learning to bake at 15 than the culture wars. But I’d venture to guess that the Mennonite propensity to cheaper ingredients like margarine instead of butter and bleached all-purpose flour instead of organic, unbleached, plus the sheer lack of time that shrouds a full-time school teacher and full-time mother of three young children, was Mrs. Cook junior’s downfall. She was out of her league.
I’d also suggest that while Mrs. Cook senior shared her recipes with her DIL, she wasn’t sharing her cookie baking secrets. I’m a MIL now and I totally understand why she wouldn’t. I’m pretty sure her baking secrets, won with daily practice and experience, would have been lost on the younger Mrs. Cook, who felt in constant competition to the older lady.
I, on the other hand, was a guest in the home and had no such baggage to filter my gleanings of cookie baking wisdom. So what I learned I pass on to you, so that you don’t have to spend your days baking one cookie at a time, working your way toward cookie nirvana.
10 cookie baking tips I learned from Grandma Cook
Use quality, fresh ingredients
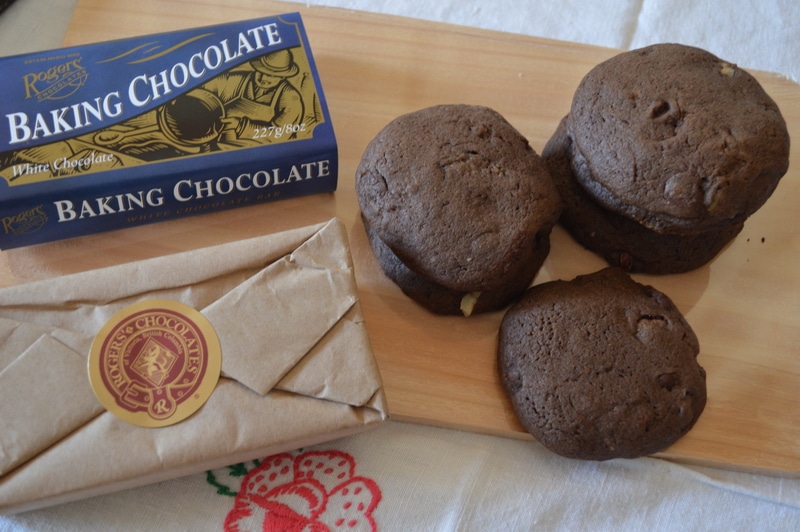
Use real butter rather than margarine or shortening, real vanilla instead of artificial vanillin. Make sure your ingredients are fresh. Replace your baking powder to ensure that it’s fresh. Use fresh organic spices, and keep them in the fridge to prolong their shelf life. If your spices are more than a year old, use them in this recipe, and buy fresh spices for your cookie baking.
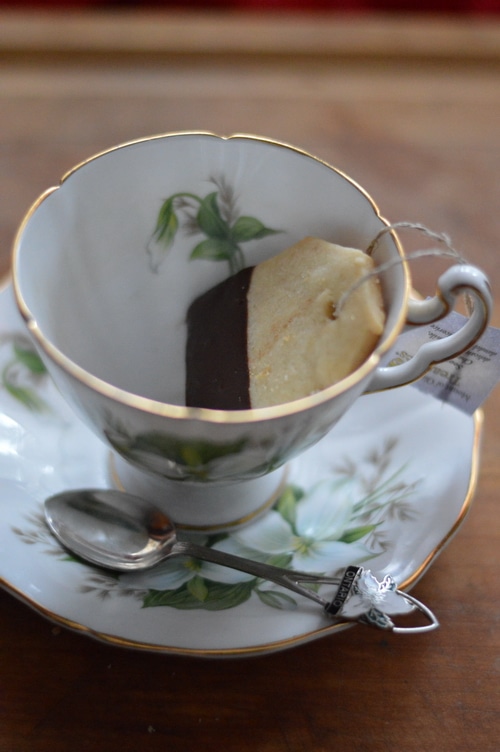
I like chewier cookies in chocolate chip and peanut butter cookies, and crunchy cookies in rolled or sliced cookies. You can control the texture of your cookies by adding an extra egg yolk, brown sugar, and softened butter to make the cookies chewier. You can make cookies thinner and crispier by using all white sugar, melting the butter fully, and reducing your flour by 2 tbsp.
The kind of flour you use makes a difference.
Use unbleached, all-purpose flour for cookie baking. Bread machine flour has too much gluten and will toughen the cookies, making them chewier but also tougher. Pastry flour, on the other hand, doesn’t have enough structure and will make cookies spread into a puddle on the baking sheet.
‘Measure the flour carefully. Even an extra tbsp. of flour can result in tough, dry, crumbly cookies. Where you live has some bearing on the kind of flour that is available to you. The US all-purpose flour tends to be made from soft wheat while Canadian all-purpose flour tends to be milled from hard wheat, so your mileage may vary. Check out this post for an explanation of the different kinds of flour available to the home baker.
If you’re making gluten free cookies, you don’t have to worry about the flour toughening when mixing. However, gluten free flours sometimes lack structure, which means you may need to use xanthan gum to sub in. I sometimes sub in a bit of milled flax for extra binding ability.
Don’t mix your batter too hard or too long.
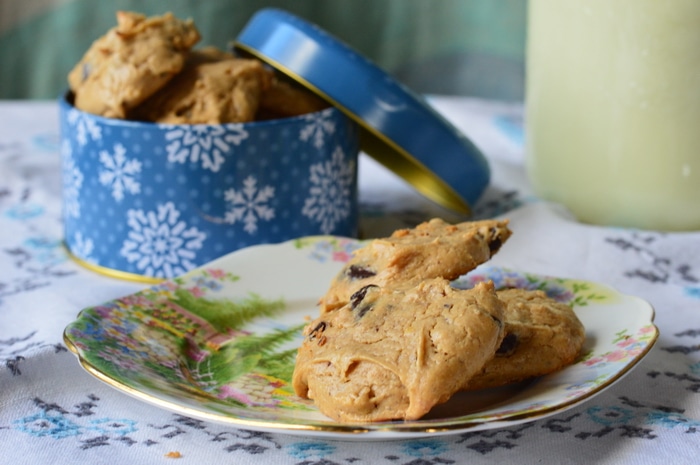
Your batter needs a bit of air so when you cream the butter and sugar, incorporate air but don’t beat it so long that the butter liquefies. One minute should be sufficient. You want it to hold its structure in the cookies, refraining from melting until it hits the oven’s heat. This will make the cookies flakier and lighter. Once you add the flour and baking powder, avoid overbeating. You don’t want to awaken the gluten in the wheat-like you would when bread baking.
Use the correct measurements – liquid or dry – when measuring your ingredients.
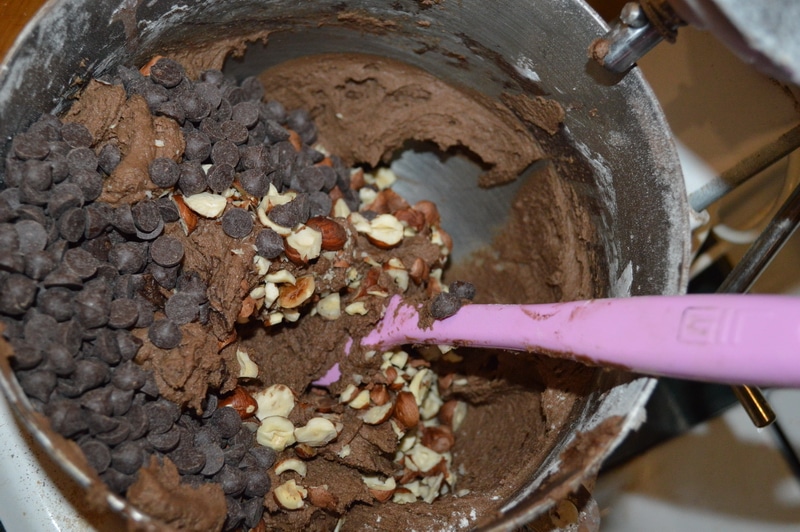
Liquid ingredients should be measured in a glass or plastic measuring cup, the kind with a spout for pouring. Dry ingredients are measured in the stacking measuring cups. There can be a variation of 1 tbsp. between 1 cup measure with a liquid measuring cup or a dry measuring cup. That can have a big impact on your cookies.
Chill out
Chill the cookie dough before you bake it to give your batter more body and let your cookies rise a bit higher in the oven. You can even roll the cookies into small balls and freeze them for a few days. Then pop them frozen on your cookie sheet and bake them. Freezing cookies trap the butter globules into the dough so that when the oven temperature hits the dough, the fat globules melt leaving behind a light pocket of air in the finished cookie.
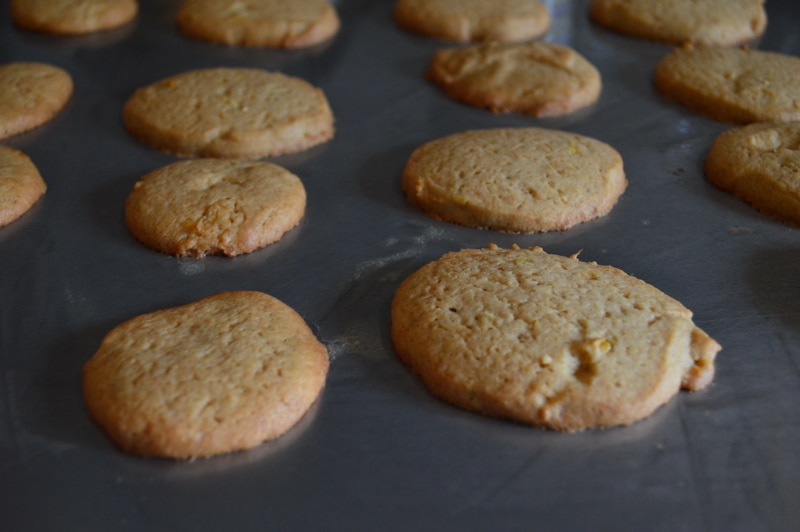
Use heavy metal baking sheets without sides.
Shiny baking sheets don’t burn as fast as darkened baking sheets.
I just learned from my blogging friend Jess, that there is such a thing as cookie sheets made specifically for baking cookies. All my life I’ve been baking cookies on jelly roll pans and calling them “baking sheets.” Just for the record, Mrs. Cook senior used lipped baking sheets to bake her cookies one at a time. But with only one cookie on the baking sheet, she didn’t have a problem with heat transfer. Thanks to Jess’ post and the restaurant supply company, Katom, I now have a heavy aluminum cookie sheet on its way to my post office box. All my future cookie baking will take place on the proper apparatus.
Don’t bake your cookies too close together
Place cookies approximately 2 inches apart on the baking sheet, to allow for spreading, and for even heating. No need to bake your cookies one at a time. 12 cookies should fit comfortably on a full-size baking sheet.
Turn up the heat
Preheat your oven to 360F for at least 20 minutes before you begin to bake. Bake only one cookie sheet at a time in the oven, placing it in the centre of the oven. The sugar caramelizes at 356*F so if you bake your cookies at 350*F your cookies will never caramelize, giving you that special flavour. Turn up the oven temperature just a bit and you’ll be rewarded with that special golden brown colour and butterscotch flavour. You can check your oven temperature with an oven thermometer if you aren’t sure if your thermostat is accurate.
Check the cookies during the baking time to ensure the edges aren’t over browned and rotate the cookie sheet as necessary to get even browning.
Don’t overcook your cookies
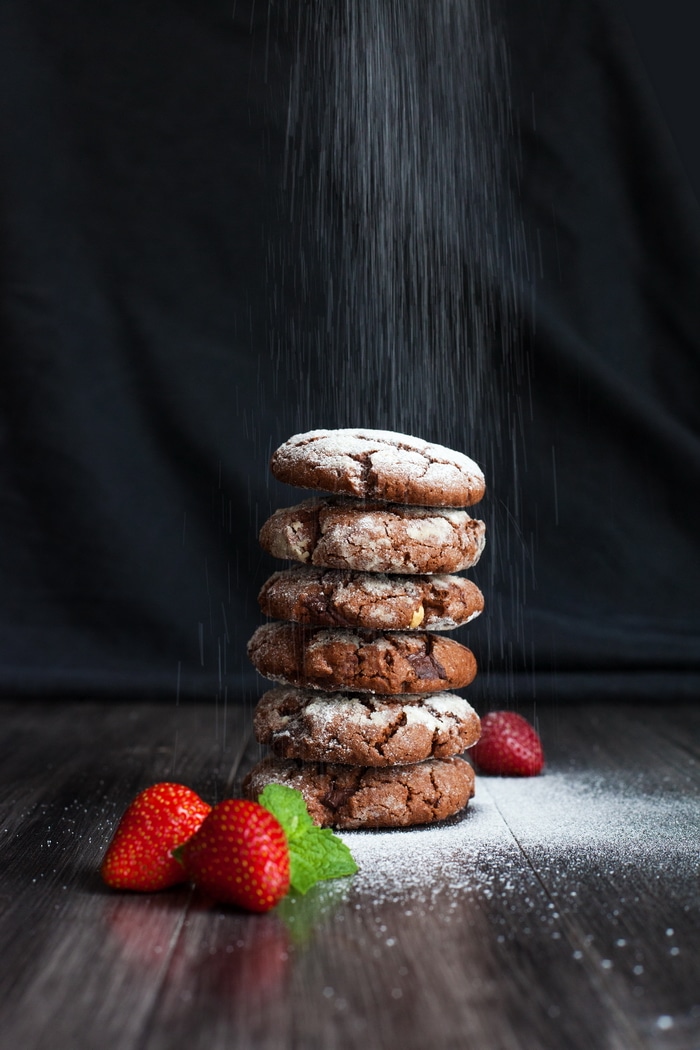
Remove the cookies when they are underdone – about 2 minutes short of the recommended baking time. Leave them on the cookie sheet for an additional 2 to 3 minutes so that they can finish baking on the hot cookie sheet. Remove them to a heavy-duty stainless steel cooling rack and allow them to cool completely.
Store your cookies when they are completely cooled
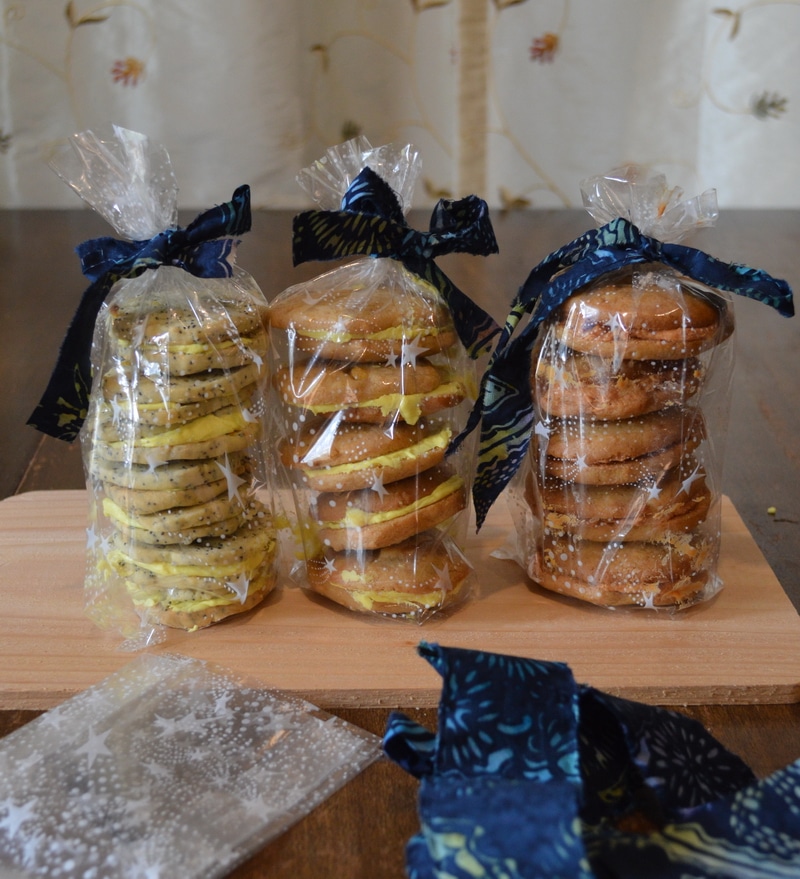
Store cookies in an airtight container and only store one kind of cookie in each container. Most cookie jars are not airtight. Make sure your cookies are thoroughly cool so that there is no condensation on the inside of the container, that would make your cookies soggy.
The Chemistry of Cookie Baking:
For all you geeky homeschoolers and geek-loving bakers, like me, check out this short TED video about the science behind why Grandma did what she did. I learned a lot.
Cookie Recipes to add to your repertoire
Now that you know the secret sauce for perfect cookies every time, let me share a few of my family’s favourite cookie recipes.
Chocolate Cookie Recipes
Mint Double Chocolate Chip Cookie Recipe
100-year-old Chocolate Brownie Recipe
Gluten-Free Chocolate Brownie Recipe
Gluten-Free Chocolate Chip Recipe
After School Cookie Recipes
Cookies for Grown-Up Parties


Leave a Reply