Learning how to roast a turkey is best done while helping your grandma in the kitchen on Thanksgiving or Christmas Day. But if you don’t have the ability to hang out at grandma’s house for a few days before the feast, you might miss the nuances that made grandma’s turkey, stuffing, and gravy taste like the holidays you remember. Face it, Grandma knew how to roast a turkey with mash potatoes, gravy, and stuffing that rivaled the best 5-star chef.
15 Tips for how to roast a turkey that makes memories
Check out these 15 tips that grandma knew that made her turkey taste like the holidays you remember. In this article, you’ll find out:
- how big of a turkey you’ll need
- how long to cook the turkey
- how much flour or starch to add to the gravy to get it just the right consistency
- how to serve it all at the table so that all your guests feel like they’re family
Pick a turkey that is the right size for your family
Plan for 1 to 1½ pounds of bird per person for turkeys that are under 16 pounds. 1 ½ pound per person will give you plenty of leftovers for turkey stock, turkey soup, shepherd’s pie, and hot turkey sandwiches.
- An 8-pound turkey will serve 4 to 6 adults.
- A 12-pound turkey will serve 6 to 8 adults
- A 16-pound turkey will serve 8 to 10 adults
- A 20-pound turkey will serve 12 to 16 adults
The larger the turkey the higher the meat to bone ratio. A larger turkey will have more turkey breast, and the thickest part of the thigh will give more dark meat.
Use a heavy roasting pan that’s big enough to cook your turkey with the lid on
Forget the tin foil roasting pans. You’ll need a proper roasting pan with a lid to easily cook a turkey the way grandma did. The cover ensures that the wings don’t dry out before the breast is cooked. Grandma used a graniteware oval roasting pan like this one (Amazon link). Graniteware roasters are carbon steel with a porcelain coating. They make juicy turkeys with crispy, brown skin. The porcelain coating is non-stick and makes clean up easier.
A 15-inch roasting pan is big enough for a 10 to 12-pound bird. You’ll need an 18-inch roaster for a 15 to 18-pound bird. A 19-inch roasting pan is big enough for an 18 to 20-pound bird.
Invest in a roasting rack with handles to hold the carcass off the bottom of the pan and to make it easier to lift the hot bird from the pan. The bigger the bird the more you’ll want a roasting rack with handles (Amazon link). A roasting rack allows for more even cooking, too.
Thaw the turkey in the fridge
Grandma might have thawed her turkey on the counter the night before the big feast, but today it’s recommended that you thaw your turkey in the fridge several days before the feast. Commercial turkeys today are not as clean as the turkeys that Grandma cooked.
Allow 1 full day in the refrigerator for every 5 pounds of frozen turkey. So for a 15-pound turkey, take it out of the freezer 3 days before you plan to cook it, and put it in the bottom of your fridge to safely thaw at 40 degrees. Since the bird might leak through the freezer bag as it thaws, be sure to protect the other food in the fridge by putting a pan under the bird, to catch any drips.
If you don’t have a fridge big enough to hold the bird, you can also safely thaw the bird in a cool room in your basement or on an unheated porch. Just make sure that the temperature can be maintained below 40 degrees, but above freezing.
If you forget to take the bird out beforehand, you can still get it thawed in time by placing it in a sink of cold water the day before the feast, to thaw. Replace the water every 30 minutes with fresh water so that bacteria doesn’t build up. Allow 6 hours to defrost a 15-pound bird using the cold water method, then place it in the fridge overnight.
Pat the bird dry with paper towels to remove any blood and reduce bacteria on the skin before you stuff the turkey. This prevents off flavors from the developing in the bird during the slow cooking.
Make the stuffing the night before to allow the flavors to meld
While you shouldn’t stuff the turkey the night before, the dressing should be made the night before and stored in the refrigerator until morning. This allows the aromatic spices to saturate the dressing mixture. The flavors will just get better as the dressing is slow-roasted inside the bird.
Grandma’s dressing used leftover bread, sage, onions, parsley, and celery, plus nuts and fruit to make a savory dressing that complimented the turkey. If you have someone in the family that must have gluten-free, make the stuffing with gluten-free bread or substitute the bread in the dressing recipe with whole grain rice, millet, or quinoa. Toasted, or air dried stale bread helps make a non-soggy dressing too.
If you have someone with allergies at your holiday table, cook the dressing outside the turkey and plan to serve it as a side dish. Since typical holiday turkey dressings contain nuts, eggs, and bread, your allergy sufferer will not be able to eat the turkey at all, if the stuffing is cooked inside the bird.
Plan for ¾ cup of cooked stuffing per person. If you are buying a commercial stuffing mix (Amazin link) you’ll need a 16-ounce box to stuff a 20-pound turkey. Those boxes of commercial stuffing are dehydrated. You’ll need more by weight if you are using fresh bread for your stuffing recipe. If you are using fresh bread, cornbread, or gluten-free bread in your stuffing, one loaf of bread is enough for a 15 to 20-pound turkey. If one of your guests has gluten allergies, skip the cornbread and regular bread and use only gluten-free bread or cooked rice in the stuffing.
Grandma used to crumble the bread for the stuffing the night before and allow it to dry in an open bowl for several hours, on the counter, before adding the other stuffing ingredients. No matter which way you are making it, taking time to make your stuffing the night before will add to terrific flavors, melded together the next day.
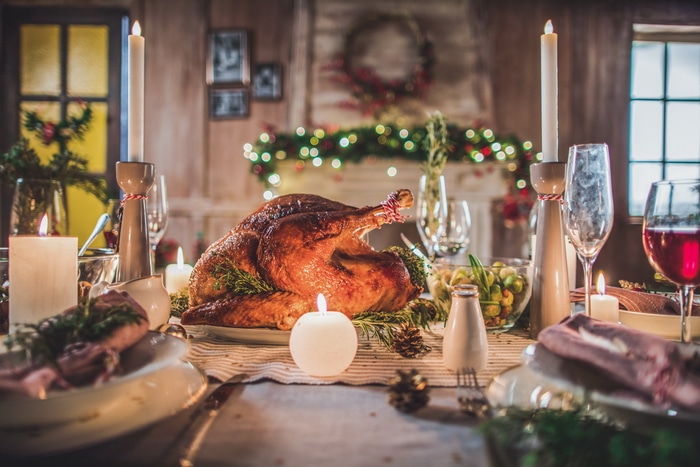
Stuff the turkey just before roasting
For this roast turkey recipe, take the turkey out of the fridge in the morning. Remove the giblet bag and neck from the inside of the turkey cavity. Save the giblets and neck in the fridge for making stock later. Rinse the turkey in the sink under cold, running water. Then take a teaspoon of herbed salt and wipe the inside of the turkey cavity and under the neck skin with salt. Spread the salt thinly.
Firmly stuff the turkey with the prepared stuffing. Truss up the legs over the cavity to keep the stuffing inside the bird. Some people sew the legs together with twine. Others just tie them at the top of the drumsticks or tuck the drumsticks under the neck skin to hold the legs together.
Butter and Herbs for a more succulent breast
You can create a more succulent breast and prevent the white meat from drying out by using a butter mixture, rich in herbs like thyme, sage, and oregano. (Use 1/4 cup softened butter and 1 tablespoon each fresh thyme, sage, parsley, lemon zest, crushed garlic, and oregano. Mix the butter and herbs together. Lift the skin that is covering the breast and stuff the butter mixture evenly under the skin before baking the turkey.)
Turkey Roast
Place the turkey, breast side up, on top of the roasting rack, inside the roasting pan. Pour water or chicken broth into the roasting pan so that it comes up to the top of the rack. Cover the roasting pan with a lid. Place in the oven. With the stuffing prep, and basting prep, this makes for a perfect roast turkey recipe.
Cook the turkey for 20 minutes per pound at 325°F
Grandma baked her turkey at a low heat but turned up the oven to 400 degrees for the first 30 minutes of the cooking time to sear the bird and seal in the juices. After 30 minutes of baking she turned down the oven temperature to 325 degree temp and cooked the bird until the bird was done.
Grandma cooked the turkey for 20 minutes for each pound of stuffed turkey. Though the stuffing wasn’t included in the lb turkey time.
- Cook a 12-pound bird for 4 hours
- A 16-pound bird for 5 to 5 ½ hours
- A 20-pound bird for 6 ½ to 7 hours
Start checking the turkey for doneness about an hour before the done estimate. Grandma didn’t have a meat probe thermometer. Today we use an instant-read thermometer to gauge the doneness of the turkey. To check for doneness insert the meat thermometer (Ad) into the deepest part of the muscles without touching a bone. Check the temperature in the breast and in the thigh. When the turkey is done the breast will be 170 degrees and the thigh will be 180 degrees.
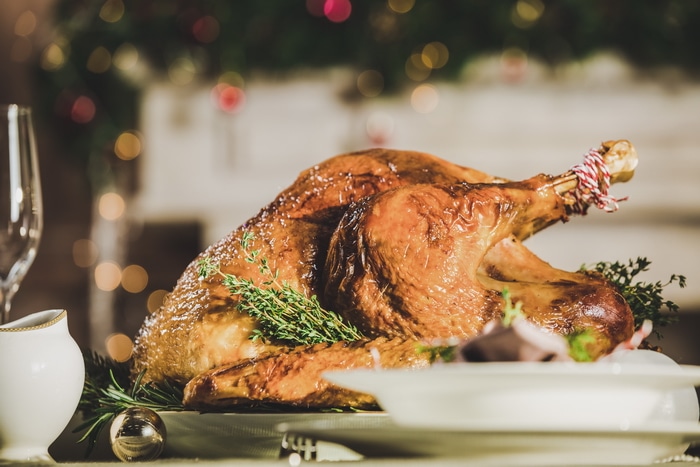
Keep the lid on the turkey during the roasting time
Keep the lid on the turkey during the roasting time. There is no need to baste the turkey to ensure that the breast will be evenly brown. The roasting pan recirculates the juices from the meat during the cooking time. By keeping the pan covered you’ll maintain an even cooking temperature throughout the cooking time.
Basting the turkey
If you want to baste the turkey for tradition sake, use a turkey baster to suck up the pan juices. Start basting the turkey about one hour before the turkey is done. Baste the breast side and the drumsticks. Cover the wing tips with aluminum foil to keep them from drying out, while you baste the turkey.
Add water to the roasting pan to keep the turkey from drying out
Grandma always added water or chicken broth to the bottom of the roasting pan, at the start of the cooking. This keeps the bird from drying out. This also gave her a head start for making the turkey gravy, because the meat juices would be suspended in the liquid in the bottom of the roaster. Others might prefer brining the turkey, to plump it up and add more juices. However, the use of broth or water as the liquid usually works just as well, or better, than brine.
Parsley, sage, rosemary, and thyme
Grandma added traditional spices to the dressing, to the cavity of the bird, and to the turkey skin. She didn’t use commercial poultry spice, which contains additives to keep it free-flowing and to prevent clumping. She used fresh parsley and crumbled, dried garden sage in the stuffing. She added thyme leaves, pepper, and a sprig of rosemary to the turkey skin before roasting. The aromatic spices permeated the flesh of the bird and wafted through the kitchen during the cooking, flavoring the bird and increasing the appetites of everyone in the vicinity.
Grandma knew these carminative digestive herbs stimulate digestion and aid in the enjoyment of the meal. They also prevent bloating and so the diners are much more comfortable after the meal, as they play games and visit together.
Let the turkey rest
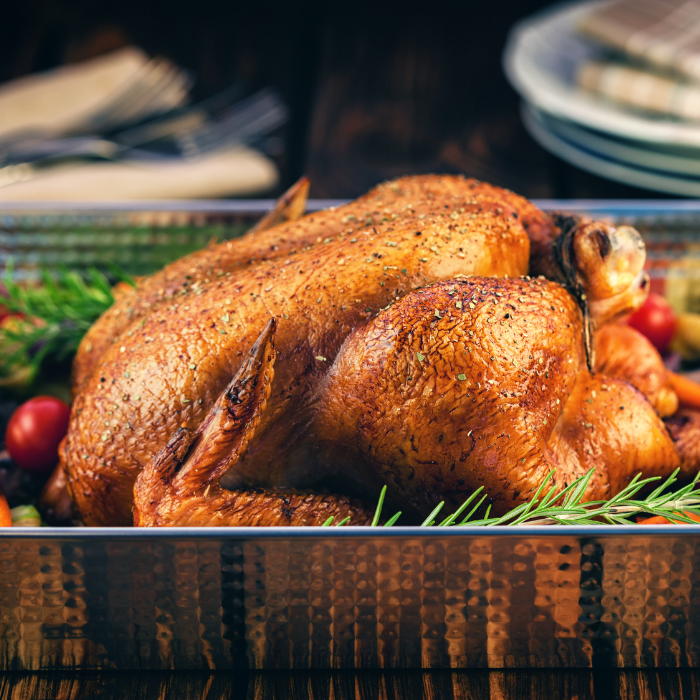
Grandma knew that the turkey needed a short resting period. Just long enough for her to mash the potatoes and make the gravy. When the turkey is done, take it out of the oven and remove it from the roasting pan, onto the carving platter or carving board, and let it rest. If you used a roasting rack with handles these will be helpful to lift the turkey without the tender meat falling off the bones before you’re ready. Admire the golden-brown skin and the steaming scent of freshly roasted turkey.
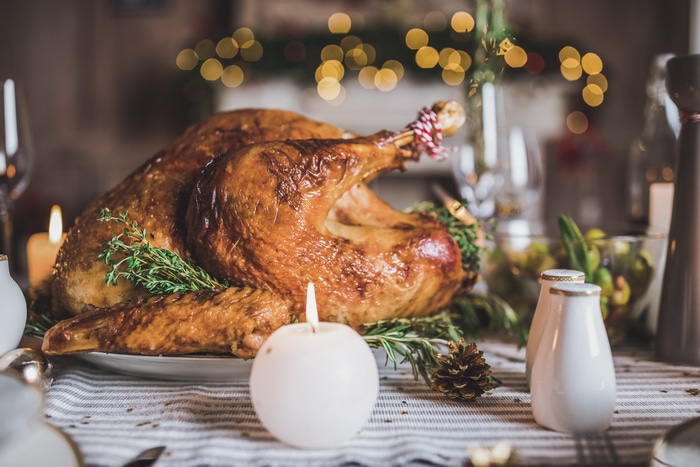
Scrape the pan juices to make the gravy
While the turkey is resting, make the gravy. Allow 1/3 to ½ cup of gravy per person for the meal.
If you are using a stovetop safe roasting pan like the graniteware roasters, just put the roasting pan directly on the stovetop to make the gravy. The roaster has all the turkey drippings in the bottom. If your turkey roaster isn’t suitable for stovetop use, transfer all the pan juices to a saucepan.
Place the amount of flour or starch called for in your gravy recipe into one cup of cold water. (Use tapioca starch or potato starch if you have a guest who has gluten allergies.) Beat the water and starch with a fork until there are no lumps.
Pour the water-starch slurry into the bottom of the roaster with the meat drippings. Add the remaining amount of water called for in the gravy recipe, while beating the mixture with a whisk. Turn on the burner and cook the gravy over medium heat, while whisking to prevent lumps from forming. Stop whisking when the gravy thickens and begins to bubble. Transfer the gravy to a gravy boat or other container with a pour spout.
How much water and starch should you add to your pan drippings to make gravy?
- If you roasted a 12-pound turkey, use 3 cups of water and 1/3 cup of tapioca starch or flour to make the gravy.
- For a 16-pound turkey use 4 cups of water and ½ cup of tapioca starch or flour to make the gravy.
- For a 20-pound turkey use 6 cups of water and ¾ cups of starch or flour to make the gravy.
Remove the dressing from the turkey cavity
The dressing is served as a side dish in its own serving bowl, accompanied by the gravy in a gravy boat. As you are removing the dressing from the turkey, break up the dressing slightly so that it doesn’t appear at the table in a single large lump.
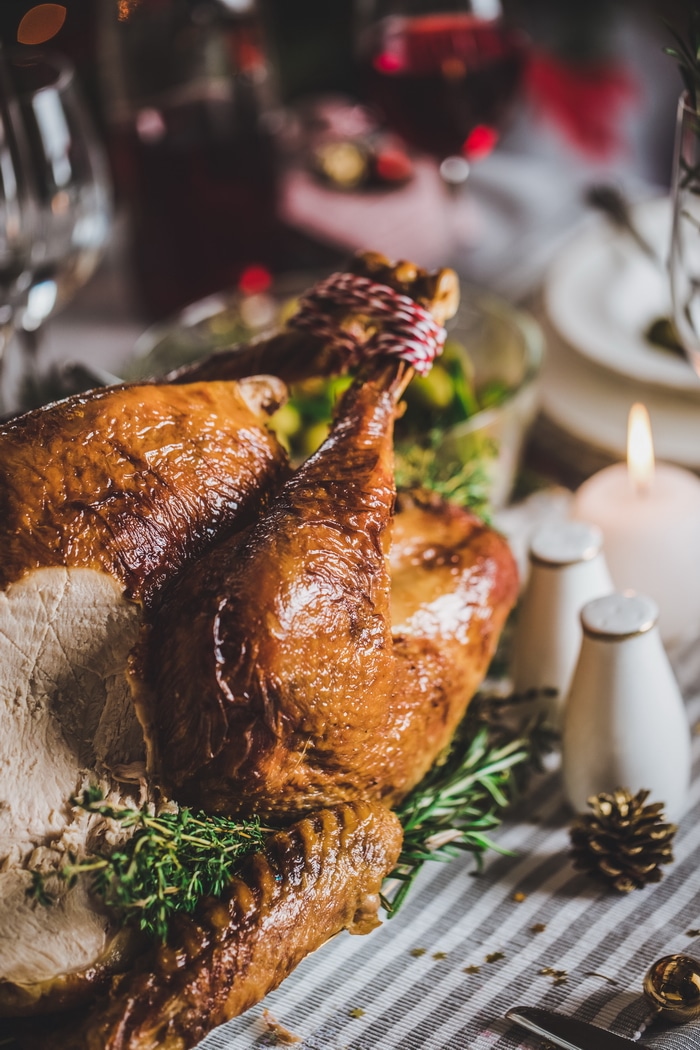
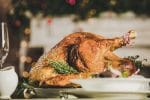
Roast Turkey that Makes Memories
- Prep Time: 30 minutes
- Cook Time: 5 hours
- Total Time: 5 hours 30 minutes
- Method: bake
Description
Turkey dinner can be the highlight of your family gathering. Plan for 1 to 1½ pounds of bird per person for turkeys that are under 16 pounds. 1 ½ pounds per person will give you plenty of leftovers for turkey stock, turkey soup, shepherd’s pie, and hot turkey sandwiches
Ingredients
- 1 – 15 pound turkey
- Stuffing
- 1/2 cup Tapioca Starch or Flour (for gravy)
- 4 cups Water
Instructions
Thaw the turkey safely by refrigerating at 40 degrees F for 3 days.
- Take the turkey out of the fridge in the morning. Remove the giblet bag and neck from the inside of the turkey cavity. Save the giblets and neck in the fridge for making stock later. Rinse the turkey in the sink under cold, running water. Then take a teaspoon of herbed salt and wipe the inside of the turkey cavity and under the neck skin with salt. Spread the salt thinly.
- Firmly stuff the turkey with the prepared stuffing. Truss up the legs over the cavity to keep the stuffing inside the bird. Some people sew the legs together with twine. Others just tie them at the top of the drumsticks or tuck the drumsticks under the neck skin to hold the legs together
- Place the turkey, breast side up, on top of the roasting rack, inside the roasting pan. Pour water into the roasting pan so that it comes up to the top of the rack. Cover the roasting pan with a lid. Place in the oven.
- Start checking the turkey for doneness about an hour before it is supposed to be done. Use an instant-read thermometer to gauge the doneness of the turkey. Insert the thermometer into the deepest part of the muscles without touching a bone. Check the temperature in the breast and in the thigh. When the turkey is done the breast will be 170 degrees and the thigh will be 180 degrees.
- When the turkey is done, take it out of the oven and remove it from the roasting pan, onto the carving platter or carving board, and let it rest.
Make Gravy: While the turkey is resting, make the gravy. Allow 1/3 to ½ cup of gravy per person for the meal.
- Place the flour or starch called for in your gravy recipe into one cup of cold water. (Use tapioca starch or potato starch if you have a guest who has gluten allergies.) Beat the water and starch with a fork until there are no lumps.
- Pour the water-starch slurry into the bottom of the roaster with the meat drippings. Add the remaining amount of water called for in the gravy recipe, while beating the mixture with a whisk.
- Turn on the burner and cook the gravy over medium heat, while whisking to prevent lumps from forming. Stop whisking when the gravy thickens and begins to bubble.
- Transfer the gravy to a gravy boat or other container with a pour spout.
Carve the turkey like an expert
If you plan to carve the turkey at the table, place the turkey on a turkey platter and take it to the table, along with a sharpened carving knife and a meat fork. Traditionally the host of the meal carves the turkey for each guest. Slice the turkey beginning with the breast by slicing halfway up the breast. Slice straight down with an even stroke. The slice will fall free when the knife reaches the wing joint. Continue to slice the breast meat by starting the cut at a higher point each time and slicing down, perpendicular to the carcass.
If you prefer to carve the turkey before bringing it to the table, use a carving board and transfer the pieces to the turkey platter before serving. Take only the turkey platter to the table with a serving fork.
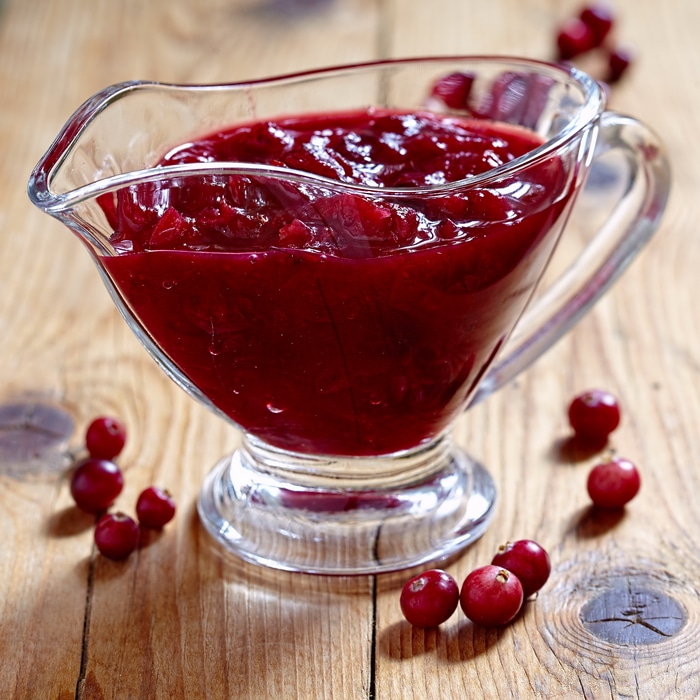
Put the cranberry sauce on the table
How many times have you forgotten to bring the cranberry sauce to the festive table? I know I’ve forgotten many times. If that happens to you, don’t worry. Grandma forgot the cranberry sauce every single year. Bring it to the table when you remember it. Or just use it in hot turkey sandwiches and to garnish cold turkey sandwiches in the days following the Big Day.
The cranberry sauce is served in its own condiment dish with a serving spoon so that each person can help themselves. The tartness of the cranberry sauce and the bitter orange peel helped with the digestion of the turkey.
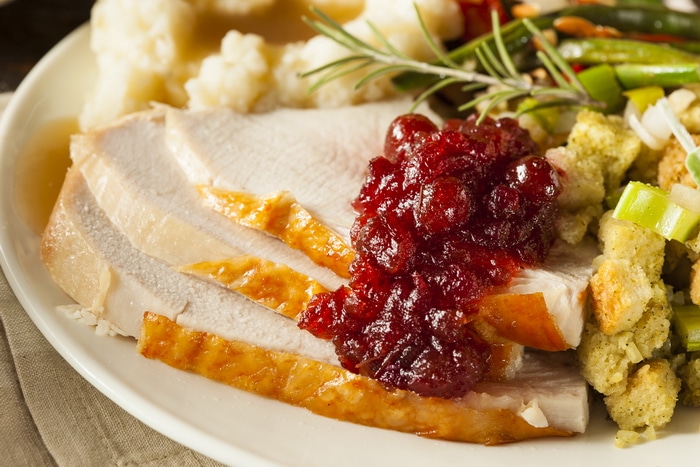
Grandma didn’t call it a day when the dinner was done.
Knowing that the meat needed to be put away immediately to protect the family from food poisoning, grandma took a bit of time to separate the bones from the meat, after the pie was served. Grandma didn’t waste any part of the festive turkey. She made turkey soup out of the bones and shepherds pie out of the leftover turkey, mash potatoes, carrots, and gravy.
To make turkey soup put the stripped turkey carcass into a slow cooker and covered the bones with water. The bones should be simmered overnight for turkey broth. See this recipe for making turkey soup. The leftover meat is refrigerated to cool it completely before the leftovers are packaged into serving sizes for future meals.
The importance of family time
Remember the year that there was a power outage on Christmas morning before the turkey was finished cooking? Neither do I. No one remembers the bad stuff if the inconveniences are followed by loving times with family. Grandma knew how to roast a turkey that made memories.
But one of the secrets of grandma’s best-tasting turkey dinner was how special each person felt at the table. Grandma knew the importance of family. Grandma tried to make each person feel loved, important, and special. And if your grandma didn’t do that because she was too busy in the kitchen, well, that’s one part of the tradition that’s in your power to change.
When we look at the past with a romantic idealism we sometimes forget that grandmas sometimes make mistakes, don’t get it perfect, or even get tired and grumpy at the end of a long holiday. So knowing that, if your turkey doesn’t turn out quite as you remember, if your cranberry sauce gets left in the fridge until the pie is served, or if the mash potatoes have a few lumps, cut yourself some slack. Don’t sweat the small stuff but focus on the small people, as grandma did. (And if she didn’t, it’s your turn now to make memories.)
Your turn:
What’s one thing you do differently at Thanksgiving or Christmas that your grandmother did NOT do? Why did you choose to change that thing?



I’ve done the same thing. I’m sure everyone does this at least once. Good that you could laugh about it. Well done.
I remember the very first Thanksgiving Turkey I made. I was young bride, and wanted to have Thanksgiving at my ‘new’ house that we had just moved into. I invited my parents. My grandparents were no longer around. The 4 of us were at the table, which we put in the living room as the house was pretty small. I tried to put stuffing inside but couldn’t, so I just cooked it separately.
Imagine my total embarrassment, when my husband began carving the bird, to find the giblet package still inside! No wonder I couldn’t get any stuffing inside!!!
They all had a good laugh about it, and we had a wonderful Thanksgiving. Yes, the bird was cooked through, and even the giblets were thoroughly cooked!
Finally I cooked a turkey to the doneness Im used to! I usually add an extra 45 min or more. This is wonderful! And the ratios for gravey work great too!! XXOO
My mother first starting cooking when she was 12 years old, and had over six decades of cooking experience before she passed away. She definitely knew every trick in the book. For the gravy she would cook the giblets (minus the liver), cut them up finely, and put them in the gravy. She would also make sweet potatoes with a marshmallow topping, and would always get distracted and burn the marshmallows under the broiler, so my job was to watch them carefully.