Fermented rhubarb pickles are ready in 5 to 7 days. Leave them for a month and the flavours will merge into a tart-sweet delight. They’ll keep in the fridge for a year, so go ahead and make a few jars while the rhubarb is at its peak of ripeness.
Rhubarb is the first vegetable out of our zone 3 garden each spring. If you live in the lower 48 you may even be seeing the first bright sprouts of rhubarb coming up, as the snow recedes. Rhubarb is often already growing before the grass greens up in spring. Pickling the long stems is a fresh way to enjoy the harvest at a time when the garden hasn’t started to produce much.
Using rhubarb in the landscape
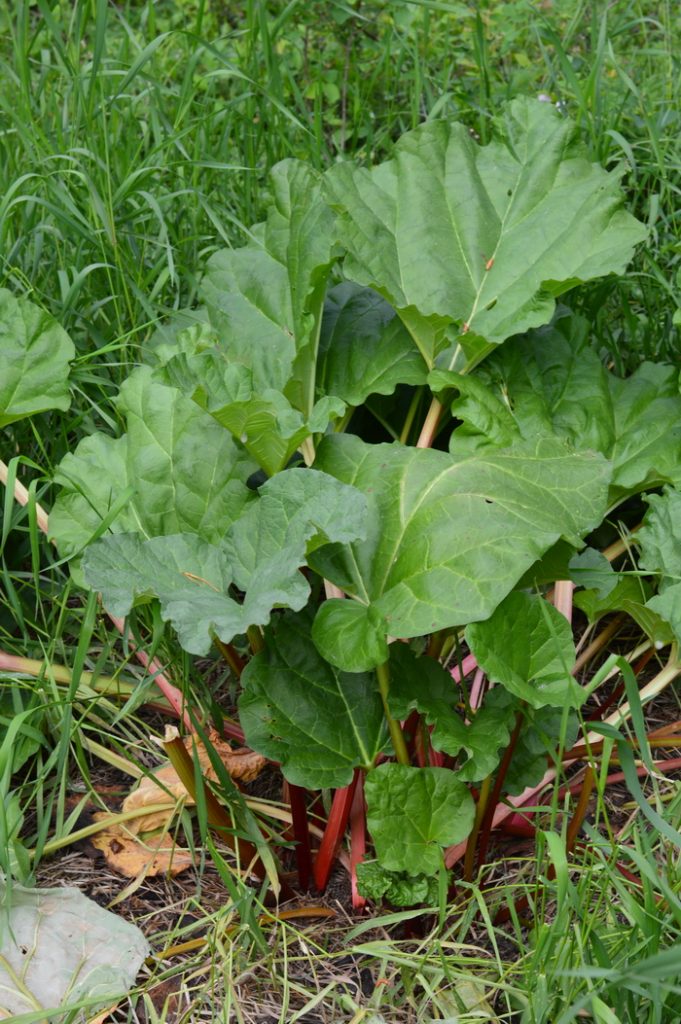
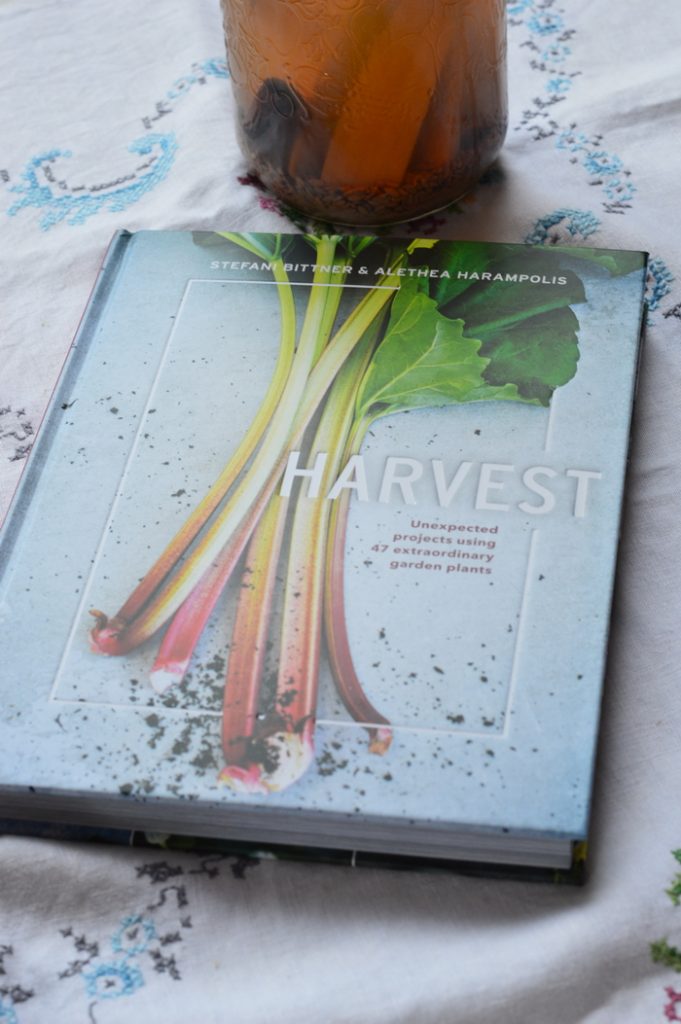
Rhubarb is a hardy perennial in zone 3 to 8. In warmer climates, it can be grown as an annual. It is an attractive landscape plant and can be grown mixed with other plants, showing off its savoy green foliage crowning rosy red, pink, and green stalks. According to landscape designers Stefani Bittner and Alethea Harampolis, in Harvest, Unexpected Projects Using 47 Extraordinary Garden Plants, rhubarb “lends a tropical ambiance to any garden”.
Rhubarb grows 24 to 48 inches tall, with a spread of 4 feet. It requires full sun to partial shade. Rhubarb should be fed at the beginning of the growing season with well-composted manure. The rhizome should be divided every 2 or 3 years to keep the root vegetative and productive. A rhubarb plant can live for decades, even in zone 3. Find out more about how to grow rhubarb in this article.
How to harvest rhubarb
I harvest rhubarb by taking hold of the base of the long stalks and pulling up with a slight twist. This is usually sufficient force to slip the stalk out of the sheath that it is growing from. If not you can clip the plant at the base using garden shears. Leave at least 4 stalks per plant to feed the root and ensure longevity.
Remove the leaves from the rhubarb stalk. The leaves are high in oxalic acid and are considered a liver and kidney toxin. I place them down on the ground around the rhubarb plants. They act as a weed barrier and mulch.
Harvested rhubarb can be refrigerated for 2 weeks. For longer storage, it can be fermented, pickled, dried, frozen, canned, make into jam, or turned into a tasty dessert.
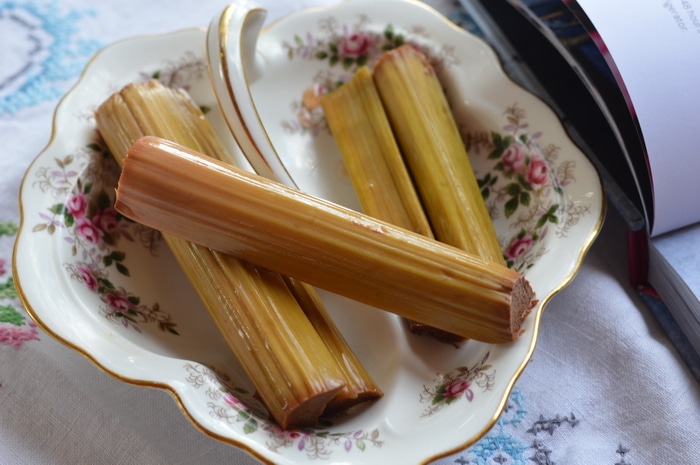
Fermented rhubarb pickles
Fermented rhubarb pickles are ready in 5 to 7 days. Leave them for a month and the flavours will merge into a tart-sweet delight. They’ll keep in the fridge for a year, so go ahead and make a few jars while the rhubarb is at its peak of ripeness.
You can use both red and green varieties of rhubarb in your fermented pickles, as well as a wide variety of herbs and spices. The rhubarb loses some of its tartness during the fermentation process, but not all of it. Warm, sweet herbs like cinnamon, fennel, and cardamom soften the bite of pickled rhubarb. While hot spices like chilies, cloves, and bay leaves marry well with the astringency of the rhubarb.
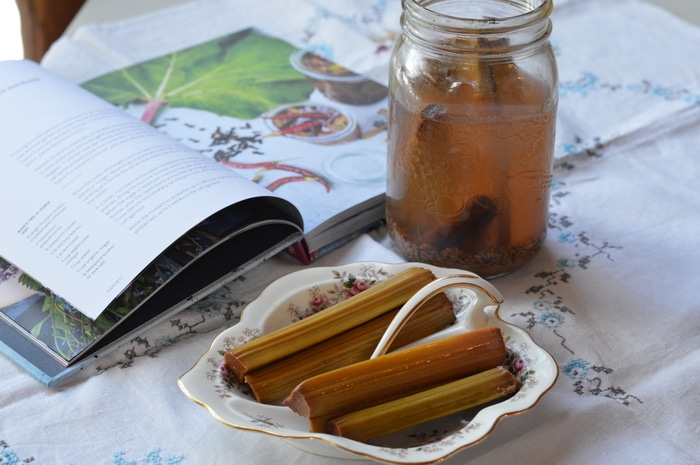
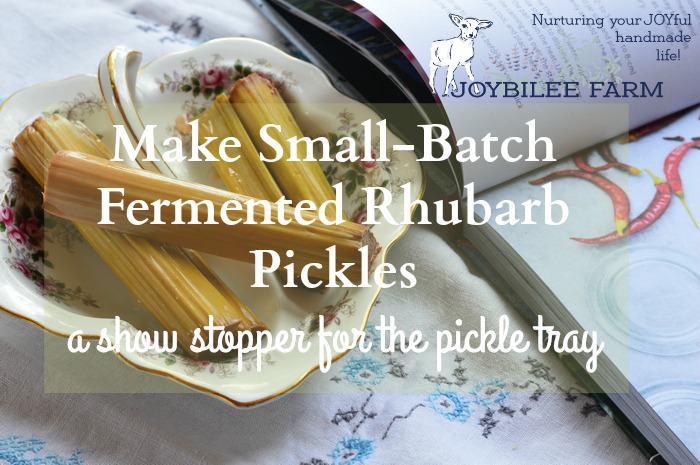
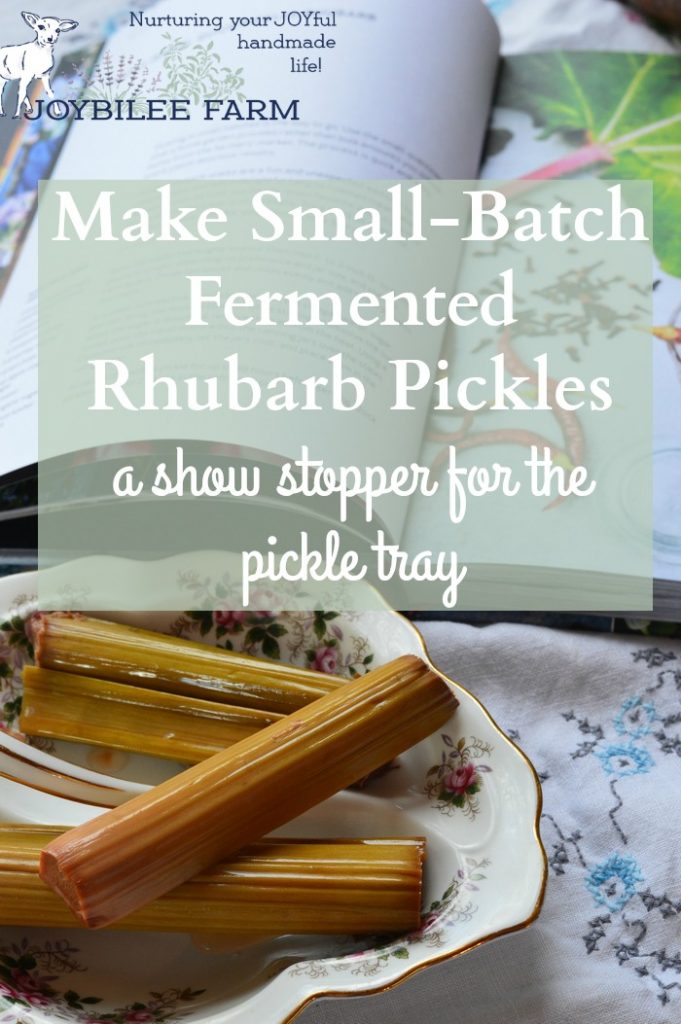
Make Small Batch Fermented Rhubarb Pickles, a Show Stopper on the Pickle Tray
- Prep Time: 15 minutes
- Total Time: 48 hours
- Yield: 1 pint 1x
- Category: snacks
- Method: fermented
- Cuisine: American
Description
Use either red or green varieties of rhubarb in your fermented pickles, as well as a wide variety of herbs and spices. The rhubarb loses some of its tartness during the fermentation process, but not all of it. Warm, sweet herbs like cinnamon, fennel, and cardamom soften the bite of pickled rhubarb. While hot spices like chilies, cloves, and bay leaves marry well with the astringency of the rhubarb.
Ingredients
3 to 5 stalks of rhubarb
Sweet Variety:
- 1 teaspoon fennel seeds
- 3 sticks of cinnamon, broken
- 6 whole cardamom pods
- ½ teaspoon whole cloves
- ½ inch piece of ginger peeled, finely sliced
- 2 teaspoons Himalayan salt
- 2 cups of water
- 1 tablespoon fermentation culture from a successful batch of fermented vegetables.
Savory Variety:
- 2 teaspoons whole peppercorns
- 3 dried bay leaves
- 2 dried chilies
- 2 teaspoons Himalayan salt
- 2 cups of water
- 1 tablespoon fermentation culture from a successful batch of fermented vegetables.
Instructions
- Prepare wide mouth pint jars by washing and sanitizing the jar, the lid, and the FermenTools glass weight.
- Wash and trim the rhubarb stalks. Cut them the same length as the pint mason jars, so that when they are placed upright in the jars they fit just under the shoulder of the jars, or within 2 inches of the rim of the jar.
- Place the spices of your choice in each jar, whether the sweet or the savory spices.
- Add the fermentation culture from a successful batch of fermented vegetables. Citrus is especially successful with rhubarb.
- Place the rhubarb in the jar, so that the stalks are upright.
- Mix the Himalayan salt and water together to make the brine. Pour over the rhubarb in the jar.
- Use a clean knife and dislodge any air bubbles that are present in the jar.
- Place a glass weight in the top of each jar. Place the fermentation lock and secure it with a canning jar band. Set aside.
The jar will begin to bubble after 24 to 48 hours. The pressure will cause the rhubarb stocks to rise slightly in the jar. When the pressure drops and the rhubarb sinks, the fermentation is complete.
Remove the glass weight and the fermentation lock. Place a standard wide-mouth lid on the top of the jar and refrigerate the fermented rhubarb. Allow the fermented rhubarb to rest for a week to a month to allow the flavors to meld. Serve as sticks of rhubarb, in a pickle dish. The rhubarb is a delightful, unique addition to the pickle tray and provides additional digestive enzymes and probiotics.
Small Batch Fermented Rhubarb Pickles
Yield: 1 pint
Ingredients:
3 to 5 stalks of rhubarb
Sweet Variety:
- 1 teaspoon fennel seeds
- 3 sticks of cinnamon, broken
- 6 whole cardamom pods
- ½ teaspoon whole cloves
- ½ inch piece of ginger peeled, finely sliced
- 2 teaspoons Himalayan salt
- 2 cups of water
- 1 tablespoon fermentation culture from a successful batch of fermented vegetables.
Savory Variety:
- 2 teaspoons whole peppercorns
- 3 dried bay leaves
- 2 dried chilies
- 2 teaspoons Himalayan salt
- 2 cups of water
- 1 tablespoon fermentation culture from a successful batch of fermented vegetables.
Directions:
- Prepare wide mouth pint jars by washing and sanitizing the jar, the lid, and the FermenTools glass weight.
- Wash and trim the rhubarb stalks. Cut them the same length as the pint mason jars, so that when they are place upright in the jars they fit just under the shoulder of the jars, or within 2 inches of the rim of the jar.
- Place the spices of your choice in each jar, whether the sweet or the savory spices.
- Add the fermentation culture from a successful batch of fermented vegetables. Citrus is especially successful with rhubarb.
- Place the rhubarb in the jar, so that the stalks are upright.
- Mix the Himalayan salt and water together to make the brine. Pour over the rhubarb in the jar.
- Use a clean knife and dislodge any air bubbles that are present in the jar.
- Place a glass weight in the top of each jar. Place the fermentation lock and secure it with a canning jar band. Set aside.
The jar will begin to bubble after 24 to 48 hours. The pressure will cause the rhubarb stocks to rise slightly in the jar. When the pressure drops and the rhubarb sinks, the fermentation is complete.
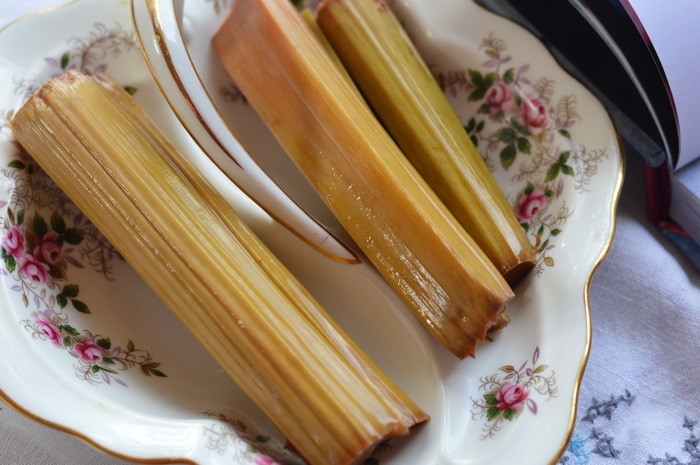
Remove the glass weight and the fermentation lock. Place a standard wide-mouth lid on the top of the jar and refrigerate the fermented rhubarb. Allow the fermented rhubarb to rest for a week to a month to allow the flavours to meld. Serve as sticks of rhubarb, in a pickle dish. The rhubarb is a delightful, unique addition to the pickle tray and provides additional digestive enzymes and probiotics.
Harvest, the book
I got the idea of these fermented rhubarb pickles from the book by Stefani Bittner and Alethea Harampolis, Harvest, Unexpected Projects Using 47 Extraordinary Garden Plants. The recipe in the book is for small batch, quick pickled rhubarb using 1 cup of apple cider vinegar, 1 cup sugar, ½ teaspoon kosher salt, and 1 cup water, in place of the Himalayan salt, active culture, and water in my recipe. The recipe in the book has a short lifespan of only 2 weeks, while the heat kills the live probiotics of the raw apple cider vinegar. My sugar-free recipe retains the plant enzymes and adds beneficial probiotics, while the fermentation process removes some of the astringency of the rhubarb. You can make quick small batch rhubarb pickles both ways. This fermented pickle recipe allows the rhubarb to retain its crisp character.
Harvest is an inspiring book, by two landscape artists from the San Francisco Bay area. The emphasis is on urban landscapes and edible landscaping that would pass any homeowner’s association rules. However, the book is not about landscape design. Rather the book is to inspire you in utilizing the plants in the landscape in new and fresh ways.
The book is divided into three sections based on harvest season, from early, mid, and later gardening season. The actual time when you can use each project will vary depending on your growing zone or latitude. For instance, in the book, rhubarb is considered an early season plant and is ready to harvest in late winter in the Bay area. However, I won’t be harvesting rhubarb till May in my zone 3 mountain garden. But May is early in my garden. May in the Bay area is mid-season.
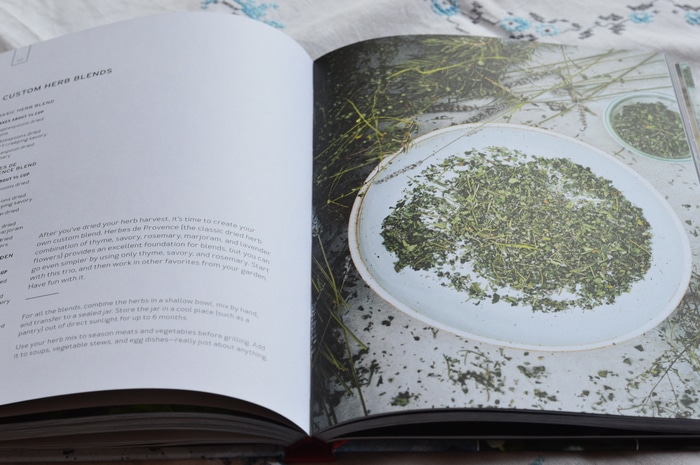
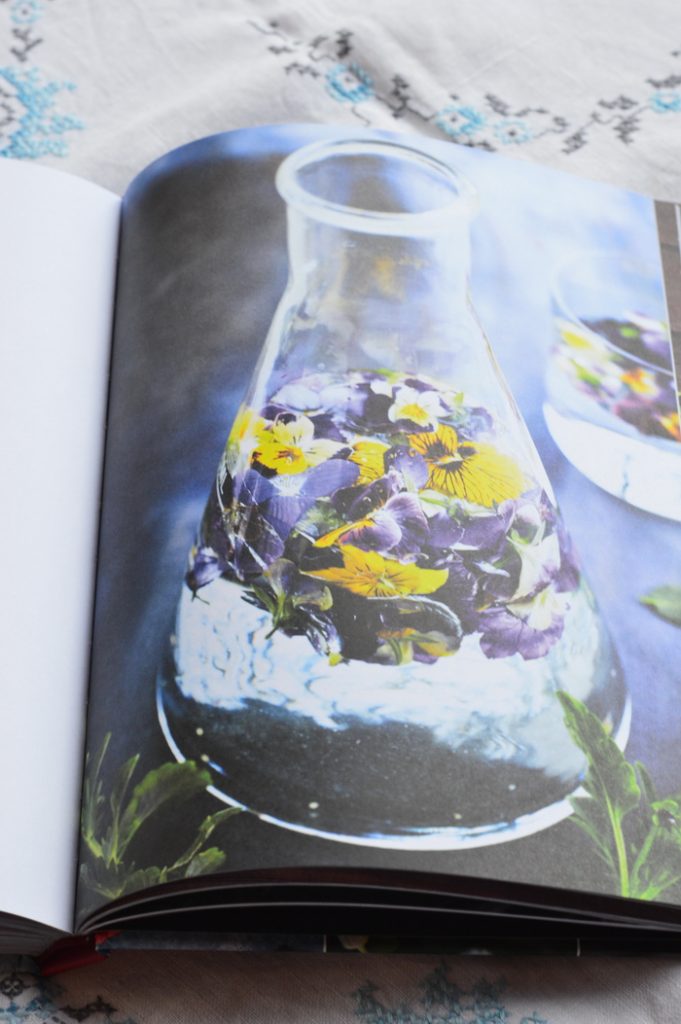
The book introduces 47 plants with detailed growing information that includes varietal names, growing zone, and when to harvest. Each plant is accompanied by gorgeous photographs showing the plant at its prime, in flower, or at the perfect ripeness. Following this brief introduction, the plant is showcased in a project. For rhubarb, the project was small batch pickled rhubarb. However, the projects vary from edibles, to floral arrangements, preserves, herbal remedies, and cosmetic preparations. How I love this kind of variety in a garden book.
So what kind of book is this?
Is it a craft book, a cook book, a garden book, or an herb book? It is first and foremost a garden book, with the emphasis on growing interesting flowers, herbs, and vegetables in the landscape. The projects are beautifully done and showcased with gorgeous photography. However, some of the projects require some discernment, to understand the directions. For instance, the project for Calendula-infused Essential Oil on page 202 contains no essential oil and does not make essential oil. The recipe is for calendula infused oil.
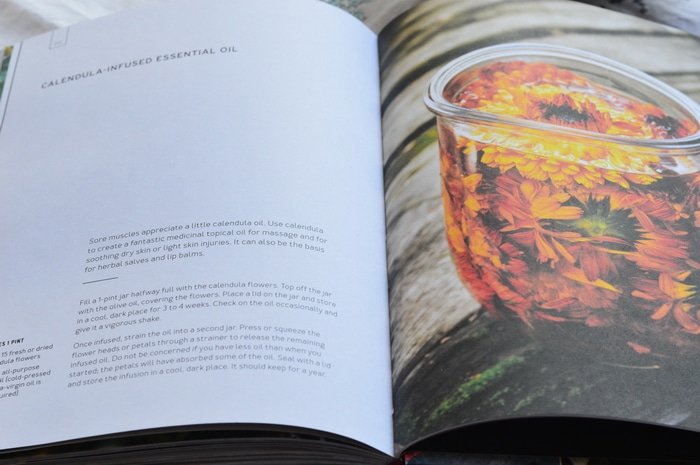
Further, the recipe calls for “fresh or dried” calendula flowers. The photograph shows fresh calendula blossoms in oil. However, calendula infused oil should not be made with fresh blossoms because of the risk of mold. When using fresh flowers, the flowers should be wilted over-night, before covering them in oil. However, dried calendula blossoms are preferred so that mold doesn’t enter the infused oil.
This error in calling an infused oil an essential oil is repeated again in the book, in the instructions for Gardener’s Salve on page 78, using echinacea infused oil. The instructions in this case are inadequate. The book doesn’t tell the reader which part of the plant to use in the salve, whether root, flower, or leaf, while the recipe is a combination of weight and volume measures. (for reference 1 tablespoon of Beeswax is 12 grams, so one ounce of beeswax would be approximately 2 ½ tablespoons. The ratio given is 1:8, beeswax to infused oil, just like the recipe for salve making on the Mountain Rose Herbs blog. The photo in the book shows a thick cream with unmelted beeswax pastilles in it, making me question the authenticity of the instructions.
It looks like the authors borrowed the wording for part of their recipe directly from the Mountain Rose Herbs blog, without credit. Check out their instructions on making an herbal salve, too.
In the recipe for Blueberry Dye on page 86, the instructions state that table salt is a fixative for the natural dye on linen napkins. Please don’t do this without understanding how mordants work. Blueberries will not make a permanent dye on linen, even with a mordant. The colour of blueberries is from the anthocyanin flavonoids in them. Anthocyanins will shift colour depending on the ph. They will fade in bright light. Washing will remove the dye.
Salt is not a dye fixative. It is used in natural dye baths to balance the dye so that the molecules of colour remain suspended in the dye bath longer, resulting in more even colour. Linen is one of the more difficult fabrics to dye with natural dyes. For best results the fabric must be mordanted with alum, then with tannin, and then a second time with alum, using ½ the alum for the weight of fabric each time. Failure to properly mordant the fabric before you begin the project will result in disappointment.
This same error in fabric fixative is repeated in the instructions for the turmeric dyed cotton table runner on page 174. Unfortunately, while the colour will be intense immediately out of the dye bath, it will not be lightfast or washfast. While the instructions say that it will last through hundreds of washings, I’m not sure that the authors took the time to test their statement themselves. When properly mordanted with tannin and alum, turmeric will last through dozens of washings without fading. Without a mordant, it will stain the fabric, but the stain will fade slowly with each washing.
Note that the authors are landscape designers not fiber artists or herbalists and you will know to check their instructions against best practices for the craft, before you proceed. Still, the photographs are stunning and the projects are inspiring and worth your time. Just know to check the actual directions against a more authoritative guide before proceeding on any of the natural dye or herbalist projects.
I give the book 5 stars for photography and inspiration and 4 stars for the inadequate instructions on some of the recipes and projects. The garden instructions however are wonderful and a new urban gardener looking for inspiration will certainly find it in this book.
Disclaimer: I received a review copy of Harvest, Unexpected Projects Using 47 Extraordinary Garden Plants, from Blogging for Books. This review represents my honest opinion of the work.



you don’t really need a starter for most ferments. They will start off by themselves from the bacteria always present on them and in the air.
Hi,
Thanks for sharing this. These ferments sound very intriguing. I don’t have any other vegetable ferments at the moment so don’t have any liquid starter. Is there another option instead?
Thanks!
Ditto this question. I just harvested a lot of fresh rhubarb, yet still have a lot of frozen that can be used in sauces, pies, preserves. Would love to ferment if I can!
What if you don’t have a fermentation culture to start with?