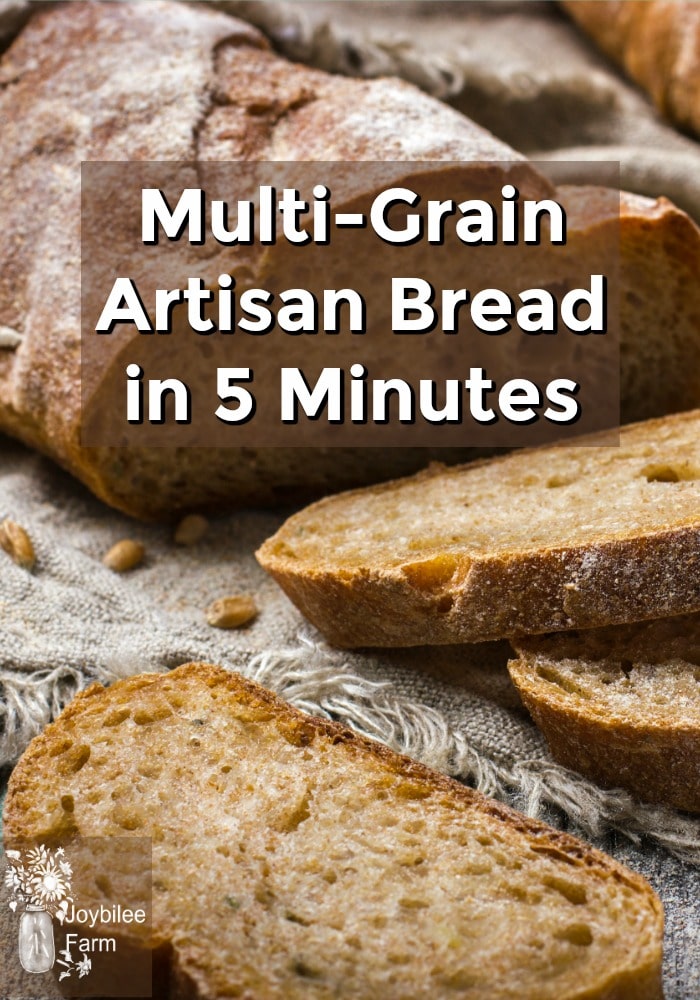
Multi-Grain Artisan Bread in 5 Minutes
This multi-grain recipe can be used for more than just bread! It can be put into the fridge for up to 7 days – meaning fresh, delicious and healthy staples are always on hand!
Here’s my version of Bread in 5 Minutes a Day, using whole grain wheat, rye, and oats and vital wheat gluten (see below for more information on using vital wheat gluten). I love the flavour of this loaf with the combination of flours here. It tastes better even than the best bakery bread. I think you’ll love the multi-grain loaf, too. If you don’t have a grain mill, you can purchase whole grain bread flour and use that. If you like the loaf lighter, add more vital wheat gluten. The final texture of the bread has a lot to do with not just the flours that you use, but also how you handle the dough when you form the loaves, and how you bake it, and even what you do when you remove the dough from the oven.
The Concept of Artisan Bread in 5 Minutes a Day
First the concept behind “Artisan Bread in 5 minutes a day” is that the dough is slower to rise because of the salt in the loaf, and therefore can be mixed ahead, put through the first rise, and then punched down and refrigerated. Once in the fridge, it will keep for a week, developing a sourdough flavour. When you want fresh bread, you pinch off what you want and bake it or fry it, as you want it. This is really good for small families, because, while the recipe makes about 3 loaves of bread, you can break off just enough for 4 cinnamon buns, or dinner rolls and have fresh rolls in the time it takes to make dinner.
But in reality, the first part of making this — the mixing of the original dough, takes about 30 minutes of hands on time. Then the forming of the bread before baking takes just 5 minutes. My recipe is for multi-grain bread and can be used the same way as Artisan Bread in 5 Minutes a Day or you can bake it as you make it. The choice is yours.
Tip: Be sure to preheat the oven before you put the bread in. Some bakers even preheat the bread pans before they slide the dough onto them, using a dough paddle.
Once you have mixed the multi-grain bread dough in this recipe and it has risen once, it can be used to make a myriad of bread products from artisan loaves, to pizza dough, bagels, rolls, pita bread, pretzels, or even crackers. The different bread products are created by how the dough is formed and handled after the first rising.
Multi-grain Bread
Makes 3 1 lb. loaves or 18 rolls or combination thereof
3 cups lukewarm water (about 95F)
1 tbsp organic sugar
2 tbsp granulated yeast (2 packets)
1 1⁄2 tbsp Celtic salt or sea salt
4 1/2 cups unsifted, whole wheat flour (hard winter wheat is best for this, or all-purpose whole wheat flour, or whole wheat bread flour, not pastry flour. For more info. on flour see here.)
4 to 6 tbsp. vital wheat gluten
1 cup of oat flour, or other whole-grain flours
1 cup of rye flour, or other whole-grain flours
½ cup ground flaxseed or chia seed
½ cup ground sunflower seeds, almonds, walnuts, or other nuts
Method:
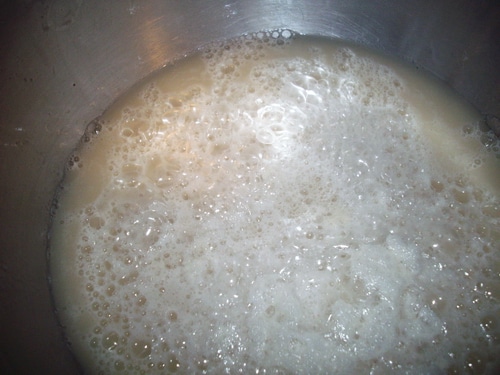
Dissolve sugar and yeast in warm water. Allow yeast to become bubbly.
Add salt and stir to dissolve. Add liquid to mixing bowl and add 4 cups of whole wheat flour, and 4 tbsp vital wheat gluten. Mix to moisten all flour. Using the dough hook, beat in your stand mixer until threads of gluten form in the dough. If you are working this by hand with a large bowl, use a heavy wooden spoon to beat it. Beat an additional 5 minutes in the mixer or by hand with a wooden spoon. Add in rye flour, oat flour, sunflower seeds, and flax or chia seed. Beat well after each addition. Add in the final ½ cup of whole wheat flour. The dough should be stiff and form a ball, but very moist still.
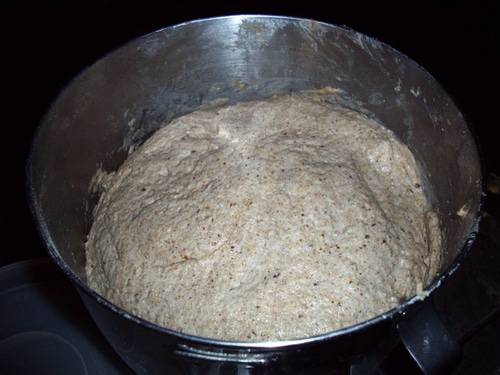
Put the dough in a bowl with a tight-fitting lid. It will seem too moist to be done, but don’t add any additional flour. Allow it to rise, covered, for 2 hours. Be sure the bowl is big enough to allow the dough to double in bulk. The flour will absorb more of the liquid as it rises. This is the secret to light whole-grain loaves – don’t add in too much flour at the beginning.
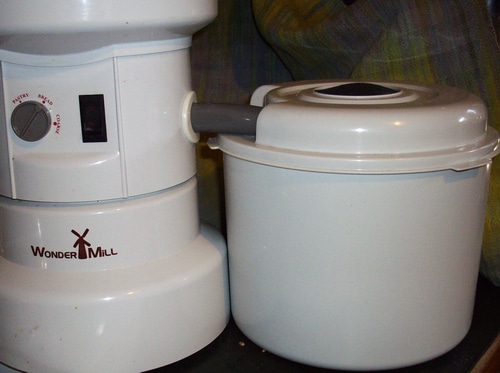
Note: For this recipe, I milled whole wheat berries (hard winter wheat), whole rye berries, and stone-ground oat groats. The flours were still warm when I mixed the dough. You can use already milled flours, but ideally, they should be very fresh, even kept in the refrigerator of your health food store. If you need to purchase whole wheat flour, get bread flour if you have an option, rather than pastry flour.
I ground the flaxseed and sunflower seeds in a coffee/spice grinder just before I mixed the dough. You can use a blender with a small jar.
Once the dough has risen, punch it down. At this point, your loaf should be moist and sticky. You can take a few tablespoons of wheat flour and knead it in to make a smooth, pliable dough. Knead it for about 3 to 5 minutes and let it rest again for 20 minutes.
Tip: With whole grain doughs, give the dough a chance to absorb and swell the flour that you knead in, or the dough will become too heavy to rise. This is why you let the first rising be with sticky moist dough, and then incorporate a bit more flour just before you form the loaves. If you incorporated all the flour at once, your final dough would be too dry and heavy, after the whole grain flours completely absorbed the moisture in your dough.
You can use this immediately, or use it as the original Artisan Bread in 5 minutes a day. To do that, keep this in the fridge in a covered bowl. When you want to use it, break off a 1 lb. piece of dough. Form into a round loaf, an oblong loaf, pizza crust, pita flat round bread, bagels, or 6 rolls. Allow to rest and rise after forming for 1 hour (don’t skimp on this part.), as it comes to room temperature, and doubles in bulk. Note: Pizza crust and Pita bread rise in the hot oven, and are not given a second rising on the counter before baking.
Preheat oven to 375F for loaves or 400F for rolls or pizza dough. For instructions to bake pita bread.
Place the pan in the oven, on the centre rack. Also, place on the lower shelf of the oven a shallow pan of water. Bake loaves for 10 minutes. Turn heat down to 350F and complete the baking for another 20 minutes. For rolls or pizza dough, turn the heat down after 10 minutes and bake for an additional 10 to 15 minutes until rolls are lightly brown and sound hollow when tapped.
Remove rolls or loaves from the oven and remove them from pans immediately. Allow them to finish cooling on a rack.
Get the crust you want:
For crusty French loaves – brush the tops of the loaves with warm water before putting them in the oven.
For soft, crumb crusts – brush loaves with butter as soon as you remove them from the oven.
For a crispy, crunchy crust – brush loaves with beaten egg yolk and sprinkle with sesame seeds or poppy seeds.
For chewy, bagel-like crusts – form dough into bagel shapes and pre-boil the bagels in salted water, before baking. Pretzels can also be boiled before baking for a chewy texture. (more about this in the next lesson)
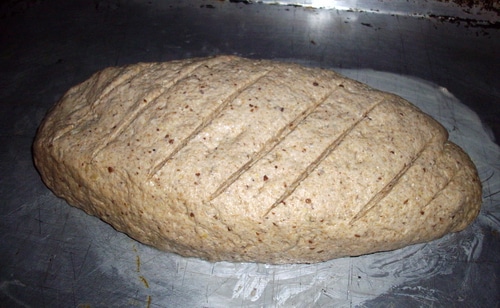
Slice the top of artisan loaves after forming into round or oval loaves, and before rising. This keeps the top of the loaf from cracking as the dough rises a second time in the oven, during baking.
Print
Multi-Grain Bread
- Prep Time: 2 hours
- Cook Time: 1 hour
- Total Time: 3 hours
- Yield: 3 loaves 1x
Description
A straight forward multi-grain bread loaf.
Ingredients
- 3 cups lukewarm water (about 95F)
- 1 tbsp organic sugar
- 2 tbsp granulated yeast (2 packets)
- 1 1⁄2 tbsp celtic salt or sea salt
- 4 1/2 cups unsifted, whole wheat flour
- 4 to 6 tbsp. vital wheat gluten
- 1 cup of oat flour, or other whole grain flours
- 1 cup of rye flour, or other whole grain flours
- ½ cup ground flax seed or chia seed
- ½ cup ground sunflower seeds, almonds, walnuts, or other nuts
Instructions
- Dissolve sugar and yeast in warm water. Allow yeast to become bubbly.
- Add salt and stir to dissolve.
- Add liquid to mixing bowl and add 4 cups of whole wheat flour, and 4 tbsp vital wheat gluten.
- Mix to moisten all flour.
- Using the dough hook, beat in your stand mixer until threads of gluten form in the dough.
- Beat an additional 5 minutes in the mixer or by hand with a wooden spoon.
- Add in rye flour, oat flour, sunflower seeds, and flax or chia seed. Beat well after each addition.
- Add in final ½ cup of whole wheat flour.
- Dough should be stiff and form a ball, but very moist.
- Put dough in a bowl with a tight fitting lid. Allow to rise, covered, The flour will absorb more of the liquid as it rises.
- Once the dough is risen, punch it down. At this point your loaf should be moist and sticky.
- You can take a few tablespoons of wheat flour and knead it in to make a smooth, pliable dough.
- Knead it for about 3 to 5 minutes and let it rest again for 20 minutes.
- Preheat oven to 375F for loaves or 400F for rolls or pizza dough.
- Place the pan in the oven, on the centre rack. Also place on the lower shelf of the oven a shallow pan of water.
- Bake loaves for 10 minutes.
- Turn heat down to 350F and complete the baking for another 20 minutes. For rolls or pizza dough, turn heat down after 10 minutes and bake for an additional 10 to 15 minutes until rolls are lightly brown and sound hollow when tapped.
- Remove rolls or loaves from oven and remove from pans immediately.
- Allow to finish cooling on a rack.
How to use vital wheat gluten to improve the texture and crumb of your whole-grain bread
First, Vital Wheat Gluten is not the same product as a gluten-free flour. If you are baking for someone who must-have gluten-free bread, don’t add this product to the bread for your loved one.
Vital wheat gluten is the protein of hard winter wheat. It is made by removing the germ and the starch from hard winter wheat flour, by sifting to remove the wheat germ and the bran. The flour that is left is combined with water to make a thick paste. It is stirred to make the gluten hold together and become stringy. This paste is then washed to remove the starch from the dough. What is left is vital wheat gluten. This is then dried and milled again to create vital wheat gluten.
Vital wheat gluten is the protein part of the plant. You could do this process at home if you raised your own hard winter wheat, but you don’t have to. Vital wheat gluten can be found in the baking section of your grocery store or in the health food store. If your local store doesn’t carry it, you can buy it at Amazon. Bob’s Red Mill is the brand that I have available here in my grocery store.
This is what the company’s website says of Vital Wheat Gluten:
“Gluten, Vital Wheat is the natural protein found in wheat. It contains 75% protein. A small amount added to yeast bread recipes improves the texture and elasticity of the dough. This is often used by commercial bakeries to produce light textured breads, and can easily put the home bread baker on a par with the professionals. Vital Wheat Gluten can also be used to make a meat substitute known as seitan.”
That sounds promising, doesn’t it? Who doesn’t want to produce light textured, whole-grain bread like a professional baker, at home?
To use Vital Wheat Gluten in bread baking, add 2 to 6 tbsp. of gluten for every 4 – 5 cups of whole-grain flour that your recipe calls for. How much you actually need depends on the amount of natural gluten in the flour or grain that you are using. Even hard winter wheat will vary in the amount of protein in the grain depending on the growing season, so you may need to adjust the amounts of vital wheat gluten if you are using a lower gluten flour.
Vital Wheat Gluten is not the same as “gluten flour.” Gluten flour is the same as bread machine flour or bread flour. It is made from hard winter wheat that still has starch in the flour.
Some helpful articles:
What’s with my bread? Basic principles for working with wheat flour
Some Helpful Products:



Leave a Reply