Learn how to grow pumpkins in your garden, with tips and tricks for growing in cooler climates and containers. Let this autumn crop thrive for you, and enjoy fresh pumpkins this growing season.
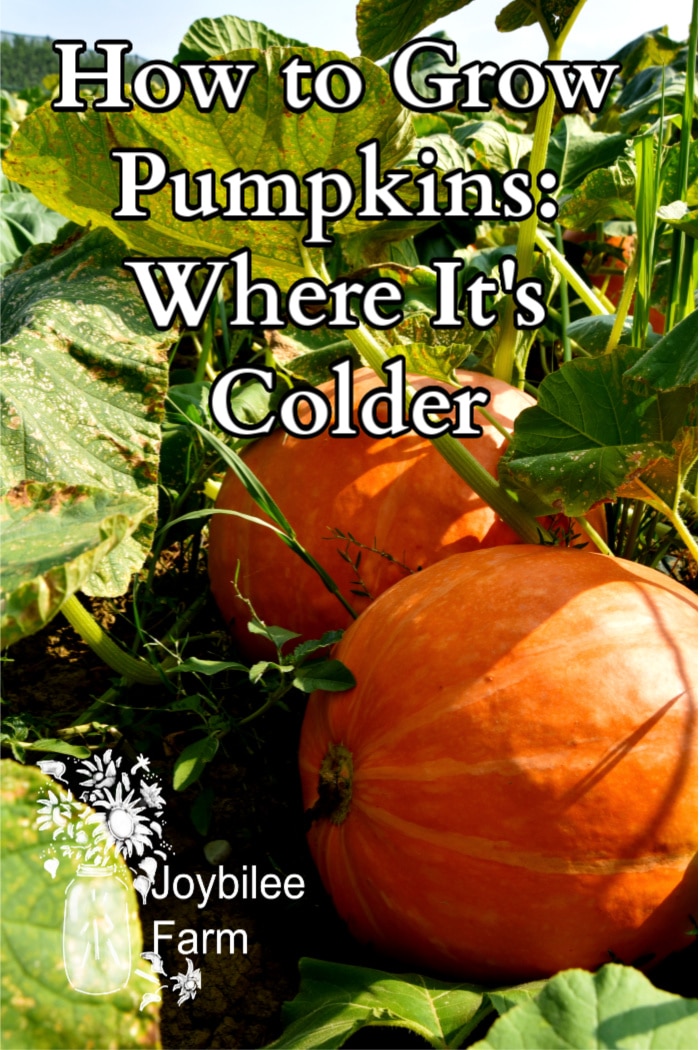
Pumpkins are one of the most well known fall crops. The bright orange of pumpkins against the dark green background of the vine leaves is one of the hallmarks of many home gardens. If you are considering how to grow pumpkins in a cooler climate, it is possible with a bit of planning.
Pumpkin varieties can mature in as little as 75 days, to as many as 140 days. Smaller pumpkin varieties can handle shorter growing seasons, the large pumpkin varieties need more frost-free days, and a longer time frame of hot weather. Check out our informative post that focuses on different squash and pumpkin varieties for more information.
Three important things to remember when considering how to grow pumpkins is that they prefer direct seeding in the garden. They don’t like to be transplanted. They like full sun, and they are a hungry crop that needs a lot of nutrients and water.
How to grow pumpkins:
Planting Pumpkins:
Start by choosing seeds that are suitable for your growing season. If you are in a cooler climate, you want to find varieties that can mature within 80 to 90 days. If you know your expected last frost and first frost dates, you will know whether you need to aim for faster maturing varieties or if you can count on those varieties that need 100 to 110 days to mature.
The smaller the pumpkin variety, the fewer days it needs to maturity. Small pumpkins are also suitable for container growing, though you will need a very large container, 15-35 gallons is recommended for pumpkins and squash.
If you have a very short season, you can start pumpkins indoors using peat plugs, or newspaper pots that you will put directly into the ground, or the main growing pot. You do not want to try to transplant pumpkin plants, as they do not grow well when transplanted. However, if you use plant-able pots, you can get a jump on the growing season by starting them indoors 3 to 4 weeks before your last frost date.
When you have older pumpkin seed, do a germination test before using the seeds for direct seeding. Plant the germinated seeds into plug pots, or newspaper pots, to ensure good growth for planting out to the garden.
Plant seeds outdoors two weeks before your last frost date. Create pumpkin hills, mounds of compost and soil that are raised above the level of the rest of the ground. Plant 3-5 seeds per hill to a depth of 1 inch. Cover these hills with a floating row cover or a plastic cloche to warm the ground and protect emerging seedlings from those last days of frost. The seeds will take about 7 to 14 days to germinate. Once the plants have 4 true leaves, thin the plants to two plants per hill.
Remember to thoroughly mulch the ground around your pumpkin plants. This helps with weed control, and keeps moisture near the roots. Use a seed-free hay or straw, and mulch to a depth of 4 inches. Just make sure to not mulch over your seeds if you mulch before germination, or over your young plants.
Pumpkins like lightly acidic soil. Amend the soil with composted manure to increase the soil nutrients available for your growing pumpkins.
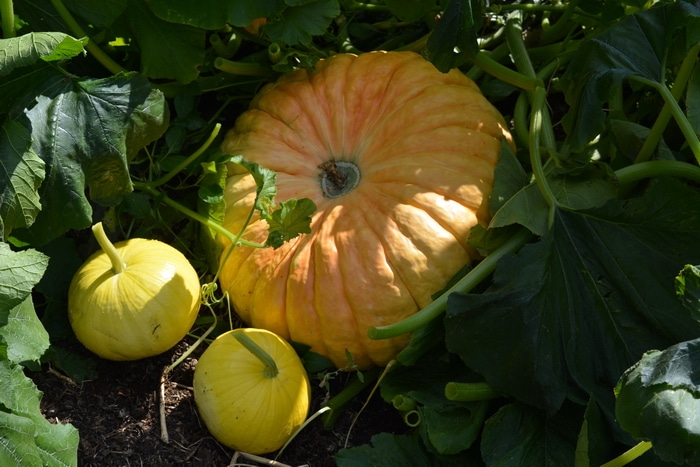
Allow a lot of growing space for the vines of Cucurbita maxima pumpkins. They will trail over your garden up to 15 feet from the main plant, before they start to set fruit. C. pepo varieties might be bush-type pumpkins needing less space and a shorter growing season, or vining varieties that will produce shorter vines overall.
Growing Pumpkins
Depending on your ground quality, you may need to amend pumpkin plants with organic fertilizer about once per month during the growing season. Plants that produce smaller fruit need amending less frequently than plants that produce larger fruit. A giant pumpkin needs amending biweekly, while the smallest varieties may not need amending at all if you have rich soil, or you added compost or manure before planting.
If you are in a cooler climate, create a hot bed with lightly aged cow, horse, or goat manure dug into regular soil and raise it above the level of the rest of the ground. This will provide nutrients to the pumpkin plant, and also warmth as the manure decomposes. Avoid using chicken manure as it is more likely to burn plant roots and overheat the ground.
Pumpkin leaves are often subject to mildew. If possible, water the base of the plant directly, and avoid overhead watering. If you are growing pumpkins on a deck, or area with reflected as well as direct sun, you may want to shield the fruit from some of the sunlight to prevent premature hardening.
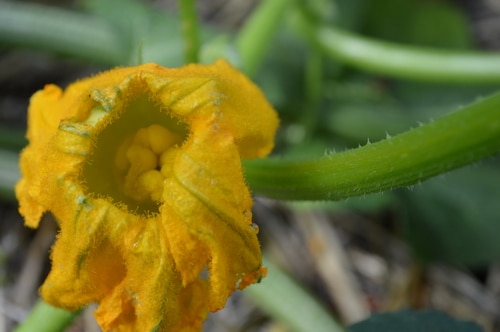
Female squash blossom
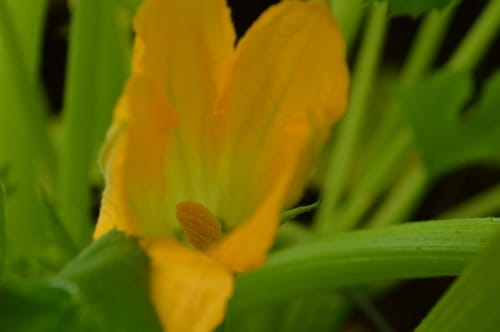
Male squash blossom
If you do not have bees around, hand pollinate the female flowers as they appear. Male flowers can appear up to a week before the first female blossoms. You can tell the difference between male and female flowers easily, the female flowers look like they have a baby fruit attached even before they open. They generally have four stigmas with a hole in the center that allows for the pollen of the male flower to enter, when pollinated by bees. The male flower does not have an embryonic fruit at its base. It contains a single anther covered in pollen. When considering how to grow pumpkins, remember that hand pollination is necessary in a greenhouse, with container growing, or if you are protecting the pumpkins under a row cover. If you have a good population of native bees you will not need to hand pollinate in normal circumstances.
Growing in containers
Container grown pumpkins are possible, but you will want to take a few specific precautions.You might not think of mulching a container pumpkin, but container grown pumpkins should also be mulched to help conserve water. Even though it is not necessarily needed for weed control.
First, use the largest container possible, some people recommend using a kiddie pool that’s been repurposed into a planter. I’ve heard of pumpkins being grown in the backs of disused pickup trucks filled with compost. Whatever container you choose, it needs to be large.
Second, use a self-watering planter when possible. During the heat of the growing season, a single pumpkin plant can use up to a gallon or more of water per day. You will need to water your pumpkin as frequently as a hanging basket, if not more so.
Third, container grown pumpkins will need to be fertilized at least twice per month if they are growing rapidly. The pot doesn’t have enough nutrients in just the soil to sustain the pumpkin plant till fruiting.
Fourth, ensure air can flow around all the pumpkin leaves and vines, and trellis the vine whenever possible. Container grown pumpkins are more susceptible to mildew than their field grown counterparts.
Finally, choose a C. pepo variety of pumpkin that is a bush-type or semi-bush type of vine, such as Lady Godiva, an oil seed pumpkin with naked seed for eating or pressing for oil.
Harvesting Pumpkins:
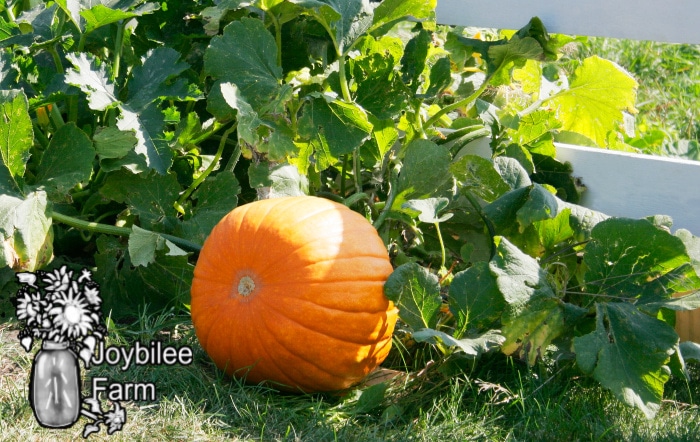
Your seed packet or seed catalog images should give you a general idea of what your specific variety of pumpkin will look like ripe. Pumpkins should be harvested just before the first frost, when possible. As the frost can damage the fruit, decreasing storage time. Harvest the pumpkin when the color tone matches that of it’s variety, and the skin is firm enough to resist a fingernail imprint
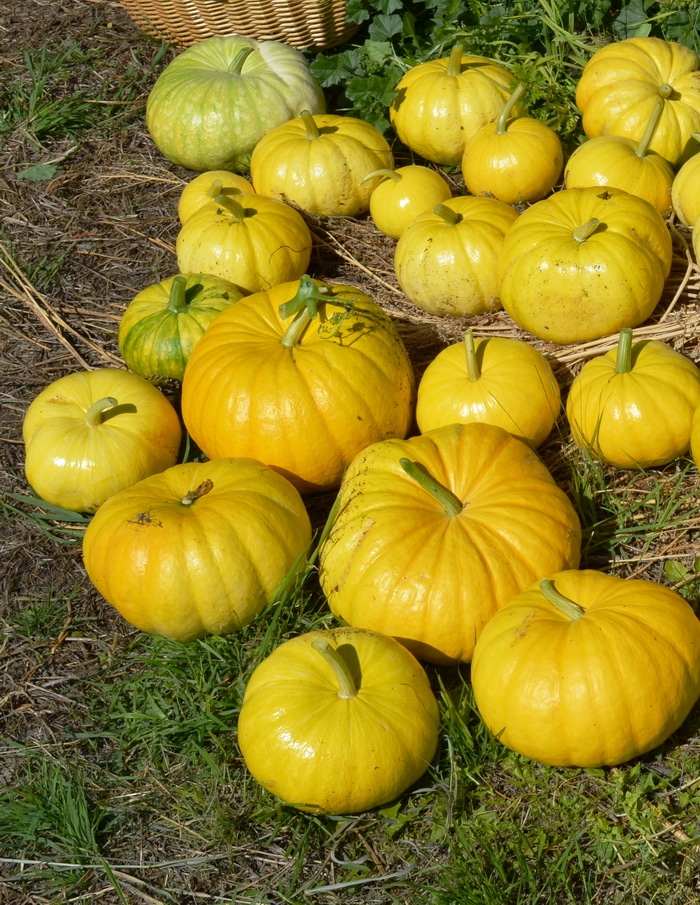
Wash off harvested pumpkins with water, and wipe down with a diluted bleach or alcohol disinfectant solution. Let the fruit dry completely and insure the bottom of the pumpkin also dries. All the pumpkin to stand in the open for a few days to a week, so that the skin fully hardens. After this you can store most pumpkin varieties for several months. For example, if you harvest in September, you can often store pumpkins with no spoilage into January or February in a cold storage room, or root cellar. I’ve had pumpkins last well into March in cold storage, although the seeds inside the pumpkins sprouted.
Storing pumpkins for winter
Use your pumpkins throughout the winter season for pies, soups, stews, or just straight up baked pumpkin. Use them in pumpkin spice lattes, pumpkin cheese cake, bundt cakes and more. Anywhere that you would use a butternut squash you can substitute pumpkins. Pumpkins are a very versatile fruit for the kitchen. Depending on your variety, you may also use your pumpkin for carving, or decoration and other decorative purposes.
The bigger your pumpkin the more fruit you’ll have to preserve once the pumpkin is cut open. Pureed pumpkin can be frozen. Cubed pumpkin can be pressure canned for long term storage. Pumpkin can also be successfully dehydrated in an electric dehydrator.
Saving pumpkin seed
Pumpkins easily cross pollinate with other squash from the same botanical variety. With C. pepo varieties, for instance, you can get cross pollination with zucchini, and with gourds. The fruit from this cross pollination will look exactly like the seed package, but when you save seed from this fruit and try to grow them next year, you could end up with a few surprises. However, C. pepo and C. maxima squash do not cross pollinate. If you plan to save your own seed, only grow one of each kind of squash — one C. pepo (zucchini and smaller pumpkins), one C. maxima (winter squash type), and one C. moschata (butternut-type). This will ensure that your seed is pure from year to year.
Squash seed remains viable for at least three years, if stored in a cool, dry place. You can extend the shelf life of seeds by storing them with oxygen absorbers. I’ve used kitty litter in the bottom of my seeds storage containers to extend the shelf life.
Your Turn:
What pumpkin growing challenges have you faced? What would you want to tell someone who is learning how to grow pumpkins, or what do you wish you’d been told before starting to grow pumpkins? Leave a comment, I’d love to hear from you.


Leave a Reply