Complete Guide to DIY Healing Salves for Everyday Care and First Aid
Use the benefits of homegrown and foraged herbs to create luxurious healing salves for everyday care and first-aid for people and animals.
The words salve and ointment are often used interchangeably. Some folks try to define these terms as different things or with slightly different characteristics, but the words are used interchangeably and often follow regional preferences. Both mean an oily substance used for soothing the skin and for medicine. Other distinguishing characteristics between the words salve and ointment are a regional difference and not universal.
If you are gathering herbs in the wild use a few precautions:
- Gather at least 100 meters from the roadway or the highway.
- Confirm the ID of the plant from at least three sources and don’t rely on AI identification.
- Don’t gather plants that have been sprayed with herbicides or pesticides.
- If you are gathering on private land, always ask permission of the landowner first.
- If you are gathering in the backcountry, be bear aware.
- Never harvest from more than 1/3rd of the plants in an area. Take the leaves and flowers but never take the root, so if you harvest from one plant, leave 2/3rds of it untouched for the wild animals, and other harvesters.
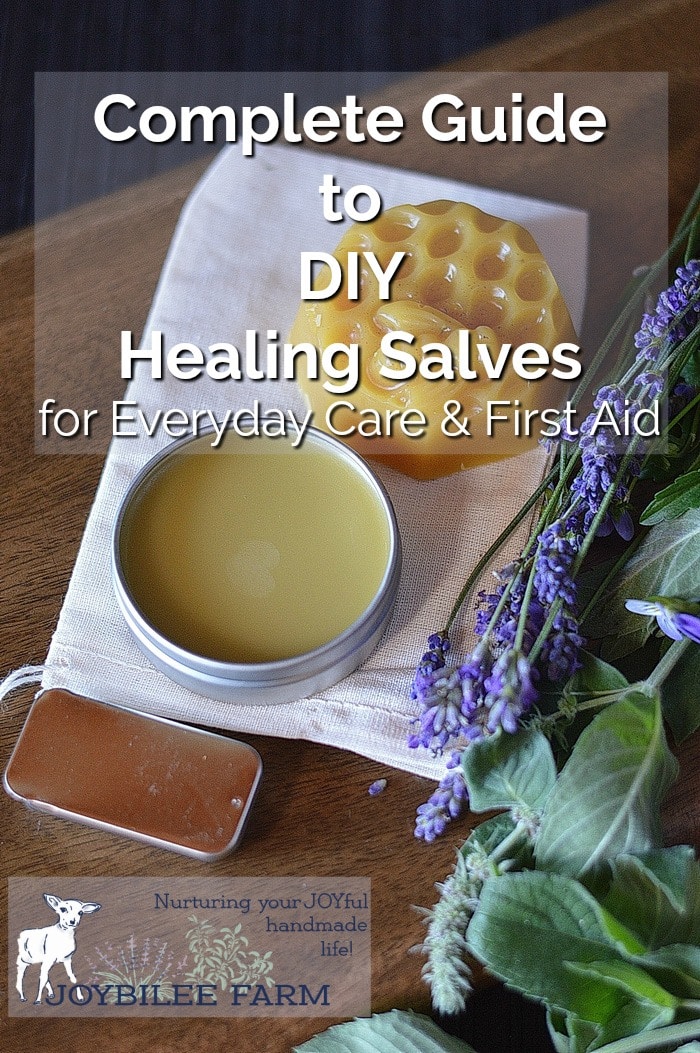
How to Make a Salve
Making a salve is a two-step process. Make infused oil ahead of time so you always have ingredients on hand.
Step 1:
You need to make herb infused oil before you can make a healing salve.
To make healing salve you’ll begin with an oil infusion. Oil infusions are made by pouring olive oil or sweet almond oil, over fresh or dried herbal material.
You can infuse flowers, leaves, or roots in a carrier oil to extract their beneficial properties. If you plan to use fresh blossoms or plant parts, allow them to wilt overnight before infusing. This will minimize the risk of mold showing up in the jar of infused oil.
The carrier oil you use will determine the shelf life of your infused oil. Precious oils like rosehip seed oil or argan oil with a short shelf life will shorten the life of your infused oil and any salve you make from it. Using carrier oils with a long shelf life like extra virgin olive oil, sweet almond oil, or jojoba oil ensures that your finished salve will have a long shelf life, too.
It is best practice to add 1/4 teaspoon of vitamin E oil to each quart batch of infused oil to protect it from rancidity.
Step 2:
Make a double boiler using a glass measuring cup and a saucepan.
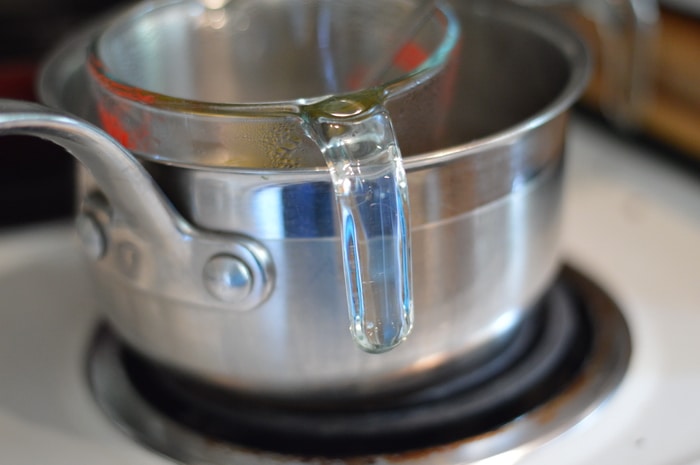
Place the beeswax and infused oil (from your recipe) together in the glass measuring cup. Heat the saucepan over medium heat till the beeswax melts completely.
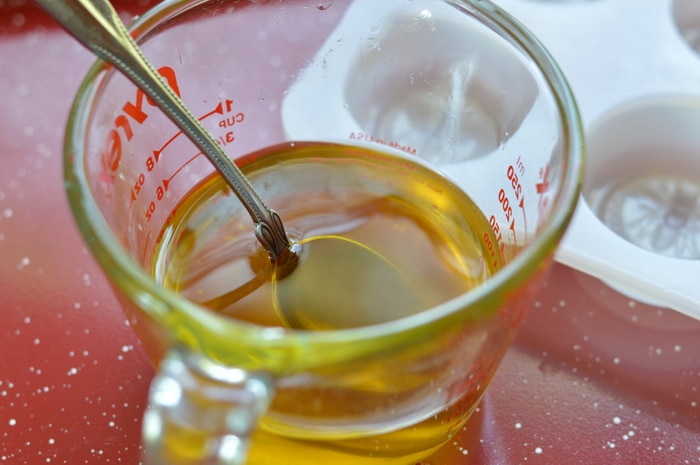
Add vitamin E oil and mix thoroughly.
Remove from heat. Add the essential oils (if using) and stir.
Pour the finished salve into tins or molds. Allow the salve to cool completely before completing the lids. Label and date. Most salves will keep for 1 to 2 years when stored at room temperature in a cool, dark place. Keep it away from heat once the jar is opened.
Supplies for Success
- a double boiler
- glass measuring cups and spoons
- carrier oils
- beeswax
- fresh or dried herbs
- a heat source
- glass jars with caps
- stirring spoons and spatula
Wild Medicinal Herbs to use in Salve Making
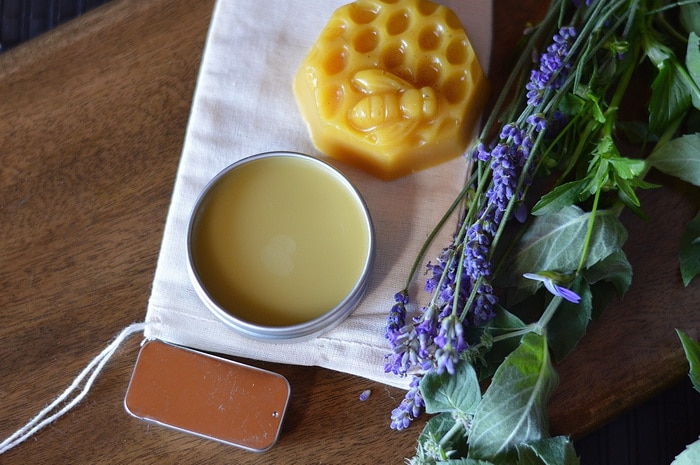
Medicinal Herbs Found in your Garden
Many medicinal herbs grow throughout the area where you live. You only need to become familiar with them and their healing properties. This is just a small sample of some of the most prolific medicinal herbs that grow in my zone 3 areas.
Be sure to consult a reliable plant identification guide to become familiar with the plants found in the wilds where you live.
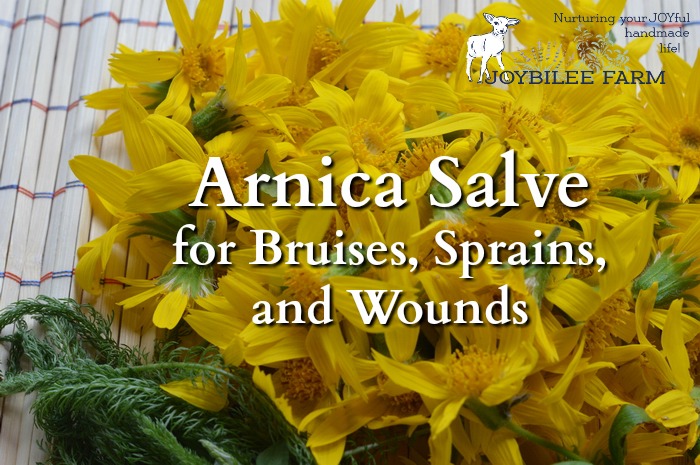
DIY Arnica Salve to Soothe the Bruises and Strains of Your Active Lifestyle
You’ve probably seen this sunny, daisy-like flower growing on your homestead or in the surrounding landscape. It originated in the European Alps and is an immigrant to North America. It likes poor soil and waste places at higher elevations.
The next time you see it, remember where it’s growing because it is one of the most beneficial herbs for healing inflammation, bruising, sudden pain, accident, and paralysis. It is easy to collect, easy to make medicine from and highly beneficial.
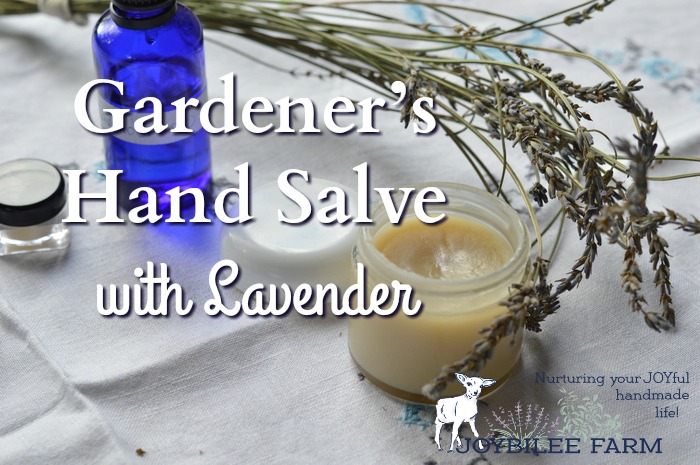
Gardener Hand Salve with Lavender
Palm calluses and dry skin are a small price to pay for fresh, organic vegetables, organic herbs, and fruit. But gardeners don’t have to suffer in exchange for free food.
This hand salve has the double benefit of lavender blossoms and lavender essential oil to deeply restore those hardworking hands.
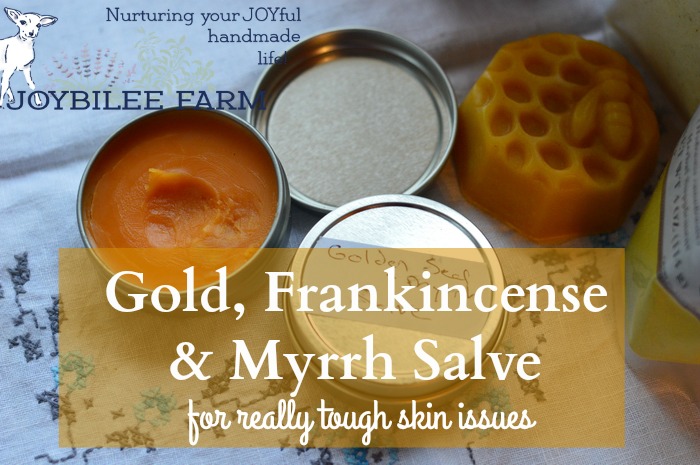
Gold, Frankincense, and Myrrh Salve for your DIY Apothecary
The three Wise Men brought gold, frankincense, and myrrh to Jesus/Yeshua when he was a young child, still in Bethlehem. The Frankincense and Myrrh were common healing spices used in embalming and ancient medicine. They were known for their ability to heal wounds and to stop decay. And their healing virtues would have been known to the women of the Bible, who were tasked with caring for the sick and preparing the bodies of the dead.
It is not outside the realm of possibility to think that Mary may have made a healing myrrh salve or frankincense salve to keep her young child healthy.
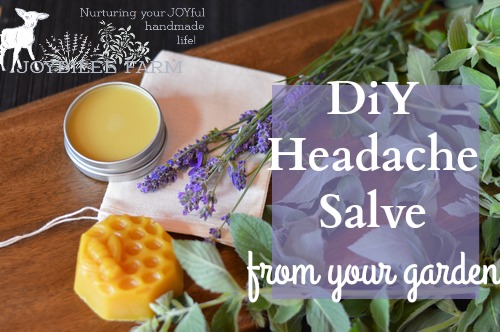
Peppermint and Lavender Headache Salve from Your Garden
This soothing headache salve can be made from fresh lavender blossoms and peppermint leaves from your garden. If you don’t have any in your garden you can use dried leaves and dried blossoms to make this.
The fragrance will be barely noticeable in the finished salve but the herbs will contribute their herbal actions when in contact with the skin. The aromatic essential oils give the fragrance to this salve rather than the herbs.
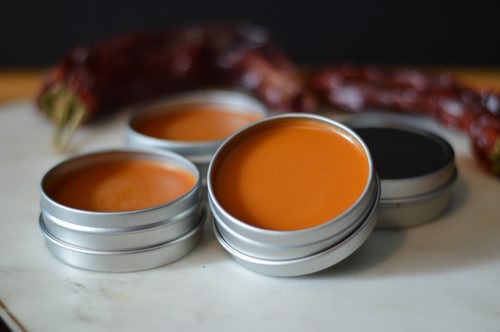
Warming Cayenne-Ginger Salve for Your Aching Back
When your back is sore, your muscles are overworked, or your joints are a little stiff, warm them up with this quick to make an herbal salve. Cayenne pepper salve is warming and pain relieving.
I like to add Ginger for an increase in warmth. Ginger is anti-inflammatory, and pain relieving. St. John’s Wort Oil helps with shooting pains, and stiffness, making normal movement easier.
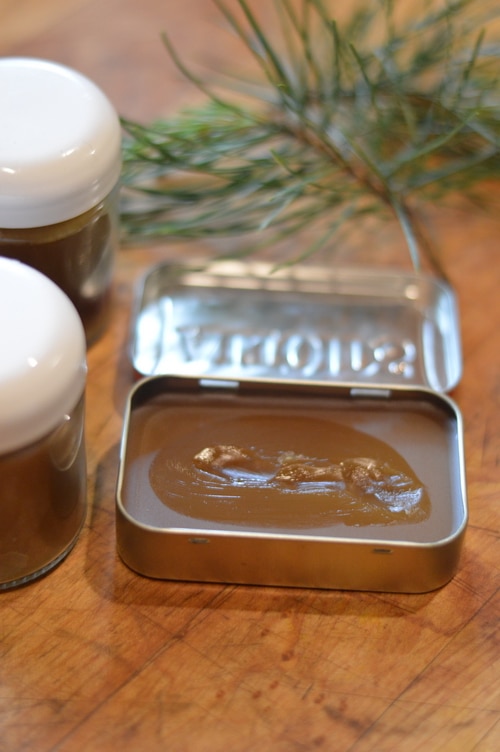
How to Make Pine Pitch Salve
Pine salve is a traditional drawing salve, that draws infections, slivers, and inflammation out of the body. It reduces pain and swelling, helping the body heal itself.
One way it works is by increasing peripheral circulation by counter-irritation. While you could make pure pine salve with just pine oleoresin, beeswax, and oil, this recipe uses infused oils to work synergistically reducing pain and inflammation.
Easy Calendula Ointment For Your First Aid Kit
Calendula officinalis, also called pot marigold, is a hardy annual herb that has a bushy habit and will become leggy unless you pinch it back. The flowers, stems, and leaves have a slightly sticky quality from a plant resin that contains anti-inflammatory properties, in addition to unique antioxidant compounds. Find out more about the healing virtues of calendula here.
Herbal Salves for Livestock First Aid
Herbal salves are also good for injured farm animals. In this article, you will see how we mended a broken leg on one of our lambs.
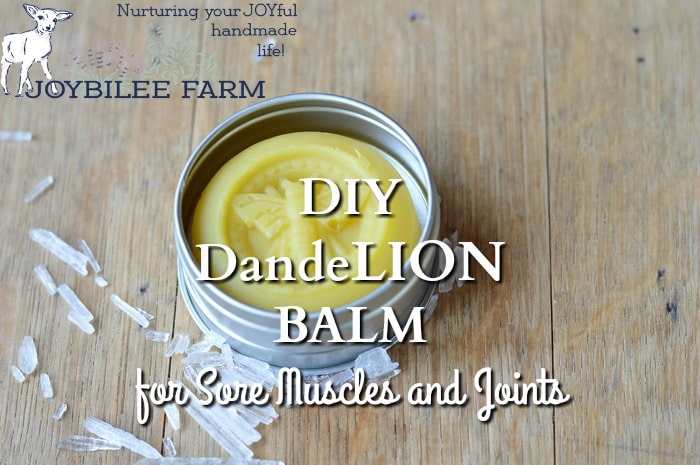
DIY Dandelion Balm for Sore Muscles and Joints
DandeLion balm is skin nourishing and useful for easing sore muscles, chapped skin, joint pain, headache, chest congestion, and other common complaints. You’ll find that dandelion balm is nourishing and protective, and Lion Balm is a necessary addition to your home apothecary to roar against pain and inflammation
Healing herbal salves can be used for natural remedies. From headache relief to your aching back, it makes sense to have these natural healing ointments in your first aid kit. What is your favourite salve?
I have a FREE gift for you
Grab my free ebook and learn to make DIY herbal healing salves at home now, with 14 easy to follow recipes that use the herbs and wild plants growing close to home. Salve making is one of the easiest skills to learn in DIY Herbalism.


Hi I loved reading all of this. I just collected a bit of pine pitch, found most of it on the ground at base of trees. Is there a link for the mold pictured? How do you store these after you remove from the mold? Do they go in a jar or just wrap in something specific? Thank you ahead for your reply.