Prolong your use of garden fresh herbs by drying them at the peak of season. This preserves their aroma and flavor for cooking throughout the winter months, and saves buying from a store when the potency of the original herb is unknown.
Many fresh garden herbs need to be dried to keep the active constituents potent. The way they are dried has a bearing on the potency of the herb and how long the herb will last in storage. Herbs should retain their color and their fragrance in storage.
Generally, dried herbs can be stored for one to two years without loss of potency. Herbs that have lost their fragrance or have faded color are no longer as potent and should be replaced with fresh stock.
Some herbs should be tinctured or infused in oil in their fresh state. These herbs lose their active constituents when they are dried. See the list at the end of this post for herbs that should be preserved fresh. If you aren’t sure if the herbs you are growing should be dried or used fresh, check out a reputable herbal. In general herbs that are available commercially, in dried form, are good to preserve dried.
Drying herbs on paper in a basket
Individual flowers or leaves can be dried at room temperature in a basket. If you have low humidity this will dry herbs quickly. Simply line a basket with a paper towel and lay the herbs in a single layer on the paper in the basket. The basket will allow air circulation around the herbs and encourage drying.
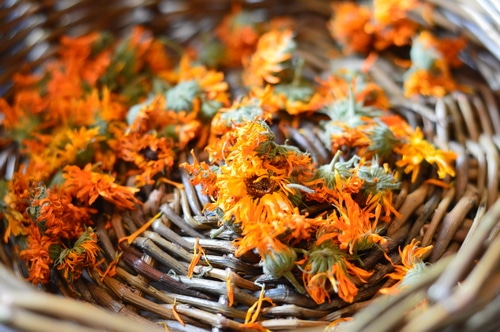
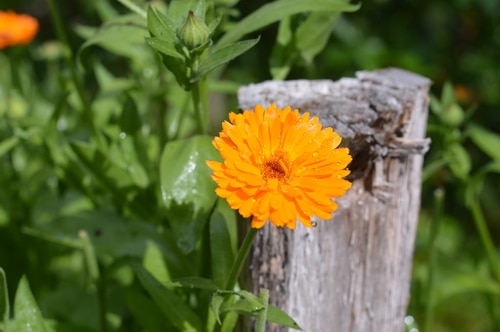
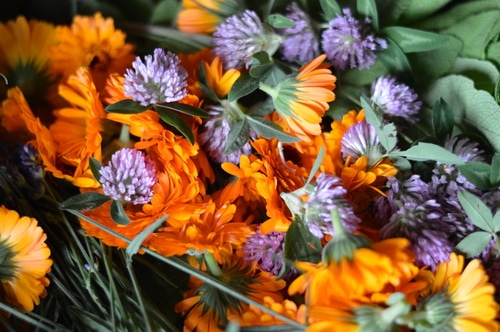
This is the best method of drying flowers like red clover, chamomile, and calendula that are harvested by nipping off the flower heads. It takes a few days for the flower heads to dry fully. Actually, any flower you want to preserve can be dried in this manner, particularly flowers for use in tea. Rose petals are another flower that you can dry this way, with or without the calyx attached.
Drying herbs by hanging
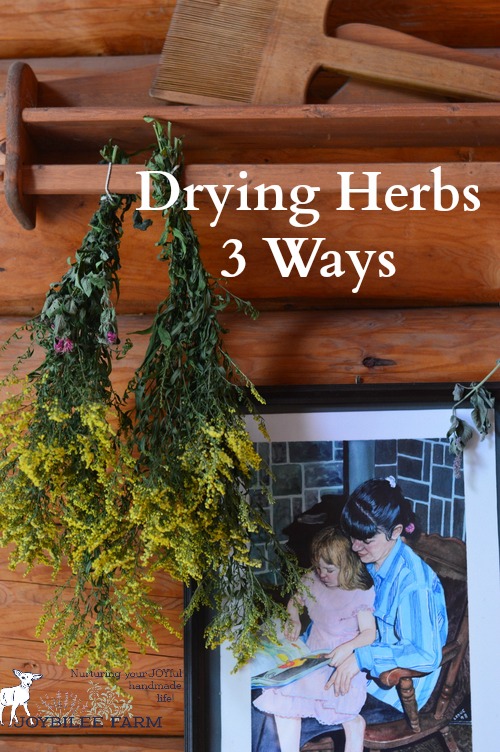
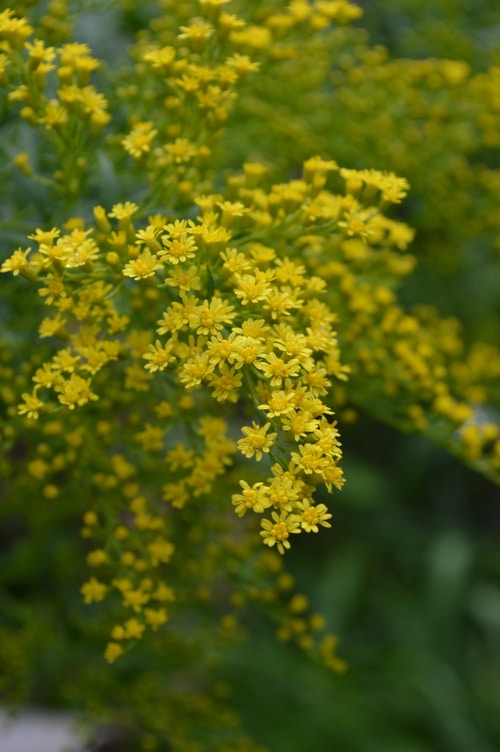
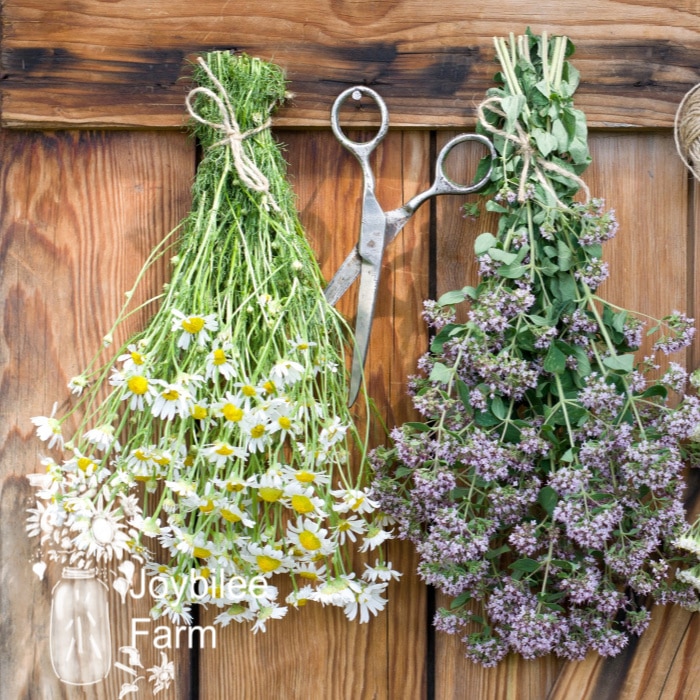
When drying herbs that are harvested by cutting the stalks in the garden, like mint, lemon balm, and golden rod, tie them together and hang on a hook in an airy room. Keep them out of direct sunlight. This works best if you live where the humidity is low. The drying time can be hastened by increasing airflow with a ceiling fan, but this isn’t necessary.
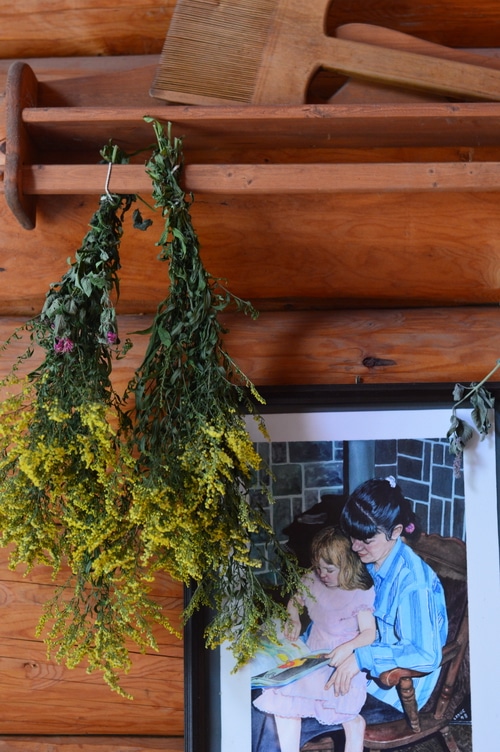
Gather the herbs in bunches about the thickness of the circle of your thumb and forefinger. While some people tie their herbs with string, I’ve found that the herbs shrink as they dry. When they shrink the string becomes loose and the bunches can lose stems, or they can fall from their hook, as they come out of the bunch. I use an elastic band to bundle my herbs for drying. As the herbs shrink the elastic band tightens, keeping them in bunches.
Use fresh elastic bands. Older elastics have a tendency to snap and break as you twist them around the bundles, giving you a painful rap on the knuckles. Elastic bands should be purchased fresh each season.
Some plants have tough stems that can cut through elastic bands that aren’t new, are too thin, or that are wound too tightly. For plants with very woody stems, try to use new, medium thickness elastics to avoid the stem cutting through during drying.
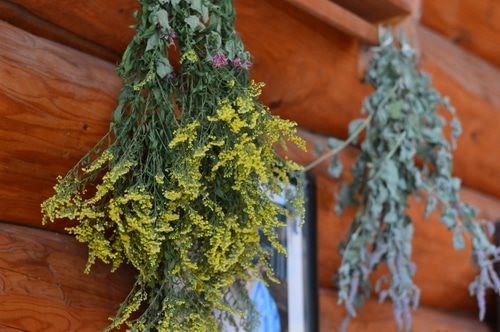
Once you’ve twisted the elastic band around the herbs you can use the elastic band to tie over a hook or nail in the room where you dry them.
If you dry a lot of herbs, consider adding coat hooks or other spots on the walls in the room that you dry them in.
Herbs are dry when the leaves and the stem are crumbly. Check the stem before stopping the drying process. If the stem is still pliable your herbs won’t be dry enough for storage and can mold. Once even the stem is brittle, then you know the herbs are dry enough for storage.
When the herbs are dry, remove the leaves from the stems and store in a glass jar with a tight fitting lid. I do this over a baking sheet so that any pieces that shatter and fall are caught on the baking sheet. These can then be gathered into the jar without waste. Lay a few connected pieces of paper towel over the baking tray to make it easier to funnel the dropped crumbled herbs into the jars.
The leftover woody stems can be used as fire starter in your wood stove over the winter, or they can be composted. The stems don’t hold a lot of flavor or scent, so you don’t need to add them to your jars.
Some herbs that are good to dry this way include oregano, mint, lemon balm, bee balm, and lavender.
Drying herbs in a dehydrator
If the humidity is high, use a dehydrator when drying herbs. Keep the temperature low, no more than 110°F, to ensure that the they retain their color and flavor.
I prefer using a dehydrator for herbs that have a moist and thick stem like comfrey and plantain, or ones that have resin in their leaves. Flowers that go to seed even after harvesting, like dandelion, are also good candidates for the dehydrator.
When drying herbs in the dehydrator remove the leaves or flowers from the stalk. Discard the stalk and dry the leaves or flowers in even layers on your dehydrator trays.
I dry celery leaves in the dehydrator and chop the stalks with the leaves, to dry as well. These can be reconstituted in soups or stews, as well as used for flavor on roasts.
Storing dried herbs
I store dried herbs in glass jars with tight lids. Don’t rely on the two-piece mason jar lids for storing dried herbs. Insects can get into the jars through the tiny space between the lid and the ring, if the jars are unsealed. Instead, invest in a set of 1 piece lids that fit your jars. These will last as long as your jars and can be reused every year.
I use a Sharpie™ Marker to write on the top of the lids and date the contents. While the permanent marker is not water-based, it will wipe off the lid completely with a bit of cooking oil, or alcohol, so cleaning the label is easy.
Store the herbs in jars in a cool, dry, place, similar to where you store your infused oils, and bottled tinctures. I put mine with my canning, reserving a shelf in the cold storage room.
Dried herbs should last two years in storage. Even if it has been longer than two years, as long as herbs retain their fragrance and colour, they are still potent.
Using dried herbs
Dehydrated herbs are the best herbs to use for making infused oils, salves, infusions, and tinctures. The excess water has been removed from the herb leaving the potency in the plant material. Infused oils made with dried herbs have a reduced risk of rancidity and microbial contamination. Tinctures made with dried herbs are not diluted with the excess moisture found in fresh ones.
Keep these herbs fresh:
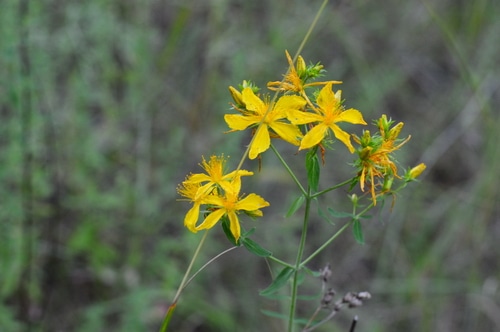
There are a few exceptions to this rule. St. John’s wort flowers should always be tinctured fresh or infused in oil while fresh. The active ingredients are lost when the flowers are dried.
Other herbs that should be preserved fresh include (not an exhaustive list):
- Aloe vera
- Basil
- Bidens
- Black walnut leaves
- Boneset
- California poppy
- Cypress/Cedar
- Damiana
- Dandelion root or leaf
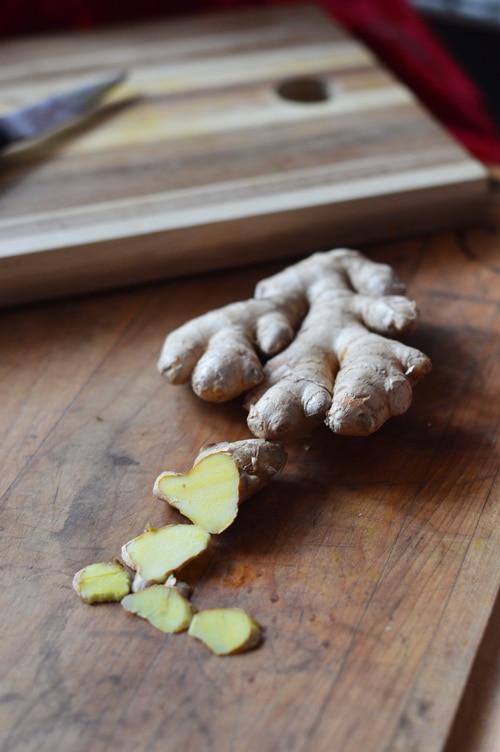
- Ginger
- Greater Celandine
- Milky Oats
- Motherwort
- Parsley
- Skullcap
- Sundew
- Turmeric
- Witch Hazel
- Wolf berry
Shelf life of dried herbs
Your dried herbs should last at least a year if stored in a glass jar, in a cool, dry, dark spot. The shelf life can be extended if the herbs are tinctured or infused in oil, after drying. If the herbs retain their fragrance and colour, they are still potent. I once tossed out lemon verbena leaves that had been in storage for 10 years. They were still strongly lemon scented ,although their colour had faded slightly. Your mileage may vary.
After a few years, you can clear out the old storage by using them for livestock, like chickens. There is still some good in the plant matter, it just won’t be potent enough for use for normal herbal uses or spice and kitchen uses. A possible rotation is to keep herbs for herbal use the first year, culinary use their second year, and toss in the third year once the new harvest is in.
Go harvest some herbs from your garden and preserve them today. If they stay in your garden they’ll never make it to your apothecary.
Once you have your own supply of dried herbs on hand, start using them. If you need ideas, check out this free gift e-book.
I have a FREE gift for you
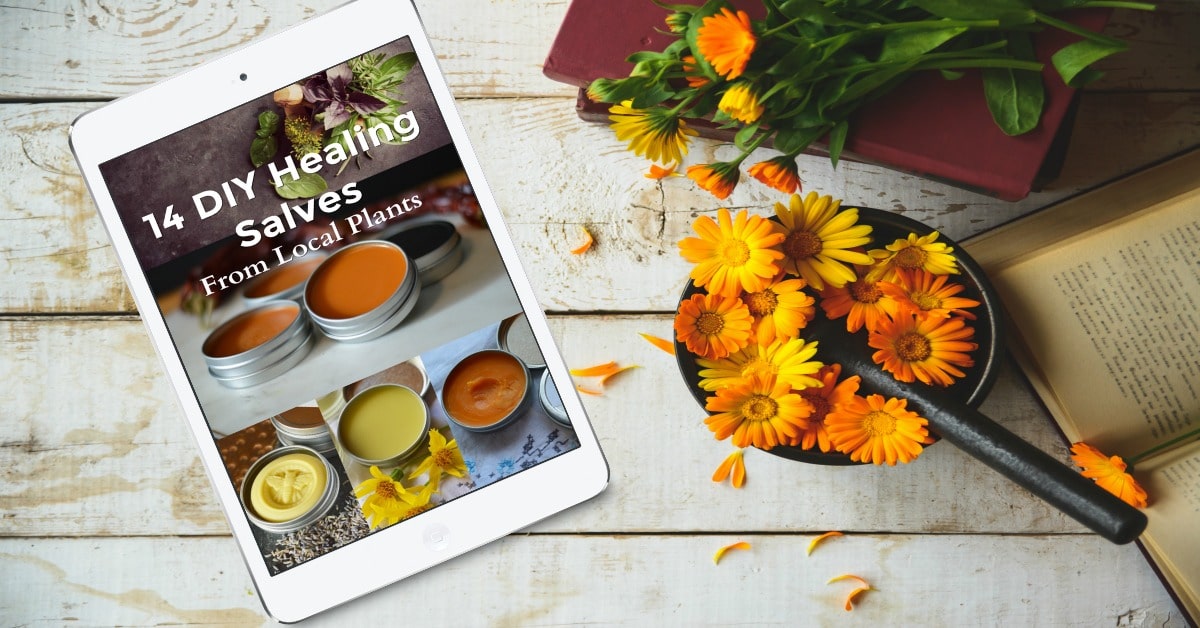
Grab my free ebook and learn to make DIY herbal healing salves at home now, with 14 easy to follow recipes that use the herbs and wild plants growing close to home. Salve making is one of the easiest skills to learn in DIY Herbalism.


The only one of these methods I have used is hanging. I have beautiful dried herbs from that method! My 9 year old daughter had so much fun growing and drying peppermint and we have been enjoying her tea!
Put the leaves in a basket in the open air with good air circulation. If the leaves are fresh they will mold if they are left in a jar.