Make a Rainbow of Natural Dyes with These 5 Weeds
Make a rainbow of colour using common weeds as natural dyes. With a little coaxing and time, these five weeds offer beautiful, vibrant colour variety and colourfastness.
There is a definite correlation between medicinal herbs and their natural dye gifts. The flavonoids of many weedy plants offer an abundance of active healing compounds as well as a plethora of colouring material. However, most of these flavonoids and polyphenols are generally pH-sensitive and often lack colorfastness.
Anyone who has tried to dye yarn with beet juice or red cabbage, understands the broken promises flavonoids offer. However, there are 5 weeds that you may find in your own neighbourhood, that offer the gift of vibrant colours AND colorfastness, and the gift is yours with a little coaxing and a small investment of your time.
Weeds that Make Natural Dyes of Yellow and Green
Mullein
Mullein is an easily recognizable plant that thrives in poor, rocky soil, and unimproved pastures. Mullein can be found all over North America, as well as in Europe, the Middle East, and Central Asia. It has fuzzy leaves that are usually ignored by livestock. It is a biennial and the first year it forms a thick rosette.
In the second year, it sends up a tall flower that can be seen from a distance. It has been called a witch’s candle because it was once used as a torch when the flower stalk was dipped in fat and set on fire.
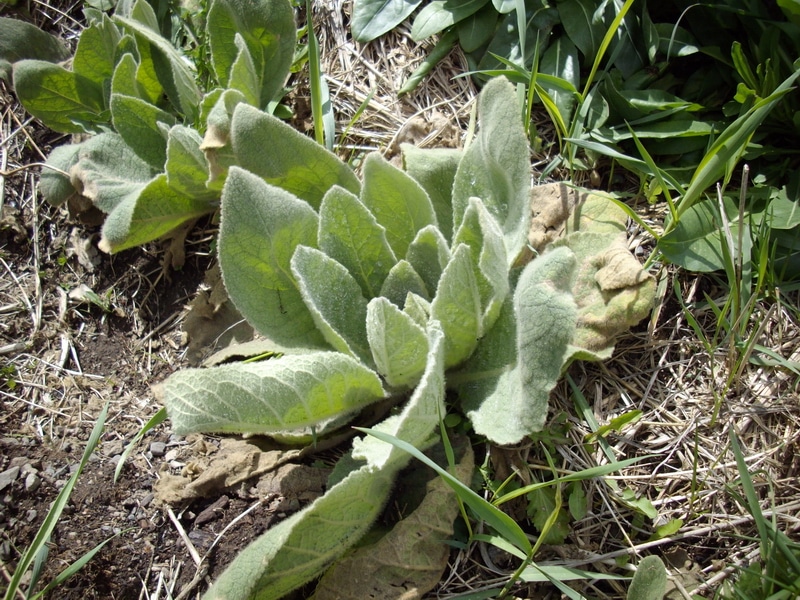
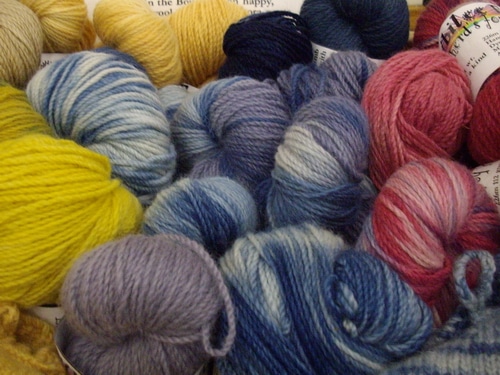
Mullein leaves and flowers make a variety of vibrant yellow dyes with an alum mordant and can be pushed to green after a dip in copper. Since mullein contains tannins, some experienced dyers have obtained a good black with a strong mullein bath, utilizing only the leaves and iron mordant, simmering the dye in an iron pot.
You want to harvest mullein in July and August, or even later in the fall. It needs some strong sun to fully develop the dye compounds in the leaves. You can utilize either the first year leaves or the second year leaves and flowers from the plants. If you harvest just the leaves from the first year plant but leave the roots in, the plant will form a second rosette before frost.
Use mildly alkaline water for yellows
Tip: To extract the dye, you’ll need to add 1 or 2 tbsp. of baking soda or 1 tsp. of washing soda to the dye bath. The dye compounds are not easily soluble in plain water but yield their bounty when the water is made slightly alkaline. This is especially true if your water is hard.
Many yellow dyes that give only weak beige in plain water, will extract vibrant yellow dye compounds when the extraction is done in water that is slightly alkaline. On the other hand, too much alkalinity can harm delicate protein fibres, like silk and fine wools, so you’ll need to find the balance with the water you are using, the fibre to be dyed, and the particular dyestuff you are using.
To process: Tear the leaves, with gloves and a mask on. The fine hairs can cause contact dermatitis in some people and when airborne can cause irritation to the lungs and mucous membranes. Once the leaves are in the water, this difficulty is removed.
Yarrow
Yarrow is another weed that you’ll find growing in the same kind of conditions that mullein likes. It is a lacy-looking perennial, growing only a foot high, with a many-flowered umbrel on the top of each stem. If you pinch off a lacy leaf and smell it, you’ll find a pungent camphor scent, reminiscent of cough medicine. Its gift is another yellow dye, in a different tone than mullein. Since yarrow is a perennial be careful to pinch off the flower heads and leaves, without pulling the plant up by the roots. The stem is quite coarse and fibrous, so be intentional in your harvest, if you wish to preserve the plants to bloom again in another year.
The effective dyestuffs found in Yarrow are quercetin, luteolin, isorhamnetin, and two other active dye compounds. Yarrow has good colorfastness with an alum mordant, and is a highly recommended natural dye, even for commercial use. Luteolin is the same fast dye compound found in Weld, the yellow dye of antiquity.
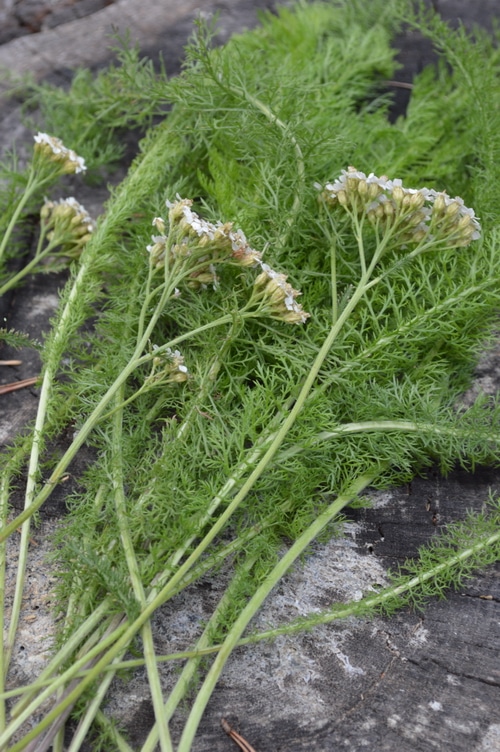
Since yarrow has a strong medicinal odour, you will want to make the dyebath outside, rather than in your kitchen. If this is not an option, be sure to begin processing the plant parts with your windows open and an exhaust fan going.
- Extract the yellow dye compounds from the yarrow flowers using a slightly alkaline extraction vat.
- Pre-mordant your fibre with alum.
- Simmer the fibre in the dye vat for at least an hour.
- Turn off the heat, and leave the fibre in the vat until it is cool.
- Take the fibre out and gently squeeze the excess liquid out of your fibre.
- Rinse in cool water, and if you are dyeing a protein fibre be sure and neutralize any alkalinity with a final vinegar rinse.
- Hang the cloth to dry.
Related Article: Seven Medicinal Herbs for the Natural Dye Garden
Golden Rod
Golden Rod is by far my most favourite yellow natural dye. It is generous and abundant, and it is a perennial that grows throughout North America, along roadsides, and close to stream beds. It is very generous in its medicinal and colouring gifts.
The yellow from Golden Rod is almost as colorfast as the yellow dye of antiquity, and that’s because it has some of the same chemical constituents. Golden Rod contains Quercitrin, Isoquercitrin, rutin, Isorhamnetin. It is not as colorfast as weld, but it remains an excellent source of yellow dyestuff with good colorfastness.
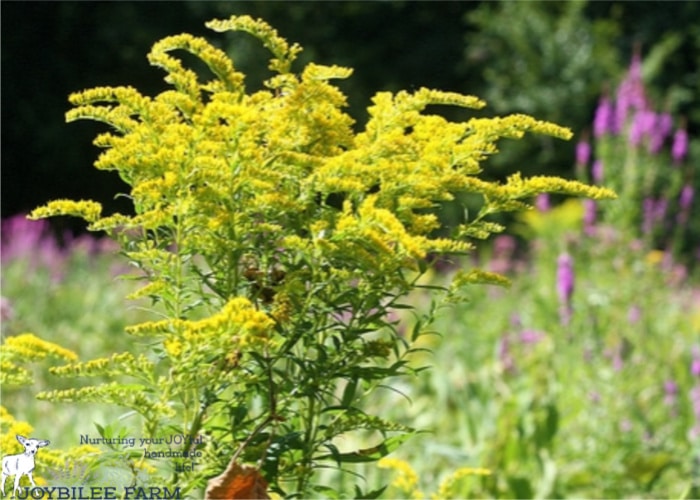
Harvest both flowers and leaves and extract the dye in a dye extraction that has 1 to 2 teaspoons of baking soda added. The yellow is more easily extracted with slightly alkaline water. Dye as you would other yellow dyes using an alum mordant. Golden Rod gives a sunshine yellow dye that is warm and inviting.
A copper after dip gives good greens. You can also over-dye goldenrod with woad for deeper greens and turquoise.
A rainbow of weeds that make blue dye
Woad (Isatis tinctoria)
Woad is classified as a noxious weed in many areas of North America. In Europe and the Middle East, it was once grown as a commercial crop, and landrace plants are still found growing along roadsides. Woad also grows in Asia and is used in Traditional Chinese Medicine. In fact, distantly related to broccoli, woad root is being used as a cancer treatment and anti-viral herb there. It is also an effective antibiotic herb.
Woad is a biennial that forms a compact rosette in the first year of its growth. In the second year it sends up several flower stalks from the crown, and each stock grows many broccoli-like flower heads that open in a huge cluster of bright yellow flowers, well visited by bees. While there are precursors to indigo in the second year plants and flowers, that are valuable for direct contact dyeing, the first year leaves have the most abundant dye material.
The active dye principle in woad is several precursors to indigo found in the leaves, predominantly of the first year plant. Isatan A and Isatan B are the predominant indigo precursors, as well as a small amount of indican. There are other flavonoids also present in the leaves. The first year leaves are often blue when bruised and when the plant juices are exposed to the air.
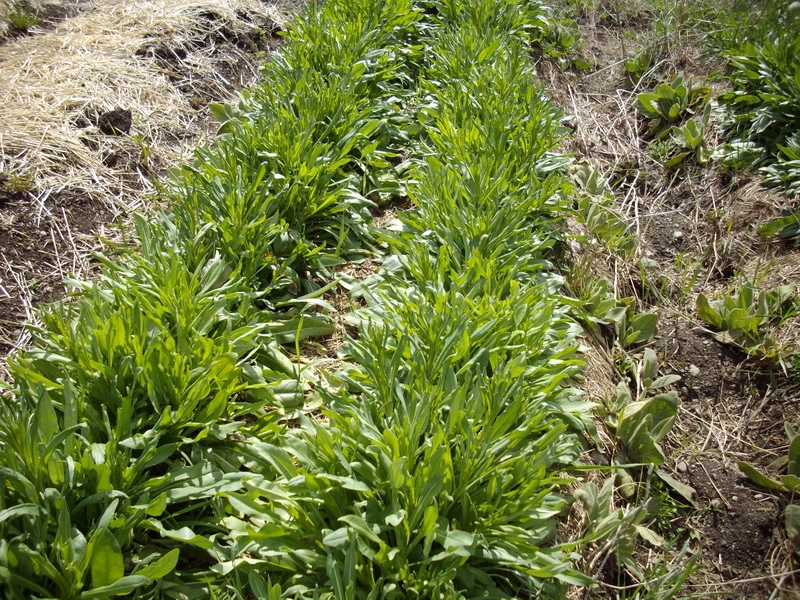
Since the dye compound in woad is a precursor to indigo, the process of extracting the colour is a bit complicated – not difficult but it has a few steps. I’ll give you those steps briefly here but if you want a more detailed explanation, check out Wearing Woad, a blog devoted to natural dyes and especially the intricacies of woad blue, woad red, woad pink, woad peach, woad yellow, and woad green.
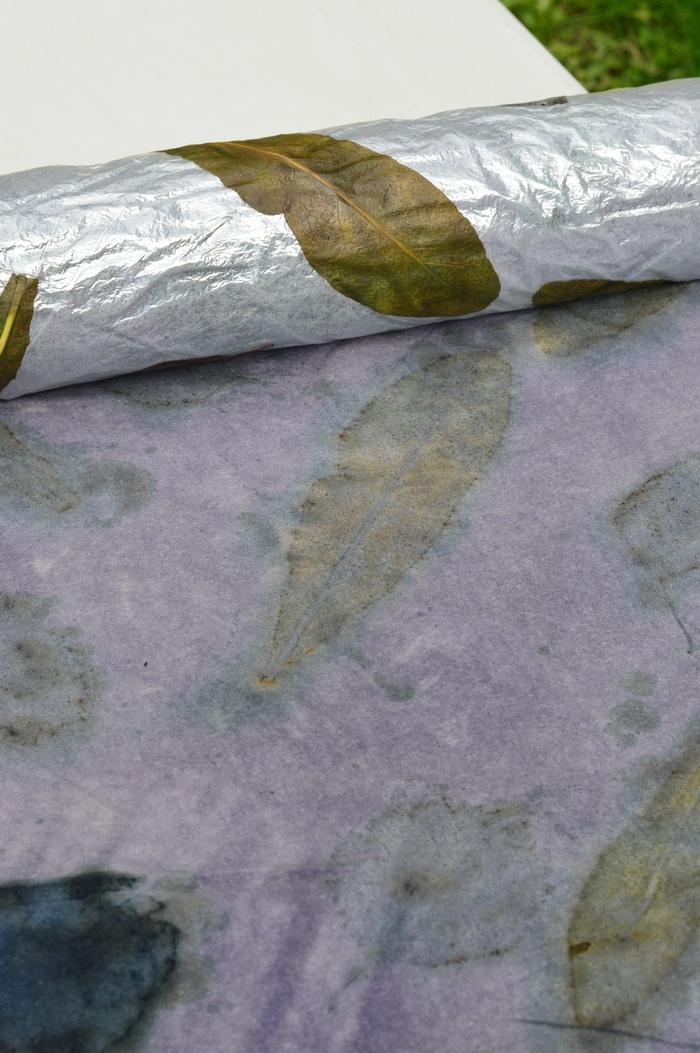
Woad leaf using eco-print techniques on silk noil yardage. Note the dots of indigo blue on the leaf and haloing around the print.
Yes, woad is so amazing that with the right technique you can coax a rainbow of colour from just woad.
Processing woad for colour
- Begin by boiling a large stainless steel cauldron of water. Then harvest your woad leaves. This is important. You want to get the woad leaves from the pasture or garden to the pot in as short a time as possible to preserve as many of the indigo precursors as possible. Much of the Isatan A is lost within the first few hours after harvest. You don’t need to premordant your yarn or fabric before dyeing with woad if you are aiming for blue, but if you are going after a yellow, a green, or a pink colour, you’ll want to premordant your yarn first.
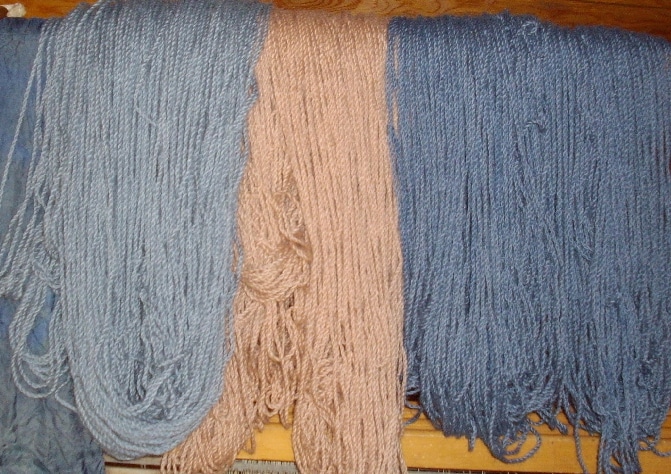
All three of these colours come from woad leaves. The yarn is a blend of mohair and wool.
- Add citric acid to the water to drop the pH of the vat to 2. More Isatan is extracted in an acid dye bath than in a neutral dye bath. Bring the leaves to a simmer at about 90C and hold them at a simmer for 15 minutes. Turn off the heat and immediately plunge the pot into a cold water bath. You want to drop the vat temperature as quickly as possible.
- Once you can safely handle the leaves without burning your hands, remove all the leaves and squeeze out any remaining moisture in them. This dye extract contains precursors to indigo that must be transformed into indigo before you leave the process. You can retain the leaves for a boiling water dye bath, with alum-mordanted yarn to get pink, yellow, or peach fibre, from the flavonoids in the leaves.
- Add 2 tsp. of washing soda to bring the dye extract to a pH of 8. You will see a dramatic change in colour when you change the pH of the vat.
- Using a hand blender, froth the dye extract. You will see the foam rising, changing from yellow to green, then green to blue, and then back to green and then to yellow. This is evidence of the indigo precursors in the dye extract forming indoxol and indirubin. Once you complete this process, you can safely leave the dye vat for another day. You have preserved the indigotin from the woad leaves.
You will need several kilograms of woad leaves to dye 4 oz. of fibre or fabric, so be sparing of the weight of the initial fibre or your colour will be too pale to notice.
To dye with the indigo vat you will need to reduce the vat, changing the indigo from insoluble but visible indigotin to soluble, but invisible leuko-indigotin. There are many ways to do this including fermentation, but the easiest is to add a chemical such as Thiourea Dioxide, usually sold as a colour remover. You can find it at a store that sells indigo dye for hobby dyers.
When the dye vat is sufficiently reduced the liquid turns green and sometimes a sheen of blue reflects off of the surface of the vat. You can put your well-wetted-out fibre or fabric into the vat. Hold it under the surface of the vat with a weight. Leave it for 15 minutes. Bring it out and watch the magic happen before your eyes. The fibre comes out of the vat a chartreuse green and turns to blue as oxygen interacts with the fibres. Allow the fibre to oxidize for 15 minutes and then put it back into that vat for another 15 minutes. Repeat this dyeing and oxidizing process at least 3 times and up to 10 times to extract the entire colour from the vat.
You can get various shades of blue by changing the length of time that the fibre remains in the vat between oxidization, as well as the number of times the fibre is dipped.
For more ways to dye with woad leaves please check out Wearing Woad, and see how woad works as a natural antibiotic
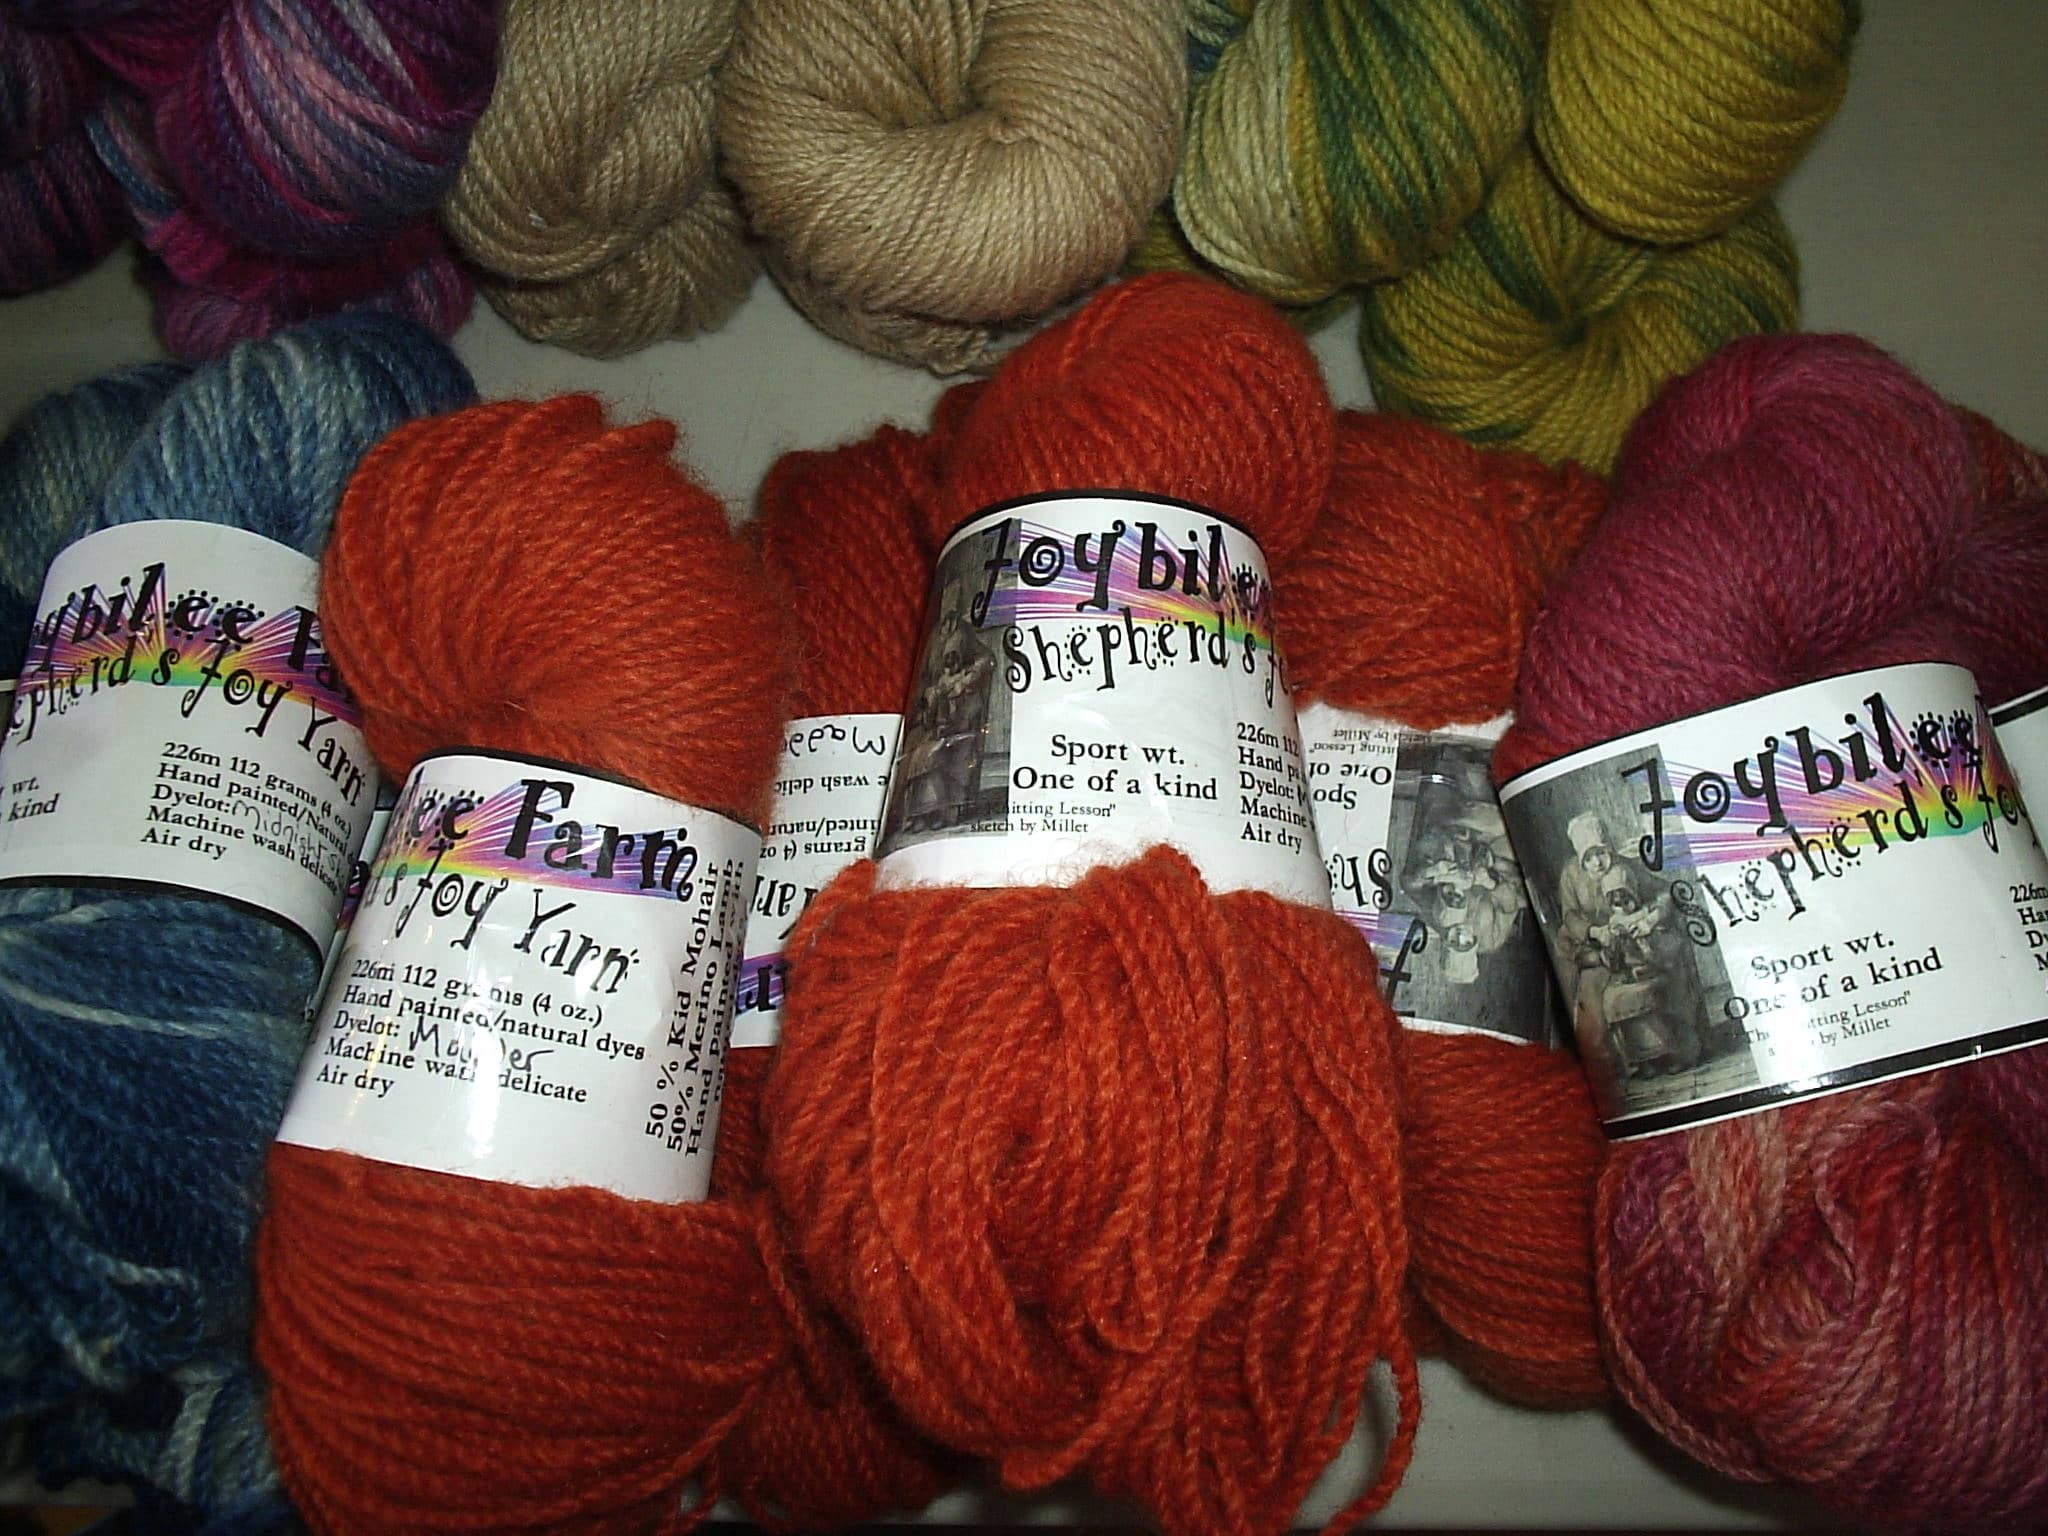
Weeds that Make Red Natural Dyes
Bedstraw
Also, know as Cleavers or Lady’s Bedstraw, this plant grows on dry and sandy soil and is often found on poor pasture or along the edges of roads. It is a perennial and has a widely branching root system. The stem is square, like all plants in the madder family and both leaves and stems are covered in Velcro-like hairs. The slender leaves grow in whorls, with the flowers growing in thick clusters at the top of the stems.
In the 19th century, Lady’s Bedstraw was used as a source of red natural dye in Northern Europe, including Scotland, where no madder will grow. Before the discovery of cochineal by the Spanish conquistadores, the Scottish tartans were dyed with it.
Harvest the roots from well-established patches of bedstraw – taking only the thicker roots and never more than 1/3rd of the roots, if you wish to maintain the patch of bedstraw for future harvests. The harvest of roots is tedious as the roots are not as thick or as plentiful as madder. However, if you have a large patch of bedstraw in your pasture, or you live where madder cannot easily be grown, it’s worth the effort. Livestock leaves bedstraw alone, due to the roughness of the leaves and stem, so if you find it growing in your pasture, it will become established in 4 or 5 years of controlled harvesting.
Related Article: Planting your Natural Dye Garden for a Full Palette of Natural Colors
The roots are used for dyeing and should be treated much like madder.
- Premordant your yarn or cloth with alum before dyeing.
- Wash the roots well, before you begin your dye extraction.
- Extract the dye from the roots with a warm water bath, and never boil the extraction vat. Very high temperatures will spoil the red dyes, leaving you with browns. An Instant Pot set on low heat is a good tool to help you with the extraction.
- Extract the dye from the roots overnight at a low temperature – the low setting on your crockpot or Instant Pot will work, but only if this setting is low enough to prevent the pot from boiling. Check it with a thermometer to see what temperature your own pot reaches.
The effective dye compounds in bedstraw are psuedopurpurin, munjistin, rubiadin, alizarin (very small amount), xanthropurpurin, lucidin, and only a trace of other anthraquinones. Bedstraw gives orangey reds, having only a small amount of alizarin, the purple dye compound that is found abundantly in true madder.
If you live in zone 5 or higher you can grow true madder in your garden. It’s worth the effort. Madder is a superb natural dye that has stood the test of time. You would harvest pencil-thick roots in the fourth year of establishing your crop.
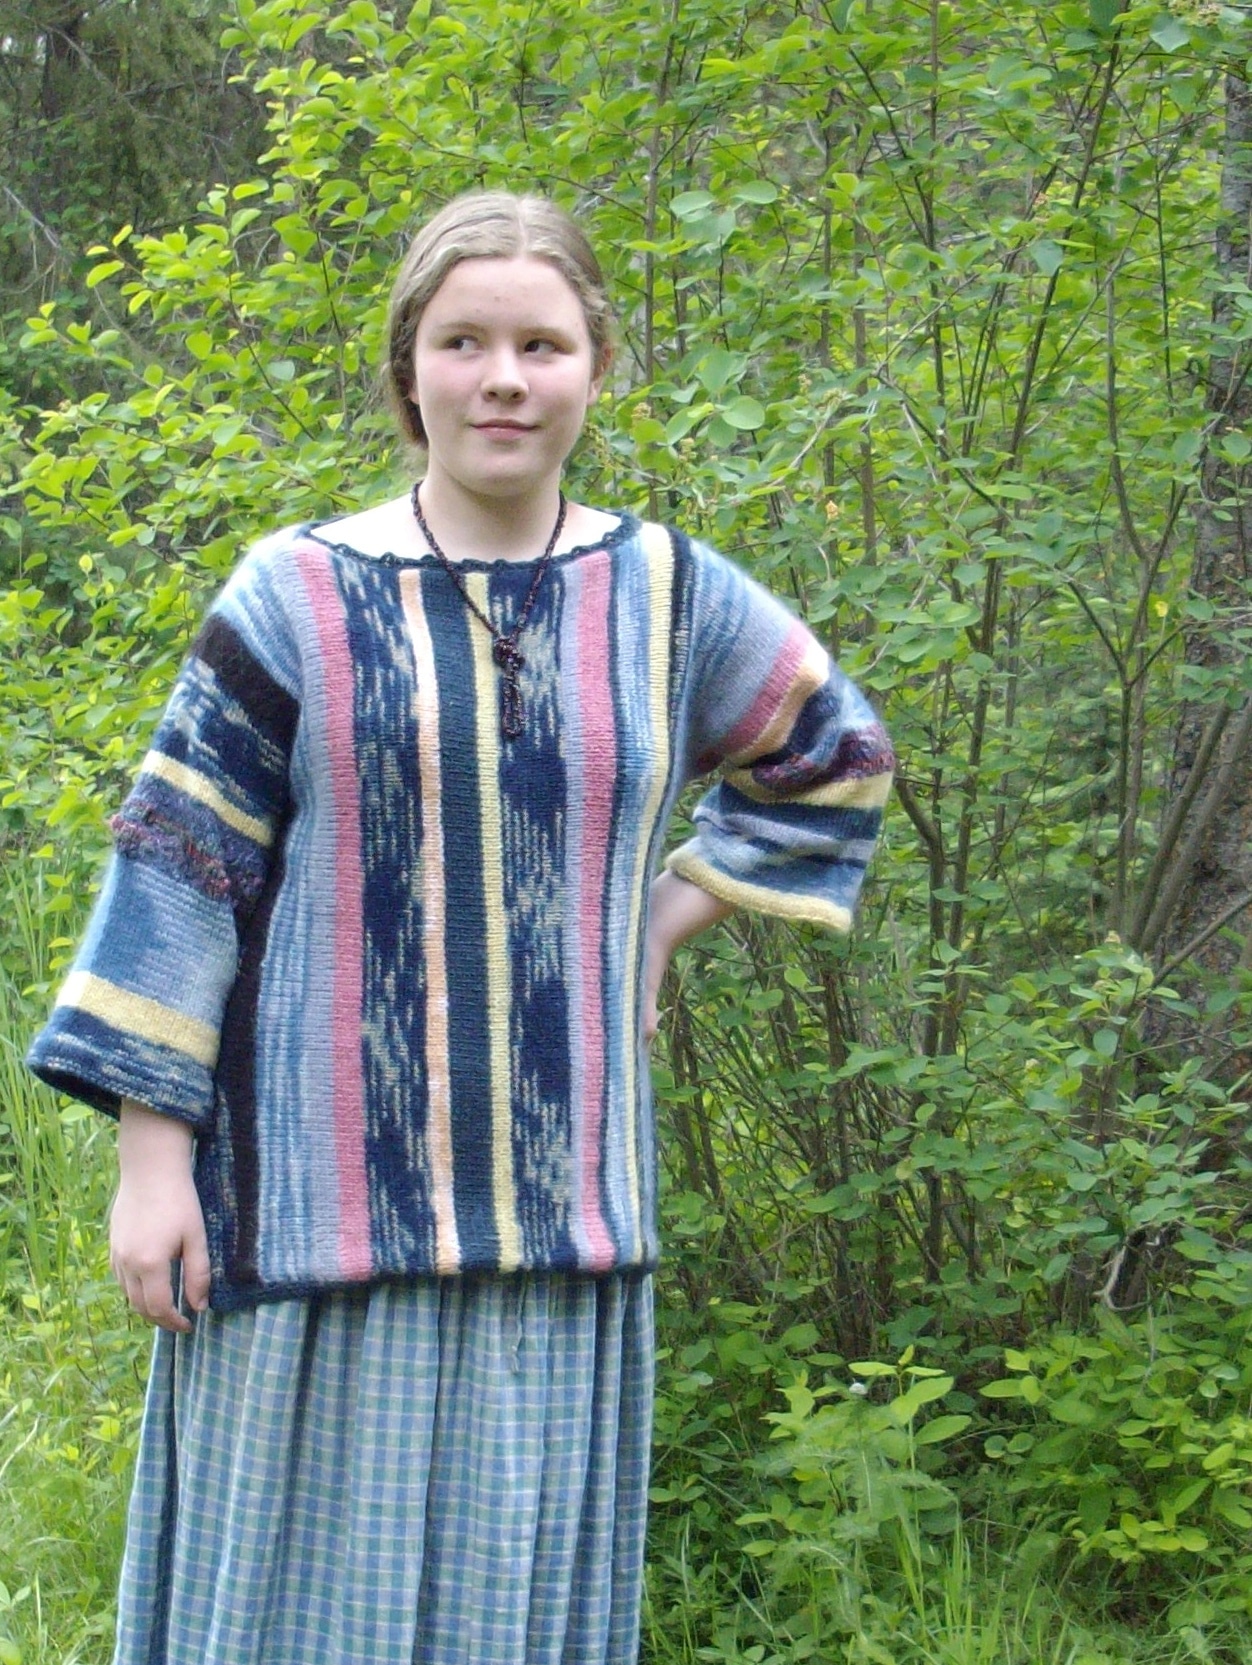
Sweater dyed with natural dyes
A rainbow of natural dyes for your dye vat
While there are many other weedy plants that will give you colour in your dye vat, most of them will give you a shade of yellow or green. This post barely scratches the surface of the wealth of natural dye material available in your own community, on your homestead, or in the vacant fields near you. Add to these the plants in the bedstraw family, as well as woad and you, have access to a full-colour spectrum for your hand-dyed yarn, fabric, and fibre.
Be sure to visit my friend, Sarah at Wearing Woad to find out more about dyeing with woad. And while you are exploring the world of natural dyes look through my friend, Chris’ new book, A Garden to Dye For, and find out about natural dye plants that you can grow, with intention, in your own garden.
References:
Dominique Cardon. Natural Dyes, sources, tradition, technology, and science. (Paris: Archetype Publications), 2007.
Harald Bohmer. Koekboya: Natural Dyes and Textiles, a colour journey from Turkey to India and beyond. (Germany: REMHOB-Verlag) 2002.



Yes. You can dry it and them store it dry.
Can golden rod be harvested and stored (dried, frozen, etc.) to use later?