Preserving harvest abundance for winter’s scarcity doesn’t need to be complex or time consuming. The simplest food storage method is storing fruits and vegetables in a cold room. Sometimes called “root cellaring,” cold storage is easy and anyone can do it.

Even those living in an apartment can successfully store some foods for winter eating with a bit of ingenuity. In my first year of marriage I bought a 50 lb. bag of potatoes and a 25 lb. bag of onions to store — at harvest season when the price was good. I put the potatoes on the balcony of our apartment. In December, when the first cold snap hit, the potatoes turned to liquid. I learned that storage conditions are best indoors, where you can control the temperature. We bought another bag of potatoes and stored them in an inside closet, that had no heat vent. This was successful.
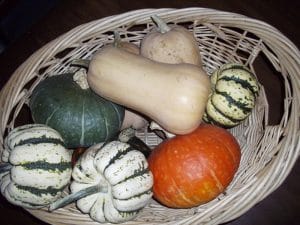
The best vegetable candidates for cold storage are biennial vegetables that send up their seed stalk in the second season. These are programmed to last the winter in order to seed the following spring. Vegetables like cabbage, brussel sprouts, carrots, beets, garlic, and onions are all great for cold storage or root cellaring. Other crops that can be stored in the same way include turnips, winter squash like pumpkins, spaghetti squash, potatoes and sweet potatoes, and many others.
There are a few steps you need to take to ensure that your food lasts for the season.
Steps to successful cold storage of fruits and vegetables
1. Find a suitable space.
If you already have a root cellar, you are blessed. If you need to improvise, you’ll need to find a suitable room inside your home. Avoid rooms that are vented for central heating. Avoid garages and unheated porches or balconies, if your area gets frost. The ideal room would be below ground level, in a corner of your basement. You need a space that stays cool, but doesn’t freeze — that can remain unheated and will have relatively stable humidity levels. You don’t want the cold storage space, or root cellar, to be too dry.
2. Have an airflow or ventilation system in place.
This isn’t necessary but you will have better success if you can vent this room to the outside. Gases and humidity build up as fruit matures. You want the apple storage to vent away from other fruit and vegetable storage if possible. Also, winter crops like cabbage and turnips may create sulfur smelling compounds, so good ventilation will help reduce that. If you can get an exchange of air you will improve the longevity of your cold storage food.
3. Avoid trapping moisture around your produce.
Store your produce in a way that allows free flow of air around the produce. Hanging onion bags, or potato sacks, placing squash out on a shelf, rather than stacking it, for instance. The more air circulation, the longer your shelf life. The exception to this can be root vegetables like carrots, beets, turnips, and rutabagas. These are often recommended to be stored in damp sand or sawdust inside a barrel or large wooden box. Lightly damp sawdust can help keep these root vegetables fresh, without refrigeration.
4. Clean the produce to prevent spoilage.
Squash should be washed or wiped with a bleach solution before root cellaring to prevent premature spoilage. To clean root vegetables, allow them to cure in a single layer until they are dry on the outside — no trapped moisture spots when you examine them. Then brush off excess dirt. For onions and garlic, the outside wrapper might come off with dirt. That’s all right. For potatoes, carrots and beets just dust off the dirt. Tree fruits should be culled of any damaged fruit, both bruises, scabs, and any insect damage. Use damaged fruit in sauces, cider or jams, anything that’s cooked or canned. Only store perfect, unbruised and unblemished fruit.
5. Store each vegetable according to its needs.
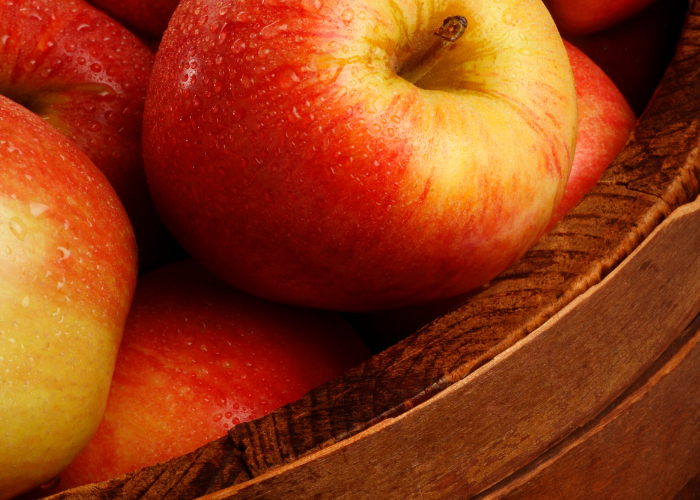
Apples and pears can be stored in boxes. They give off gasses that will turn vegetables bitter, as they are ripening. I store these boxes on a table outside of my cold storage area, away from other vegetables. Traditionally they were one of the main root cellaring fruits, but in homes, it is recommended to keep them separate from root vegetables and squash. Use smaller storage containers when possible, a box of apples is easier to scan and sort for spoliage regularly compared to say, a garbage can.
You can store end of season green tomatoes close to apples in cold storage, and the apples will encourage the tomatoes to ripen and extend your fresh tomato season. I always strip my tomato plants of the green tomatoes, the night before the first killing frost is expected. Then I store the tomatoes in shallow boxes alongside the apples, and monitor them for ripeness or spoiling. Often I can enjoy a fresh tomato a month or more after our first killing frost. Now, tomatoes won’t store all winter, but it’s a fun way to extend the autumn abundance and take advantage of apple’s natural ripening gas in storage.
6. Properly cure each vegetable before storage
Don’t omit this step. Curing gives vegetables tougher skin that resists spoilage bacteria. It seals the food and dries the outer layer. Each vegetable requires its own hardening protocol. Check out one of the resources below for specifics on each kind of vegetable or fruit.
7. Periodically go through your storage vegetables, culling out spoilage.
When you use root cellaring to store vegetables over the winter there will be spoilage. Unlike vegetables that travel long distances and are treated with radiation and fumigation to prevent spoilage, your homegrown and locally grown produce is more healthful and full of live nutrients. Even if not certified, your home grown produce is closer to organic gardening than conventional and there will be some natural spoilage over the course of the autumn and winter seasons. The same qualities that make your homegrown produce nourishing to you, make it attractive to bacteria that cause mold.
Go through your storage once a week and check for spoilage, before it gets out of hand, and plan the food that is beginning to spoil into your menus for the week. A small speck of mold can be cut out of a carrot or squash and the remaining portion used in a soup or stew — a dish that will be brought to boiling.
If it gets severely out of hand, toss it. Mold will make the food taste off and smell off. Don’t eat it or feed it to animals.
8. Plan your meals around your fresh root cellaring fruits and veggies first.
You’ve canned peaches, and apple sauce, dried veggies, apples and pears, and root cellared carrots and squash. Save the dried fruits and veggies for later in the season. They will last the longest of your stored food, especially in airtight sealed containers with a lid. Just keep plastic buckets off of cement floors. Canned fruit and vegetables should last a year or more. Jams and pickles will last longer. Use the cold storage food first.
If things begin to get out of hand, you can convert food from your cold storage into dried food, in your dehydrator, to extend the shelf life. Or do some winter canning when running the stove top will help with keeping the kitchen a comfortable temperature.
How long will fruits and vegetables in root cellaring?
Shelf life varies. If you’ve properly cured your produce and stored it in the best way, but without refrigeration, here’s the life span of cold cellared vegetables.
Apples – till Christmas
Pears – November, depending on the variety pears often spoil from the core outward so may look fine on the outside but have started browning on the inside. Use them before November when possible.
Cabbages – February- wrap them individually in newspaper and store in a crate. Outer leaves may wilt but inner leaves will remain fresh.
Winter radishes, carrots and beets stored in the sand, or sawdust – January to March. They’ll send up green tops. Get them to keep longer by eating the smaller ones first. You can plant any leftovers out in April or May to grow seeds.
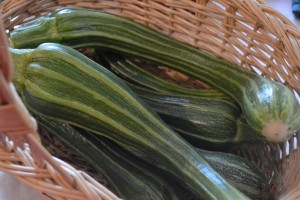
Winter Squash – February to June, depends on the variety and how well they cured. Some summer squash like giant zucchini will last till February!
Potatoes – March — they’ll begin to sprout but you can still cut the sprouts off and eat the potatoes. Or you can plant them.
Onions – They’ll begin to sprout in March — Use the green tops and the onions. You can plant them out and let them flower for seeds the next Fall.
Garlic stored in braids — these last longer if they are kept at room temperature but if you need to put them in your cold room, they will sprout in April. You can still use them, or plant them.

Other Food Preservation Resources from Joybilee Farm:
6 simple steps to turn your excess produce into tasty chips with a food dehydrator
How to dry fruit to turn summer’s bounty into natural candy
Lacto fermented vegetables prepared at home the easy way
Your Turn
I don’t have all the answers. This community has a lot of expertise and we can all benefit from your experiences and successes. What vegetables and fruit have you successfully stored for winter eating? Do you have some tips to share? What challenges have you faced in trying to store fruit and vegetables over the winter? Leave a comment and let’s learn from each other.


A woendrful job. Super helpful information.