Are you curious about microgreens vs. sprouts and what differentiates these two plant foods? There are several differences between sprouts and microgreens. While many people might use the two terms interchangeably, they really aren’t the same. So let’s dig into the differences between them and why that matters?
A key thing with microgreens vs. sprouts is that both can be grown at home, in your kitchen, with minimal space and equipment. They are a super easy way to get into growing your own, nutrient dense, food and salad greens. And, both are inexpensive to grow. Let’s analyze the differences, so you can figure out which version works best for you. It might be both!
One of the main differences between sprouts and microgreens is the amount of time that it takes to grow them. There are four different stages of greens. Each plant starts as a seed. Once exposed to the proper temperature and moisture conditions, the seeds germinate. The first set of leaves that appear when a plant first sprouts are called cotyledon. If the plant is allowed to further develop, it will develop the first sets of true leaves and then eventually the cotyledon will fall off when the plant no longer needs them.
Four Different Stages of Greens:
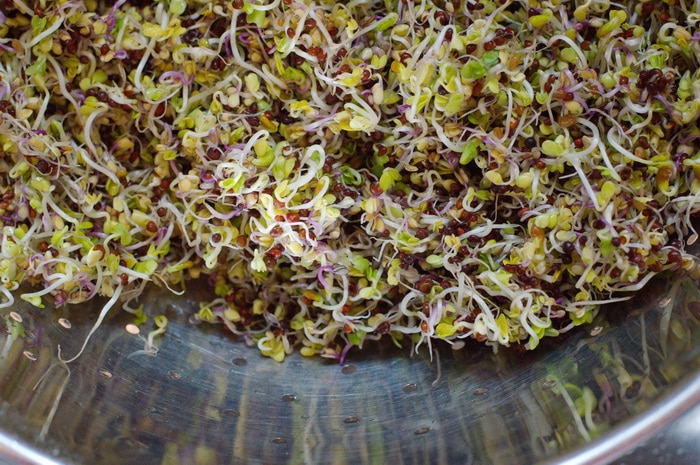
- Sprouts: Sprouts are germinated seeds and they are grown just long enough for the cotyledon to begin to unfurl. Sprouts are typically ready for harvest within 4 to 5 days.
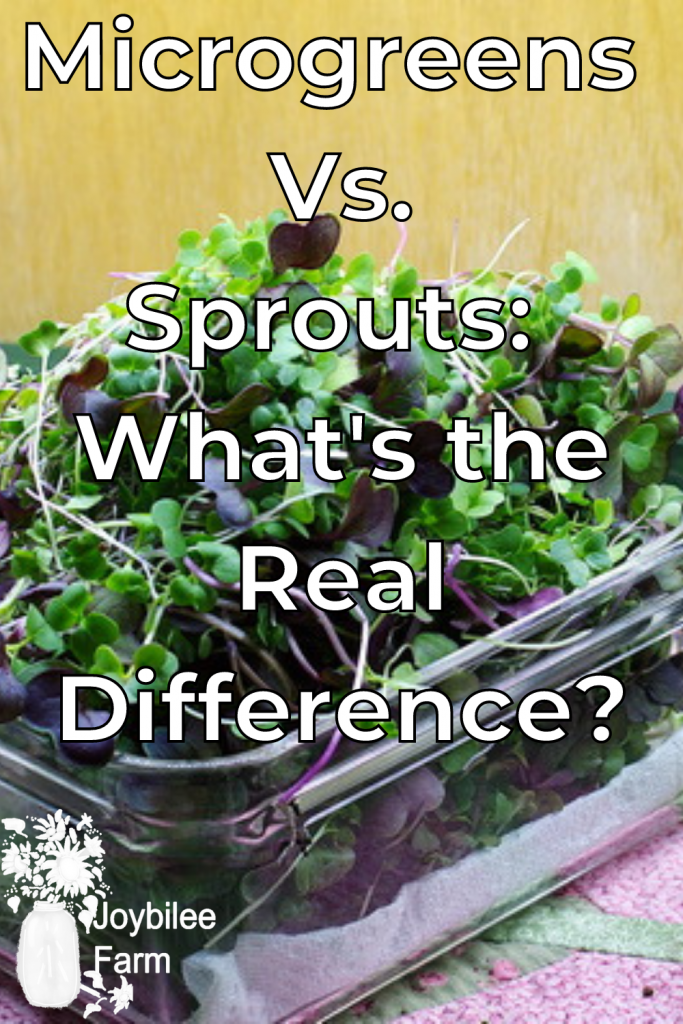
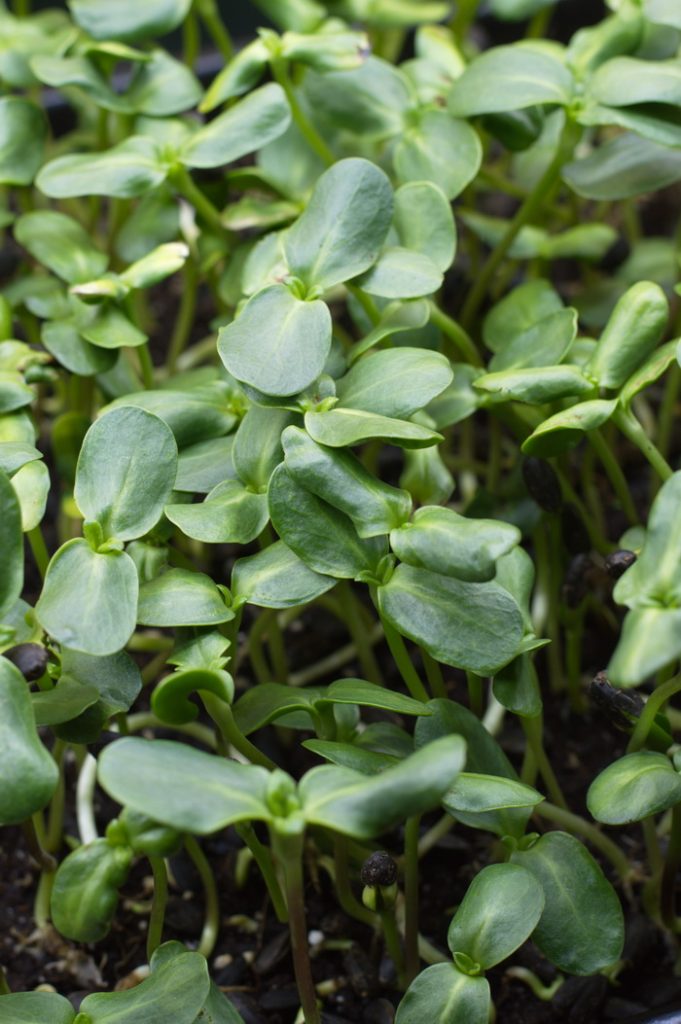
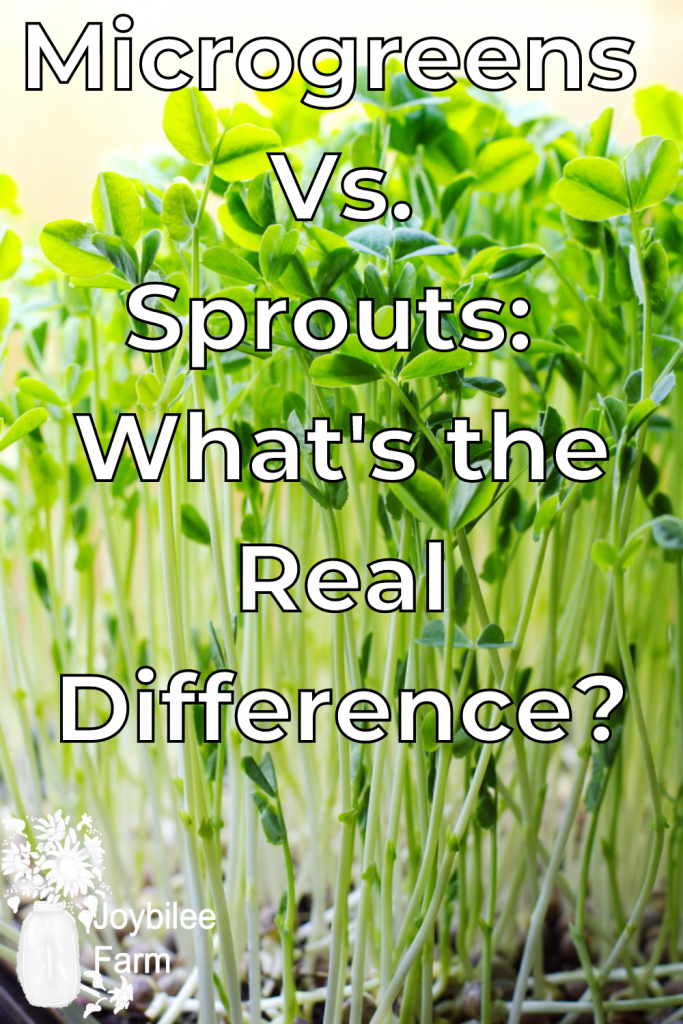
- Microgreens: Microgreens are harvested in 7 to 10 days after the cotyledon is fully open and the first true leaves have begun to emerge.
- Baby Greens: Baby greens are fully developed, but are younger and smaller than their adult counterparts and are harvested in 2 to 3 weeks.
- Adult Greens: Adult greens are the fully matured version of the plant and take 1 to 2 months to mature.
The fun thing with microgreens vs. sprouts is that both are incredibly high in nutritional value and are a great way to add fresh greens into your daily diet. Sprouts and Microgreens are high in vitamins, magnesium, phosphorus, potassium, and zinc. They are often more concentrated in nutritional value than more mature plants; however, the more mature the plant often has more fiber. They can both be grown indoors right on your kitchen counter. Since they are grown inside, they can be grown all year long, even in the middle of winter. Microgreens and sprouts are also very simple to grow regardless of your level of experience. They’re also inexpensive, fun, and a great way to increase your self-sufficiency. So there really is no reason not to grow them.
Growing Microgreens vs. Sprouts Analysis
It’s very important that when you are growing microgreens or sprouts that you use seed that is sold specifically for that purpose or seeds that you have harvested from your own plants. Otherwise, you run the risk of eating seeds that have been treated with chemicals or coatings that you don’t want to be ingesting.
One of the biggest differences between microgreens and sprouts is how they are grown. Sprouts are grown only in water and microgreens are grown in soil.
In order to grow sprouts, you will need a wide mouth mason jar with a lid that will allow for the seeds and sprouts to stay inside the jar, while allowing water to come in and also go out. There are special sprouting lids made specifically for this purpose, but you can also use a piece of cheesecloth or a screen of some kind.
Growing sprouts basically involves an initial soaking of the seeds in water, followed by rinsing and draining the water twice a day until harvest time. Sprouts differ from microgreens in that they have all the nutrition needed to grow built right into the seed. You can find more detailed instructions on growing your own sprouts here.
In order to grow microgreens, you will need a pot or tray that is 1 1/12 to 2 inches deep for growing, potting medium, a spray bottle for misting, and a grow light or sunny windowsill.
Growing microgreens is as simple as adding some growing medium to your planter, sowing the seeds into the medium, and then misting with water twice a day until harvest. You can find more information on growing microgreens here.
Sprouts are grown with low light and high humidity and no ventilation is needed. Microgreens on the other hand are grown with higher light, lower humidity, and good ventilation. As a result, microgreens have a lower chance of bacterial contamination than sprouts. Bacterial contamination tends to be more of a concern with commercial growers than those who are growing sprouts at home. If this is a concern for you, you can always cook your sprouts to reduce the risk.
There are a few differences between sprouts and microgreens when it comes to harvesting as well. The entire plant is consumed when growing sprouts. You are eating the root, seed, and shoot. The microgreens are eaten by consuming the stem, cotyledon, and the first true leaves.
Sprouts can simply be dumped into a colander and given a quick rinse. You can eat them right away or store them in the fridge for about a week. It’s best to reduce excess moisture in your container with a paper towel or two.
Microgreens on the other hand need to be harvested by cutting them off at soil level. Many people recommend storing microgreens much like you would fresh herbs. Just stick them in a jar with a little water in the bottom for the stems. You should be able to get about 3 plantings in the same pot before you have to refresh the soil.
One other difference with microgreens vs. sprouts is the yield that comes at harvest time. Two tablespoons of seed will give you approximately two to four cups of sprouts. That same two tablespoons of seed will give you about 8 to 10 cups of microgreens. As you can see, there is a big difference in the amount of harvest that you will get.
Once you have harvested your sprouts or greens,it’s time to eat. Sprouts and microgreens can both be used in salads, smoothies, rice, eggs, and wraps. They can also be used on sandwiches or as a quick snack. Sprouts are mild in flavor and are often used for their crunchy texture and microgreens are often described as having a more developed flavor than both sprouts and more mature plants.
I hope this post has helped you to better understand the fascinating play of microgreens vs. sprouts and I hope you have been inspired to start growing some for your family. It really is so easy and simple to get started and it can make such a huge difference in your health and self-sufficiency. If you aren’t sure where to get your seeds, you can check out this post about where to purchase your microgreen seeds and start growing!
Meet Tracy
This post is a guest post by Tracy McGee
Tracy is the creator, mentor, and teacher at Treasured Creations Homestead. She is passionate about helping families use homesteading skills and natural living to improve their health, deepen their faith, strengthen the family and build community. When she isn’t working on the homestead, you can find her hanging out at the fire station, hiking in the Shawnee National Forest, sitting on the front porch, or taking a road trip with her hubby and kids. Tracy is a member of our DIY Herbal Fellowship, a membership that teaches you how to grow and use herbs for food and medicine.
New to growing microgreens or sprouts?
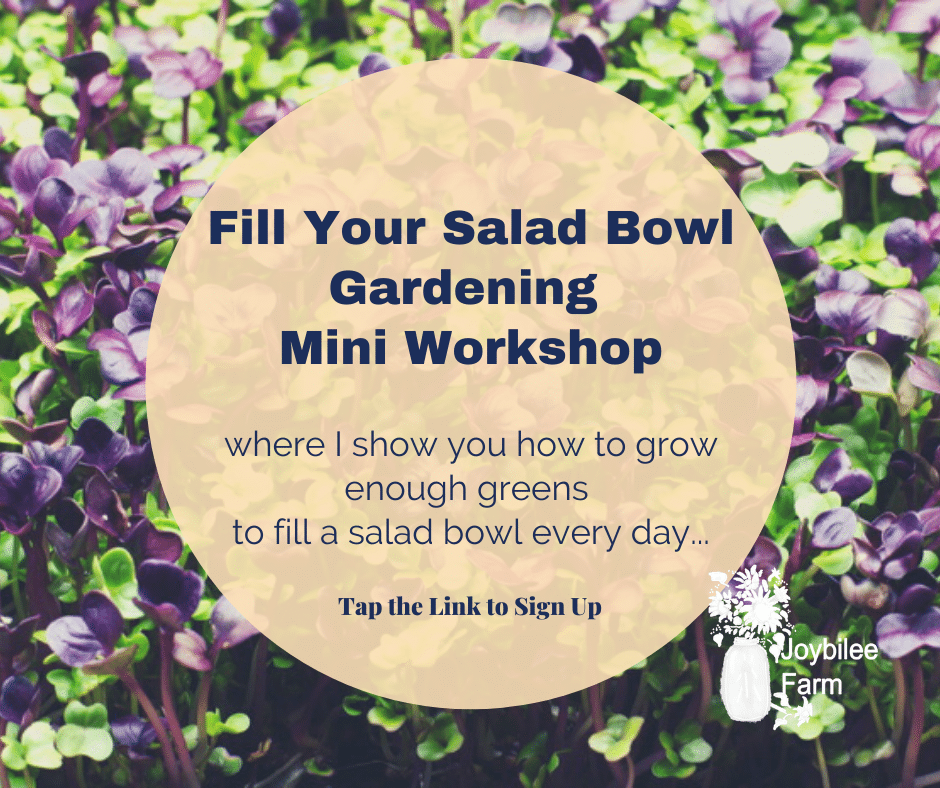
Check out the Fill Your Salad Bowl workshop and learn how to use 3 different growing methods, at home, so you can fill your salad bowl with super food, nutrient dense, greens every single day. These are greens you can use in your salad bowl, greens you can add to soups, stews, and pasta dishes, and even greens you can use in a stir fry.
In this mini workshop you will learn how to fill a salad bowl every day with food you grow yourself.
- Even if you don’t have any land.
- Even if there is 3 feet of snow covering your garden
- Even if you’ve killed house plants in the past.
- Even if you think you have a black thumb.
Have a look at what’s covered in this workshop and see if its a good fit for you, by clicking/tapping the blue button below.




Leave a Reply