

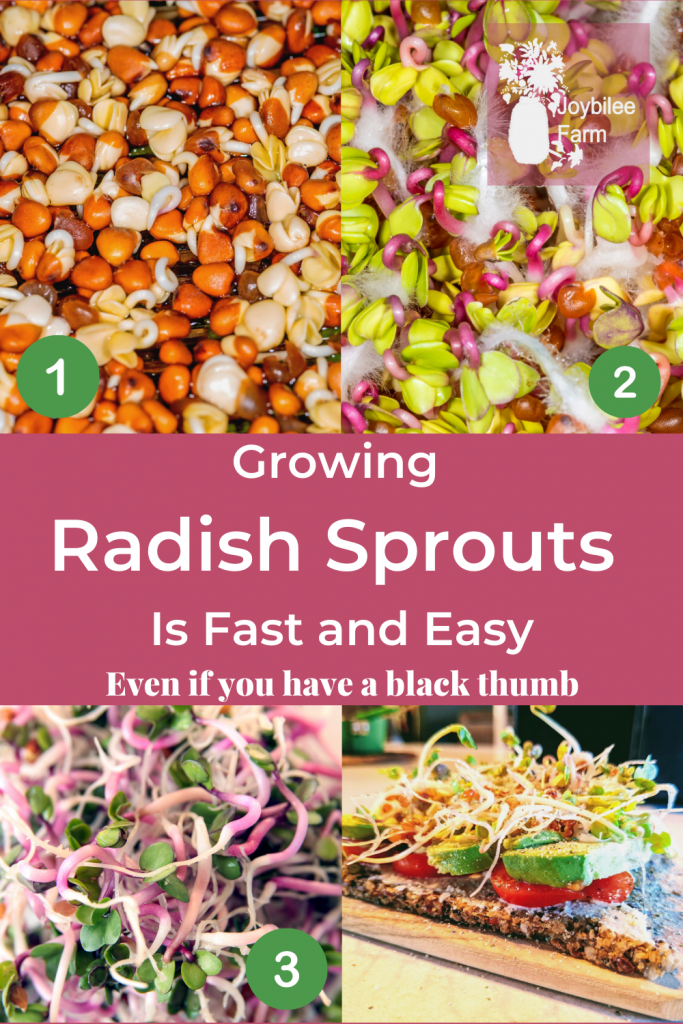
Growing radish sprouts at home is easy and cheaper than buying them at the grocery store – if you can even find them there. All you need is to rinse them a couple of times a day and nature does the rest. Plus, they are the key ingredient to taking your sandwich to a whole new level of flavor.
Did you know that sprouts are a living food?
Living foods are so good for you because they are superfoods, that are low in calories, rich in nutrition, full of living enzymes, have lots of fiber and are nutrient dense. The living enzymes and dietary fiber in sprouts aid in digestion. The enzymes are at their peak when food is alive because as soon as your food is picked from the plant the enzymes start dying off. Fiber is something that we cannot digest actually, but it plays a very important role in our digestion because it moves the food throughout our digestive tract, plus as an added bonus, it keeps us regular.
Radish sprouts are a good source of fresh vitamins like vitamin C, niacin, folate, and vitamin b6. They also contain potassium, calcium, isothiocyanates, giving them anti-cancer potential.
When you eat food that is alive you get the most out of it for your body because it has the maximum amount of nutrients in it while it is still alive. Plus sprouts can even be good for your heart by lowering your blood cholesterol. There is even some evidence to suggest that they actually increase the “good” cholesterol and lower the “bad”.
The best part about radish sprouts though is that on top of being good for you, they are also scrumptious! They taste, not surprisingly, like radishes!! What sets these apart from other sprouts is that they give you that little bit of a kick that takes your meals up a notch.
What can you put radish sprouts on?
Start by thinking about what you would put radishes and sprouts in or on, then try using radish sprouts instead. The spicy flavor of radish sprouts go great in a salad, on rice bowls, and in wraps, but our favorite thing to put sprouts on is a sandwich. Sprouts always take a sandwich to a whole new level and radish sprouts do this, but with that little kick we mentioned before. Alright so now you know why you need to grow radish sprouts, all you need to know next is how.
How to grow radish sprouts?
Radish sprouts are probably the easiest sprouts to grow. They are much easier to grow than alfalfa sprouts, clover sprouts, or broccoli sprouts which require additional care. And they don’t take as long to get a harvest as microgreens, although radish microgreens take just 3 days longer.
First, you want to source out some good quality and preferably organic seeds for sprouting. You need to make sure they are still in their raw form. You can’t use roasted seeds for example. We are focusing on radish sprouts here in this post, but you can substitute any kind of edible, raw, organic seed for sprouting. Whichever ones you choose, make sure it says sproutable somewhere on the package and as silly as this sounds, make sure they are also edible. We, personally, love these radish seeds from True Leaf market and believe they are the best price.
There are several varieties of radish seeds to choose from with different colors of stems. Daikon radish will have green leaves, but there are also red stemmed radish, pink stemmed radish, and purple stemmed radish that give you a variety of spiciness and crisp colors. Colorful radish sprouts and radish microgreens look great as a garnish, too.
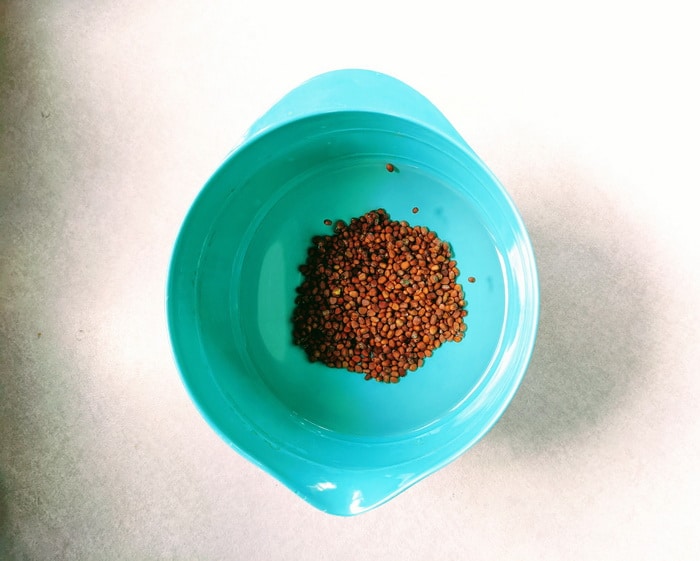
First, soak your seeds. This counts as Day 0. You want to sprout as many as you can eat within about 5 to 7 days because sprouts keep in the fridge for about a week. Usually we soak 1-2 tablespoons of radish seeds and that will turn into about the amount you buy in those clear square clamshells at the grocery store. Cover the seeds with at least an inch of clean, cool fresh water. Make sure that all of your seeds are under the water and you want them to soak for at least 4 to 8 hours or ideally overnight. Then in the morning strain and rinse the radish sprouts and put them in your sprouter, sprouting tray, or in a glass jar with a sprouting lid.
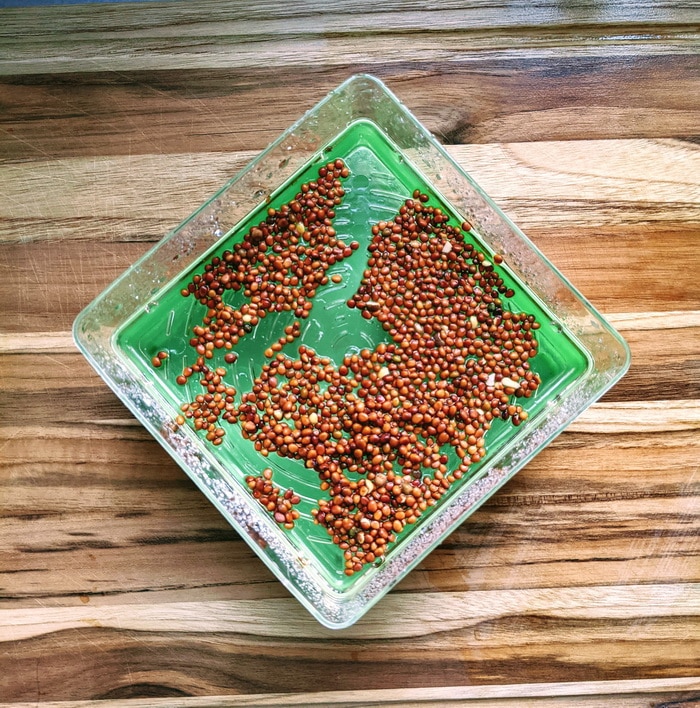
This is considered Day 1. I use this one in the pics below but even easier than that, if you have a mason jar kicking around, you can use cheesecloth under the ring. Or if you want another mason jar solution, these lids are great too.
Once you have them in your sprouter of choice, I throw a towel over them to keep them in the dark. You could also put them in the cupboard to keep them cool and in the dark. The reason for keeping your radish seeds in the dark is that once enough light hits the seeds it communicates to the plant to start growing the leaf and bud, which makes for short stubby sprouts. I prefer my sprouts to be long and slender because I get more bang for my buck this way, more sprout for your seed so to speak. The next thing you will need to do is rinse and drain your seeds again in the afternoon.
Starting on Day 2 rinse and drain them every morning and afternoon until Day 4. Never forget to rinse your sprouts, like never forget. They will start to grow bacteria pretty quickly if you do not rinse them well and often. For this reason, I prefer the towel method over putting them in the cupboard because I see them sitting on my counter which reminds me to rinse them. It only takes a few seconds a day to do and really it is the easiest part, nature is just doing its thing for the rest of the process.

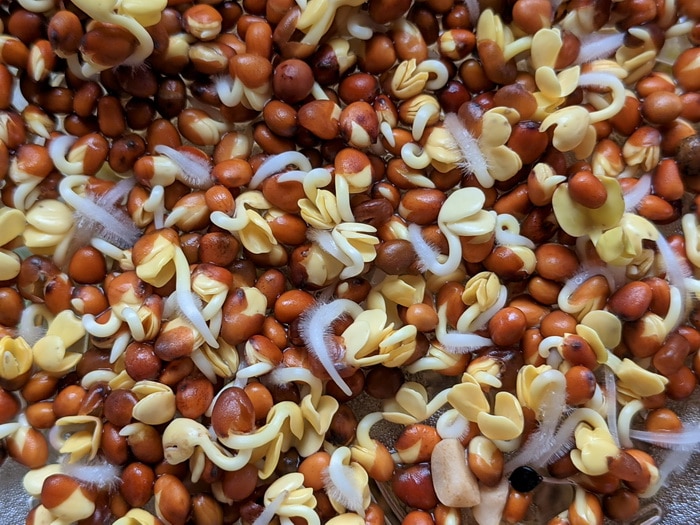
Day 2 – It’s not mold!
You can see we have some seeds still closed up, some where the embryo has formed and some where the seed coat is half way back or so. Before we get to Day 3, I want to let you know if you see something that looks like what is pictured below growing on the stems, don’t panic it is not mold. At first glance it may look like mold, but it’s actually little tiny hairs or maybe roots and they seem to go away when you rinse them. Again, not mold.
Day 3 – We see the cotyledon is in various stages here.
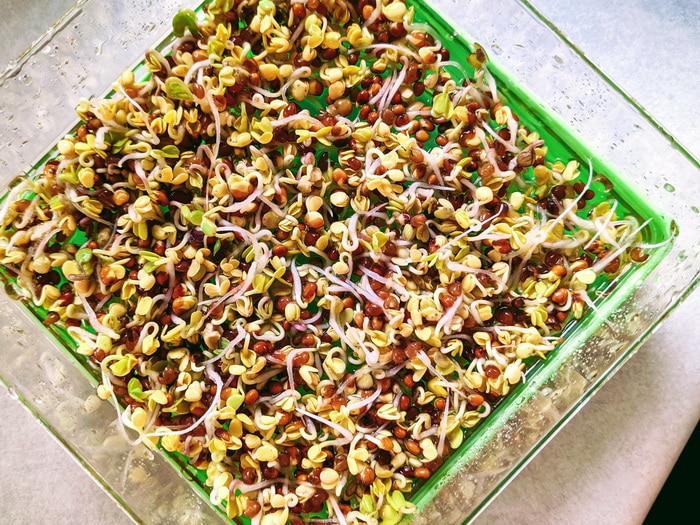
Day 4 – You can see the seed leaves or cotyledon have formed on the radish sprouts. They are ready!
When are they ready to eat?
On Day 4 you can harvest them and one of the benefits of harvesting them at this point is that they have the most enzymes they will have in their growth cycle. They decline slightly the next day, however, on Day 5 the radish sprouts are nuttier which I personally find yummier. Additionally another day means your sprouts got to grow for one more day so they are bigger and you feel like you get more sprout reward for your efforts.
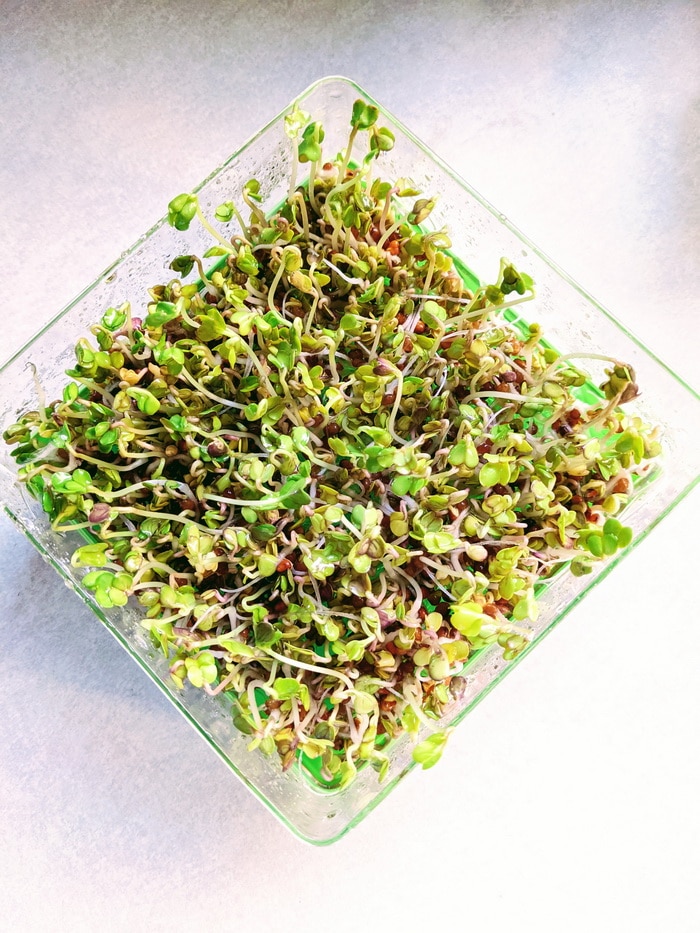
Regardless if you choose to harvest on Day 4 or Day 5, when you take them out of the dark hideout that you chose, give them some light (ideally sunlight) for anywhere between 1-3 hours. That gives your radish sprouts a little spurt of leaf growth and they turn from a yellowy colour to a beautiful green.
One last step before your sprouts are ready to eat. Put them in a colander and rinse them with fresh water to wash away the seed hulls and any seeds that didn’t sprout. This will allow your radish sprouts to last longer in the fridge. Return them to your sprouting container and drain them for an additional 4 to 6 hours. Then remove the finished sprouts from the sprouter and package them for storing them in the refrigerator. They have a 4 to 6 day shelf life if they are well drained. I store them in an airtight glass container, with a dry paper towel in the bottom to absorb excess moisture.
Now that you’ve got your fresh radish sprouts, you can put them on a salad, stick them on a rice bowl, put them into a wrap or use them in a sprout sandwich, which we think we’ve perfected and you can check it out here. However you decide to eat your sprouts, when you take a bite remember how good eating living foods are for you.
New to growing sprouts?
Check out the Fill Your Salad Bowl workshop and learn how to use 3 different growing methods, at home, so you can fill your salad bowl with super food, nutrient dense, greens every single day. These are greens you can use in your salad bowl, greens you can add to soups, stews, and pasta dishes, and even greens you can use in a stir fry.
In this mini workshop you will learn how to fill a salad bowl every day with food you grow yourself.
- Even if you don’t have any land.
- Even if there is 3 feet of snow covering your garden
- Even if you’ve killed house plants in the past.
- Even if you think you have a black thumb.
Have a look at what’s covered in this workshop and see if its a good fit for you, by clicking/tapping the blue button below.

Meet Savanna
This is a guest post by Savanna Hines.

Used with permission. https://www.peterkalaszphotography.com/
Savanna lives in British Columbia and has experience in the hospitality industry/entrepreneurship. She’s also a certified life coach. Authenticity is important to her. She’s passionate about living a raw, authentic and unabashedly vulnerable life! She also believes that the whole raw vulnerability thing is the cornerstone for growth, love and connection so she’s committed to inspire conversation about all of the qualities that make us human.
On her blog “Being Raw” (coming soon) Savanna wants you to explore with her the concept of taking in and putting out raw vibes to the world with amazingly unique raw/vegan recipes and insights on being your most vulnerable self.

Leave a Reply