

I’ll show you how to make a candle using a silicone mold, they’re the easiest for a beginner to use. They’re also quick because you don’t need to stand over a hot stove to dip them. Molded candles are beautiful, useful and make a thoughtful gift.

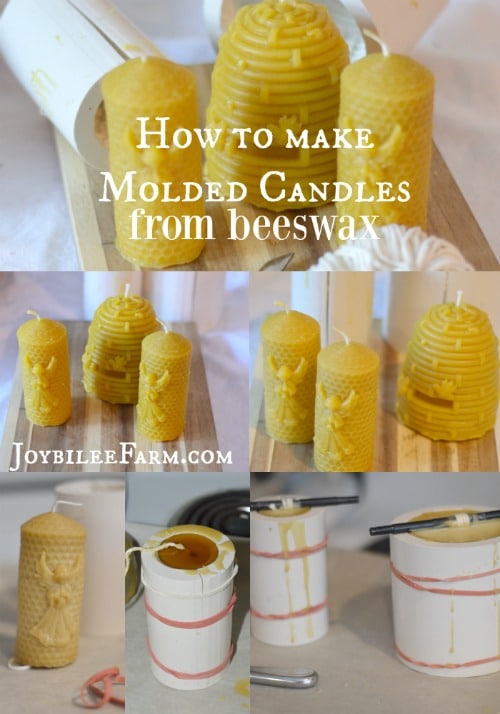
Molded Candles
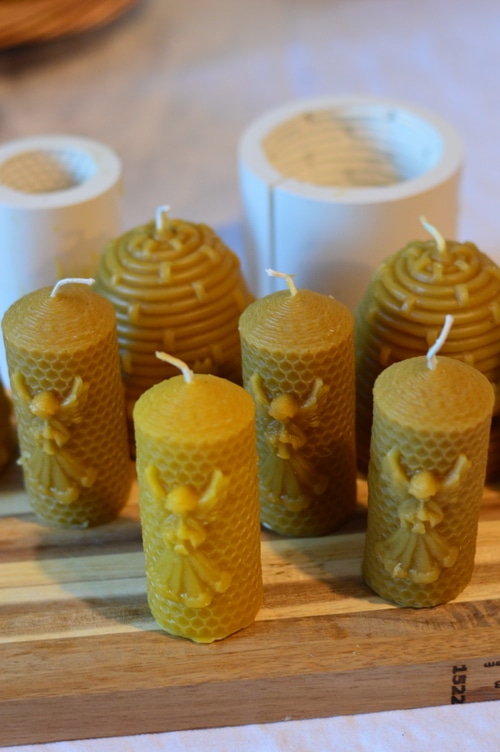
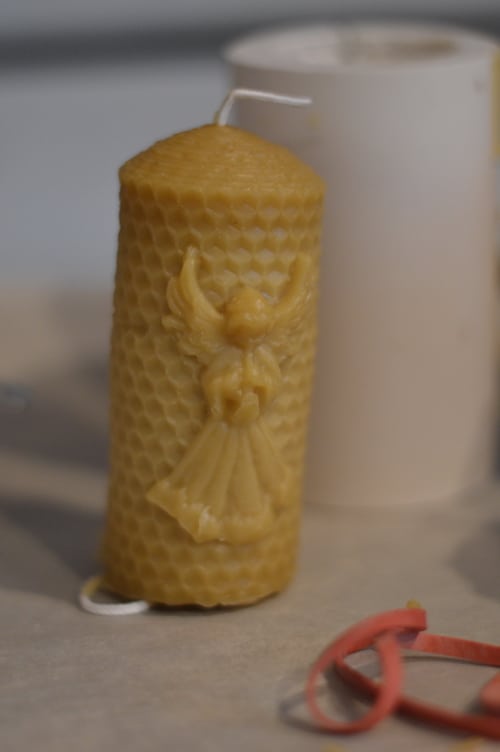
My favourite kinds of candles are molded pillar candles. These are the beehive candles with the detailed bees on them, which you find at craft fairs and specialty candle places. These are the tall votive candles with the honeycomb texture. These are the roses, the lighthouses, the pine cones, and the pine trees. They can be in any shape and a variety of sizes, depending on the mold.
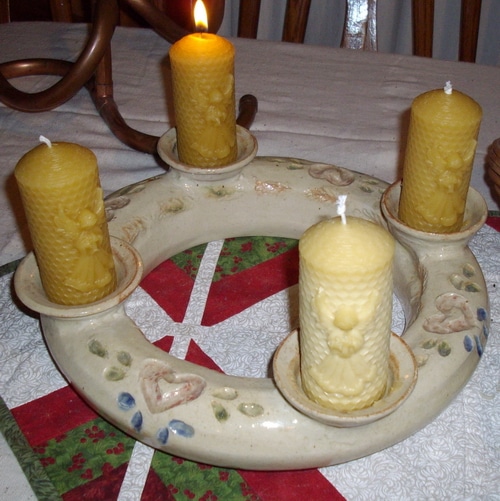
They are beautiful in their detail. They don’t need a candle holder, just a flat non-combustible surface to stand on. They are favourite gifts, especially when made with beeswax.
When made with beeswax, they have all the benefits of a beeswax candle, including the air cleaning, ionizing effect. And the scent is more pronounced because there is more melted wax in the pool. They burn longer than other kinds of candles, too.
They are quick to make because you don’t have to stand over a hot stove to dip them. And they are easy for a beginner to make.
You can use candle ends and leftover beeswax to make these, too, so they can be economical.
One drawback to silicone molds
One drawback, however, is that making candles using a silicone mold is slow. You have to wait for your candle to harden before you can remove the mold and use it for another candle. If you plan to make dozens of candles in one day, you’ll need several molds. While you are waiting for the candle in the mold to harden, you have to keep the beeswax melted. Then it’s ready to pour when you need it.
Silicone molds are also more expensive initially than other kinds of candle making. You may invest $100 in molds and come away with only 2 or 3 molds. However, beeswax candles made with silicone molds also command a higher price at craft fairs and gallery gift shops. The molds are an investment if you plan to sell your candles. And each mold will make hundreds of detailed, perfectly shaped candles.
How to make a candle using a silicone mold
I’ll show you how to make a candle using a silicone mold. They are the easiest molds for a beginner to use. These molds don’t require any silicone release spray. They also don’t require a wick plug, like metal candle molds.
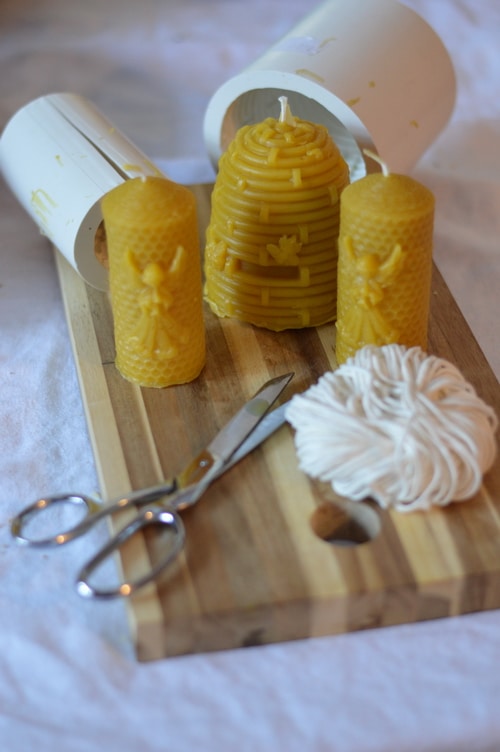
You’ll need:
A silicone mold or several
Rubber bands to secure the mold
Beeswax, melted
Size 2 wick for candles 2 inches in diameter or less, or the appropriate size wick for your wax and candle size (see chart)
A pen or stick to hold the wick in place
The usual paraphernalia for melting and pouring beeswax.
How to determine the wick size for Grade 1 Beeswax
When you use the appropriate wick size for the beeswax you have, several beneficial things happen:
The candle burns without smoking
The candle burns without dripping
There is a small pool of wax below the wick which is completely consumed as the candle burns.
The candle burns right to the edges of the wax.
When the candle wicking is not sized appropriately for the candle:
The candles will smoke.
The candles will drip.
The candle will burn in the centre, eventually snuffing itself out for lack of oxygen.
The pool of melted wax will not be deep enough to feed the flame consistently.
How to determine the size of the wick to use with Grade 1 beeswax |
|||
Candle Size |
Size of Wick |
Weight of Beeswax per candle |
Approx. Burn Time |
| Tea Light | #2/0 | .05 lbs. | 4 hours |
| Small Votive | #2 | .13 lbs. | 12 hours |
| 8 inch Taper | #2 | .14 lbs. | 10 hours |
| 1.5 to 2-inch diameter pillar | #2 | .2 lbs. varies by height | 7 hours x height in inches |
| 2 to 2.5-inch diameter pillar | #3 | .5 lbs. varies by height | 12 hours x height in inches |
| 2.5 to 2.8-inch diameter pillar | #4 | .6 lbs vary by height | 16 hours x height in inches |
| 2.9 to 3.2-inch diameter pillar | #6 | .75 lbs. varies by height | 25 hours x height in inches |
| 3.3 to 3.5-inch diameter pillar | #7 | 1 lb. varies by height | 33 hours x height in inches |
So while I recommend a size #2 wick, for best results match your wick size to the size of your mold.
Where to find silicone molds:
I bought my silicone molds 12 years ago at a candle store in Burnaby. The ones I found on Amazon weren’t as high a quality as the ones I use so I can’t recommend Amazon as a source (at this time). In Canada, you can find silicone candle molds at Busy Bee Candle Supply. In the USA find Lyson candle molds at Better Bee.
The Lyson silicone molds I use are very thick silicone and can be reused 100s of time. I use mine every winter and I’ve made dozens of candles each year. They show no signs of wear. Get the catalogue and see what Lyson has to offer.
Expect to pay about $30 to $50 per mold. You’ll need enough molds to keep your candle-making going. I have two different molds but I wish now that I’d bought 4 of each kind to make candle-making day more efficient.
I’m not selling my candles though. If you are considering a candle-making venture you’ll want enough molds for 4 lbs of wax at a pour. That would be 8 of the 1 ½ x 4-inch candle molds plus 4 of the 3 x 6-inch candle molds. A variety of shapes will expand your sales.
How to use a silicone candle mold
The silicone molds that I use are one-piece molds with a slit down one side to make candle removal easier.
Measure and place your wick
The wick is measured, cut, and inserted in the bottom of the mold and then fed through the mold to the top. It is centred and anchored in the top of the mold with a stick. I used a pen or pencil as an anchor. You can use any object that will lay across the bottom of your mold.
Prepare the Mold
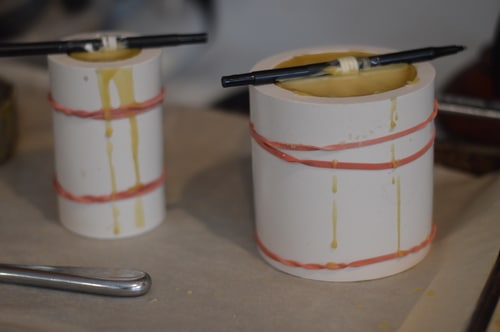
These kinds of molds are secured with rubber bands on the outside of the mold. Use one rubber band every 1 ½ to 2 inches of mold height. This keeps the edges of the mold closed and prevents leaking wax. There is no visible seam on the candle with these molds.
Melt your beeswax
Place the mold on a stable surface
I use a baking sheet and place a piece of parchment paper on the baking sheet to keep the wax from making a mess.
Pour your beeswax into the mold, right to the top.
Let your mold cool. For a 1 ½ by 4-inch candle allow about 60 to 90 minutes cooling time.
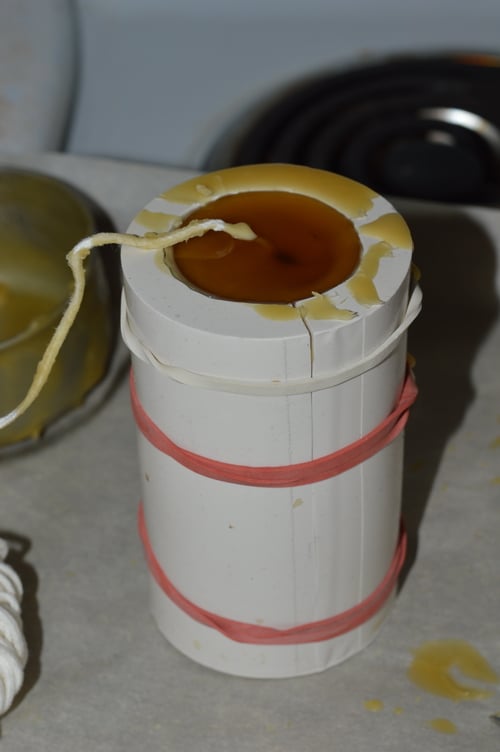
Top up the candle mold if necessary
Sometimes as the wax is cooling hollow forms around the bottom of the wick. You can fill this with extra wax.
Remove the candle from the mold
There is no need for silicone molds to use any release spray. Once the wax is hard the candle easily peels away from the mold.
Repeat steps 1 to 6 as often as necessary to make the candles that you want.
Sourcing Beeswax
How to render beeswax
Beeswax on Mountain Rose Herbs
Beeswax on Amazon
More How to Make Candles Tutorials
How to make beeswax tea light candle
How to make hand-dipped beeswax tapers
How to make rolled beeswax candles for Chanukah
Thank you very much for a very detailed instructions on making beeswax candles. I am making beeswax candles and have been using 60 ply/#4 wicks for all of the molds that range from 2.5 in – 3 in in diameter. I see that you recommend different wick options for that diameter range. Can you recommend any wick companies who’s wicks you don’t have to constantly trim to 1/4″. I was hoping the wicks would burn down with the wax without the need to trim from time to time
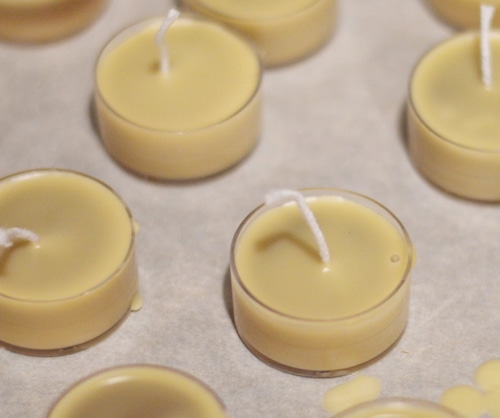
This is true unless the candle is a tea light candle. Then the wick is supported in the middle of the candle and the wick sometimes has a wire core.