

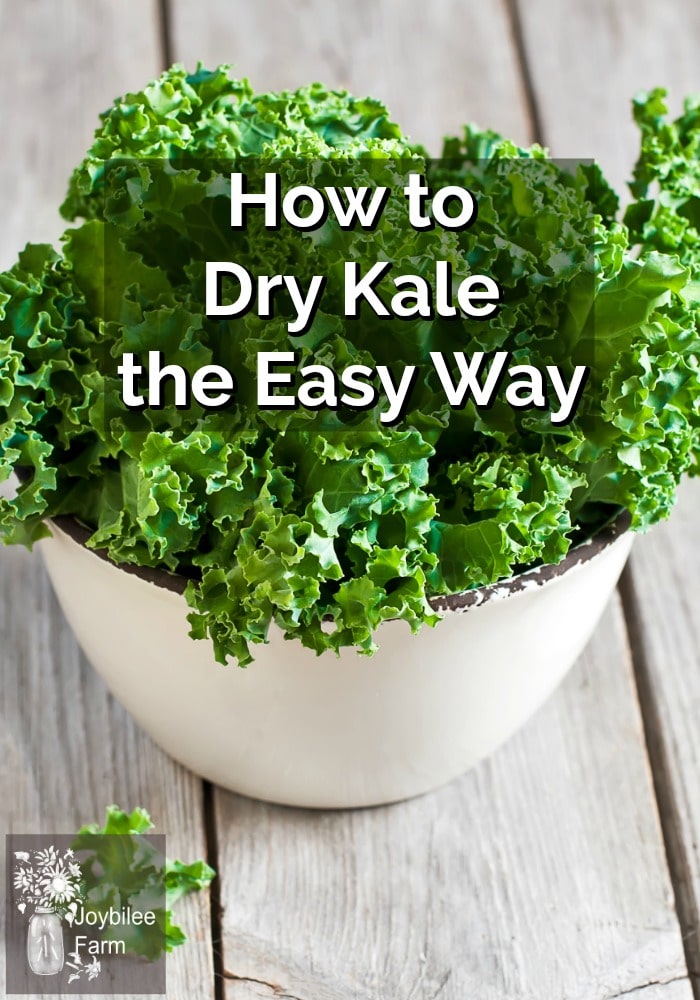
The lazy woman’s way of drying Kale for the winter
Kale is one of the easiest vegetables to dry for winter. Give this simple Kale drying method a try and you’ll be glad you did.
Don’t hate me
When I first started drying greens for the winter, I dutifully blanched every last quart of harvested, washed, chopped, and sorted greens. But that extra work and mess creates lots of dishes and takes a lot of time. As a result, I rarely got around to doing the task at all – especially when the garden produces, which is free, comes at the same time as the fall fruit harvest, which I am buying from the farmer’s market or local farms. I always had lots of dried fruit in our winter food storage but not so many vegetables. And I always said, next year will be different. Then I discovered that I didn’t need to work so hard. Really?
I discovered that Kale is easy to dry
Kale is one of the easiest vegetables to dry for winter. Did you know that dried kale and kale chips are the new superfood? My English neighbour says that Kale is just livestock fodder, but the scientists, like Dr. Mercola, would argue with him. In fact, Kale is getting so much press these days, that what used to cost less than a head of cabbage is now more costly than winter lettuce. Check out Kale in the produce section in February. I even saw frozen Kale for the first time in my grocery store yesterday. Weird. You can now buy dried kale and kale chips in tiny 60-gram packages for $7 at the organic market. This is true. Do the math. That’s like $50 a pound. That’s more costly than the most expensive organic grass-fed steak! But you can make your own dried kale at home from Kale you grow yourself. Not only that but it’s easy and fast.
And Kale doesn’t have to be blanched or cooked before it is dehydrated. In fact, many of the health benefits of Kale are diminished when the leaves are cooked. So it’s totally ok, to save all that work and clean up, and dry your Kale raw.
If you don’t have a dehydrator yet, you can do this in your oven overnight, with just the oven light on. That’s ok for kale chips or to have some to snack on right now. But you really need to get a dehydrator if you want to do large batches and have a winter supply. (This is the dehydrator I recommend.)
Let’s dry Kale:
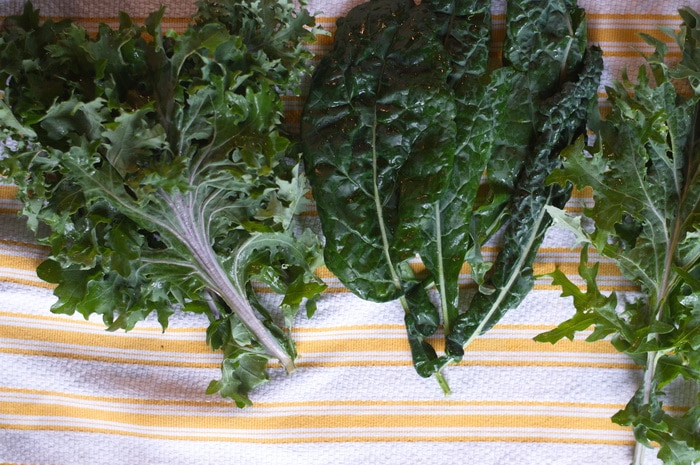
Pick the Kale in its prime. It’s sweeter after it’s had a week or two of frosty mornings. The sugars in the Kale deepen its flavour, replacing the bitterness of summer kale. Discard any insect eaten, slimy, or brown leaves. The red leaves are fine. And the dark green leaves are also good to use. The deeper the colour the better – more antioxidants and more chlorophyll.
Wash the leaves well. If you see any holes in the leaves, evidence of cabbage butterfly caterpillar damage – those little green broccoli worms – soak the leaves in cold water for an hour. Any hitchhiking worms will curl up and drop off into your kitchen sink. Dry the leaves by draining them in a colander or on a dish rack, for a brief period. They don’t have to be totally dry.
On your cutting board, with a sharp knife (the one I use), remove the heavy central rib from each leaf. The central rib is fibrous and difficult to dry. If you decide to dry it, do it separately and then grind it to a fine powder to add to soups and stews. I put mine in the bucket to feed to the goats and chickens – but the choice is yours.
Chop each leaf into fine ribbons. To do this I like to remove the rib from several leaves. Then stack the green leafy parts on top of each other. Roll this stack into a jelly roll shape, and chop the leaves into fine slivers, no more than 1/8th of an inch wide.
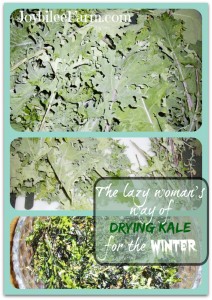
Put your chopped leaves on your dehydrator trays. Dry on medium heat until crisp and crumbly.
Kale dries fast – usually in 6 to 8 hours if the weather isn’t too humid. The stems will take longer. You want them brittle and crumbly. If there is any limpness at all, dry it a little longer before storage. You don’t want it to mold.
Store your dried kale in glass
Once the Kale is fully dry, allow it to cool to room temperature. Store it in glass jars with tight-fitting lids. You can leave it whole or crumble it as you put it into jars. It’s raw and full of vitamins and enzymes because you didn’t blanch it. Dried properly, it retains its bright green/pink/purple colours, too. It’s ready to add to winter soups, stews, bread, smoothies, or even just eat it raw, out of the jar. It’s delicious. You can even powder it like the natural health products business if you really want to. But no matter which way you decide to eat it, now you know how easy it is to dry kale.
So give this simple Kale drying method a try and forget all that dishwashing and clean up. Drying this superpower food couldn’t be easier.
Check out my series on getting the most from your dehydrator.
You can also make Kale chips in the oven.
Your Turn:
What’s your favourite way to serve the superfood – Kale?

How long will it stay good for?
You are killing your kale not dehydrating it!
Dehydration is done at 135f. And it does not destroy all the vitamins and antioxidants . High temp does.
Some airfryers have a dehydrating setting.
I use my oven to dry everything. I always use the lowest setting.
I’m drying kale in my air fryer. It takes about 3 minutes for 1 stem at 370 degrees Fahrenheit. Will try a larger batch later this summer.
I am going to grind the stems and dry them like a paste, so nothing goes to waste.