How to Make Beeswax Food Wraps So You Never Need Plastic Wrap Again
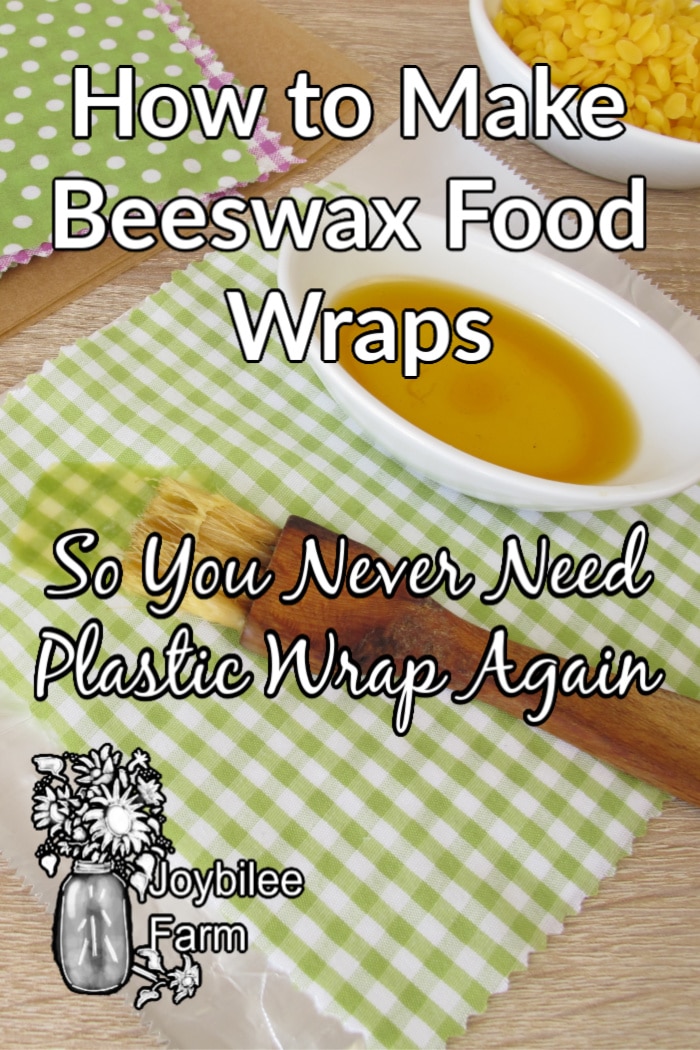
Create beautiful, handmade beeswax food wrap to replace single-use plastics. These beeswax food wraps are eco-friendly, useful, and easy to use too.
Forget the plastic bags and cling wrap. Using reusable, beeswax-impregnated cloth. You can save money and avoid the use of endocrine-disrupting plastic. And do your part to save the oceans by reducing single-use plastic.
This recipe makes four food wraps that are big enough to cover a bowl or wrap a sandwich with. Double the recipe when you make it and include enough cotton fabric to make beeswax food wraps for a friend, too. Using larger pieces of fabric will give you wraps for party platters, or other large bowls.
The pine resin is what makes the cloth cling to a bowl. It’s sticky but dissolves in oil. Use a little oil to help with clean-up.


Beeswax Food Wrap
Ingredients
- ¼ cup beeswax
- 2 tablespoons pine resin
- 1 tablespoon jojoba oil
- 4 (14 x 14-inch) squares of 100% cotton muslin fabric
Equipment:
- Parchment paper
- Baking sheet
- 1-inch-wide natural bristle, disposable paintbrush
- Clothes drying rack
Instructions
- Make a double boiler using a glass measuring cup. Melt the beeswax and pine resin together in the cup, over medium heat. When the beeswax and pine resin are liquid, drizzle the jojoba oil into the mixture while stirring. You may need to scrape the pine resin off the bottom of the jar and stir it into the beeswax once the mixture is melted. Leave the beeswax mixture in the double boiler and the heat turned on low to keep the mixture liquid while you work with the fabric pieces.
- Wash the cotton muslin pieces well to remove the sizing and hang to dry. Press them with a steam iron to remove wrinkles before waxing. If desired, you can finish the edges with a zigzag stitch, a serged edge, or simply by cutting the edges with pinking shears.
- Place a piece of parchment paper on a baking sheet. Preheat the oven to 225°F.
- Working with one piece of fabric at a time, place the fabric in a single layer on the baking sheet, on top of the parchment paper. Using paintbrush, wipe the beeswax mixture onto the surface of the fabric. Place the baking sheet in the oven. Leave it only long enough to melt the beeswax. The beeswax mixture will melt into the fabric and spread. Once the fabric darkens and glistens, showing that the beeswax is fully melted, remove the baking sheet from the oven.
- Use the paintbrush to make sure the beeswax mixture fully saturates the cloth. It may pool in some areas and leave other areas drier. Move the wax around the fabric, using the paintbrush as necessary. Blot excess wax using another piece of fabric, laid out over the first piece.
- When the fabric is saturated with the wax mixture, flip the fabric over on the baking sheet, so that the blotting fabric is on the bottom and takes the excess wax. Using your hands on the warmed fabric, work the excess wax into the less saturated areas of the fabric. Return the baking sheet to the oven, briefly, just long enough to liquefy the wax. Remove the first fabric from the baking sheet and drape over a clothes rack to dry.
- The blotting fabric is now your working fabric. Use a brush to spread more of the beeswax mixture around on the fabric. Try to cover the fabric evenly with a thin layer of the wax mixture. Place the baking sheet in the oven to melt the wax. As soon as the wax is liquefied, remove the baking sheet from the oven. Spread the melted wax around with the paintbrush. Blot the excess wax from the working fabric using a new piece of fabric. Flip the fabric over so that the blotting fabric is now on the bottom. Return this briefly to the oven to re-liquefy. Remove the working fabric to a rack to dry.
- Repeat with more squares of fabric, going through the process one at a time, and blotting the excess wax onto the next piece of fabric. Allow the beeswax-impregnated fabric squares to dry fully. Once dry, wipe both sides of each piece of fabric with a damp cloth to remove any residual wax or resin before using.
Yield: 4 (14 x 14-inch) food wraps
Ingredients:
¼ cup beeswax
2 tablespoons pine resin
1 tablespoon jojoba oil
4 (14 x 14-inch) squares of 100% cotton muslin fabric
Equipment:
Parchment paper
Baking sheet
1-inch-wide natural bristle, disposable paintbrush
Clothes drying rack

Directions:
- Make a double boiler using a glass measuring cup. Melt the beeswax and pine resin together in the cup, over medium heat. When the beeswax and pine resin is liquid, drizzle the jojoba oil into the mixture while stirring. You may need to scrape the pine resin off the bottom of the jar and stir it into the beeswax once the mixture is melted. Leave the beeswax mixture in the double boiler and the heat turned on low to keep the mixture liquid while you work with the fabric pieces.
- Wash the cotton muslin pieces well to remove the sizing and hang them to dry. Press them with a steam iron to remove wrinkles before waxing. If desired, you can finish the edges with a zigzag stitch, a serged edge, or simply by cutting the edges with pinking shears.
- Place a piece of parchment paper on a baking sheet. Preheat the oven to 225°F.
- Working with one piece of fabric at a time, place the fabric in a single layer on the baking sheet, on top of the parchment paper. Using a paintbrush, wipe the beeswax mixture onto the surface of the fabric. Place the baking sheet in the oven. Leave it only long enough to melt the beeswax. The beeswax mixture will melt into the fabric and spread. Once the fabric darkens and glistens, showing that the beeswax is fully melted, remove the baking sheet from the oven.
- Use the paintbrush to make sure the beeswax mixture fully saturates the cloth. It may pool in some areas and leave other areas drier. Move the wax around the fabric, using the paintbrush as necessary. Blot excess wax using another piece of fabric laid out over the first piece.
- When the fabric is saturated with the wax mixture, flip the fabric over on the baking sheet, so that the blotting fabric is on the bottom and takes the excess wax. Using your hands on the warmed fabric, work the excess wax into the less saturated areas of the fabric. Return the baking sheet to the oven, briefly, just long enough to liquefy the wax. Remove the first fabric from the baking sheet and drape over a clothes rack to dry.
- The blotting fabric is now your working fabric. Use a brush to spread more of the beeswax mixture around the fabric. Try to cover the fabric evenly with a thin layer of the wax mixture. Place the baking sheet in the oven to melt the wax. As soon as the wax is liquefied, remove the baking sheet from the oven. Spread the melted wax around with the paintbrush. Blot the excess wax from the working fabric using a new piece of fabric. Flip the fabric over so that the blotting fabric is now on the bottom. Return this briefly to the oven to re-liquefy. Remove the working fabric to a rack to dry.
- Repeat with more squares of fabric, going through the process one at a time, and blotting the excess wax onto the next piece of fabric. Allow the beeswax-impregnated fabric squares to dry fully. Once dry, wipe both sides of each piece of fabric with a damp cloth to remove any residual wax or resin before using.
To use:
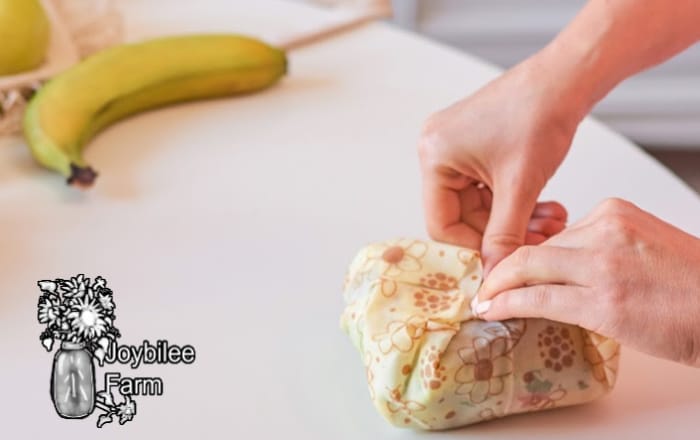
The beeswax food wrap can be warmed in the hands and will conform to the shape of a bowl it is covering. Use it to wrap sandwiches. You can wrap snacks, vegetables, cheese, or even loaves of bread, provided that the pieces of fabric are large enough. The pine resin is naturally antimicrobial and adds strength, cling, and malleability to the mixture.
To clean:
Wash your beeswax food wrap in cool to warm water, using mild dish detergent. Hang to dry. Fold and store.
Do not machine wash. Do not wash in hot water.
Reducing your reliance on single-use plastic
This project will help you reduce single-use plastic by replacing some of the cling wrap, sandwich bags, and zipper lock bags you are currently using. Beeswax food wrap is just a baby step to a bigger goal of a more self-reliant lifestyle. Our global self-distancing experiment in the spring of 2020, exposed the stark inadequacies of globalism. Many families discovered that they weren’t ready to live without Wonder Bread, Ricoroni, and fast food. But the global supply chain wasn’t cooperating and shortages of basic supplies like toilet paper, frozen vegetables and hamburger lasted for weeks on end.
Around the same time Kris Bordessa’s new book Attainable Sustainable, The Lost Art of Self-Reliant Living was released by National Geographic. It couldn’t have come at a better time. On my Facebook group, I was scrambling to answer questions about how to make bread without yeast, how to make sourdough, how to cook matzoh for Passover, and how to make noodles with just flour and eggs, as moms found their stores empty of the basic ingredients that they’ve always relied on. Some couldn’t wait to get back to normal. Others were a little bit excited to find out it wasn’t as hard as they thought it would be to cook nourishing food from scratch. Attainable Sustainable (the book not the blog), came at just the right time to help us navigate the “new normal” while offering hope that our quality of life could be not just ok but actually better.
If you are a beginner to the DIY lifestyle, this book was written with you in mind. This attractive book is a good, easy-to-scan book for those just beginning to make things from scratch. Whether the goal is to reduce plastic use, reduce the carbon footprint, or even save money on basic necessities, you’ll find your start in Kris Bordessa’s new book.
The layout of this book makes what you are looking for easy to find. Each section is colour-coded so you can quickly flip to the topic you are looking for. Then once you get there each topic is divided into two to four-page, quick to read, segments. That means you don’t have to wade through pages and pages of philosophy or explanation just to find the how-to nuggets you are looking for. Who has time for that?
Attainable Sustainable is the kind of book you can grow into. Start with the scratch cooking section and learn to bake bread, cut up a whole chicken, make ranch dressing, grainy mustard, or other pantry staples. Then move on to growing your own vegetables or making herbal remedies or even raising poultry or livestock. Farm fresh eggs? Yes, please.
This book reminds me of those Reader’s Digest books like “Back to Basics” and “Crafts and Hobbies” from 40 years ago. But this one has up-to-date information for the era of the Big Box store and online ordering. If you are old enough to remember that series of books — they were great to browse through on a lazy Sunday afternoon for inspiration and motivation. Attainable Sustainable, the lost art of self-reliant living, like those old digest books, is inspirational, quick to browse, and pretty enough for the coffee table. The instructions are short, to the point and time tested to ensure your success in each project.
Think of this book as an appetizer. You won’t find a deep dive reference on any one subject but you’ll get enough information to do a few projects and see if you are actually interested in learning more on the subject. The author includes a list of recommended books when you are ready to get the “full meal deal” for anyone subject area.
Those who are already gardening, cooking from scratch, and raising their own eggs — won’t find new ideas and innovation in this back-to-basics guide. But those who are just starting out will find their next step and reduce the information overload and the stress of indecision through this book. And that’s worth a lot.
Grab your copy of this great book before the copies run out, like toilet paper.
Disclaimer: I received a copy of this book from the publisher for review purposes. This is my honest opinion of this work.
Be inspired with more beeswax recipes from my book The Beeswax Workshop:
Beeswax is easy to work with and a versatile ingredient for DIY Perfumes, salves, and personal care products. It’s not just for candles, even though DIY candles are wonderful, too. Grab my book The Beeswax Workshop, and learn more about this amazing ingredient.


Leave a Reply