How to Braid Garlic
The best way for preserving garlic at home is by braiding the long green leaves and hanging the garlic braid in your kitchen. Braided garlic needs no refrigeration, doesn’t need a root cellar, and thrives just hanging out in your kitchen where you will use it daily. This method of preserving garlic has stood the test of time, being used by women throughout history to keep the garlic goodness from one growing season to another.
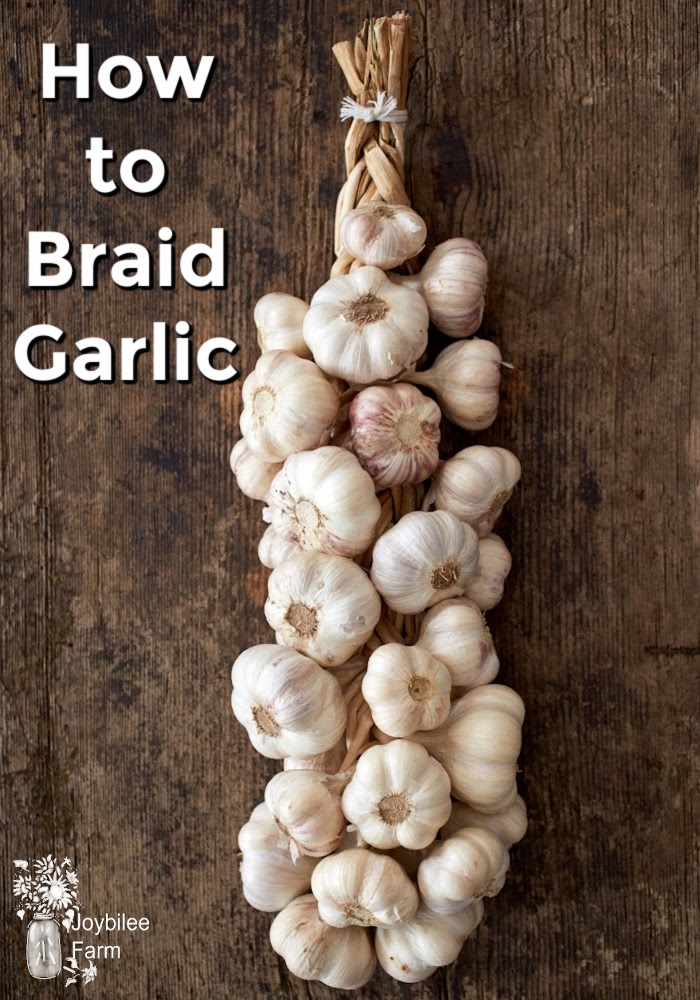
Yesterday I wrote about garlic self sufficiency — How to grow your own garlic. But once harvested what is the best way to preserve the garlic goodness for winter use?
Preserving garlic
Traditionally garlic and onions were left with their green leaves on and braided to store them for the winter. In an era without refrigeration, where garlic was essential to health, this allowed garlic to be stored, hung from the rafters, protected by the papery wrappers in each head. Garlic lasts better stored at room temperature, even if that room temperature fluctuates during the day.
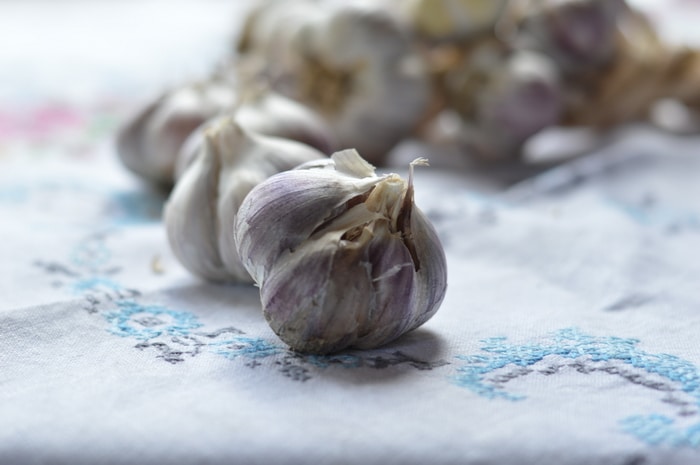
Don’t keep your garlic in the fridge
When refrigerated, garlic responds to cold temperatures by sprouting. Loose garlic – how you usually find it in the grocery store — has a short shelf life. Garlic, when separated from its green leaves, stored as a loose head, dries out quickly and sprouts.
Even if you keep it in a clay garlic jar, it still dries out in just a few weeks. But Garlic stored as a braid, at room temperature, away from direct sun, lasts through the winter and often into the next summer. It may sprout toward midsummer.
Braiding is the best method of retaining all the goodness of your garlic crop for the longest time. You don’t have to grow your own to do this. If you are still buying your garlic at the farmer’s market, let the farmer know that you want to buy it with the green leaves intact because you want to braid it. If you’ve established a relationship with the farmer he will be happy to comply with the request.
How to Braid Garlic
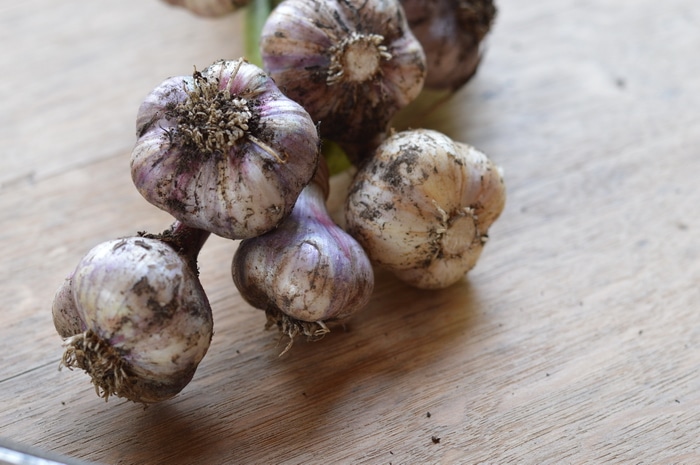
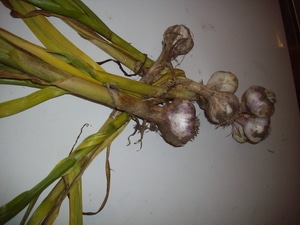
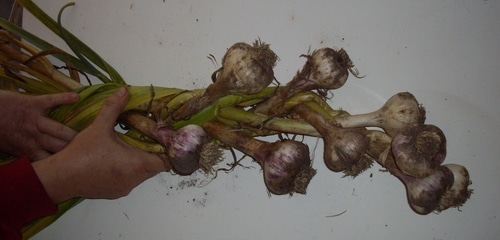
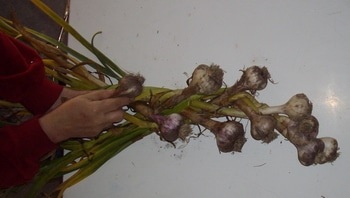
Preserving garlic by braiding the green leaves together is an easy to learn skill. If you’ve ever braided a little girl’s hair with a French braid, you already have the skills you need to braid garlic. Making a garlic braid is similar to French Braiding. You will need 18 heads of garlic with their green leaves attached. Trim the roots. Brush off clumps of dirt from the heads. Do not wash in water.
- Secure the top by wrapping with twine, add a loop for hanging at the back. Add a ribbon or bow if you plan to give the garlic as a gift.
- Trim any loose stalks and hang them in the shade, in a cool, airy place to allow them to fully dry. Keep out of the direct sun. Protect from moisture.
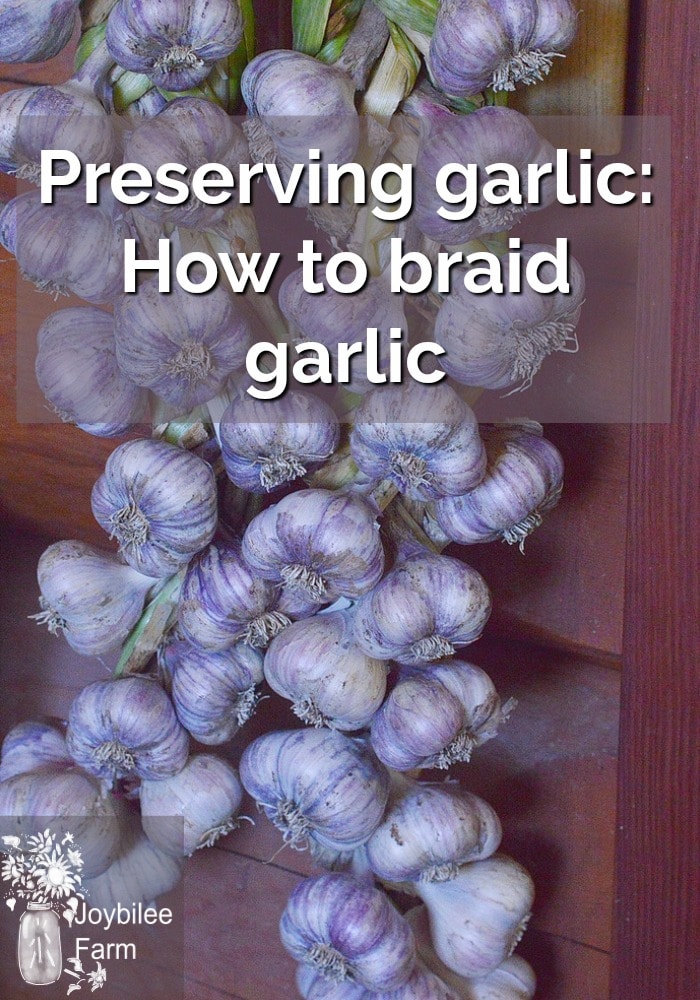
- After a week or two, brush off any residual dirt from the garlic heads and bring it indoors. The color on the garlic parchment-like wrap will continue to develop as it dries. My garlic variety is Red Russian Giant and deepens to a pinky red in storage. The green leaves dry to a parchment brown color.
Hang the garlic braid in your kitchen for easy access to fresh garlic year round. Even if you heat with wood and have temperature fluctuations during the day, braided garlic is well-preserved in the warm environment of a kitchen. Preserving garlic by braiding the stalks together, within a week of harvesting it from your garden, will allow your garlic to last until your next harvest comes in if you don’t eat it first.
Don’t forget to save your largest heads of garlic for planting in October for next year’s crop. By replanting your best garlic heads, you’ll retain the quality of your garlic crop and become garlic self sufficient in a short time. Preserving garlic by replanting your best cloves will ensure that your family is well stocked in garlic for years to come.
How many cloves will you need for planting?
I aim for 100 cloves for our family’s use. This gives me braids of garlic to share and some garlic to dry for garlic powder or ferment. There’s still ample left for garlic bread, 40 clove garlic chicken, roasted garlic, and aioli sauce. Plant extra and you’ll have enough to give away or sell.



Are these a hardneck variety?
We planted hardneck last fall and it’s just about ready to harvest (I think).
It’s the first time we’ve done garlic – it was kind of a spur of the moment thing.
Now I’m trying to figure out how to cure and store it.
Any suggestions?
Thanks SO much, love your blog – I learn SO much here!
Yes, I grow hardneck garlic. Harvest your garlic when the leaves are 1/3rd yellow.