Microgreens are a simple and awesome way to add fresh salads to your table, all year round. They are especially great for winter growing, or for growing greens in scorching summers when greens in the garden fail. Follow these tips for better microgreens and take your microgreen growing to the next level!
Years ago I bought a Sunblaster grow light garden that was advertised for microgreens. I used it mostly for starting tomato and pepper plants from March to May, when they could safely be transplanted to my greenhouse for the remainder of the growing season. The kit was marketed for microgreen growing. I did grow a few trays of microgreens, like peas and sunflowers but they seemed to take a long time to mature, the process seemed complicated and the success rate was unpredictable. Outdoor gardening was so much more successful in those years, that I put my efforts into that and let the microgreens slip.

But that all changed in 2020 when our rural grocery stores didn’t get basic supplies like fresh vegetables, eggs, meat, and bread. Covid-19 shutdowns caused serious supply chain shortages in rural Canada. I did a bit more research into growing microgreens, soil sprouts, and sprouts and figure out a system that will supply fresh salad greens for my family year round. Now I’m following my own tips for better microgreens, growing them consistently and most of the time getting good results. I discovered I was missing a few important steps that make the difference between consistent success and spotty harvests.
Let me share with you the things I’ve learned about growing microgreens, through trial and error, over the last several months.
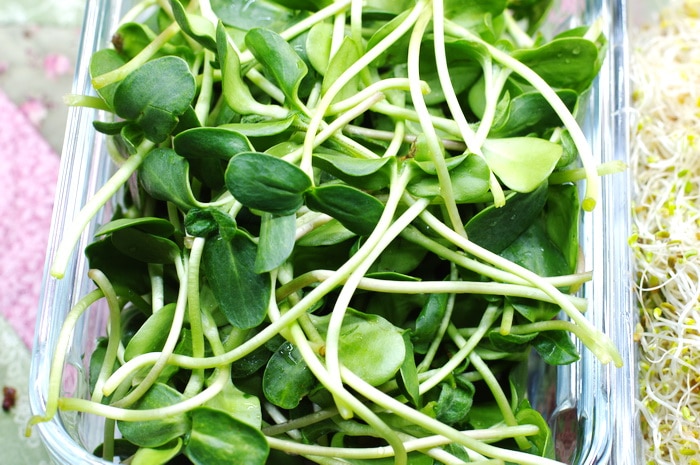
Tip #1: Find the correct seed density and stick to it.
I found that most microgreen seed systems suggest planting way too much seed. They say things like, “plant thickly”, “make the seeds touch”. But planting too thickly can lead to reduced air circulation, plants that struggle to dig their roots into the soil or growing medium, or even mold issues. Ideally I want to plant one tablespoon of tiny microgreen seed per 10 x 10 tray or 3 to 4 tablespoons of microgreen seed for large seeded crops. Large seeded microgreen crops include peas, sunflowers, and most beans.
While different seed might require different plant densities, its a good idea to take notes and adjust your seeding density on what works best for you. Once you settle on the ideal seed density for both large and small seeds, stick to it, for best results.
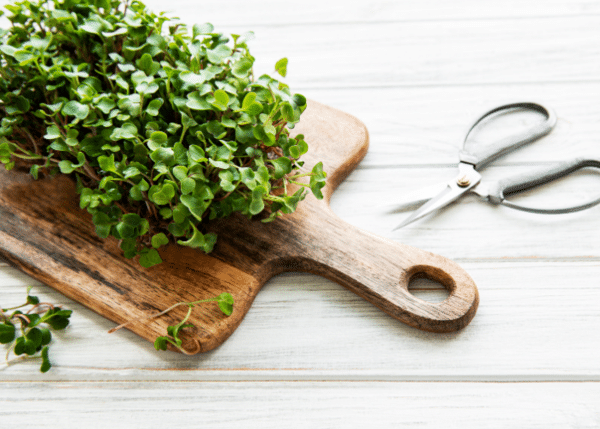
Tip #2 Sow on the surface of the soil or medium, don’t bury the seed.
When I first started growing microgreens the instructions said to bury the seed with a thin layer of soil. But the seeds needed several days to push up through the soil before they could even begin to grow. After reading Year Round Indoor Salad Gardening, I realized I could just scatter the seed on the surface of the medium. This works! When planted on the surface the radical goes down to seek the soil moisture, while the cotyledon reaches up to the light. It reduces the number of days the seeds need to germinate and keeps the crops cleaner during harvest. This is one of the tips for better microgreens that gives instant results, and speeds up the process too.
Tip #3 Apply pressure during germination
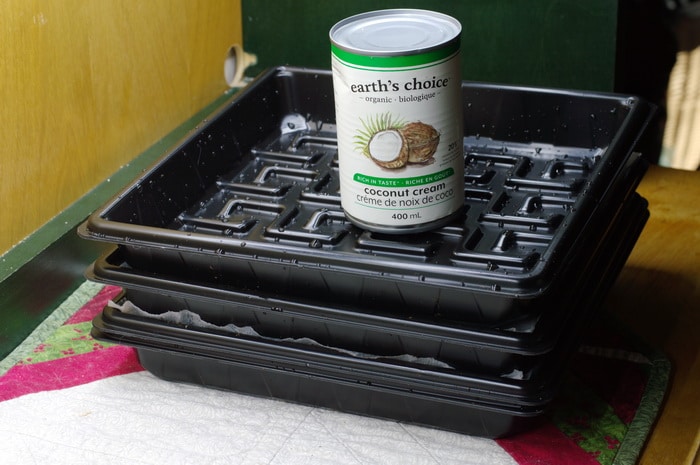
Put a weight on top of the freshly planted seed. Place a seed tray on top of the seed. Place a weight of some kind on top of this tray. This forces the root to press down into the planting medium, giving it a firm footing. Without this downward pressure, my seeds had spotty germination, with some seeds germinating, but staying on top of the planting medium. Seeds that don’t press down into the planting medium dry out and die when they are exposed to the heat of the lights. Keep this pressure on for at least 3 days until you see even germination across the tray.
Tip #4 Keep them in the dark for 4 days
By the time your seeds are germinated they have been in the dark for at least 3 days. Darkness encourages those baby plants to stretch upward, seeking the light. This makes the stems longer and easier to harvest when the time comes. Once you’ve removed the weight on day 4, reverse the top seed tray to create a dome over the seeds and keep them in the dark for one or two more days, until the stems are at least one inch above the soil surface. How long you need to do this depends on the seed variety.
Swiss chard needs 3 more days in black out, while broccoli only needs 1 more day after germination. You’ll know they are ready when the stalks are at least 1 inch high and are pushing well above the edge of the tray. Keep the trays watered both during the germination period and during the back out period. Among the tips for better microgreens, this one also helps with harvesting as the plants’ stems are longer.
The plants will be pale and yellow during this black out time but they will change color within a few hours of being put in the light.
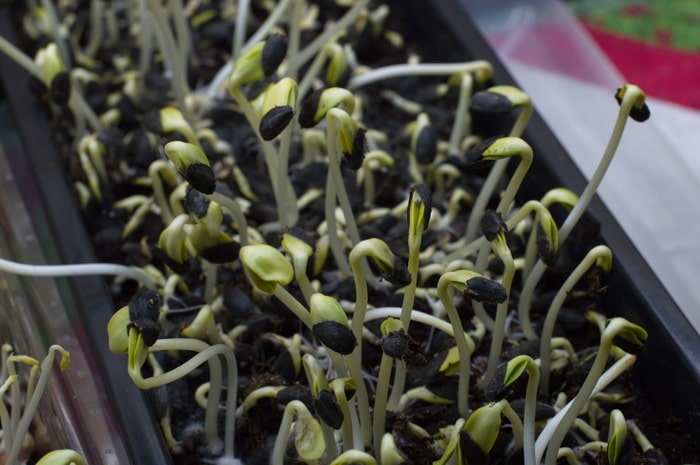
Tip #5 Harvest as soon as the true leaf begins to appear between the cotyledons.
You don’t need to wait for the true leaf to mature before you harvest. In fact, in sunflowers once the true leaf is evident the quality of the sunflower microgreen goes down hill fast. Most plants are sweeter, juicier, with less fiber just before the true leaf is evident. So once you see that true leaf beginning to form, taste your microgreens daily. Harvest when you like the flavor.
Commercial microgreen growers usually harvest after that first true leaf is mature. This gives them the highest weight and therefore profit for the crop. However, some microgreens will no longer be at their best flavor and texture at this point. .Sunflower microgreens become bitter after the true leaf comes and those true leaves are slightly hairy. Test your microgreens daily and harvest when the crop is exactly what you are looking for.
New to growing microgreens?
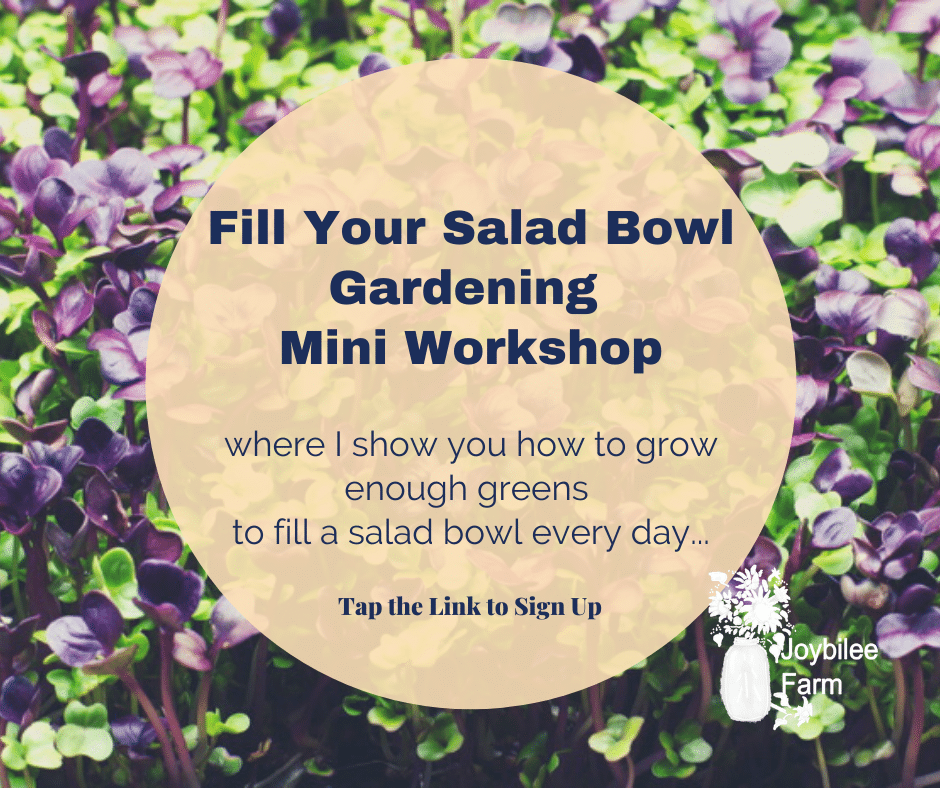
Check out the Fill Your Salad Bowl workshop and learn how to use 3 different growing methods, at home, so you can fill your salad bowl with super food, nutrient dense, greens every single day. These are greens you can use in your salad bowl, greens you can add to soups, stews, and pasta dishes, and even greens you can use in a stir fry.
In this mini workshop you will learn how to fill a salad bowl every day with food you grow yourself.
- Even if you don’t have any land.
- Even if there is 3 feet of snow covering your garden
- Even if you’ve killed house plants in the past.
- Even if you think you have a black thumb.
Have a look at what’s covered in this workshop and see if its a good fit for you, by clicking/tapping the blue button below.




Leave a Reply