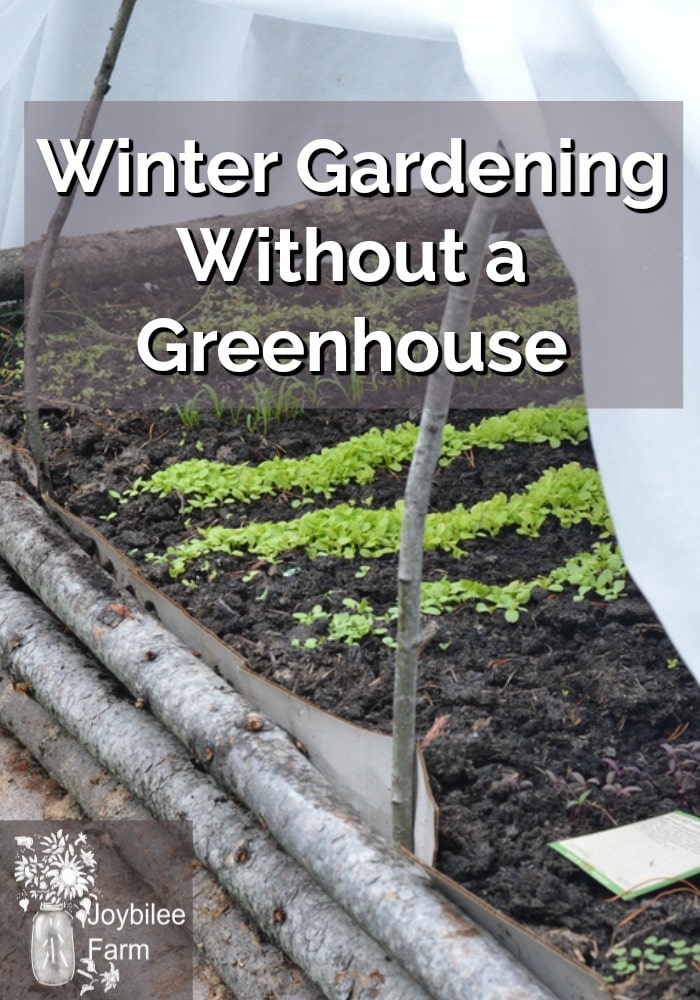
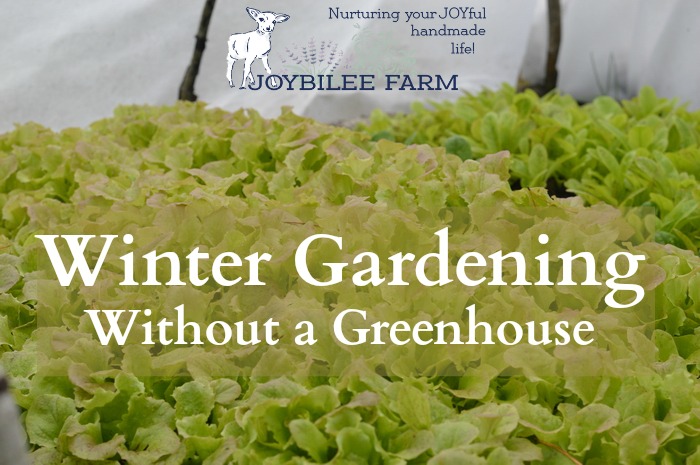
Winter gardening without a greenhouse can help you keep fresh greens on your table throughout the darkest months of winter.
If you live where winters are long and harsh you will want to grow some fresh greens for winter use. Here are two ways to accomplish winter gardening without a greenhouse, and you don’t even have to stretch before gardening for indoor gardens.

Bring the herbs in the house for winter:
Before the cold hit hard, I planted up a pot of herbs to bring in the house for winter. I lined the pot with wool dags to hold in moisture and encourage root development deep into the pot. I filled the remainder of the pot with potting soil and tamped it down. Then I transplanted some mint, parsley, and chives and watered it in.
I’ve got the pot in a south-facing window. The chives were dormant and it will take a few weeks for them to begin to grow, but the parsley and mint are already showing new life.
As the days shorten the plants will grow lanky, due to lack of light. But they can be cut back. Other quickly growing plants for indoor gardening in winter conditions include peas — you can eat the leafy sprouts in stir-fries, lettuce, bok choy. And of course, you can sprout radish, kale, broccoli, cress, and sunflower seeds, in a jar without soil. Make sure you use untreated and nonGMO seeds for planting and sprouts.
If you are fortunate to have an outdoor space — you can keep a winter garden warm under a hoop house or in an unheated greenhouse space. Don’t have a greenhouse? I didn’t for 6 years. You can create a protected environment for winter gardening even without a greenhouse by building a natural hot-bed and covering it with a cloche.
Here’s how to create a hot-bed for winter gardening outdoors:
This hotbed requires no electricity and uses radiant heat from naturally composting manure and solar energy to keep the plants warm and growing.
1. Dig a trench.
Create a hotbed by digging a trench in your garden space at least 18 inches deep. Fill the bottom foot of the bed with fresh manure — chicken, pig, or horse manure is best for this as it will heat well. Goat, sheep, rabbit, and llama manure is partially decomposed when it is fresh and won’t heat as well, but if it’s all you have use it. Don’t use finished composted manure for this. It must be fresh so it will generate heat over the growing season. By the end of the winter, it will be well composted. Tamp it down well and fill the remainder of the trench with finished compost or garden soil that’s at least a foot deep, so that the roots of your growing plants don’t burn.

2. Plant the seed.
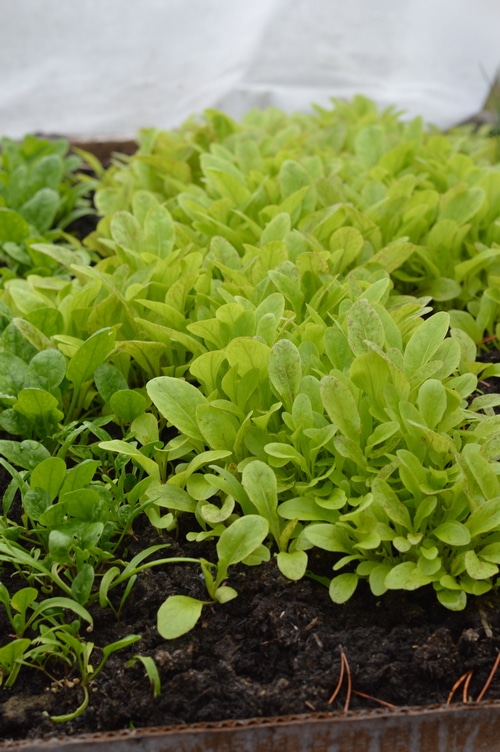
You want to use cold-hardy vegetables for this bed. Anything that would be killed by frost is too tender for this project. Plant lettuce, kale, spinach, bok choy, or other quick-growing greens. Divide your chive plants or transplant some parsley and add it to one end of the bed to spice up your winter salads. Or transplant nursery plants. Allow for some distance between transplants for air circulation. If you are planting seeds, thin them as you harvest them for eating. You want to allow lots of room for air circulation around the plants to prevent fungal problems.
3. Mulch to hold in moisture.
Mulch with straw mixed with rabbit manure, goat manure, or llama manure. The manure will give off a bit more heat as it decomposes and the mulch keeps the ground from getting too hard and frozen. If you planted seeds, make sure that you haven’t covered the seed row with mulch.
4. Water well.
But don’t water excessively. The plants will stop growing when the sunlight reduces at the beginning of winter.
5. Add a heat sink.
Add some recycled 1-gallon plastic bottles — vinegar, oil, or detergent bottles work well. Paint this flat-black if you can. Fill with water. Leave a headspace to allow the water to expand if frozen. And place strategically in the bed – 2 bottles at either end of your bed and one every 3 feet within the bed is a good start. These will absorb heat from the sun during the day and give off the heat for a short period during the night. Even if they freeze solid at night, they will give off heat as they thaw during the day.
5. Create a protective cloche.
Create a hoop house using fencing materials, sapling poles, or plastic pipes. Make the hoop house as long as your bed and as wide. Make it at least 2 feet high. Place the shelter over your bed. Cover with heavy polyester cloche fabric to hold in the heat. Cut the cloche a bit wider than the full width and height of your bed to allow an extra 8 inches along the edge. Tuck the fabric in well, covering it with soil. There is no need to vent the cloche fabric on hot days. The cloche fabric allows the bed to breathe and mitigates the fungal problems inherent in plastic cloche beds.
Add a second polyester row cover over the vegetables inside the cloche, if your temperatures in winter drop substantially.
If you live where the temperatures drop to -20C, you can add a poly row cover to your vegetables under the cloche to hold in more heat against them. You’ll have double protection. A 1.5-ounce polyester row cover provides an additional 5 C of protection and allows 50% of the light through. Heavy-duty row covers should last you many seasons. They don’t tear easily.
6. Water during the growing time.
Water with warm water if necessary, but there will be moisture build-up from condensation so check the moisture conditions before watering.
7. Harvest as needed.
If you made your hoop-house in an arch, it should repel the first few snowfalls and give you food into January. The snow will help to insulate it, too. If the snow gets really deep you can leave the hoop house till March and continue to harvest plants like Kale and purple sprouting broccoli into Spring. During the dark days of December and January, the greens within the bed won’t grow much. But as the days lengthen and the temperatures rise, the plants may put on fresh growth.

8. Harvest and replant in March for early Spring greens.
By March much of the warmth in the heat sink will be gone. Your hotbed will now be just a normal raised bed. The depth of soil may have dropped as the fresh manure composted over the winter. Add more soil if necessary before replanting the bed to spring greens in March.
Your Turn:
What’s your experience with winter gardening? Have you had success using a cloche to grow greens in winter? Did you encounter any difficulties? Leave a comment.


