The Secret to Perfect Pitas Every Time
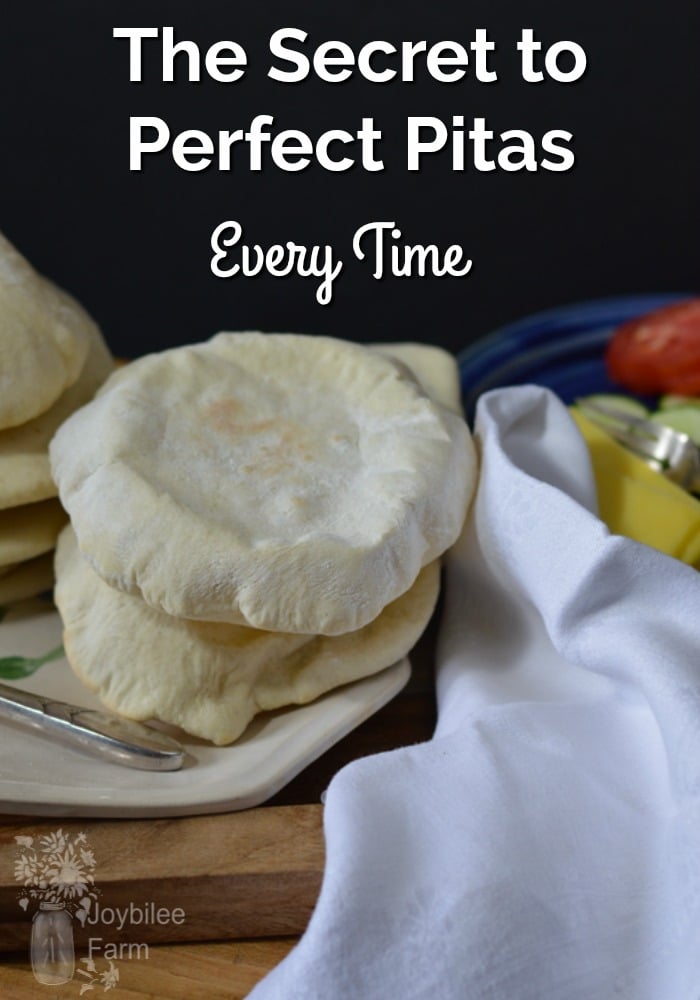
After 30 years of baking this favourite bread, I’ve learned the secret to perfect pitas. Amaze your friends by baking delicious pitas for your next weekend’s lunch. Here are my secrets to perfect pita bread every time.
I love pita bread, the middle eastern pocket bread. But, often, my whole wheat pitas had to be used as a tortilla because the pocket in the middle was just a ripple of bubbles instead of the voluminous pocket, so necessary for stuffing.

Start with a simple bread dough:
This is the one I use. It’s great for busy lives that yearn for fresh-baked bread but don’t have the time to fuss with it. It keeps in the fridge for up to 2 weeks. Ours never lasts that long. Use it to bake delicious, crusty homemade bread whenever you want. Make a fresh batch of dough in 10 minutes when you run out (10 min. with an electric mixer, 20 minutes hand mixing). I didn’t invent it. You can find the original here:

Artisan Bread in 5 minutes a day (my version)
8 cups whole wheat flour (I use Roger’s brand)
4 cups bread machine flour (I use Roger’s brand)
3 tbsp. Celtic sea salt
8 cups hot tap water
3 tbsp. regular bread yeast
Sprinkle the yeast on top of the hot water in a 2 litre (8 cups) glass bowl. Leave until it’s frothy.
Mix the first 3 ingredients in a mixing bowl. When yeast is dissolved and frothy, add to the dry ingredients. Mix with a bread hook on your mixer or mix by hand. Knead until smooth. Place in a 2-gallon pail with a lid. Cover with a towel, then the lid, and allow to rise until the top of the dough caves in. (Overnight works, too)
Use immediately or refrigerate for up to two weeks.
To make the Pitas:
Roll the Pitas thin and round without tearing the dough or creasing it
Break off 6 pieces of dough the size of a golf ball. Roll each on a floured surface for 1/8 inch thick, 6-inch rounds that are smooth and evenly round. Don’t fold it or rip the surface of the dough. If it tears, form it into a ball again and start rolling again. Rest each round while you roll the next one.
Preheat both the oven and the baking sheet
Meanwhile, preheat the oven to 450F. Place a baking sheet in the oven on the lowest rack, to preheat. If your oven needs cleaning your smoke alarm might go off when you open your oven. Deal with it. (Don’t disconnect your smoke alarm).
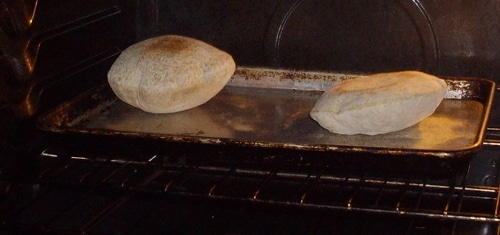
Once the oven is at temperature and the cookie sheet is hot. Immediately remove the baking sheet from the oven, place two pita rounds on the cookie sheet and put back into the oven. Set the time for 9 minutes. At 5 minutes you will see the glorious rounds of pita puffing up in all their sweetness. If yours aren’t, check the oven temperature. It may be too cool. Flip them and close the oven, the faster the better. Allow baking for 4 more minutes.
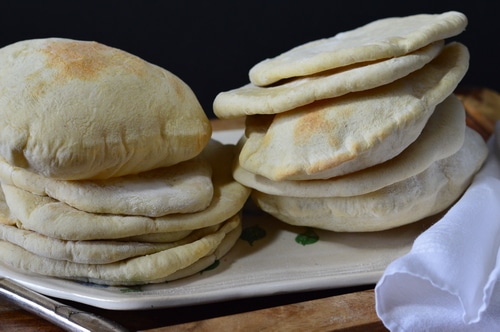
Remove from the oven to a plate lined with a tea towel. Cover pitas to keep warm.
Work fast and keep the baking sheet hot.
While the baking sheet is still hot, place two more pitas on it and repeat, until all 6 pitas are done.
Line a basket with a handwoven tea towel and serve.
Fill with your favourite protein-rich salad, scrambled eggs, or even peanut butter and banana, and enjoy.
Print
The Secret to Perfect Pitas
- Prep Time: 2 hours
- Cook Time: 27 minutes
- Total Time: 2 hours 30 minutes
- Yield: 6 1x
- Category: dinner
- Method: baking
- Cuisine: Middle Eastern
Description
Easy pitas to impress your guests, or just enjoy.
Ingredients
- 8 cups whole wheat flour
- 4 cups bread machine flour
- 3 tbsp. celtic sea salt
- 8 cups hot tap water
- 3 tbsp. regular bread yeast
Instructions
- Sprinkle the yeast on top of the hot water in a 2 litre (8 cup) glass bowl.
- Leave until its frothy.
- Mix the first 3 ingredients in a mixing bowl.
- When yeast is dissolved and frothy, add to the dry ingredients.
- Mix with a bread hook on your mixer or mix by hand.
- Knead until smooth.
- Place in a 2 gallon pail with a lid. Cover with a towel, then the lid, and allow to rise until the top of the dough caves in. (Overnight works, too)
- Use immediately or refrigerate for up to two weeks.
- Break off 6 pieces of dough the size of a golf ball. Roll each on a floured surface for 1/8 inch thick, 6 inch rounds that are smooth and evenly round. Don’t fold it or rip the surface of the dough. If it tears, form it into a ball again and start the rolling again. Rest each round while you roll the next one.
- Preheat both the oven and the baking sheet
- Preheat oven to 450F.
- Place a baking sheet in the oven on the lowest rack, to preheat.
- If your oven needs cleaning your smoke alarm might go off when you open your oven. (Don’t disconnect your smoke alarm).
- Once the oven is at temperature and the cookie sheet is hot. Immediately remove the baking sheet from the oven, place two pita rounds on the cookie sheet and put back into the oven.
- Set the time for 9 minutes.
- At 5 minutes you will see the glorious rounds of pita puffing up in all their sweetness. If yours aren’t, check the oven temperature. It may be too cool.
- Flip them and close the oven, the faster the better. Allow to bake for 4 more minutes. If you like soft pita, cook a slightly shorter time.
- Remove from the oven to a plate lined with a tea towel.
- Cover pitas to keep warm.
- Work fast and keep the baking sheet hot while cooking the rest of the pita.
- Line a basket with a handwoven tea towel and serve.
Notes
Fill with your favorite protein rich salad, scrambled eggs, or even peanut butter and banana, and enjoy.
Here’s another recipe with unbleached all-purpose flour. This one makes just 16 pitas, rather than a huge batch.


TYVM you’ve solved all my prolebms