Summer abundance is the perfect time to preserve vegetables and fruit at peak ripeness for your winter pantry and food use. Food preserved at peak ripeness retains more vitamins and minerals than not in season, and shipped in crops that are picked before starting to ripen. Prepare your pantry food storage now and enjoy summer’s abundance all through the snowy days of winter.
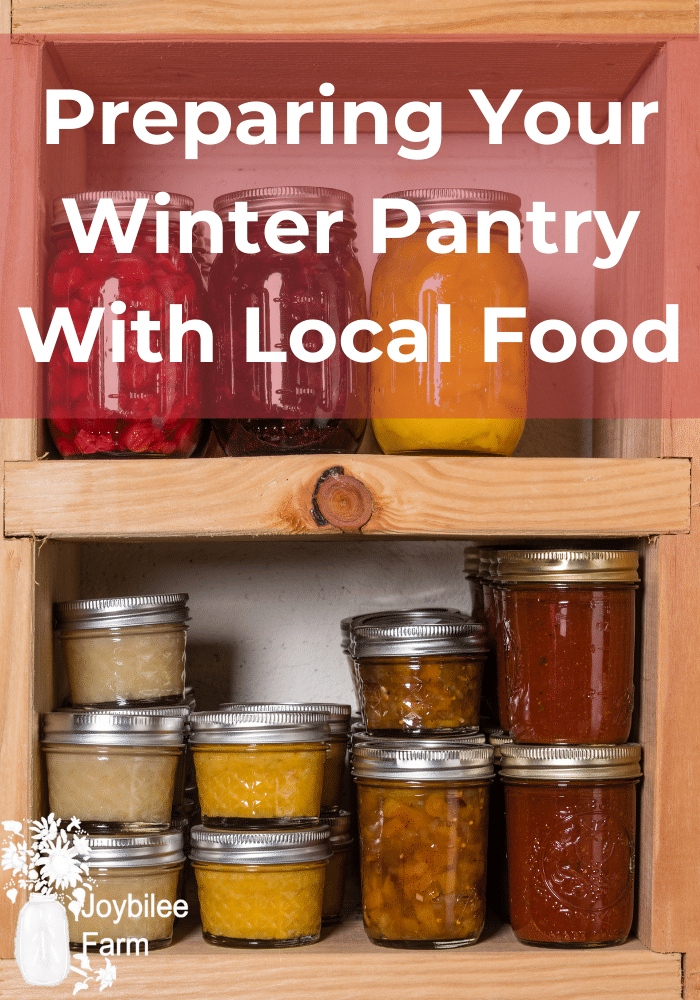
August is the time many homesteaders and gardeners begin their food preservation in earnest. As each food ripens in the garden or comes into season at the farmer’s market, homesteaders fill boxes and baskets and bring them into the kitchen, filled with food to jam, pickle, can, dehydrate, or even freeze dry.
Do a little preserving every day
It’s important to do a little bit of preserving every day, so that the task of preparing for winter isn’t overwhelming — especially this year. Food grown locally and purchased in season will not face the same supply chain disruptions we’re hearing about. It’s essential to preserve your local food this year. Your pantry food storage is not hoarding based on fear, it’s simply part of what our ancestors did to prevent food waste and keep their families fed with good, vitamin rich, foods throughout the winter.
This week I harvested my garlic, about 400 heads. I’ll be braiding this garlic to preserve it for a year or more. These 400 heads of garlic will give me about 18 braids. About 80 of these heads will be planted back into the garden in October, for next year’s garlic crop.
One of the raised beds that my garlic grew in, had some volunteer potatoes from the previous year — I harvested those too. I put the biggest ones aside for cold storage, and cooked all the little ones, grated them, and dried them for “instant hash browns” for winter. We ended up with about 4 quart jars of dried potatoes.
I also harvested wine cap mushrooms from under the butternut trees, and blue oyster mushrooms from a cardboard box filled with coffee grounds, I have sitting under a lilac tree. I dried these mushrooms in the dehydrator, too. We have 3 quart jars of dried mushrooms that will be wonderful in winter soups.
Learn more about growing mushrooms in the garden here
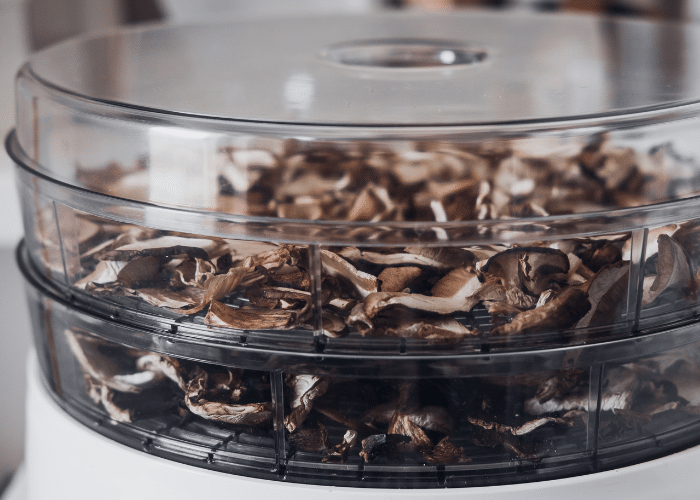
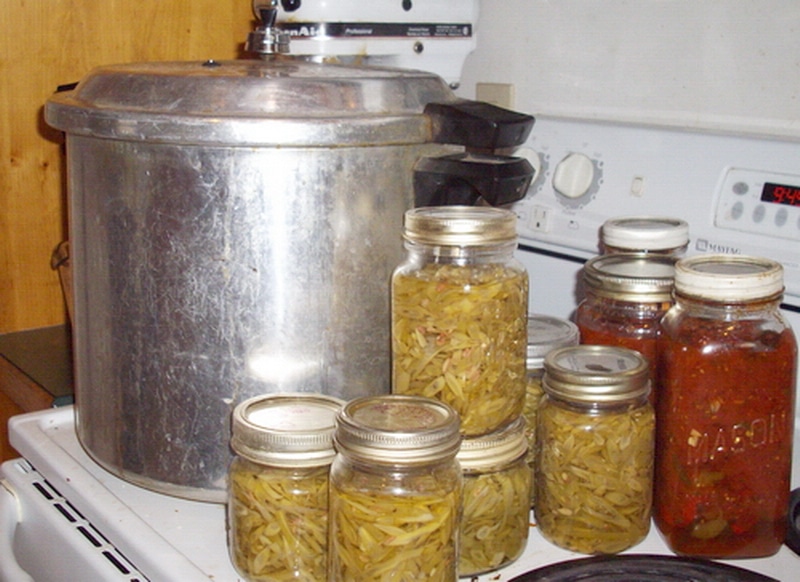
Homesteaders harvest a little bit every day and preserve the harvest as pantry ingredients — canned tomatoes, relish, beans, potatoes, and dried mushrooms, for instance. Dried sweet potatoes and carrot chunks, alongside dried mushrooms and home dried beans are great soup ingredients. Dried tomatoes and peppers as sauce ingredients, with dried oregano and basil from the garden, are great to keep on hand.
I’m seeing a lot of “prepper” pantries full of things like KD, boxed cereals, canned spaghetti. You don’t need “all the things” to be food secure. In fact, you might not “need” most of this prepared food.
Preserve “ingredients” for winter. Preserving ingredients is simpler than preserving completed foods, straight canned tomatoes are quicker and easier to do than canned pasta sauce, for example. Putting the effort into some complete foods, like salsa, tomato sauce, or canned chicken soup, can make some situations easier. But, everything in your pantry food storage doesn’t need to be a variation of homemade fast food. Ingredients work too.
Think about putting by “ingredients” — can, dry, or freeze dry vegetables, fruit, meat, herbs for instance, from your garden or from the farmer’s market.
While you would do well to also put-by some food staples that you can’t grow locally or don’t have space to grow, think of these as ingredients, too, like rice, dried beans, sugar, powdered milk for cream soup base, and salt. Commercial ingredients can be picked up, one or two extra items per shopping trip. So you stock your pantry, in case of severe snow storms, or other supply chain disruptions, but also avoid the appearance of hoarding or panic buying. It’s fine to buy holiday baking supplies early too!
Prepare food for long term storage properly
When you go to all the work of growing your own food or even buying food from a local farm, and then preserving it, you want that food to last. And when you dry it or freeze dry it there is a way to store it that will keep it fresh and shelf stable for years. You can use the same principles for food storage that preppers use. (Hint: forget the freezer bags, but remember the vegetable and fruit wash.)
Store dried food in 7 mil Mylar bags or canning jars with an oxygen absorber to preserve it and extend its shelf life. (Mylar has the lowest oxygen seepage of food grade plastics.) Foods stored with oxygen absorbers in glass or mylar bags will have a 7+ year shelf life, instead of the average 1-3 year shelf life of regular dehydrated foods stored in plastics. Further, you’ll avoid the single use plastics that also permit food flavors to blend and meld when dehydrated foods are stored close together.
Oxygen absorbers
Do you need an oxygen absorber if it’s vacuum sealed? Yes, if you plan to store the item longer than 6 to 12 months. There can be seepage even when a bag or jar is vacuum sealed. The oxygen absorber protects the food against oxygen seepage over time.
Oxygen absorbers are cheap — 25 cents to $1 depending on size. Use a 100CC to 300CC oxygen absorber for 1 quart to 1 gallon size jars or Mylar bags. (Sugar and salt do not need oxygen absorbers)
Place filled and sealed Mylar bags in a rodent / pest proof container for storage.
If storing food in a vacuum sealed canning jar, with an oxygen absorber, protect the jar from light and heat, to maximize shelf life.
How to Create a Long Term Food Storage Plan
You’ll want to make sure you use your home preserved food from your pantry food storage. It doesn’t do any good to preserve ingredients and never use them. If you freeze fruit, but it’s still in the freezer a year later, try turning it into jam or fruit leather so it’s more accessible for eating and snacks. Don’t be afraid to repurpose ingredients from last year, or further back, to keep food moving through your pantry food storage plan.
Short of space?
You don’t need a dedicated pantry space for pantry food storage. Use under the bed boxes to store filled Mylar bags, or flats of short glass jars filled and sealed with dry goods, or canned goods. Just make sure they are easily accessible, for you.
Plastic buckets from a building supply or hardware store with a number 2 on the bottom are safe to store Mylar bags in.
Don’t store the bucket directly on the ground or on cement — a chemical reaction between the plastic and the ground can cause moisture seepage inside the bucket. Place the buckets in a closet, under a table, or in a basement room on a piece of carpet. Protect from heat, light, and moisture.
Prepare Your Pantry Food Storage Now
Winter is coming — use August to put food by so that you are ready for winter storms. Don’t have a garden yet? Put by fruits and veggies, and meat from the farmer’s market or your local farms. This local food isn’t affected by the supply chain break-downs in the same way.
If you’re worried about losing power, can or dehydrate some of your meats and vegetable ingredients. Vary what you store and how you store it, and where you store it, so you’ll have items that are accessible and consumable even if you don’t have power or a way to cook.
Use the “Rule of 3”, that I mentioned last week, to ensure that your food preservation, is diverse and secure.
Winter food is not just limited to the frozen, dehydrated, and canned ingredients. You can also include seeds and fresh greens in your winter food plans by growing sprouts and microgreens. Sprouts and microgreens are easy to grow in your kitchen and provide additional vitamins and nutrients for your winter meals, without taking up a lot of storage space.
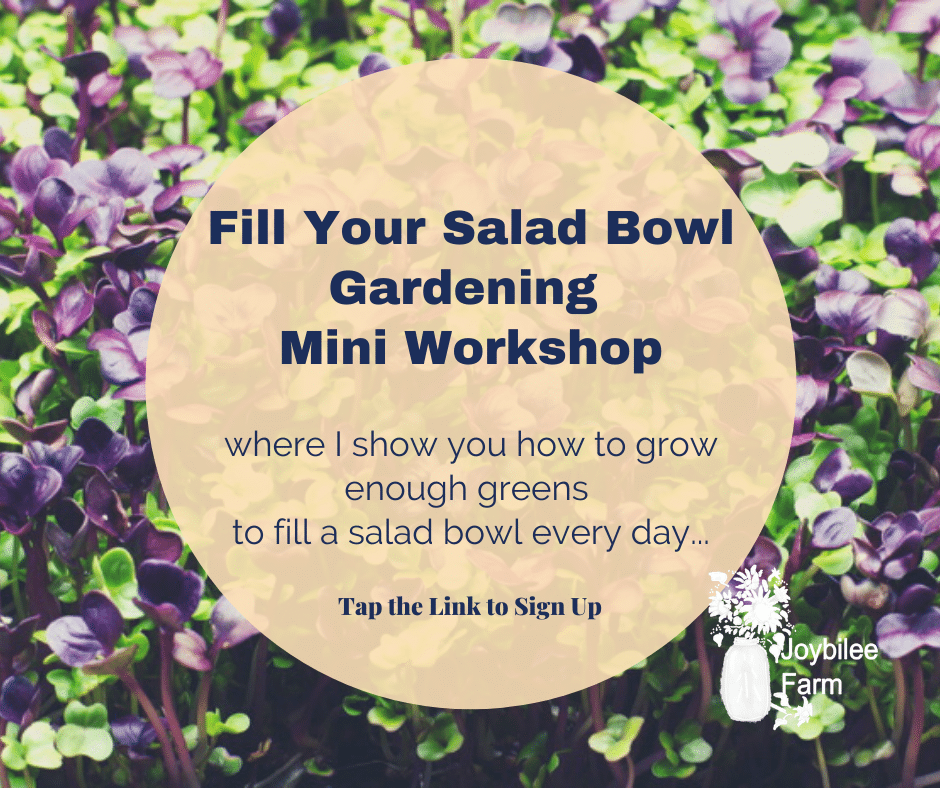
Learn more about growing microgreens and sprouts in my Fill Your Salad Bowl mini workshop
New to growing microgreens?
Check out the Fill Your Salad Bowl workshop and learn how to use 3 different growing methods, at home no matter the time of year, so you can fill your salad bowl with super food, nutrient dense, greens every single day. These are greens you can use in your salad bowl, greens you can add to soups, stews, and pasta dishes, and even greens you can use in a stir fry.
In this mini workshop you will learn how to fill a salad bowl every day with food you grow yourself.
- Even if you don’t have any land.
- Even if there is 3 feet of snow covering your garden
- Even if you’ve killed house plants in the past.
- Even if you think you have a black thumb.
Have a look at what’s covered in this workshop and see if its a good fit for you, by clicking/tapping the blue button below.




Leave a Reply