

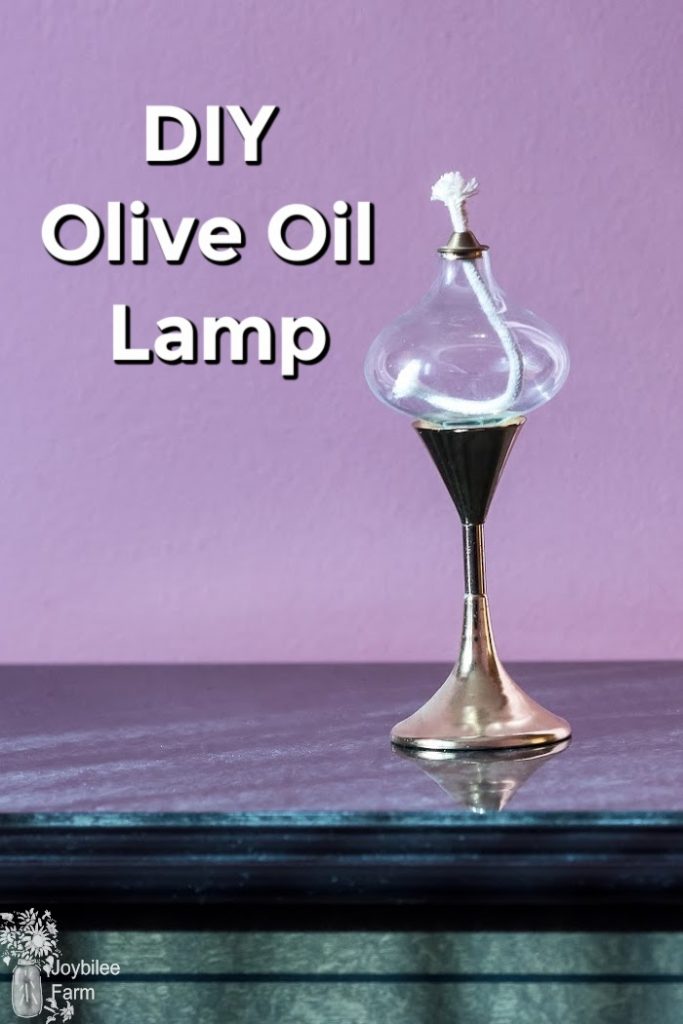
Create your own DIY olive oil lamp and enjoy the brightness of this ancient method of lighting. It is healthier than using paraffin-based oils and can be nearly smoke-free. Add essential oils, if desired, to mask the olive oil scent, and enjoy this bright oil lamp light whenever you need to.
I’ve been talking to you a lot about bringing light to a dark place, this season, by lighting a single candle. Today I want to show you the secrets of ancient lighting — how they brought light into the dark places thousands of years ago. The olive oil lamp is the kind of lighting that was used in the Holy-land 2,000 years ago. Olive oil is an ancient lamp oil. It is the oil that was used in the Temple Menorah during both the first and second Temples in Jerusalem. It was the oil that brought about the miracle of Hanukkah during the time of the Maccabees — over 150 years before Jesus was born. It is the oil that Jesus/Y’shua studied the Holy Scriptures by, in his childhood home in Nazareth.
When Jesus said “You are the light of the world,” He was making an analogy using the olive oil lamp — a light that burns brightly in fresh oil. When he told the parable of the wise and foolish virgins, again, he mentions their olive oil lamps. Think about that for a second. A light that comes from a flame fed by fresh oil.
Why olive oil?
Olive oil burns cleanly, without smoking. It doesn’t spread toxic hydro-carbons into the air. It’s inexpensive and plentiful if you grow your own olives. Even if you have to buy your olive oil, it’s not hard to find and not extremely expensive. Olive oil grows on trees — olive trees. Olive oil is a renewable lamp fuel.
For burning as lamp oil you can use cheaper grades of olive oil, like pomace olive oil, rather than the expensive extra virgin oil. Buy a trusted brand, as you want pure olive oil, not olive oil that’s been adulterated with canola oil or other GMO oils.
Ancient lights
Ancient olive oil lamps are shallow dishes of oil with a wick or rag held upright. These clay olive oil lamps were small bowls. They had a pinch of clay at one side of the bowl to hold the wick upright, just above the surface of the oil. If you don’t have a handy clay olive oil lamp kicking around your kitchen, you can make a wick holder with wire. The wick needs to be close to the surface of the oil, as olive oil doesn’t have fumes to keep the wick burning, while fresh oil enters the burn zone. Plan for a flame about 1 inch above the surface.
What kind of wick?
To make a lamp you need a wick, something to hold the wick upright and keep it from dropping into the oil, a vessel to hold the oil, and pure olive oil. The wider the wick that you use, the brighter your lamp will be. I like to use a braided wick such as is used in a kerosene lamp. These draw up the oil evenly and give enough light to read by. The olive oil lamps available from Lehman’s are made to use a small round candlewick and only give as much light as a candle. Ancient olive oil lamps used linen rags soaked in oil and gave a lot of light.
Olive oil lamps are safer than Kerosene Lamps
No worries about setting the whole house on fire with an olive oil lamp. Unlike kerosene, olive oil won’t ignite if the flame drops down into the oil — in fact, it will smother the flame. It’s quite amazing that olive oil will burn at all. Unlike kerosene or paraffin oil, there are no fumes to burn. If the lamp is tipped, the oil will smother the flame in an olive oil lamp. Whereas kerosene and lamp, the oil will ignite and spread the flame.
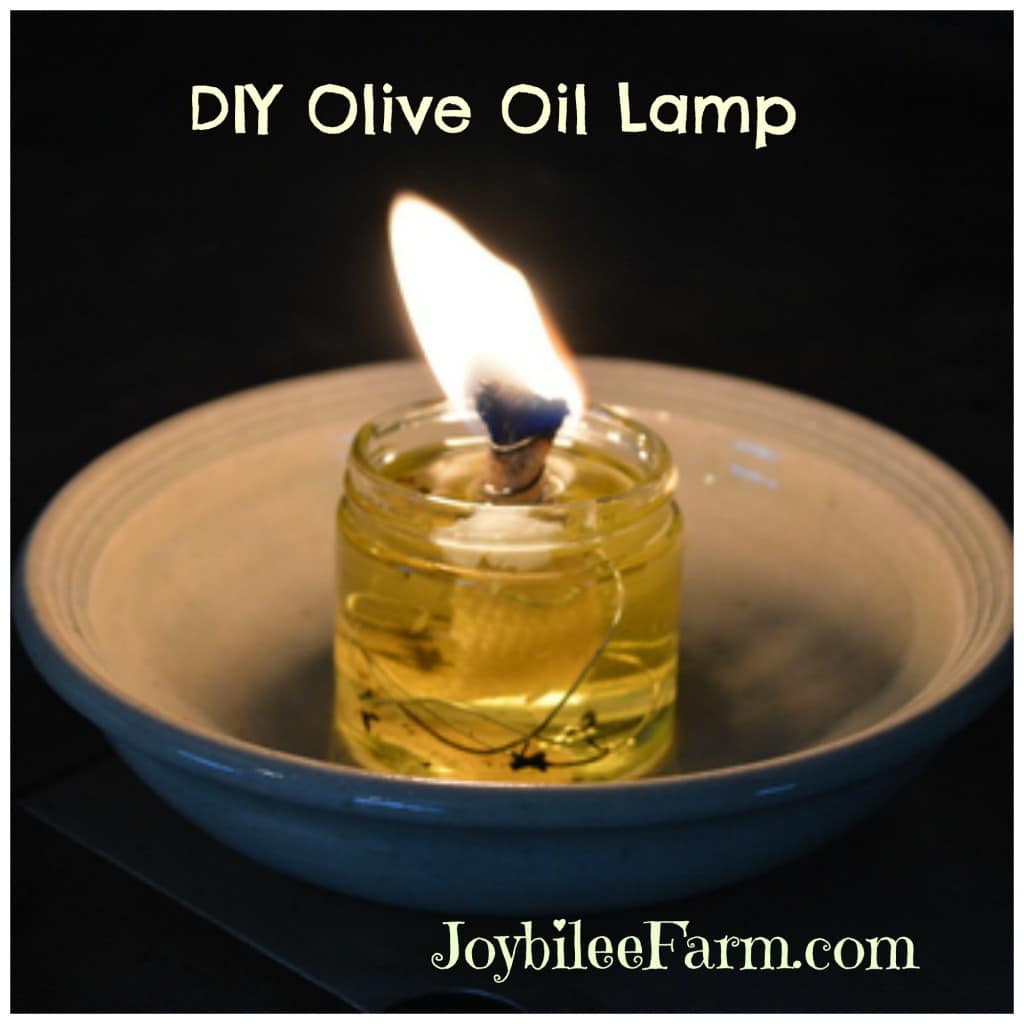
The light from an olive oil lamp is bright enough to read by. It’s as bright as a kerosene lamp, with a warm yellow flame.
DIY Olive Oil Lamp
What you’ll need:
Wire
Braided wick
Jar
Olive Oil
Lid for jar
Tools:
Needle Nose Pliers
Easy directions for your DIY Olive Oil Lamp
Using pliers cut a 15-inch length of wire. 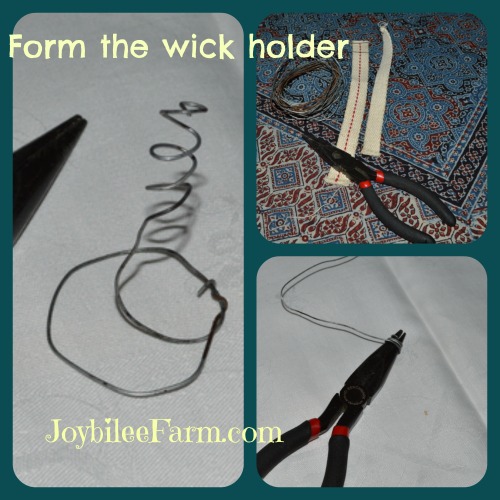
Roll one end of the wire tightly around the nose of the pliers 4 to 6 times. Move to the other end of the wire and wrap a circle that will fit into the bottom of the jar that you’ve chosen for your lamp. Wrap this circle several times with the wire to make a firm foundation for your wick.
Using tweezers, feed your wick through the circle made by the pliers, and pull through the top as in the photo.
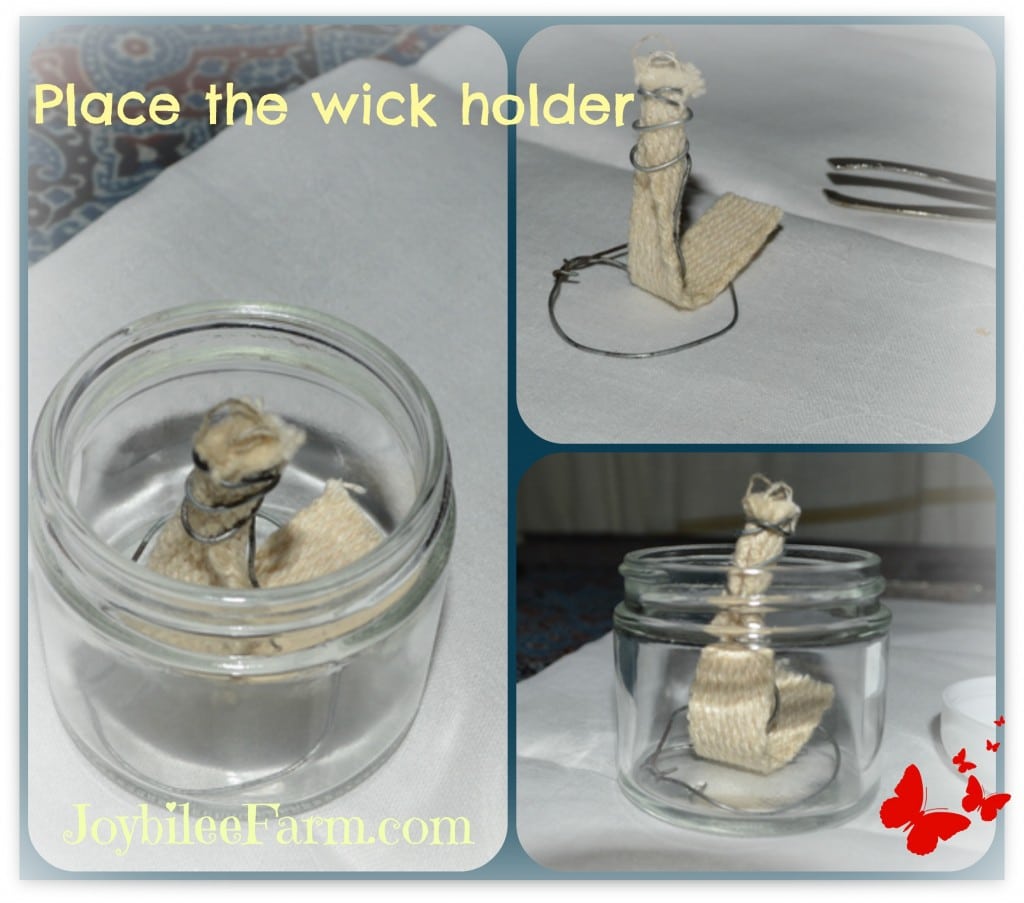 Place the wick in its holder in the jar. Fill with olive oil to within one inch of the top of the wick.
To light your oil lamp:
Allow the wick to absorb olive oil to the top of the wick. This may take 10 minutes or more. Once the wick is saturated, light the wick with a match or candle. It will start with only a small flame. The brightness of the flame will increase as the wick draws up oil into the flame. This may take a minute or two.
Trim the wick and pull a clean edge up into the top of the holder, each time you light it. A small amount of oil — about 60mls or 2 fl. ounces will burn for several hours.
Precautions:
As always, use precaution around an open flame.
To extinguish the flame, snuff with a candle snuffer or a metal lid. Don’t lick your fingers and try to snuff it out — you’ll burn your fingers.
The jar and the oil won’t heat up from the olive oil flame, but keep it on a non-flammable surface as a precaution.
Other posts you may like:
How to make a tea light candle
10 Skills your Grandfather Knew that Will Help You Today
Let me know how yours turns out. You can drop me a note on my Facebook page.

My tip is to use a jar with an aluminium lid drill or Hammer a hole and push the wick through it ( no need for the wire) also use a these loose braided cotton wicks brand ( Wickworks) this is sold as tiki torch wicks at Bunnings here in Australia and due to the loose braided wick and having soaked it in olive oil for over 10 min the whick is burning 40 min without snuffing itself out the flame is going to get smaller due to the wick being consumed I been using this as a candle for my diy teapot warmer much better than any candle imho n cheaper too