When a tree falls in an urban area a DIYer will mill it and then dry it using these best practices to season lumber from downed trees.
Today Mr. Joybilee, is guest posting at the Joybilee Farm blog. He has his own blog at TurningForProfit.com where he helps woodturners turn their hobby into a productive and viable business. Woodturners, there are lots of free woodworking plans on TurningForProfit.com, to keep you and your lathe happy.
The wind comes through and now you’ve got a downed tree in your yard. Most people just cut the tree up for firewood or call a professional to have it hauled away to the landfill. But there are other things a handy DIYer can do with a downed tree that are far more valuable than just burning up this windfall. But the crucial step in achieving useful wood from a downed tree is proper seasoning of the wood. This is the task that causes many uninitiated homesteaders to throw up their hands in defeat. Lucky for you, I’ve found an amazing resource that will guide you step by step through this manageable chore so that you don’t have to make the mistakes I’ve made in trying to season green wood.
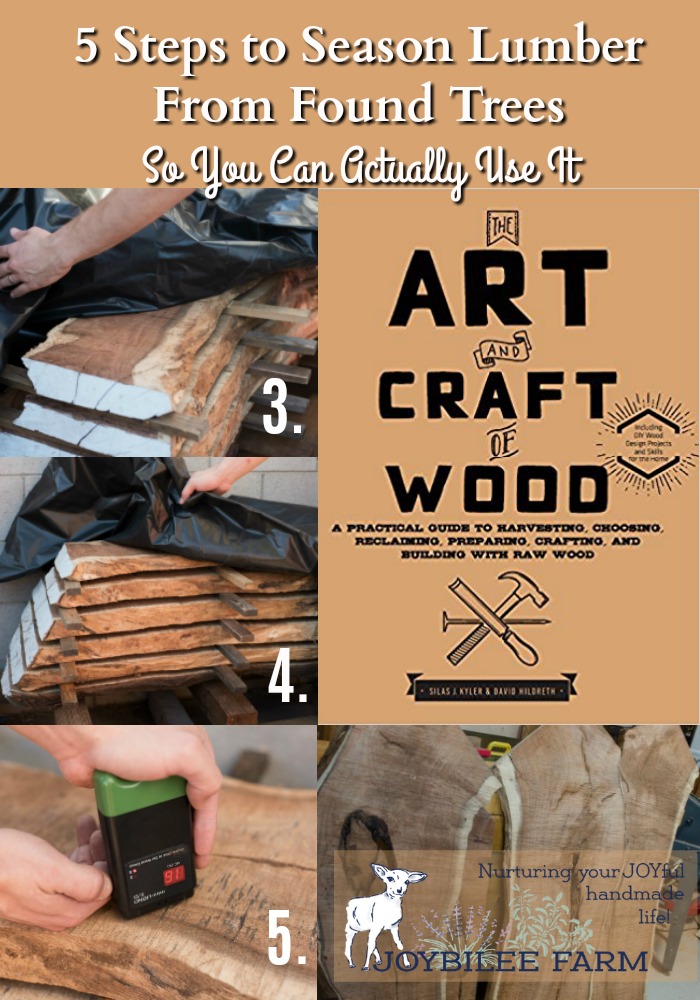
Just so you know I had to learn these things too, I’ll tell you of one incident where I wish I’d know then what I know now. About 12 years ago we were at the Farmer’s Market selling goat’s milk soap, farm-raised wool, and wood turnings. A bad windstorm had come through the night before and there were several huge oak trees lying on the ground, their root systems high in the air, taller than a cube van. There were more trees in need of felling, as they leaned precariously to the side, over our market tents. The city work crew was systematically chain sawing the trees into rounds to haul away. I brought about 8 of the rounds home after the market, intending to season them for bowl turning. But summer is busy. I put them in a shady spot outside my workshop, covered them with loose straw to keep them from drying out too fast and cracking. And that was the last I thought about them. A few years later, as I was cleaning up something else, I dug around the rounds of wood. By this time they were too far gone to even use as fire wood. That was a big disappointment.
Around the same time I got the book Turning Green Wood and tried a few green bowls. But they didn’t quite turn out like the pictures in the book. Since I was busy working a lot of over time at the office, I didn’t have time to dig deeper into the special techniques necessary to successfully create beautiful things out of green wood. Reading The Art and Craft of Wood by Silas J. Kyler & David Hildreth, however, gave me some great tips for turning windfalls into useable lumber. I asked the publisher, Quarry Books if I could share these tips with you, and they graciously gave me permission.
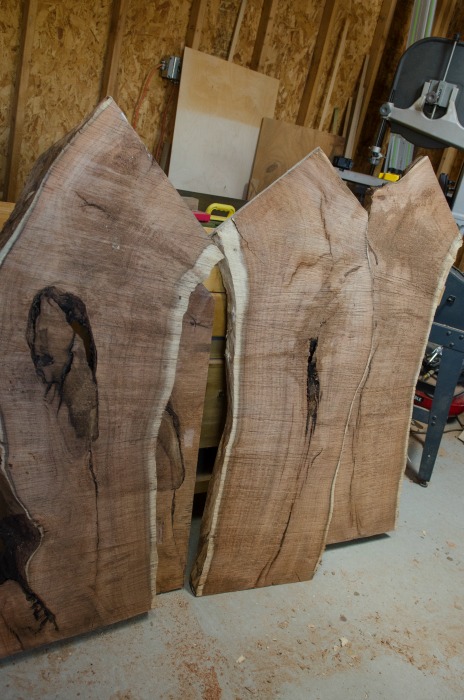
© 2017, Silas J. Kyler & David Hildreth (Quarry Books) used with permission.
Best practices to season lumber by air drying
These tips and the accompanying photographs come from Part 2 in The Art and Craft of Wood, “Seasoning Lumber”, used with permission.
In order to season lumber you need to dry it out in a controlled way. You want to get the moisture content of your lumber below 10%. You want air to circulate around your pieces of wood and you don’t want to add more moisture. The best way to get your wood to dry out evenly, without warping, is to stack your wood by laying your slabs on sticks and then protect it from the weather. Follow these five step to successfully season lumber the next time you have a wind fallen tree.
Step 1: Choose a location for your stack
As soon as the wood is cut the newly exposed cells start losing water and the drying process is underway. You want the process to be steady rather than variable. The best place to stack your wood is away from direct sunlight and out of the weather. In an unheated garage or shed is best.
This drying process happens very rapidly at the start so you want to be able to store your slabs of wood quickly and efficiently. Prepare your location in advance. I know playing with the chainsaw and the mill is the fun stuff but plan ahead and be prepared. Then once your wood is milled take it immediately to the stacking location so it can season properly.
Step 2: Prepare a foundation
Since you want the wood to dry flat you need to store it flat. This means putting in a flat foundation. Your dried lumber will never be flatter than the foundation that you built.
Build a support for your fresh lumber with timber that is already dry. Use shims or small bits of wood to make sure the base is flat and level in both directions.
Once you have your foundation placed then lay out cross pieces every 18” to 24” for thick slabs and every 12” if the slabs are thinner. Don’t be skimpy on the cross pieces.
Cross pieces are also called stickers. You want these to be all the same thickness. Ripping the stickers out of 2×4 stock on your table saw is a good idea to get them even.
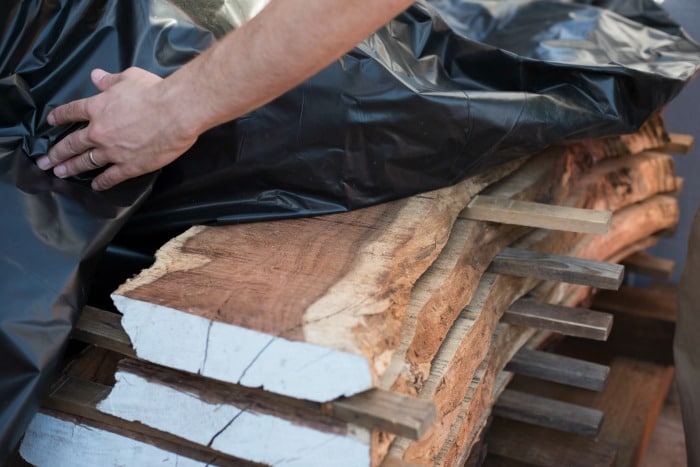
© 2017, Silas J. Kyler & David Hildreth (Quarry Books) used with permission.
Step 3: Stack the pile
Lay your slabs out on your cross pieces. The cross pieces will be at right angles to the slabs. If you have varying lengths in your slabs put the longest ones on the bottom. That way your foundation will support the entire length of the slab. If your slabs are all the same length then put the slabs down in the order that you cut them off of the tree. The stickers will help with air circulation. Always start your stack on the stickers. They let the maximum amount of surface area on the board have exposure to the air.
As you build your pile you want the weight evenly distributed. Make sure you are not accidentally putting more weight in one section than another. This will result in warped boards. Remember the stickers you placed on your foundation? All of your subsequent stickers (cross pieces) should line up vertically on the bottom ones. That way your weight will be supported equally throughout your stack.
Once all the lumber is stacked put some more stickers across the top. Then add some weight to your pile. Concrete blocks would add a reasonable amount of weight. The extra weight should counteract some of the natural warping tendencies of your wood. Do not put the weight directly on the last slab.
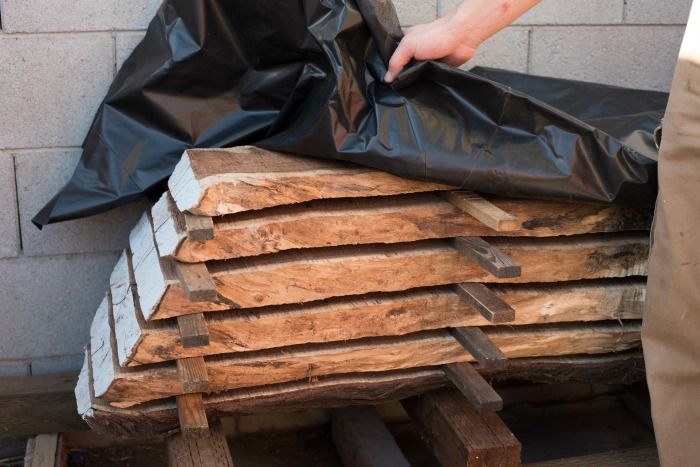
© 2017, Silas J. Kyler & David Hildreth (Quarry Books) used with permission.
Step 4: Protect the stack from weather
You want the seasoning process to be even and steady. If your stack is in the direct sun, or gets wet when it rains then you will have problems. The sun dries the wood out too fast and the rain causes the wood to swell again by taking in the moisture rather than drying. Your best places are in a garage, shed, or makeshift shelter.
If the stack has to be outside then protect it from the wind with a lean-to or a wind break. Lay metal roofing completely over your stack to keep rain off of the wood. Make sure you are not stacked in a depression that’s going to fill up with water. If you are using a tarp to keep off the rain keep the tarp up and away from your wood. You still want the air to circulate. Green wood wrapped tightly in a tarp will result in mold, fungus, and rot on your lumber. Make sure the air can easily circulate through the stack of lumber.

© 2017, Silas J. Kyler & David Hildreth (Quarry Books) used with permission.
Step 5: Monitor the moisture and have patience
This might be the hardest part of the whole process. You have to wait for the wood to dry. A moisture meter can help you determine the progress your wood is making. A board that has just achieved 10% moisture content will still have a lot of lingering tension in the wood. If you can wait another year the wood will be more stable for you to work with.
How long does it take to dry out wood? That depends on your stack, its location, and the air circulation it receives. In addition your local climate affects the time as well. Drying in Nevada will take a lot less time than drying in the Pacific Northwest. Average temperature and humidity are the key factors.
If your stack is outside and exposed somewhat to the elements, then when you want to work with the wood, bring it into your workshop and let it acclimatize for a couple of weeks before starting your projects.
© 2017, Silas J. Kyler & David Hildreth (Quarry Books) used with permission.
The Maker’s book about salvaging wood
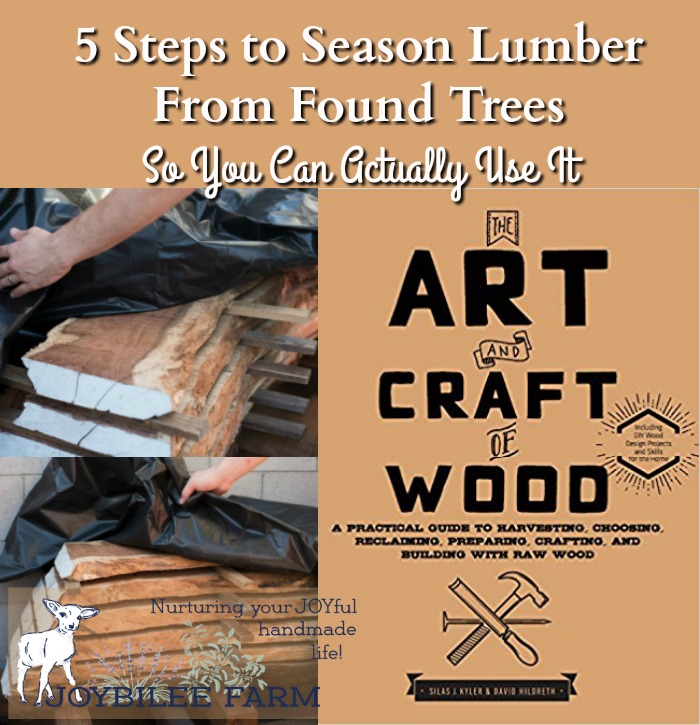
While you are waiting for the wood to season and looking for inspiration read The Art and Craft of Wood, A Practical Guide to Harvesting, Choosing, Reclaiming, Preparing, Crafting, and Building with Raw Wood, by Silas J. Kyler and David Hildreth (Quarry Books, 2017). This book is a compendium of useful information about gathering, milling, and seasoning wood and turning it into useful and beautiful home decor. It’s a maker’s guide that is not only practical but also inspirational. When I thumb through books like this I often skip the practical preliminary information and jump right to the projects. Because afterall, it’s the visual appeal of the projects that sells the book to the potential reader. The adage is give them what they want and but sell them what they need. This book doesn’t disappoint. It offers inspiring projects like dining room and coffee tables, a tray plus smaller items like a bottle opener and a poster frame. But it also offers what the urban woodworker needs, an easy to understand, pictorial guide to working with downed trees, milling lumber, seasoning, and preparing wood for woodworking projects.
When I worked as a city administrator for Greenwood, B.C. (ironic I know!), we received warnings from Environment Canada that severe and damaging windstorms are the new normal and to prepare for them each spring. Armed with this book and the knowledge of the best practices to season lumber, you’ll be prepared to make the most of any urban windfalls that come your way, as windstorms become the normal in your area.

Projects Using Seasoned Lumber


Hi, thank you for the information.
What if I have a log that has been down for a year uncut? Can you leave wood to dry and then cut it into slabs or will it take too long?
Thank you
You can paint the ends as soon as the lumber is cut.
When do we paint the ends !
You got me when you said that slabs of wood must be stored quickly and efficiently since the drying process happens very rapidly. My husband and I want to shop for lumber that we can use to build a tree house. We want the lumber to be seasoned because we want it to be as durable as possible. We’ll do all your tips in order to condition the lumber well before using it.
Very informative indeed. Would like to start up my own thing, thus owning a plantation of some kind, harvesting these and eventually processing them in a factory somehow.