A cloth gift bag is a great alternative to disposable wrapping papers. Gift bags can be used for many years, and for many different types of gifts. They are not just for Christmas or the holidays, any gift can be given in a reusable, decorative cloth gift bag.
Learn how to make a simple and beautiful cloth gift bag. Gift bags are a great alternative to traditional paper and plastic type wrapping papers, and have a longer life than even traditional paper gift bags. There are fabrics available that are specific to any season, holiday, and interest, so your handmade fabric gift bag can be as unique as the person you are gifting to.
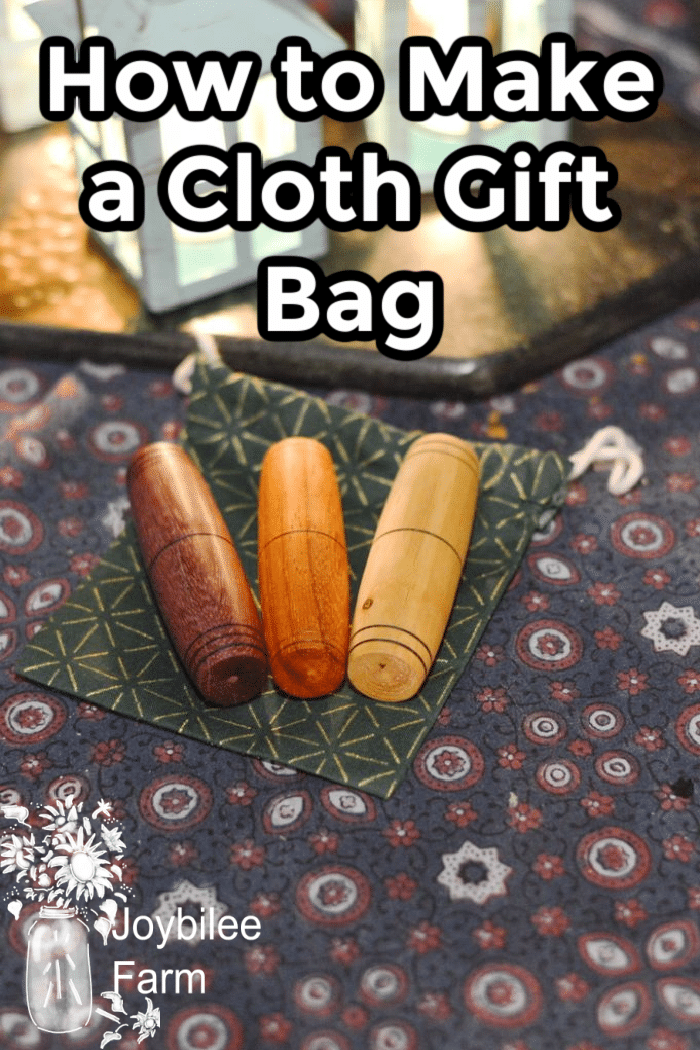
A simple cloth gift bag can be made from a single fat-quarter. Other uses of fat quarters include furoshiki wrapping, if you prefer not to sew. Over the course of the year, I frequently find seasonal fabrics in thrift-stores, or on clearance, usually in mid-summer. You can also re-purpose old holiday dresses or clothing, if the fabric is sturdy and still in good condition.
Making a Cloth Gift Bag:
The sewing skills needed for a cloth gift bag are minimal. You just need to sew a straight seam, and a straight line for the drawstring pocket. You can make cloth gift bags with just hand-sewing, but it will take longer. With a machine, you can complete your first gift bag in 30 minutes to 1 hour.
Materials:
- Fat quarters or other fabric in seasonal or holiday prints
- Sewing thread
- Ribbon
- Sewing needle
- Pins
- Safety pin
- Sewing machine (optional)
Making Your Cloth Gift Bag:
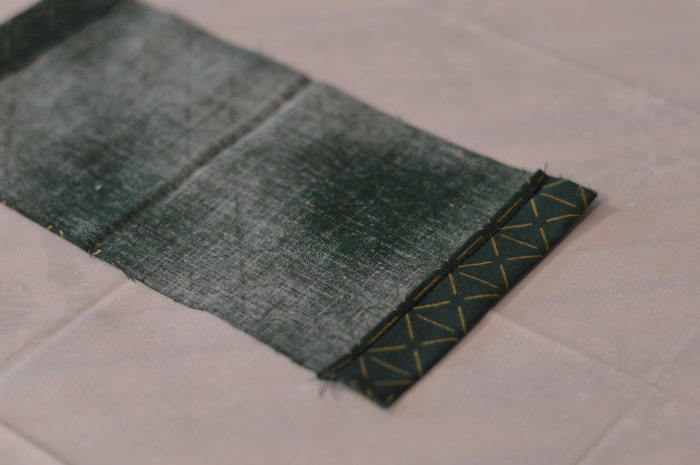
- Open fabric and fold in half with right sides together. Decide which side you would like the opening of the bag to be on. With a fat quarter, without cutting it, you can have a narrow bag or a wide and short bag. If you’d like to cut the fabric to make a more square bag, you can do so but it will add an extra seam to stitch.
- For a smaller bag, cut the fabric before beginning. You can create bags for specific gifts this way.
- If having the folded edge on one side of the bag, sew the bottom of the bag and the open side to within 2 inches of the top. If the bottom of the bag is where the fabric is folded, sew both sides to within 2 inches of the top.
- Leaving bag inside out, fold and pin the fabric around the mouth of the bag to make a drawstring case. This will involve folding it down about 1.5 inches and tucking the raw edge to the inside between the two layers of fabric by 1/4 inch.
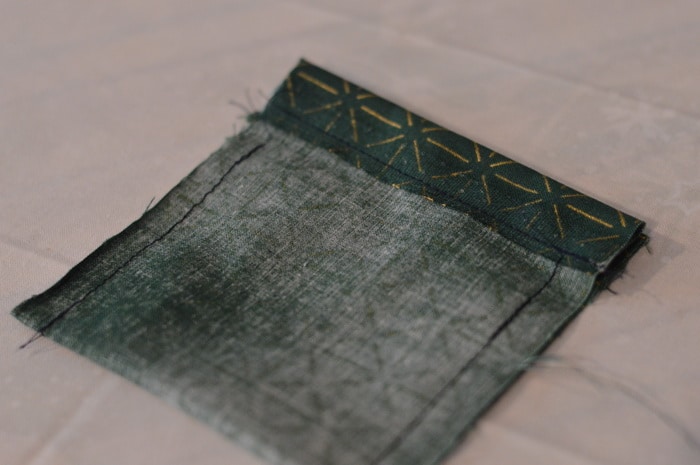
- Stitch around the top of the bag, along the folded fabric, to form a drawstring casing.
- Fold bag to right sides out and trim any loose threads.
- Taking the ribbon and a safety pin, pin the safety pin on one end of the ribbon. Thread the ribbon through the drawstring. If you have openings on both sides of the bag, use two pieces of ribbon and thread each through half the drawstring.
- Your gift bag is finished.
- Place gift in bag, with some tissue paper, and tie closed with the ribbon. Use a pin to secure the gift tag to the outside of your gift bag.
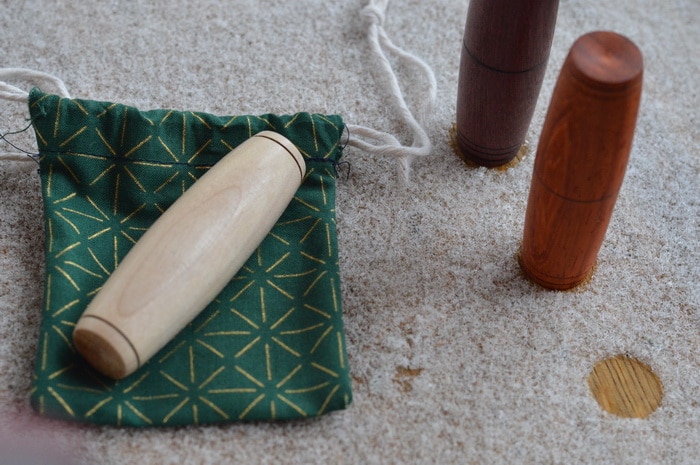
Cloth gift bags
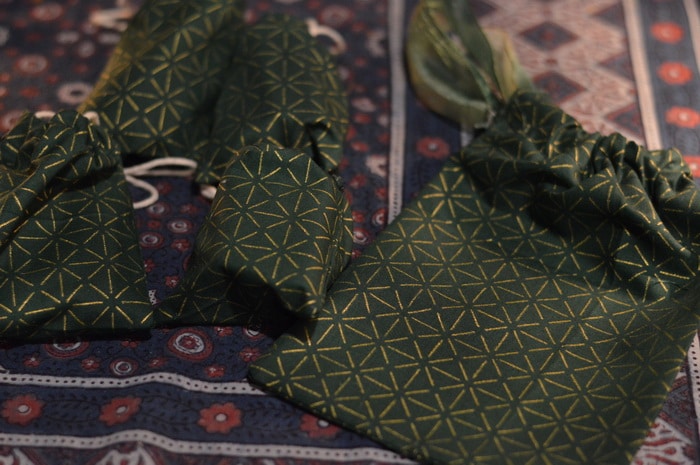
These cloth gift bags can be made in any size. They can be used over and over again, year after year. But don’t save them only in your own family. Consider a friendly tradition of giving a gift in a cloth gift bag and then passing it around a group of friends year after year. These cloth bags become special memories along with the gift giving.
Back to You:
If you are looking for ways to DIY Christmas gifts and make happy Christmas memories while living within the health and budget constraints that have been handed to you this year, I created a resource that will help with more than just stocking stuffers for women.
This DIY Christmas Planner workbook will help you make a solid plan you can live with for a Happy Holiday season. You’ll find inspiring DIY gift ideas, space to reflect on what is important to you, and a place to set goals for bringing a happy and meaningful Christmas to your family this year.
Get on Santa’s Permanent Nice list by staying organized, calm, and in control this Christmas Season.


Leave a Reply