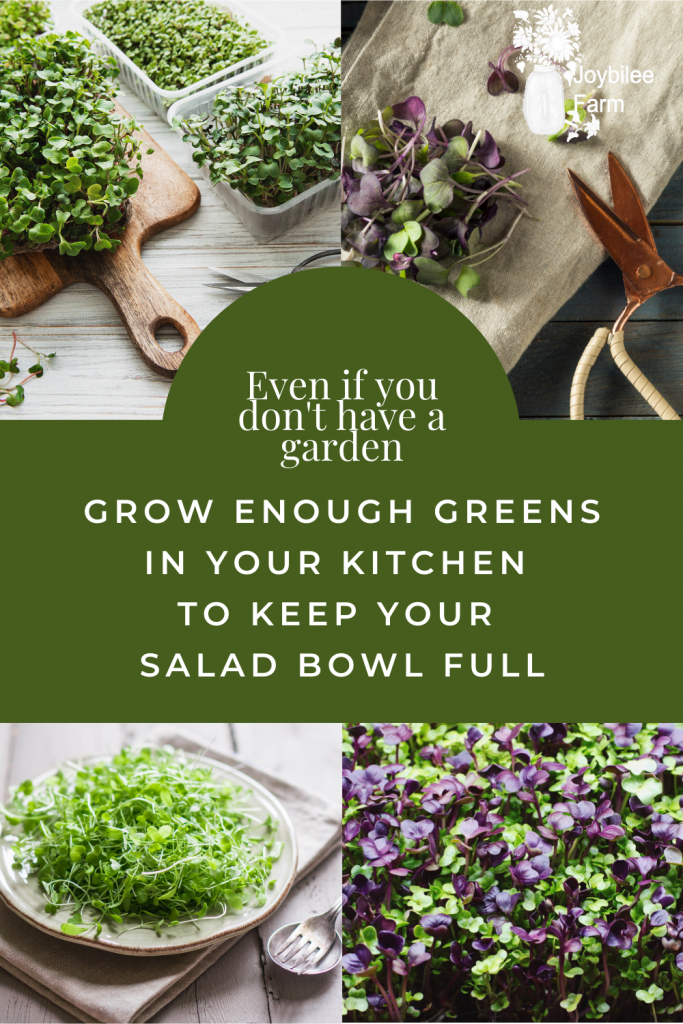
Learn how to grow microgreens in your kitchen year round and keep your salad bar full of juicy, fresh greens, even if don’t have a garden.
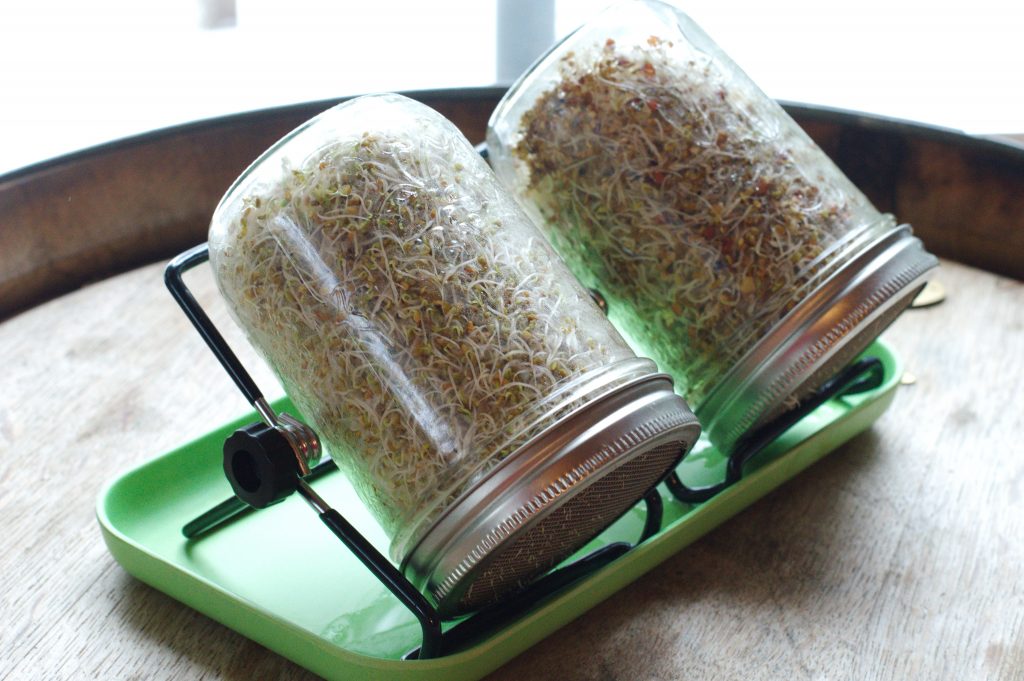
Microgreens are baby plants, much like sprouts but grown in a pot instead of a jar. Sprouts are grown for just 4 to 6 days with just water. Just long enough for the cotyledon to begin to unfurl. Microgreens are grown till that cotyledon (the seed leaf) is fully open and a new true leaf is beginning to emerge. They are usually grown in soil or on a medium such as jute or coco-coir for hydroponic growing.
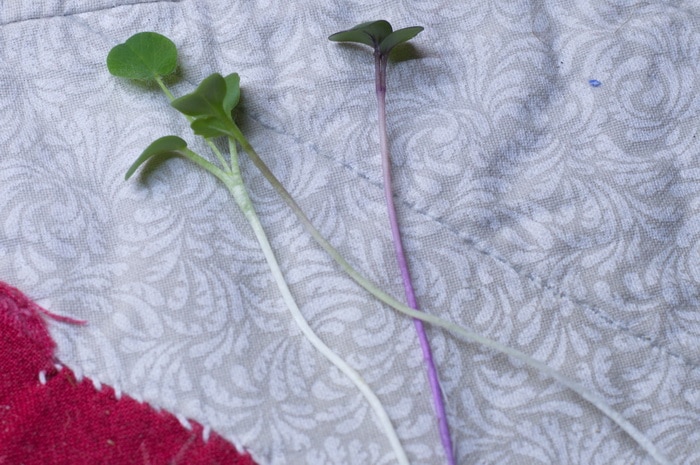
Microgreens can be ready in as little as 7 to 10 days.
2 tablespoon of sprouting seed will fill a quart jar, giving you 2 to 4 cups of sprouts (about 100 grams) to enjoy in sandwiches, over eggs, or as part of a salad. That same 2 tablespoons (20 to 30 grams) of seed can fill a 10 x 20 planting tray and yield 250 to 500 grams (1/2 to 1 pound) of microgreens, about 8 to 10 cups.
While microgreens can benefit from a plant light (a full spectrum LED bulb), if you are growing on soil, you can use a window for light — there’s no worry about stretching with these. They are harvested before it becomes an issue. If you are growing hydroponically, plants growing with just the light from a window may keel over, so choose to use potting soil, if you don’t have a plant light.
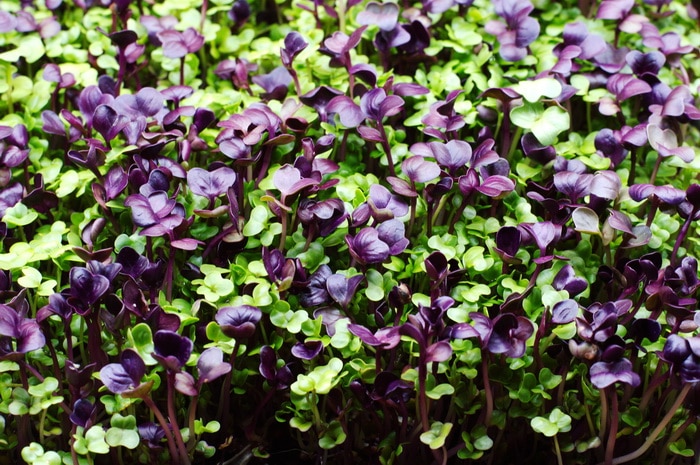
How to grow microgreens for winter salads
You might be thinking that growing sprouts or microgreens is fine for a garnish or a little extra fiber, but how can you make a salad with those tiny leaves?
Well, we’ve been growing microgreens for a couple months now, and we’re eating them several times a week as a salad, plus sprinkling them on sandwiches, in soup, and over eggs. Here’s my method to keep my salad bowl loaded with juicy, sweet microgreens all month long.
How to grow a pound or two of salad greens every week
I’m using just 4 planting trays on a rotation. I plant two trays every 4 days and harvest each of those trays 8 to 10 days later.
I’m using 10 x 10 trays but people have grown microgreens in aluminum bread tins, recycled plastic salad greens containers, and other “pots”. Even a ceramic soup bowl can be used.
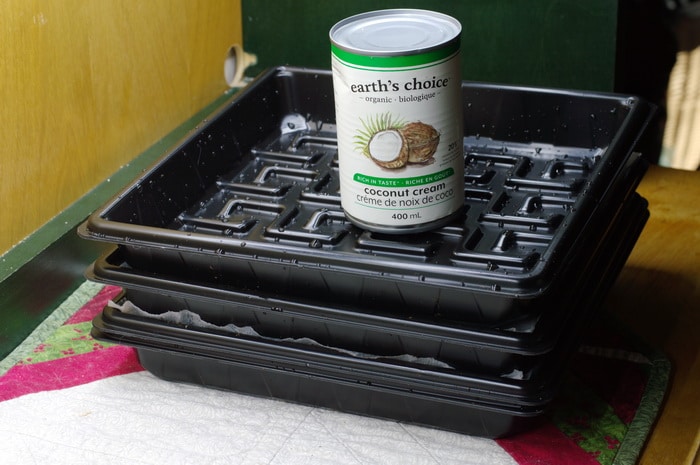
Your container should be at least 1 1/2 to 2 inches deep to hold the planting medium. I’m using commercial potting soil that I add kelp meal and worm castings to. (More about that coming up later)
Once you plant your microgreen seeds, the trays go into the dark for 3 to 4 days, coming out once or twice a day for watering. After germination, they remain in the dark for an additional day or two to stretch their stems and make harvest easier. When you take these 2 trays out of the darkness, you plant 2 more trays, ready to go into the dark. (4 trays in use — 2 in the light and 2 in the dark)
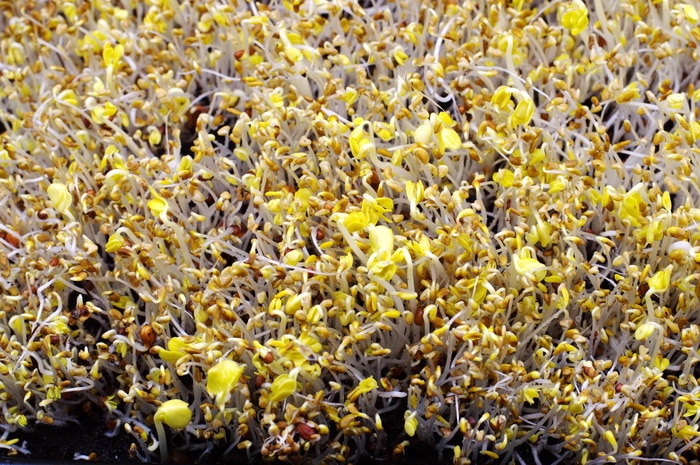
The trays coming out of darkness are pale yellow but will turn deep green within a couple hours once they are exposed to light. 4 more days in the light is all they need before they are ready for harvest. You’ll get about 250 grams to 300 grams of microgreens per 10 x 10 planting tray, depending on what you grow. (1/2 pound = approx. 225gm)
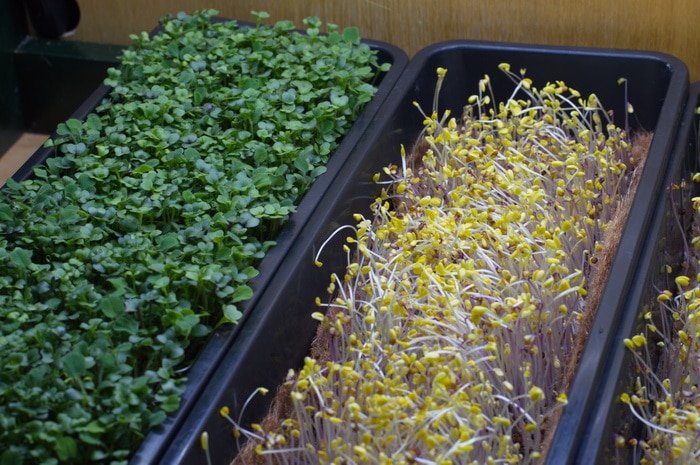
On harvest day, you bring 2 more trays into the light, and plant two more trays. (4 trays in use: 2 trays harvested and replanted; 2 trays in the light) In this way you can keep a perpetual salad bar growing in your kitchen that only takes up the space of four 10 x 10 inch trays. (2 in the dark and two in the light)
If your goal is a big bowl of home grown salad greens a couple times a week, large seeded microgreens like sunflower, pea, and radish are good for the bulk of your salad. These grow quickly and offer a lot of large juicy leaves to fill out the salad bowl. Smaller leaves like broccoli, purple kohlrabi, or red cabbage add nutrition, spice, flavor, and color.
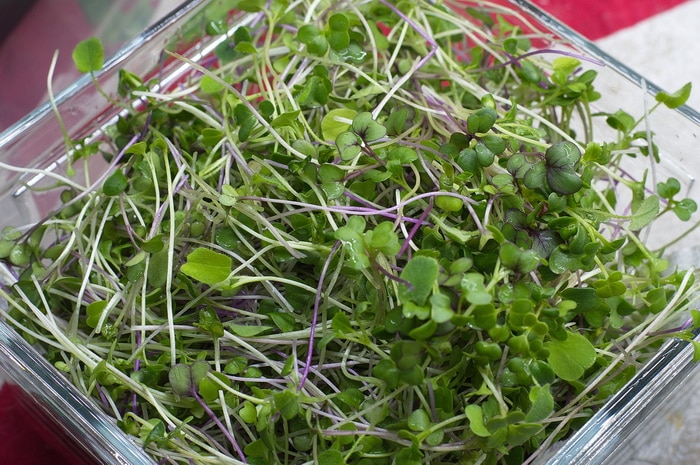
All sprouts and microgreens are good sources of vitamin C, vitamins A, K, and E as well as folate. They also contain Magnesium, Phosphorus, Potassium, and Zinc. Broccoli is especially rich in the cellular detoxifier, glucosinolate, a precursor to sulforaphane, which has been shown to fight cancer. All cruciferous sprouts and microgreens are useful sources of this healthful constituent, although actual amounts vary.
Best microgreens to grow
Not every vegetable is suitable for microgreens. The best choices are fast growing seeds that are sweet and edible. Plants with bitter leaves should be avoided. Most members of the brassica family, including radish, plus peas, beans, and lentils, and sunflowers are good microgreens for beginners to try.
Grain seeds like wheat grass are fine for juicing but are hard for humans to chew and digest, so avoid those for your salad bowl. Other seeds like chia, are a little more challenging. Wait till you’ve had some success before trying them as the mucilage can make germination tricky.
I hope this was inspiring and gave you some ideas for growing food in your kitchen, even in winter, and even if you don’t have space for an outdoor garden.
If you’ve never grown any food before start with sprouts in a jar. You can learn how grow sprouts here. If you are already comfortable growing sprouts give microgreens a try.
Sunflower microgreens taste sweet and nutty and are the perfect first microgreen. Ready in just 7 days, they will give you a harvest by next week. 30 grams of seed will fill a 10 x 10 tray.
You really can grow healthy salad greens in your kitchen even if you don’t have space for an outdoor garden. You just need to start.
True Leaf Market has both sprouting seed and microgreen seed to help you get started
New to growing microgreens?
Check out the Fill Your Salad Bowl workshop and learn how to use 3 different growing methods, at home, so you can fill your salad bowl with super food, nutrient dense, greens every single day. These are greens you can use in your salad bowl, greens you can add to soups, stews, and pasta dishes, and even greens you can use in a stir fry.
In this mini workshop you will learn how to fill a salad bowl every day with food you grow yourself.
- Even if you don’t have any land.
- Even if there is 3 feet of snow covering your garden
- Even if you’ve killed house plants in the past.
- Even if you think you have a black thumb.
Have a look at what’s covered in this workshop and see if its a good fit for you, by clicking/tapping the blue button below.





I am so excited to finally grow microgreens!! Everything is being mailed from Mumms, and I have judiciously printed everything provided to me with regards to growing!!
Cannot wait !!!!
Several seed companies carry microgreen seed, Donna. I especially like the variety at True Leaf Market. They seem to have more options than any of the other suppliers in the USA, both for microgreen seed and for sprouting seed. Also in the USA Johnny’s seed has a wide variety but their online store keeps shutting down so I’m not sure if they are a reliable source right now. In Canada I get my microgreen seed at Mumms Sprouting seed. They are a farm and have connections with the farmer’s that grow the seed. So far I’ve been happy with them.
Delighted to see this article today! I’ve been thinking about using microgreens for some time, but buying them retail is out of reach of our budget. Your method sounds good for our needs.
May I ask where you source your seeds?