

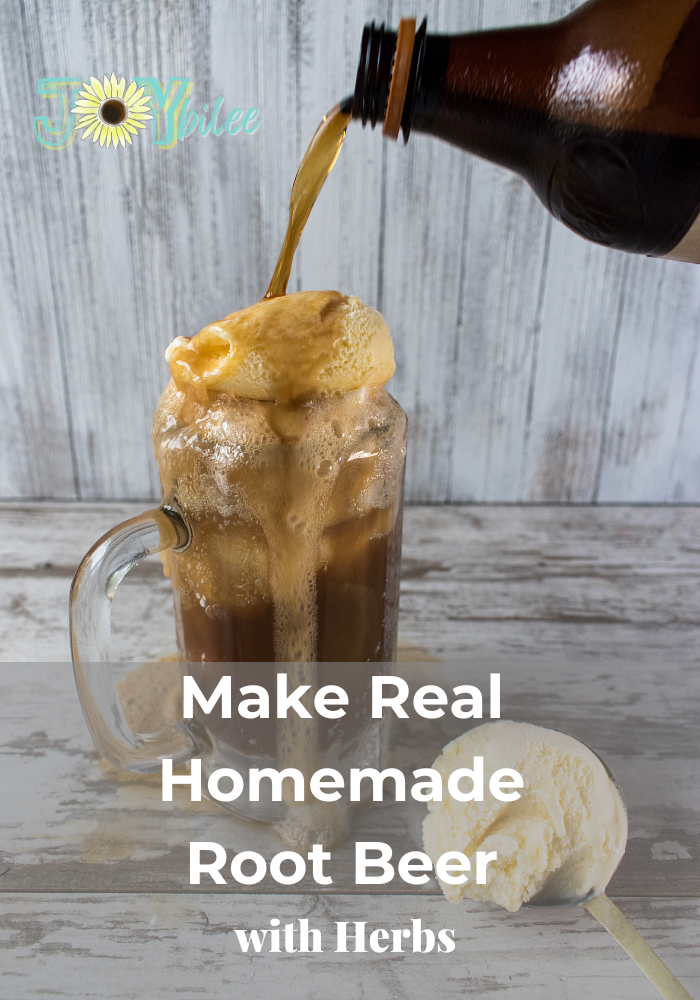
Homemade root beer is a healthy alternative to commercial soda pop. When it’s made with herbs, the old fashioned way, it is healthy, tonic, and energizing, like root beer was meant to be. Make this fizzy beverage at home, and enjoy the flavor and sweetness of root beer this summer with less sugar, and fewer chemicals.
Homemade root beer is a healthy alternative to commercial pop. When it’s made with herbs, the old fashioned way, it is healthy, tonic, and energizing. Commercial root beer is full of high fructose corn syrup, chemicals and preservatives, as well as artificial flavours and colour. You want to avoid these things in your healthy lifestyle. But sometimes you want to celebrate with a fizzy drink. Here’s an inexpensive alternative that’s high on the fun factor and flavour, especially when you enlist the kids to help you make it. Plan to make it 3 days before you need it because it has to ferment to get bubbly. The fermentation process creates the carbonation.
You’ll need glass bottles to create the carbon fizz of commercial root beer. Glass is strong enough to seal in the bubbles until the root beer is ready to drink. Swing top bottles (like these) or crimp bottle caps will both work. The tin crimp caps are especially fun for children to seal, as they require a bottle capper (this is the one we use) to apply them securely to the top of the bottles. It can seem quite magical when you are popping the cap.
Traditional root beer was created by a pharmacist as an energy tonic using sassafras bark, wintergreen leaves, birch bark, and sarsaparilla root. You can find these ingredients where you get your herb supplies, such as Mountain Rose Herbs.
Some people brew their root beer with root beer syrup or root beer concentrate from the local grocery store. But you won’t get the energizing, tonic effects with artificial flavors. Go with the real thing for the original root beer taste.

Homemade Root Beer: The Pop That’s Actually Good for You
- Prep Time: 48 hours
- Cook Time: 30 minutes
- Total Time: 48 hours 30 minutes
- Yield: 24 ten ounce bottles 1x
Description
Homemade root beer is a healthy alternative to commercial pop. When it’s made with herbs, the old fashioned way, it is healthy, tonic, and energizing.
Ingredients
- 1/4 cup sassafras root bark
- 1/4 cup sarsaparilla root bark
- 1/4 cup black birch bark
- 3 1/2 c. sugar
- 2 gallons water
- 1/2 tsp. bread yeast
Instructions
- Place the sassafras, sarsaparilla, and birch in a 3 gallon stock pot.
- Add 2 gallons of water. Cover. Bring to a boil over medium heat.
- Turn the heat down and simmer the pot for 20 minutes. Turn off the heat.
- Allow the pan to cool to 100F, naturally. Strain the decoction.
- Return the decoction to the pot. Dissolve the sugar in the water. Add the yeast. Stir well to dissolve the yeast.
- You’ll need glass bottles to create the carbon fizz of commercial root beer. Glass is strong enough to seal in the bubbles until the root beer is ready to drink. Swing top bottles or crimp bottle caps will both work.
- Once your bottles are capped you need to store them somewhere to allow them to ferment for 48 hours.
- Check the bottles by opening one over the kitchen sink, check every 24 hours after that. When they are almost perfectly fizzy, refrigerate immediately or place in a cooler with ice. The length of time it takes for homemade root beer to get the perfect fizz depends on your ambient temperatures.
Homemade Root Beer Recipe
Yield: 24 — 10-ounce bottles
Ingredients:
- 1/4 cup sassafras bark
- 1/4 cup sarsaparilla root
- 1/4 cup black birch bark
- 2 teaspoons vanilla (optional)
- 3 1/2 c. sugar
- 2 gallons of water
- 1/2 tsp. bread yeast
Instructions:
- Place the sassafras, sarsaparilla, and birch in a 3-gallon stockpot. Add 2 gallons of water. Cover. Bring to a boil over medium heat. Turn the heat down and simmer the pot for 20 minutes. Turn off the heat. Allow the pan to cool to 100F naturally. Strain the decoction.
- Return the decoction to the pot. Add the optional vanilla if you are using it. Dissolve the sugar in the water. Add the yeast. Stir well to dissolve the yeast. Bottle using swing top bottles or tin crimped lids.
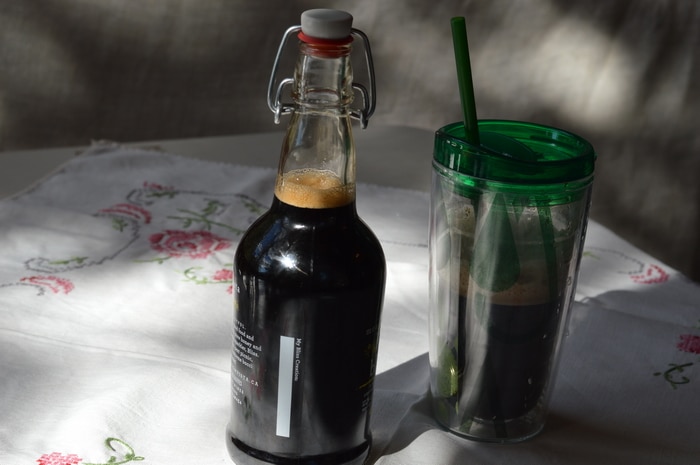
I have some vintage glass pop bottles from the PopShop — remember when you could take the glass bottles back and have them refilled? We wash the bottles well and rinse them. Then refill them. The kids love to fill and cap the bottles.
If you don’t have a case of vintage glass pop bottles the swing-top bottles can be used instead. Homebrew stores carry them. You can also get them on Amazon. These are reusable, so the investment is worth it. Use them for fizzy kombucha, too, and any homebrew project.
Storing your homemade root beer
Once your bottles are capped store them in a cool, dry place to allow them to ferment. You’ll want to check the bottles after 48 hours. Open one over top of the kitchen sink. And every 24 hours after that. When they are almost perfect — refrigerate immediately or place them in a cooler with ice. The length of time it takes for homemade root beer to get the perfect fizz depends on your ambient temperatures. Do not store them under the bed or on top of the fridge. Pressure can build up inside the bottle resulting in quite a mess if you forget about them.
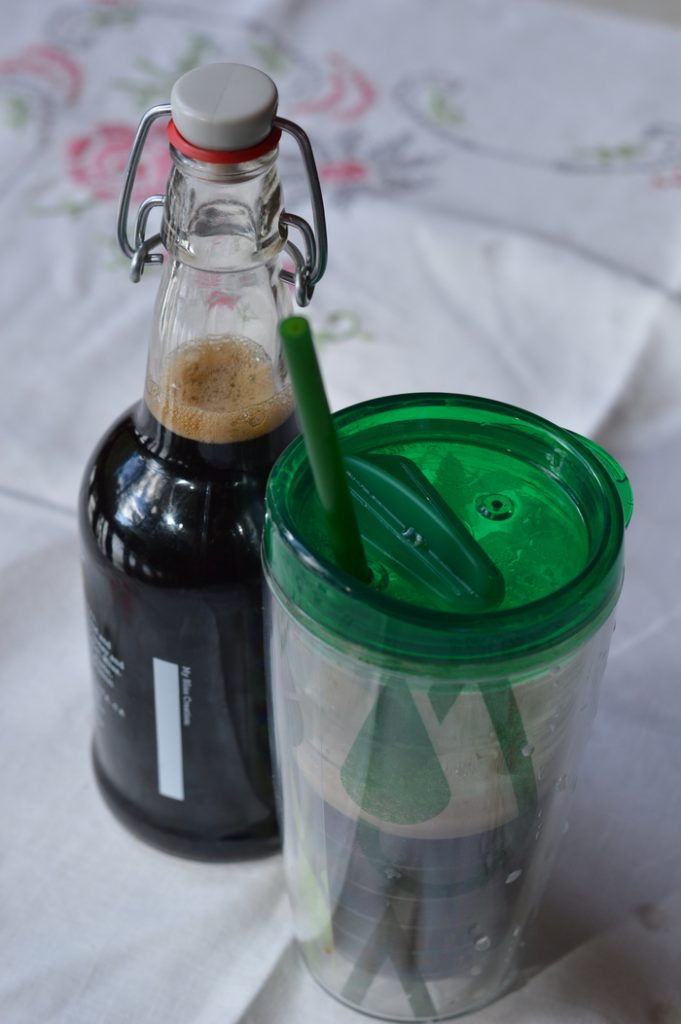
Are they done yet?
They are done when tiny bubbles fizz in a glass when you pour it out of the bottle, and a slight foam rises on the top of the root beer in the glass. The yeast digests the sugar in the water and releases carbon dioxide — which bubbles up in the glass when the cap is removed. They are over-done if the liquid spurts like a volcano out of the bottle when you uncap it.
Health benefits of homemade root beer
Did you think that root beer could have health benefits? It was made commercially available by Quaker pharmacist Charles Hires, in the days when pharmacists worked exclusively with herbs. He was inspired by a root tea that was popular at the time. Hires was a temperance activist and offered his root beer as an alternative to spirited beverages, during the 1876 US Centennial Exposition in Philadelphia. It was originally offered as a concentrate to soda fountains and drug stores. The businesses added water, sugar, and yeast to prepare it for sale. Today you can still purchase root beer extract, but today artificial flavours and colours replace the bark and roots of the original formula, with wintergreen being the predominant flavour.
The original recipe called for sassafras root bark, sarsaparilla bark, birch bark and various other herbs and roots. So don’t feel limited to the herbs in this recipe as you experiment with your own. Some people add other spices such as cinnamon, nutmeg, mint, licorice root, or star anise. Use your creativity. You can make it all summer long without making the same recipe twice.
Sassafras (Sassafras albidum) is a tonic and blood purifying plant. The root is considered the most effective part of the plant. It is alterative, diaphoretic, diuretic, antiseptic, and warming. It is an aromatic carminative digestive and was originally the dominant flavour in root beer. Sassafras fell out of favour and is now considered carcinogenic in large quantities, however, there is a long history of use among indigenous tribes without ill effect.*
Sarsaparilla (Smilax sp.) is another tonic plant that supports the adrenals and the liver. It is an alternative, diuretic, and diaphoretic that helps pain and inflammation. The root is used.
Birch Bark (Betula fontinalis) is the wintergreen flavour that we associate with modern root beer. It is analgesic and anti-inflammatory, and useful for the pain in arthritis and rheumatic conditions. It is diuretic, antiseptic, and astringent, with high amounts of vitamin C. Both the bark and twigs can be used.
Homeschooling lessons from homemade root beer
This volcano-like eruption is quite impressive to any kids witnessing the event and homeschoolers can turn it into a science lesson — with a microscope to observe the yeast beasties and a discussion on the ideal conditions for fermentation, topped off with filling a balloon placed over the top of the bottle with carbon dioxide. Add a discussion of the carbon footprint of homemade rootbeer vs. the carbon footprint of store-bought and you’ll have a complete lesson plan.
Don’t store the root beer bottles under a bed or on top of the fridge. Bottles sometimes explode, spewing the contents, which are under pressure. The mess is difficult to clean up (don’t ask, but it would have made a great you-tube video). I store them behind the wood stove on the tile floor. Easy cleanup and not too warm in the summertime since the woodstove is off.
It takes from 3 to 5 days for the bottles to ferment and the root beer to be ready. You can speed the process by putting the bottles in a warm place, or slow it down by putting the bottles in a cool place. Once the bottles are finished move them to the refrigerator or a cooler, to slow down the fermentation. Enjoy.
Other homemade pop recipes
You can also make Gingerale. Follow the above recipe but substitute 2 tbsp. grated fresh ginger and 2 tbsp. lemon zest, 2 tbsp. lemon juice, for the rootbeer herbs. Add to the boiled water. Strain out the lemon zest and ginger before filling the bottles.
For cream soda, substitute 1/2 cup of crushed strawberries and raspberries, for the root beer herbs. Make tea with the boiled water. Allow to cool and strain out the pulp. Add sugar and yeast and continue as for root beer.
Learn to use garden herbs to make inspiring botanical beverages

For more recipes that can help you beat the heat check out my Inspiring Botanical Drinks course. Inside this class you’ll learn how to use your garden herbs and produce to create elixirs, drinks, and cold treats that are healthy, full of antioxidants, and will help you stay cool all summer long. You’ll also learn healthy ways to beat the soda habit, make your own coffee shop drinks, and craft specialty beverages that are lovely and giftable. Learn more here.

