Pizzelles, Italian holiday cookie
Are you looking for more holiday cookie recipes? Pizzelles are quick to make and they don’t heat up the kitchen like other cookie baking does. Once you’ve mastered making pizzelles, I’m sure you’ll be making them year round.
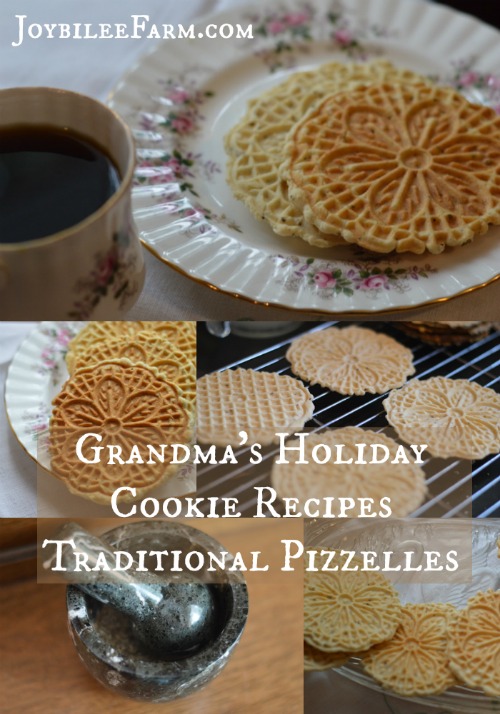
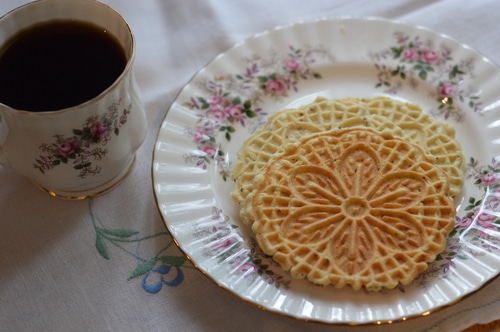
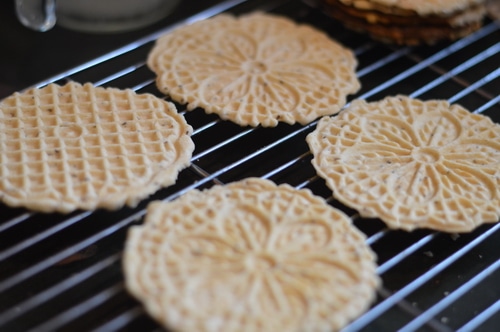
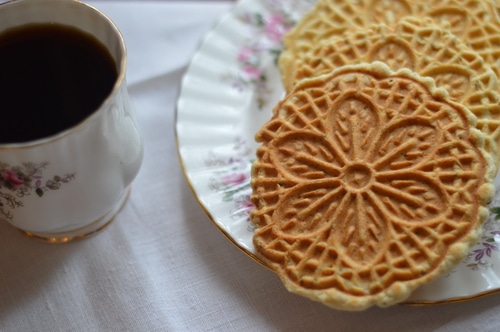
Pizzelles are a traditional Italian cookie that is baked on a special heated iron, similar to a waffle. Pizzelles are thin, crispy, wafer cookies. They are a common feature with a cup of espresso at the end of a rich meal.
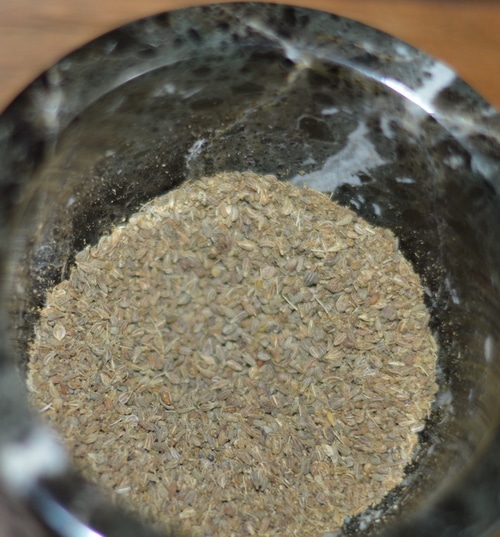
Traditional pizzelles are light, flavourful, and satisfying with a faint flavour of anise seed. The anise seed is a digestive aid. Anise is an aromatic, carminative herb. It eases cramping in the intestines, relieves gas and bloating, and reduces gut inflammation. It’s just what’s needed after a heavy meal.
So heat up your pizzelle iron and make a batch of these traditional holiday cookies for a light finish to your holiday meals.
Print
Grandma’s Holiday Cookie Recipes – Traditional Pizzelles
- Prep Time: 20 minutes
- Cook Time: 40 minutes
- Total Time: 1 hour
- Yield: 30 cookies 1x
- Category: Dessert
- Method: Baking
- Cuisine: Italian
Description
Traditional pizzelles are light, flavourful, and satisfying with a faint flavour of anise seed.
Ingredients
- 3 eggs
- 3/4 c. sugar
- 1/2 c. butter, melted and cooled
- 1 tsp. vanilla extract
- 1 tbsp. anise seed, lightly crushed
- 1 3/4 c. flour, all-purpose
- 2 tsp. baking powder
Instructions
- Grease the plates of the pizzelle iron generously with butter or coconut oil. Preheat the pizzelle iron according to the manufacturer’s directions.
- Set up a cooling rack close to where you are baking the pizzelles.
- In a large mixing bowl, beat the eggs and sugar together until light and fluffy. I use a wire whisk and beat it by hand.
- Add butter, vanilla, and beat well.
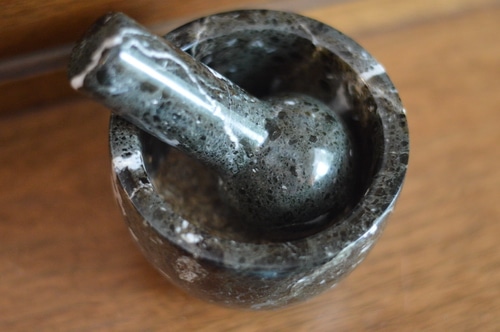
- Lightly crush anise seed with a mortar and pestle.
- Add to the lightly crushed seed to the batter.
- Sift flour and baking powder and add to egg mixture.
- Mix until just blended. Don’t overwork the batter.
- Batter will be stiff. If it is too runny it won’t spread properly in the iron.
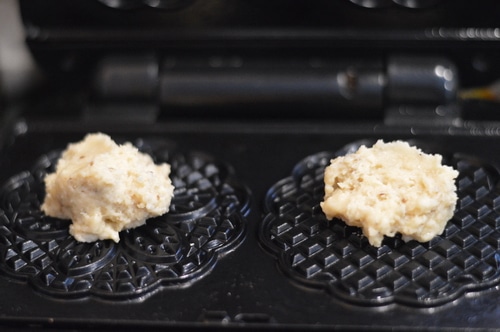
- Drop the batter by the spoonful into the centre of each circle on the pizzelle iron.
- If the teaspoon of batter is off centre, the pizzelle doesn’t fill the design completely.
- Close the pizzelle iron over the batter and let it cook until the steam stops.
- Once the steam stops and the pizzelles are baked remove them from the iron.
Traditional Anise seed Pizzelles
Yield: About 30 Pizzelles
Ingredients:
3 eggs
3/4 c. sugar
1/2 c. butter, melted and cooled
1 tsp. vanilla extract
1 tbsp. anise seed, lightly crushed
1 3/4 c. all-purpose flour
2 tsp. baking powder
Method:
Grease the plates of the pizzelle iron generously with butter or coconut oil. Preheat the pizzelle iron according to the manufacturer’s directions.
(While my pizzelle iron has a nonstick surface, if I was buying one today, I’d definitely get one with a normal metal surface, to avoid the toxins associated with nonstick cookware, like this one.)
Set up a cooling rack close to where you are baking the pizzelles. One you start cooking them you need to work fast.
In a large mixing bowl, beat the eggs and sugar together until light and fluffy. I use a wire whisk and beat it by hand. It’s not a difficult batter to work with by hand.
Add butter, vanilla, and beat well. Lightly crush anise seed with a mortar and pestle. Add to the lightly crushed seed to the batter.
Sift flour and baking powder and add to egg mixture. Mix until just blended. Don’t overwork the batter. Batter will be stiff. If it is too runny it won’t spread properly in the iron.
Drop the batter by the spoonful into the centre of each circle on the pizzelle iron. My pizzelle iron uses 1 heaping tsp. of batter per pizzelle. Follow the directions with your own pizzelle iron.
If the teaspoon of batter is off centre, the pizzelle doesn’t fill the design completely. It takes a bit of practice to place the dough in exactly the right spot on your iron to fill the design without any overflow. It’s worth the extra effort to get to know your own pizzelle iron so that you know exactly where to place the batter.
Close the pizzelle iron over the batter and let it cook until the steam stops. Once the steam stops and the pizzelles are baked remove them from the iron.
How long should you cook pizzelles?
Most pizzelle irons will evenly brown your pizzelles in 30 seconds to 2 minutes. Once the steam stops, though, the pizzelle may be pale, golden brown. If you plan to shape the pizzelle, remove them from the iron at this stage. They will be more pliable and less likely to crack when you roll them.
If you plan to serve them as flat wafers, the darker pizzelle has a more intense caramelized flavour.
Shaping pizzelles
If you want to roll them into cones or cut them into wedges do that immediately when they come off the pizzelle iron. They are soft and pliable then. As they cool they will crisp up.
Place them on the cooling rack.
When they are cool enough to handle, I pull off the outer edges that are outside the design. This is optional. I save the crumbs for toppings for other cakes and desserts.
How to serve pizzelles
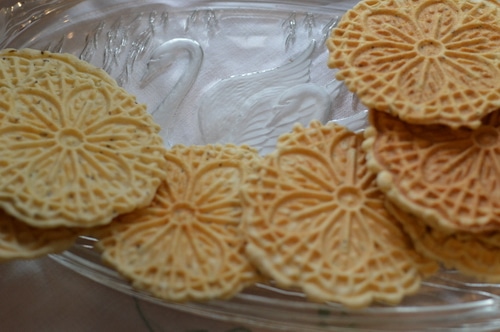
Serve pizzelles plain, with a dusting of icing sugar, or dip them in melted chocolate.
More Holiday Cookie Recipes
Grandma’s tips for baking better cookies




Hi, Amanda. Nice to see you here. I visited your blog but couldn’t figure out how to leave a comment. Your tiny house looks wonderful. I’d love to connect further.
Hello neighbour! Well, almost. I’m in the Okanagan, so not that far from you. These are so pretty! Thank you for sharing 🙂