A thriving ginger bug is the start of some delicious and gingery fermented recipes. From fermented rhubarb, to ginger beer, and gingery pickles, you can create warm, digestive fire with just a few simple ingredients that begin with ginger, water, and organic sugar. You don’t even need to peel the ginger. How cool is that!

What is a ginger bug?
A ginger bug is a fermented beverage that is made from organic sugar, filtered water, and fresh ginger root. There are wild yeasts on the peel of ginger and in the environment that create a bubbly beverage much like second-ferment kombucha or water kefir. The fermentation process uses these microorganisms like yeast, and lactic acid bacteria, the good kind of bacteria. Lactic acid bacteria supports your microbiome and will help heal gut problems like leaky gut and poor digestion.
Why is it called a ginger bug?
Its called a ginger bug as a term of endearment, made up of sugar and ginger plus wild yeasts and lactobacteria (the good bugs).
How to grow a ginger bug
You just need 3 ingredients to grow a ginger bug: Grated ginger, organic sugar, and filtered water. Much like sourdough starter, your ginger bug promotes the proliferation of wild yeast. Your ginger bug will need three to seven days, initially to grow the yeasts and probiotic bacteria (the good kind) so that it is vigorous enough to create bubbles in a secondary ferment. Once its done, you can use it to make homemade sodas in flip-top bottles and flavor them in your own creative ways.
- 3 1/2 cups filter water
- 5 tablespoons organic sugar, divided
- 5 tablespoons organic ginger, unpeeled
Instructions:
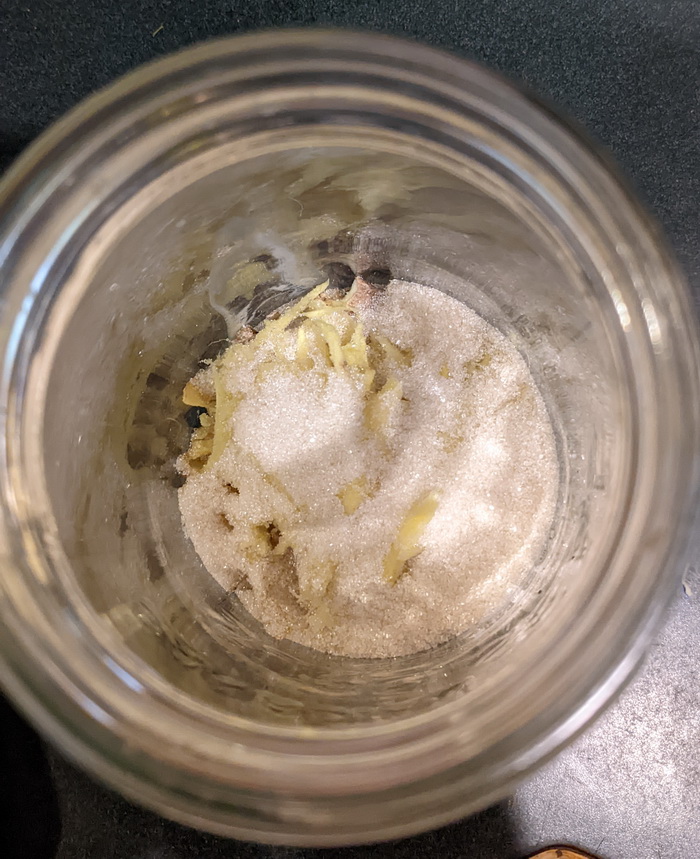
- Mix water, 3 tablespoon of grated ginger, and sugar together in a wide mouth Mason jar, until all the sugar dissolves. Cover the jar with a clean handkerchief and secure with a jar ring. Place in a warm room, like your kitchen, but protect the jar from direct sunlight. If you kitchen is cooler than 70F, your ginger bug may take longer to grow.
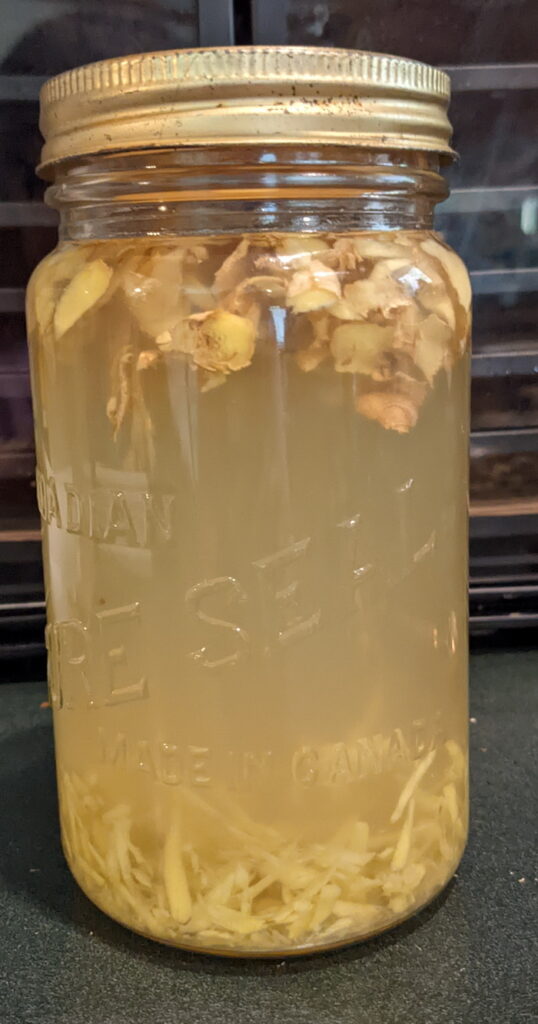
- Set the ginger bug aside for 3 days, stirring once a day to mix the yeast and bacteria together with the ginger. After 3 to 7 days the ginger bug will begin to bubble. Continue stirring once a day until you see bubbling or other signs of fermentation.
- Add 1 tablespoon of grated ginger and 1 tablespoon of sugar once a day for two days. Then remove the cloth cover and replace with a solid lid.
- Your ginger bug is now ready to use to ferment bubbly drinks, ginger beer, and other delicious ferments.

How to store a ginger bug
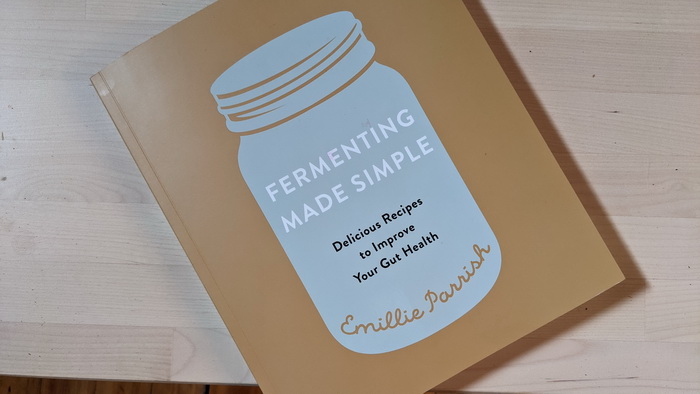
A ginger bug starter will keep in the fridge for up to a month, even if you don’t feed it. According to Emillie Parrish, author of Fermenting Made Simple: Delicious Recipes to Improve Your Gut Health, a quart of ginger bug is enough to brew 6 1 quart batches of real ginger beer, ginger bug sodas, or other fermented sodas. After refrigeration, bring your ginger bug to room temperature and feed it 1/4 cup of filter water, 1 tablespoon of sugar, preferably organic sugar, and 1 tablespoon of ginger, grated once a week. Let it rest at room temperature for 24 hours, covered with a cloth or paper towel, secured with a rubber band, then refrigerate. Do this once a week to keep your ginger bug active.
You will end up with an excess of grated ginger in the bottom of your jar. You can strain this out by pouring the fermented ginger bug through a coffee filter or through cheesecloth. Retain the liquid and feed it again to keep the culture active. But don’t through out the spent grated ginger. There is still a lot of flavor in it. Use it in the cookie recipe in Emillie’s book or make up your own recipe for ginger cake and ginger cookies.
Can you freeze a ginger bug?
Similar to a sourdough culture, a ginger bug can be kept alive indefinitely with routine feedings of ginger, sugar, and water. Freezing a live culture will rupture the cells of the living organisms. You might be able to revive the culture but it won’t be as vigorous. Its better to dehydrate or freeze dry the culture at low temperatures to preserve it for long term or begin again with fresh ginger and sugar.

How to revive a ginger bug?
To revive a slow ginger bug bring it to room temperature and feed it 1 tablespoon of grated ginger and 1 tablespoon of organic sugar, plus 1/4 cup of filtered water. Stir it completely to distribute the sugar. And let it ferment for 24 hours. Repeat the next day until you see bubbles forming. It can take up to a week in a cool environment.
Probiotic benefits of a ginger bug
A ginger bug contains wild yeasts and lactic acid bacteria. The wild yeasts make the effervescent, bubbly liquid, while the lactic acid bacteria promote gut health and good digestion. Its quite different from sugary ginger ale. Ginger bug actually has health benefits.
Print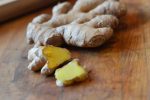
The Growing and Feeding of a Ginger Bug,
- Prep Time: 10 minutes a day over 7 days
- Cook Time: N/A
- Total Time: 0 hours
- Yield: 1 quart ginger bug 1x
- Category: Lacto-fermentation
Description
A ginger bug is a fermented mixture of sugar, ginger and water that you can grow in your kitchen, like kombucha, and feed regularly. Then use it to create delicious, healthy, and safe bubbly beverages that support gut health and taste great.
Ingredients
- 3 1/2 cups filter water
- 5 tablespoons organic sugar, divided
- 5 tablespoons organic ginger, unpeeled
Instructions
- Mix water, 3 tablespoons of grated ginger, and sugar together in a wide mouth Mason jar, until all the sugar dissolves. Top up the jar with filtered water (about 3 1/2 cups). Cover the jar with a clean handkerchief and secure with a jar ring. Place in a warm room, like your kitchen, but protect the jar from direct sunlight. If you kitchen is cooler than 70F, your ginger bug may take longer to grow.
- Set the ginger bug aside for 3 days, stirring once a day to mix the yeast and bacteria together with the ginger. After 3 to 7 days the ginger bug will begin to bubble. Continue stirring once a day until you see bubbling or other signs of fermentation.
- Add 1 tablespoon of grated ginger and 1 tablespoon of sugar once a day for two days. Then remove the cloth cover and replace with a solid lid.
- Your ginger bug is now ready to use to ferment bubbly drinks, ginger beer, and other delicious ferments. To keep it growing feed it once a week with 1/4 cup of filtered water, 1 tablespoon of grated ginger, and 1 tablespoon of organic sugar.
Notes
The ginger bug can be refrigerated. Continue to feed it once a week to keep it vital and active.
To make ginger beer:
Use 1/4 cup of the ginger bug starter, 3 1/2 cups filtered water, 5 tablespoons organic sugar, 3 tablespoons grated ginger. Mix together in a glass Mason jar. Cover with a cloth and set aside for 3 days to ferment. Strain it and bottle it using a flip top bottle cap. Let it rest 24 to 48 hour for the bubbles to build up. Then refrigerate.
Recipes that use a ginger bug
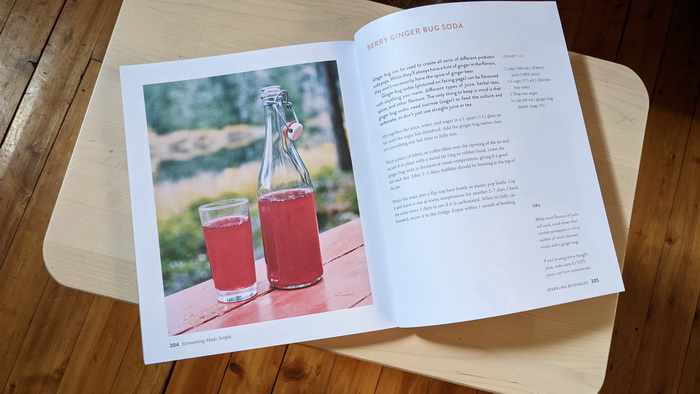
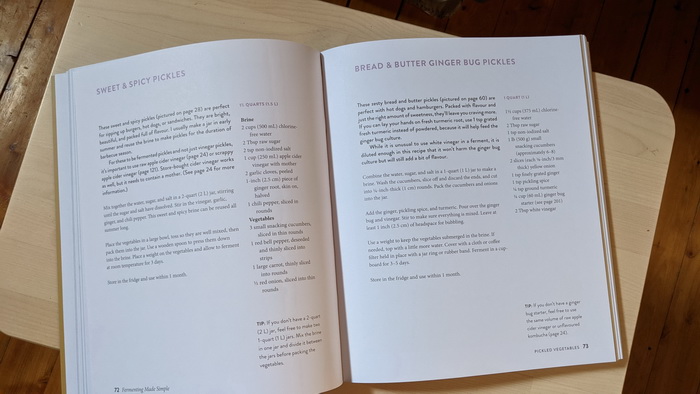
A ginger bug can be used to make ginger beer, fruit juice sodas, and bubbly lemonade. Herbal tea can be used as the base for your second ferment instead of plain filtered water to add even more health benefits and incredible flavor. But in Emillie’s book, Fermenting Made Simple, there are even more creative and innovative uses for fermented ginger bug including rhubarb preserves (page 112), gingered applesauce (page 105); and Bread and Butter Ginger Bug Pickles (page 73). Doesn’t that sound yummy? I’m definitely going to try the rhubarb preserves. I already know that ginger tastes amazing with rhubarb.
I was given access to a pre-publication copy of this book by the publisher for review. But I’ve been waiting for this book from Emillie since we first chatted in November of 2019. You can view that interview here:
What’s in Fermenting Made Simple
I really loved Emillie’s book for her story of healing and her innovative and creative use of ingredients. The book includes 80 fermentation recipes including the recipes for Ginger Bug, Ginger Beer, and Ginger cookies. Here’s more information about the book. Check it out on Amazon.
 Fermenting Made Simple: Delicious Recipes to Improve Your Gut Health
by Emillie Parrish
My rating: 5 of 5 stars
Fermenting Made Simple is more than just a cookbook. Its also a health book and a sustainable living book. Fermented food can help heal the gut, ease digestive complaints, and contribute to greater health and longevity. It also tastes pretty good, with its complex sweet and sour flavors. Fermented food can also help you use up the scraps, the peelings, and the leftovers from garden and fridge, in a way that’s delicious and economical, for instance there is another bubbly beverage called “Tepache” that is made from the skin of pineapple that you removed to get the pieces of pineapple for eating. The pineapple skin and core can be used to make this fermented drink, tepache, or fermented pineapple vinegar, making something healthy and useful from the gleanings. Isn’t that interesting?
Emillie Parrish proved the health giving benefits of fermented food in her own health and in the health of her children. That’s reason enough to read this book, but it also has some pretty amazing traditional recipes made better because of the active bacterial cultures.
Some of the recipes come right out of the region that I live in, so reading it was like talking to an old friend over tea. Recipes like Doukhobor Cabbage Rolls, Winter Vinaigrette Salad, Eastern European Fermented Tomatoes, Brilliant Jam Factory Sandwich Bread, and Salty Beet Kvass, are ones I’ve made myself at home, without a recipe or sampled at a church potluck. But with this fermentation cookbook, it makes it even easier to make these cultured foods at home, with consistent results.
All the recipes in this book are vegetarian, though not necessarily vegan. There are some gluten-free recipes but not all recipes are gluten-free. Read recipes carefully if you or a family member have food allergies. You can always substitute within the recipe, when necessary.
The biggest problem I have is which recipe to try first — rhubarb because my garden rhubarb is abundant and ready to harvest right now (Its the end of May as I write this), or the ginger ferment and ginger beer because I adore ginger and have bags of organic ginger right now in my pantry. Both are tempting.
Emillie Parrish created an inspiring and approachable cookbook that turns a mysterious subject into an easy, step by step plan for success. Thanks for investing the time to write this welcome addition to the fermentation cookbook library, Emillie.
Get your copy of Fermenting Made Simple here.
Learn to use garden herbs to make inspiring botanical beverages
For more recipes that can help you beat the heat check out my Inspiring Botanical Drinks course. Inside this class you’ll learn how to use your garden herbs and produce to create elixirs, drinks, and cold treats that are healthy, full of antioxidants, and will help you stay cool all summer long. You’ll also learn healthy ways to beat the soda habit, make your own coffee shop drinks, and craft specialty beverages that are lovely and giftable. Learn more here.





I must try this .Thank you.