Learning how to ecoprint on silk brings together the therapeutic energies of plants, their healing virtues, their fragrance, as well as the spiritual beauty of memory, and place.
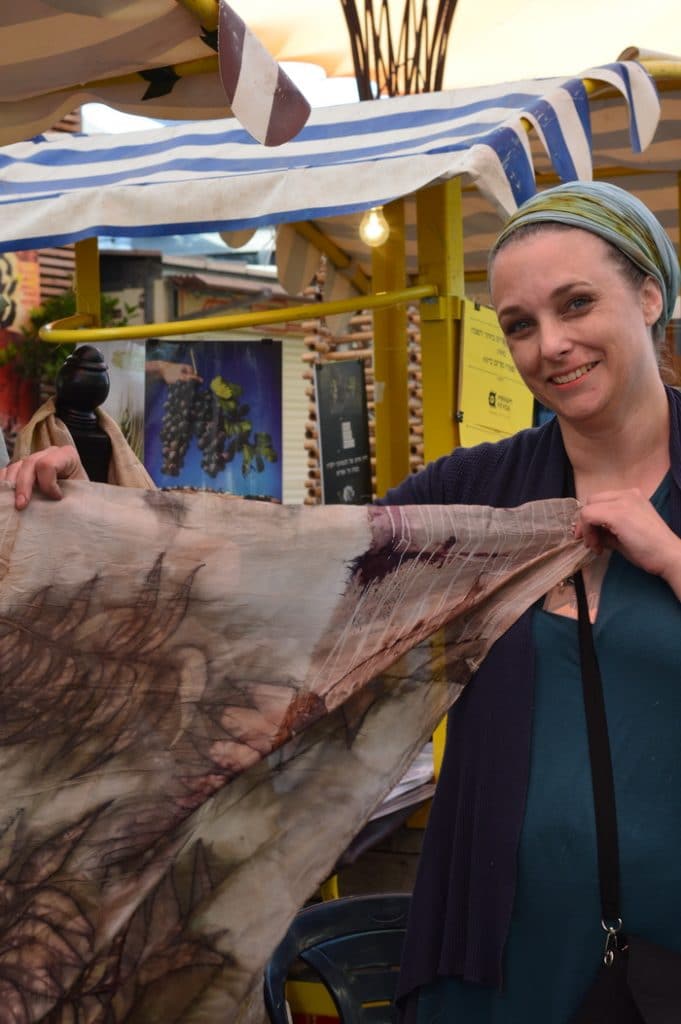
I recently spent some time in Jerusalem. While there I met up with Suzanne Dekel at her pop-up shop at First Station. I first encountered Suzanne on Instagram where I am following the journey of her eco-print fiberart. While in Jerusalem I seized the opportunity to speak to her in person. Suzanne’s art is focused on ecoprint dyeing using plants and natural dyes on natural fabrics like silk and wool. She creates fabrics and scarves, as well as cloth coverings for Jewish ritual observance. You can hear the interview here.
I’ve done eco-printing before so I understand the slow process of getting color to adhere permanently to fabric. It takes time. There is no way to rush it. But like so much herbal work, homestead projects, fermentation, and fiber arts, much of the time is just waiting to see the awesomeness reveal itself.
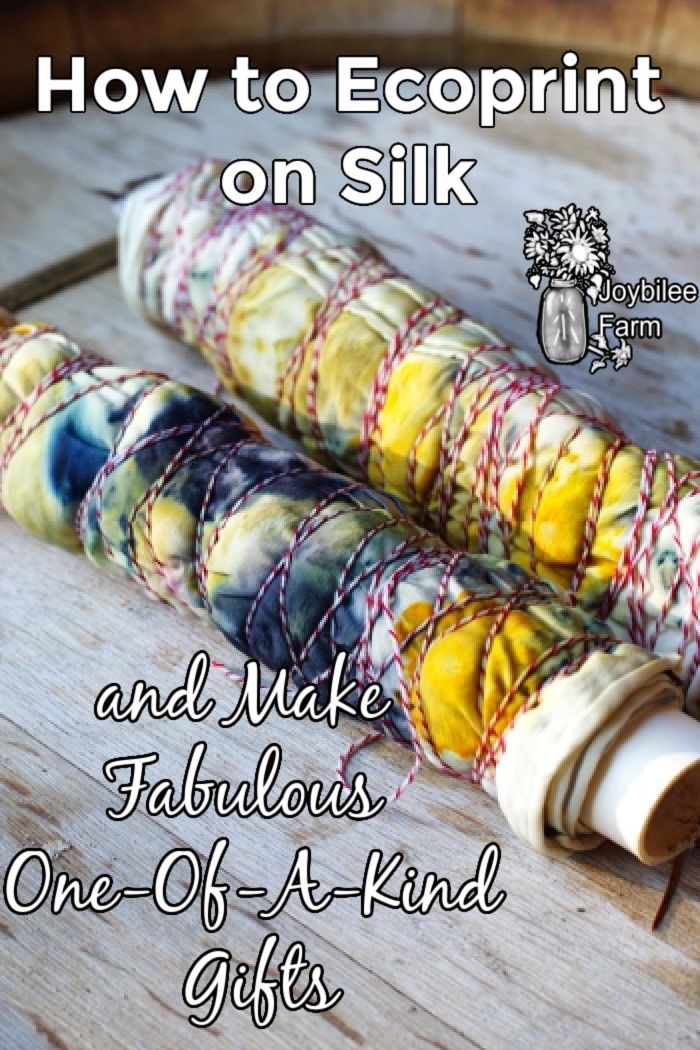
How to ecoprint
Eco-printing is divided into preparation, working, and waiting. Of this, the waiting is the longest part. You can’t rush it and expect to see the deep, rich shades of color reveal themselves. There are no short cuts. No microwave. It’s meditative. It’s spiritual.
Silk scarves, tichels, and play silks made of 100% natural silk fabric are easy to DIY and make fabulous gifts for women and children alike. When you imprint them with fresh, living herbal leaves, flowers, seeds, roots, and bark they bring the beauty of place to your clothing. This is one of the things I loved about speaking to Suzanne. She taught me so much in our short conversation about the transcendent significance of place, plants, and fulfilled promises. This transcendence is embodied in ecoprint dyeing.
While Suzanne uses the plants of the Holy Land for her natural dyeing practice which has deep spiritual significance for her, you can use the plants you have growing all around you in every season, to capture ecoprints that evoke your own place in the world, the colors of your landscape, and the fragrance of your own garden. Ecoprinting captures this in each one-of-a-kind piece of silk or wool fabric.
How to prepare fabric for eco print dyeing
Eco print dyeing works best on silk or wool fabrics. Other natural fabrics can be used but the plant dyes seem to cling better to protein fibers.
Step 1 — Scour the Fabric
Wash the fiber with a mild detergent to remove any sizing or fabric coating. Some fabric is sold as RTD or Ready to Dye, and doesn’t require this step. But it should still be wetted before eco printing.
Step 2 — Mordant the Fabric
Mordanting is an essential step in dyeing with natural dyes, whether you are eco printing or dip dyeing your fabric. The mordant allows the color molecules to adhere to the fabric and remain. Mordanting makes the color fast and inhibits fading with light and washing.
Potassium aluminum sulphate (alum) is the easiest and safest mordant to use when dyeing with natural dyes. It gives clear bold colours to protein fibers. Use 12 grams of alum to 100 grams of silk or wool fabric. See this post for how to use alum to mordant fiber. (coming soon)
Ensure that silk fabrics remain below 180 degrees F. to avoid damaging their lustre.
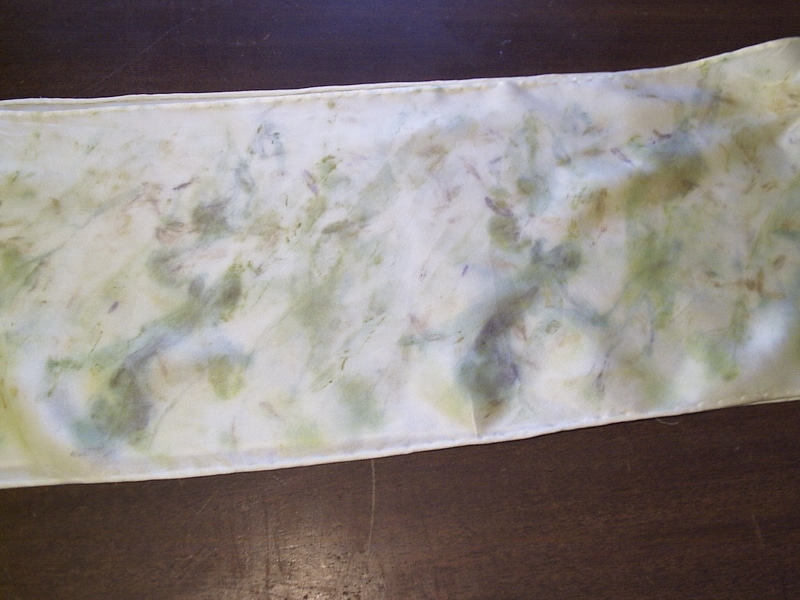
Step 3 — Under-dye the fabric with natural dyes
This step is optional but adds to the vibrancy of the colors in ecoprint dyeing. Place a light under-color on the fabric before you begin the actual botanical print. To do this create a dye bath using natural dye plants such as:
For yellows:
- Golden Rod
- Dyer’s Weld
- Onion Skins
- Coreopsis
- Oregon Grape Root
- Turmeric Root
- Dyer’s Greenwood
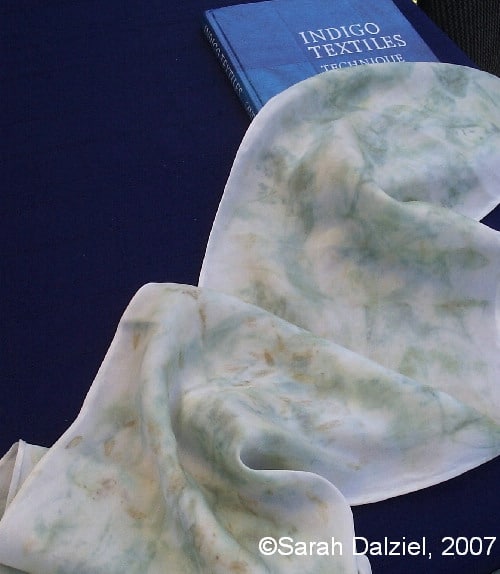
Create a unique scarf using natural dye plants and eco-prints
For reds and corals:
- Madder root
- Cochineal
- Bedstraw Roots
- Prickly Pear Cactus Fruit
For Blues and purples:
- Woad Leaves
- Indigo Powder
- Japanese Indigo
- Log wood chips
Use the instructions for the natural dyes of your choice. For instance for yellows create a simmer dye bath and keep the temperature below 180 degrees F. for silk. Madder should be cold water dyed. Indigo requires a fermentation process to create a reduction dye vat. Check out the links to get more detailed instructions for pre-dyeing the silk fabric with natural dyes. (links coming soon)
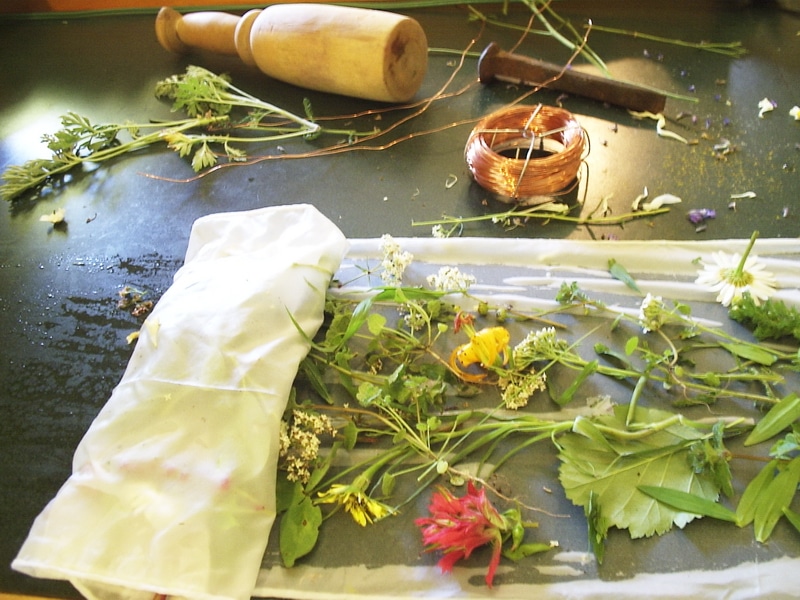
Step 4 — Gather your plant materials
Go for a pleasant walk and take your gathering basket. Your personal place and the season that you gather in will determine your colors. This is the most fun. Go here to see Sarah’s ecoprint with woad on silk scarves.
The colors that will adhere to the fabric come from the same plant constituents as the plant’s antioxidants and medicinal qualities. The flavoniods, the anthocyanins, and the tannins in the plants along with the minerals carry the color to your cloth. These are the same qualities that hold the anti-inflammatory, pain relieving, anti-microbial, anti-fungal, and therapeutic actions that we value medicinal herbs for.
In ayurvedic tradition cloth is dyed with natural dyes in order to carry the therapeutic benefits of the plant to the person wearing the cloth. Since we’ve lost the cultural significance of natural color we’ve also missed our own understanding of the way plants offer their virtues through their color signatures, to our loss. Ecoprint dyeing is an easy way to bring this knowledge back, as the fabric is not only colored with natural dyes but the signature leaf, flower, or seed shape is imprinted on the cloth, as well. This leaves a permanent record of the plants used to dye the cloth.
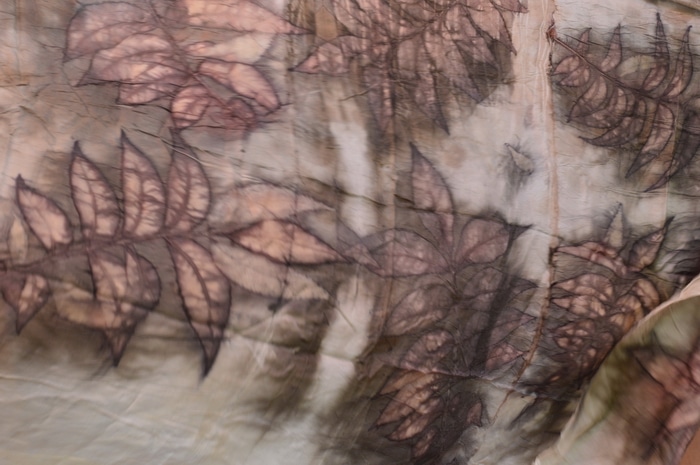
What plants are best for eco printing?
- Leaves with tannins
- Walnuts, butternuts, beech nuts
- Oak, Sumac, Maple
- Gingko, Eucalyptus, Willow
- Cherry, apple, peach, plum
- Birch, alder, chestnut
- Leaves from known dye plants like woad, weld, and madder
- Herbs
- Flowers
- Bark
- Seeds
- Pods,
- Rusty nails or iron pieces
- Copper wire
- Roots
- Red and blue vegetables and grains
- Pomegranates, berries, peels
- Avacado seeds and skins
- Pine needles, cones, and bark
In fact most plants have some color to offer. So gather a basket of colourful leaves, flowers, and fruit and create your own awesome art. And while you’re making your eco prints keep notes so that you can repeat the ones that turn out amazing.
Every season has some colour to offer, although the leaves of autumn seem richer after a season of photosynethsis than the young leaves of spring. In winter barks and roots also offer color.
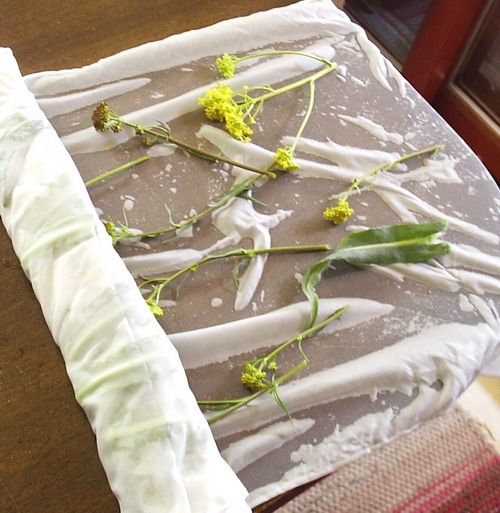
Step 5 — Lay out your plant materials on the fabric
Clean off any dirt, bugs, or debris from your plant material. Lay out plastic wrap on a table. Lay your wet, mordanted silk fabric on the plastic wrap.
Lay out your plant material in a pleasing pattern on top of half the silk. Fold the half of silk without the plant material over on top of the silk with the plant material so that the plant material for the eco print is sandwiched between two layers of silk.
At this point the plant cells need to be broken to release the color. You might choose to pound the sandwiched fabric to break the plant cells. Alternatively you can omit the pounding and move right to the next step. When you pound the sandwiched plants, your final imprint is not as crisp as when you just allow the steam to break the plant cells. You’ll get too different effects depending on your technique. There is no right or wrong way to ecoprint.
Step 6 — Roll up your plant materials tighty and wrap with string
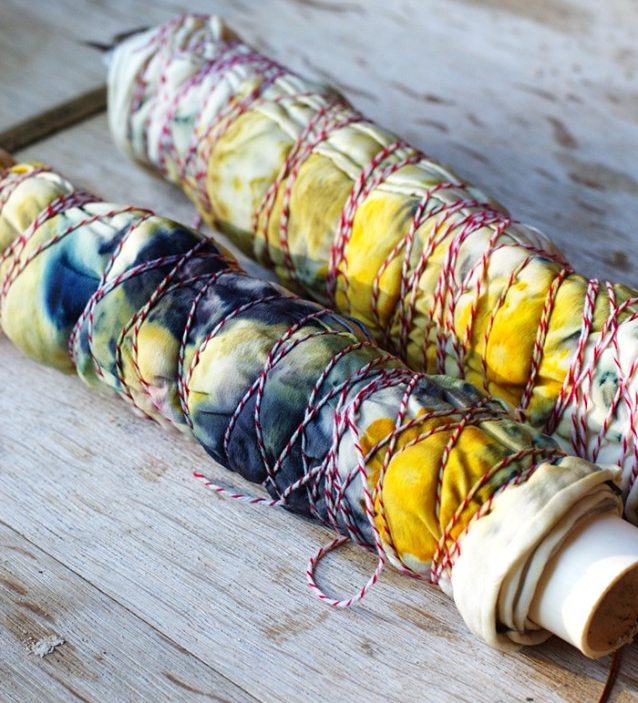
Roll the silk up into a tight bundle around a stick. Wrap the bundle with cotton string snugly. The string will act as a resist, leaving it’s marks on the fabric.
Step 7 — Steam your fabric
Place a steam basket in a crock pot or slow cooker. (You can also use your Instant Pot for steaming your eco-prints. Use the low slow cooker setting) Put a small amount of water in the bottom of the crock pot, making sure that the water doesn’t touch the bottom of the steam basket. Place the packets of prepared ecoprint silks on top of the steam basket. Turn the crock pot on low. Leave it for 3 hours. Shut off the crock pot. Now walk away and allow the pot to cool down to room temperature of it’s own accord. This should be overnight but you can leave it longer, up to 30 hours. Longer than that and you risk mold forming on the fabric. During this cooling off period the vibrant colors are bonding with the fabric and deepening in hue.
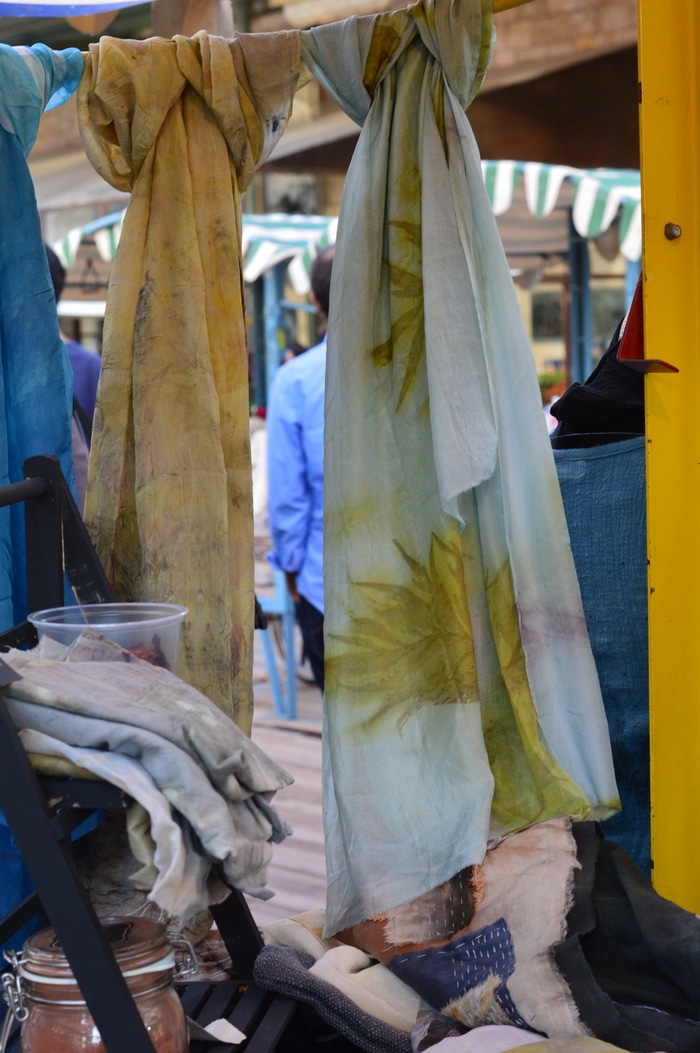
Step 8 — Discover your awesome eco dyed fabric
At the end of the cooling off period, unwrap your bundles. And admire.
Remove the plant materials. Rinse and wash the fabric using a mild soap. Restore the pH of the silk by rinsing it in water that you’ve added a tablespoon of vinegar to.
Rinse again in clear water.
Step 9 — hang to dry
Once the silk is fully dry you can iron it with a just warm iron if you like, on a low setting. High heat will damage the silk’s lustre, so keep the iron below 185 degrees F.
Ecoprint natural dyeing for DIY gifts
Silk scarves, tichels, blankets, and dancing silks make lovely gifts for all the girls and women in your life. Make some for Christmas, Hanukkah, Birthdays, or Anniversaries. They are unusual and valuable gifts that actually don’t cost much in material outlay but are highly valued as works of art. The work is satisfying and meditative. They don’t weigh very much and so aren’t costly to mail. And the results are stunning.
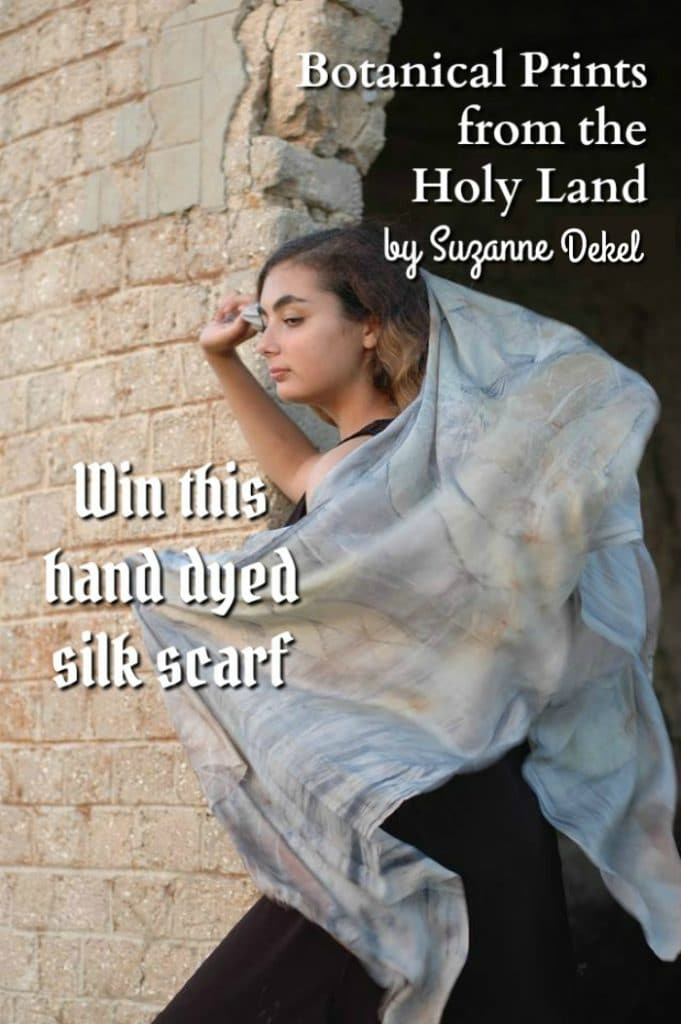
Check out my interview with Suzanne Dekel and see some of Suzanne’s gorgeous ecoprint fiberart here. See the rest of the story, and who won this ecoprint silk scarf handdyed by fiberartist Suzanne Dekel of Israel.



I recently tried doing an eco print scarf on white silk and the plants I used were bottlebrush, powder puff, zinnias, salvia, coreopsis, pomegranate seeds, honeysuckle, firecracker, and rust colored semi-dry leaves. Except for the Bottlebrush, powderpuff, pomegranate seeds, and coreopsis the prints and colors are barely visible. I have an Instant Pot and I used it with steamer basket(no water touching basket) and used slow cooker setting for 3 hours and left it in pot without opening over night. My questions are:
Should I steam it longer and is that the correct setting for Instant Pot? I used Alum as my Mordant, but I mixed it in my sink with cold water and didn’t leave it in very long and let it air dry without rinsing. Could that be an additional issue? I appreciate your help. I have two more scarves to experiment with.
Thank you so much for the wonderful instructions.
Dried leaves will work, especially if they are rich in tannins.