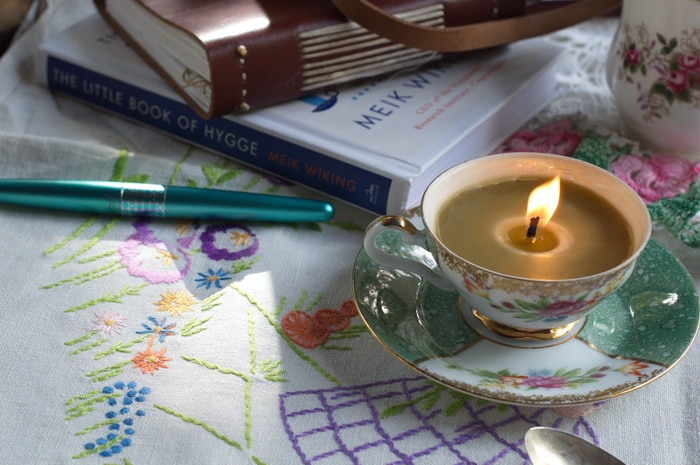
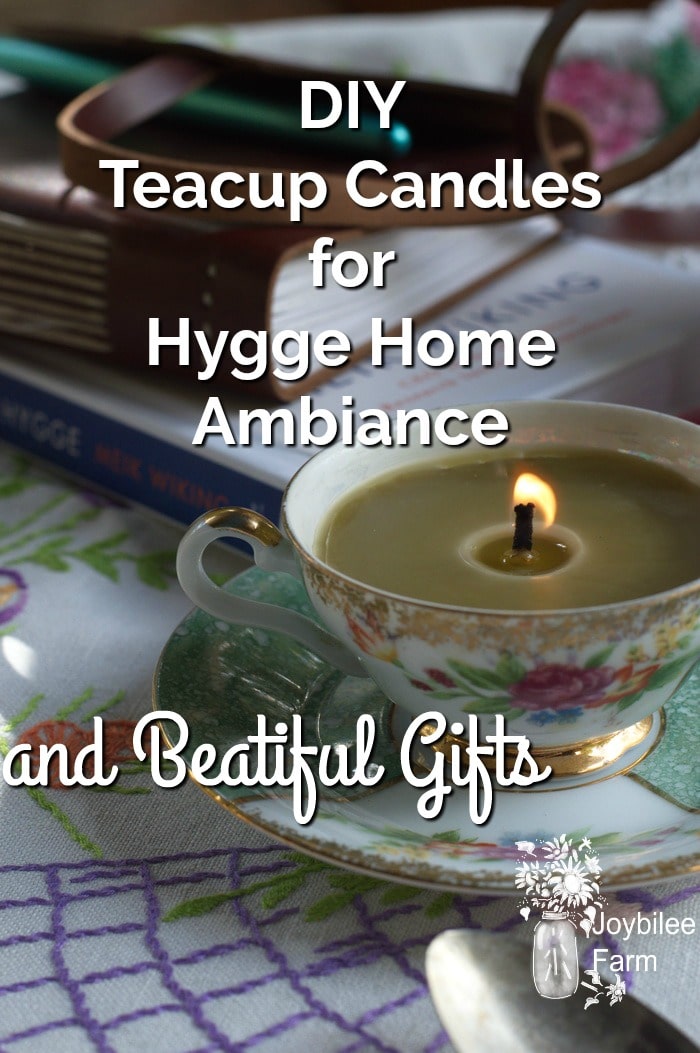
Teacup candles create an instant hygge home atmosphere. They create an instant light, fragrance, and family associations the minute they are lit, creating cozy, comfort and a feeling of warmth and safety. Lighting beeswax candles is one of the fastest ways to bring a feeling of peace, harmony, and belonging.
Beeswax teacup candles are as beautiful as they are functional. These beeswax candles are a fast project that can be completed in 30 minutes. They also make beautiful hostess gifts and BFF gifts.
As the weather gets colder and the days shorten, candles brighten the darkness. They are allies to bring us together, light our space, and warm our hearts. Candles are an essential part of the Hygge home in Nordic communities and anywhere that winter brings snow and cold. Make these DIY teacup candles to bring the cozy, hygge atmosphere into your home.
“No recipe for hygge is complete without candles. When Danes are asked what they most associate with hygge, an overwhelming 85 percent will mention candles.”
So begins, The Little Book of Hygge, Danish Secrets to Happy Living by Meik Wiking, the CEO of the Happiness Research Institute in Copenhagen.
Teacup candles are easy DIY projects that can be made in an hour or less. They make lovely gifts and can be made more meaningful when family treasures are used for the candles. Are there little-used teacups sitting in the china cabinet that belonged to Great Grandma? Did your best friend gift you with a special teacup that never sees a cup of tea? These sentimental treasures are perfect for teacup candles, bringing the treasure out of the china cabinet and onto the table where it can be enjoyed and the memories can be treasured intentionally.
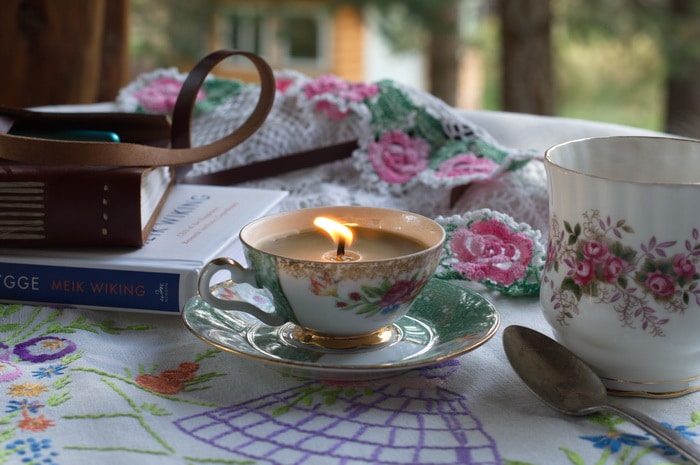
China teacups often have gold rims, made with real gold, that sparkle reflecting the candlelight, in a way no other candle holder does. Making the golden candlelight even more spectacular.
Using sentimental teacups for candles
Grandma’s heirloom teacup once used as a candle, will not be able to return to use as beverage service. The wax is difficult to remove from the cup, though not impossible. So keep that in mind when choosing your teacup for this project. However, the teacups you use for teacup candles will be able to be used over and over again to make fresh candles. The candle will last up to 32 hours, depending on how large your teacup is.
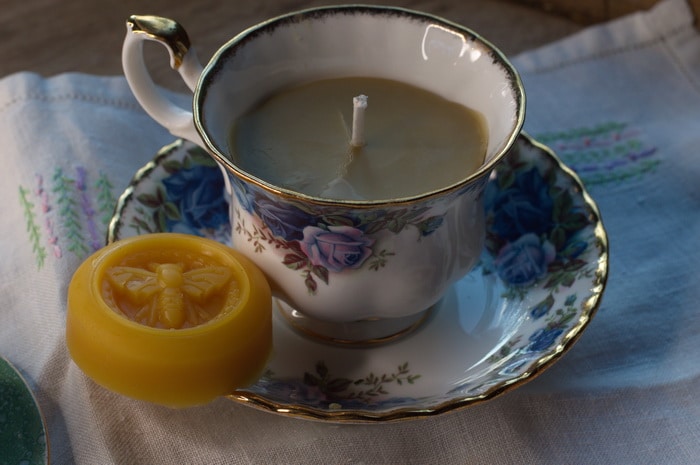
Choose bone china for teacup candles
If you are combing thrift stores and second-hand stores for china teacups look for teacups with matching saucers that are genuine bone china. These will have the thinnest sides and show more light through the translucent walls of the teacup, adding to the ambiance. Quality marks to look for include Royal Albert, Royal Stafford, Spode, and Royal Worcester.
Bone china is fired at very high temperatures and therefore won’t be marred by the heat of the candle flame. Expect to pay $5 to $15 for high-quality bone china teacups with matching saucers at second-hand stores or thrift shops. They can be as much as $30 per teacup with a saucer at an antique store, depending on the rarity of the pattern.
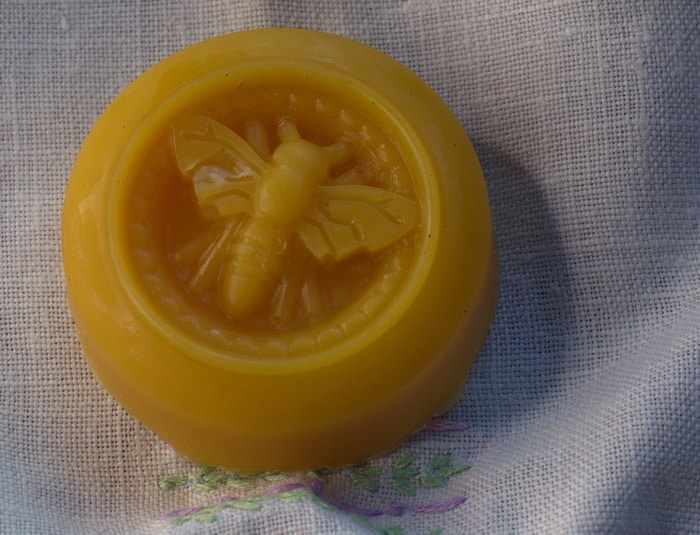
What kind of wax to use?
While most online instructions for teacup candles suggest using soy wax or paraffin waste wax, I highly recommend you choose natural beeswax for these candles. Beeswax has several benefits in the Hygge home that other wax types lack.
Beeswax burns longer and cleaner than other wax types including soy and paraffin. Beeswax produces negative ions as it burns which helps to keep the indoor air cleaner and improves mood and alertness. It also burns with a soft glow that is pleasant and comforting.
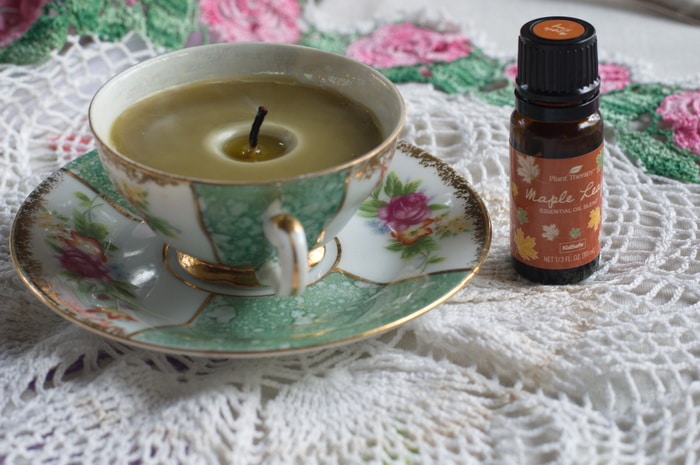
What kind of wick do I need?
The choice of the wick is very important in teacup candles. The wick needs to be large enough to maintain the heat that will burn the wax right to the edge of the teacup. This allows the wax to be fully consumed in the flame. If the wick is too fine, the candle wax will pool in the center of the candle, drowning the wick and extinguishing the flame. The wick should be fitted with a wick tab to hold the wick upright in the teacup. It also needs to be primed with wax to make it stiff enough to stand upright in the mold unassisted. This is the wick I recommend for beeswax teacup candles. But do test your chosen wick against the wax you plan to use. Beeswax is a natural product with variations and your wax might be slightly different than mine.
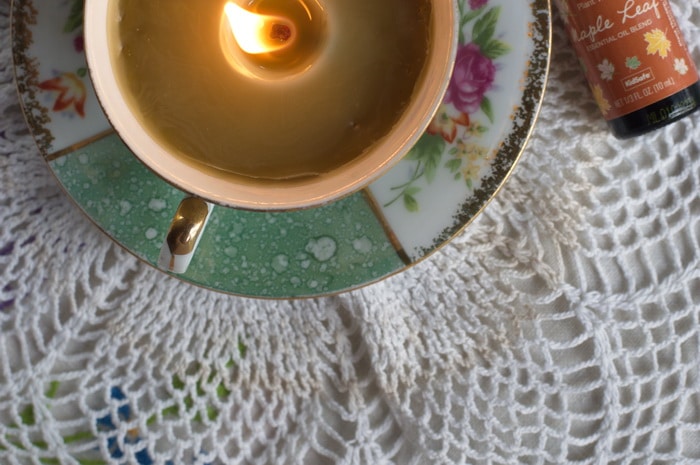
Equipment for candle making
For this project you’ll need:
- A wax melting pot or saucepan with a glass measuring cup
- A source of heat
- One wick for each candle
- 1 teacup for each candle
- 6 to 8 ounces of beeswax per candle
- 7 ml essential oil (optional)
Directions:
Place beeswax in a wax melting pot. Place the wax melting pot in a saucepan filled with water. Simmer the saucepan over low heat until the wax is fully melted. Remove the wax melting pot from the saucepan.
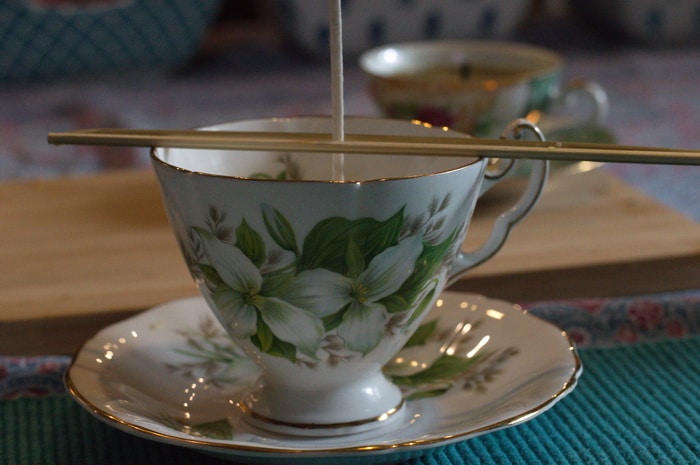
Prepare the teacup by dipping the wick tab into the melted wax. Center the wick tab with a wick in the bottom of the teacup. Center the wick in the teacup and hold it in place with two small dowels. If necessary tape the ends of the dowels together to anchor the wick in the center of the teacup.
Pour the melted beeswax into the teacup to the lower portion of the design in the interior of the teacup or within 1 1/2 inches of the rim. Add the essential oils directly to the cup by dripping the essential oil around the cup, so that it is dispersed evenly. Pouring it all in one place will cause the wax to congeal. Stir the essential oils into the liquid wax with a skewer or small dowel.
Allow it the beeswax to cool slowly, away from drafts. This will minimize cracking. If it cools too quickly the wax around the wick can develop deep fissures.
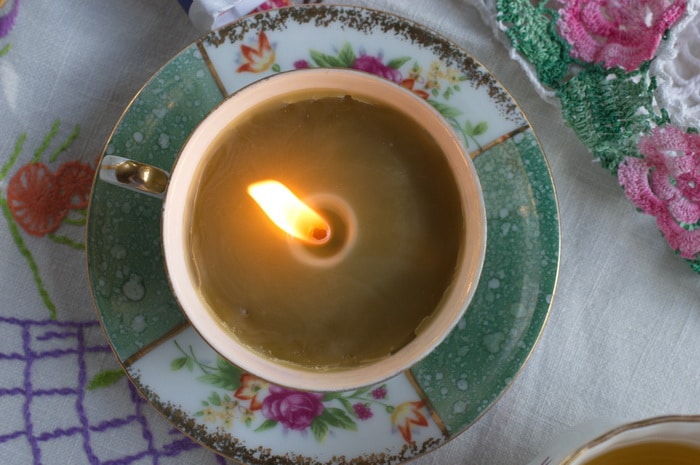
Top up with additional wax if cracks form as the wax cools. Allow this second application of wax to completely cool. Trim the wick to 1/4 inch above the surface of the beeswax. Your teacup candle is now ready to burn. Use it to create a hygge home atmosphere. Give it as a gift. Enjoy it as a centrepiece on your table.
Beeswax Candle Making
While you have the beeswax melted consider these other molded beeswax candles to create more candlelight in your hygge home or to give as gifts. Tea light candles are quick to make when you have the beeswax ready. Jar candles are also easy to make quickly but use more wax than tea lights. Lavender candles and bayberry candles also make beautiful candle making choices when you are looking for ways to enhance the cozy, warm atmosphere of your winter home.
Be inspired with more beeswax recipes from my book The Beeswax Workshop:
Beeswax is easy to work with and a versatile ingredient for DIY Perfumes, salves, and personal care products. It’s not just for candles, even though DIY candles are wonderful, too. Grab my book The Beeswax Workshop, and learn more about this amazing ingredient.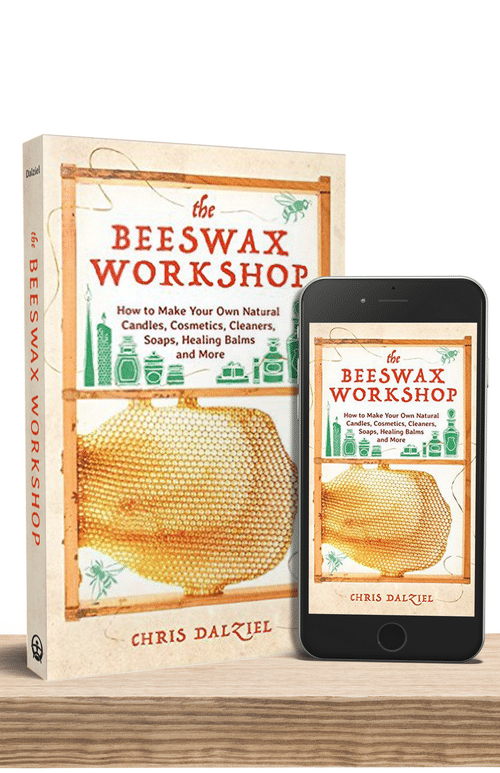




What essential oils and how much per cup do you recommend for beeswax candles? thank you
Hi, Bev, I’m so glad you found the tutorial helpful. Your candles will be more than beautiful.
Thank you so much for the WONDERFUL TUTORIAL! I couldn’t believe someone else had the same idea as I had! My mother passed in 1993 and I’ve been holding on to her cup (and bell) collection ever since. I finally got up the courage to consider selling them, but had a sinking feeling no one was going to purchase a random teacup, no matter how beautiful. Waking from my sleep last night, the thought popped into my mind — make them into candle holders! I shared it with my sister and she was as excited as I was. But, then a scary thought — is this possible? Will the cup break? So next stop was “Goggle University” where I asked the question about pouring candles into bone China. Your blog popped up! I was so thrilled and relieved to find not only had someone else done it, but also was kind enough to share HOW to make it happen! THANK YOU SO MUCH! Hopefully my mom’s cups will find nice, warm, loving homes in which to reside — just as was my mom’s home.
Bless you…
Above you state, this is the wick I use. But there isnt a link or details to show the correct wick. I’d love to make these and know which wick to use.
Thank you!
Donna