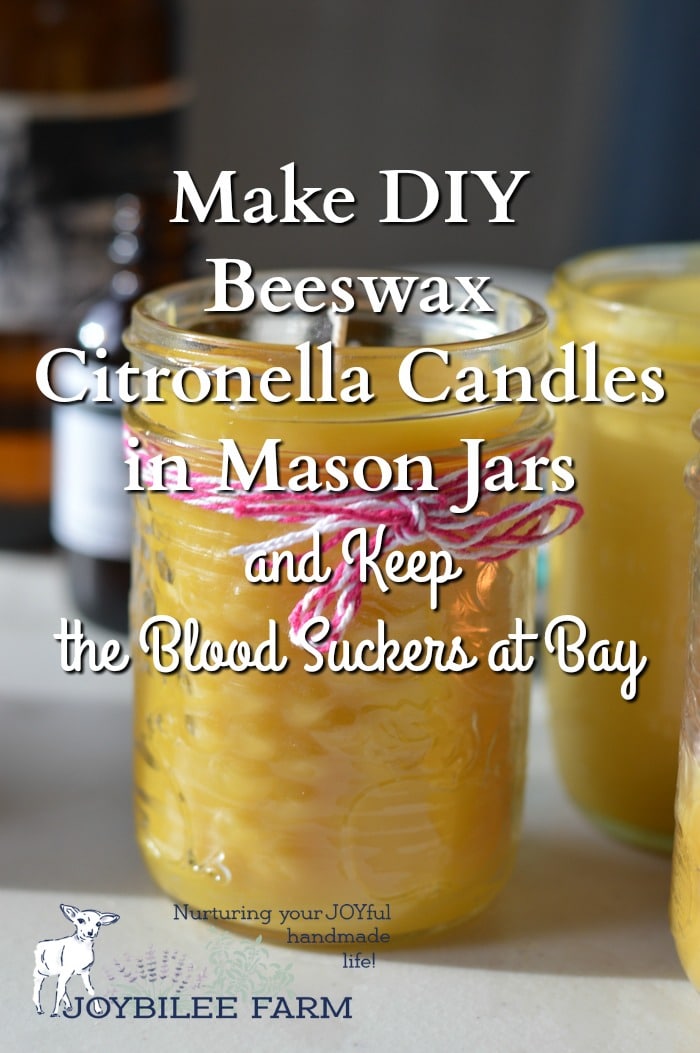
Make DIY Beeswax Citronella Candles in Mason Jars and Keep the Blood Suckers at Bay
The mosquitoes are out in full force. But put down the DEET. Citronella candles offer effective protection and can make patio time more pleasant with their kinder scent. Make them with beeswax for a more eco-friendly outdoor time.
Citronella is an effective deterrent to biting insects like mosquitoes and sand flies. Citronella essential oil when used as a spray-on repellent was 98% effective immediately after application. When applied to the skin at 3% concentration citronella was nontoxic and effective at ranges up to 98%. The active compounds in citronella oil for repelling mosquitoes are camphor, eucalyptol, eugenol, linalool, citronellal and citral.
But essential oils tend to evaporate into the air. This means that they need to be reapplied every 3 to 5 hours to maintain the same effectiveness as DEET, the chemical standard for mosquito control in malarial swamps. When citronella is used in a candle at 5% concentration, this problem of declining effectiveness overtime is not an issue. The candle wax holds the citronella essential oils in suspension for longer effectiveness.
However, the commercially available citronella candles and tiki torches contain petrochemicals that pollute the air around your patio. The fumes can also make their way indoors through screen doors and open windows, polluting indoor air. Beeswax citronella candles do the job of deterring mosquitoes while keeping the air quality around your patio and barbeque safe and inviting.
You can make your own citronella candles. Make these Mason jar citronella candles for your next outdoor gathering, wedding, or barbeque.
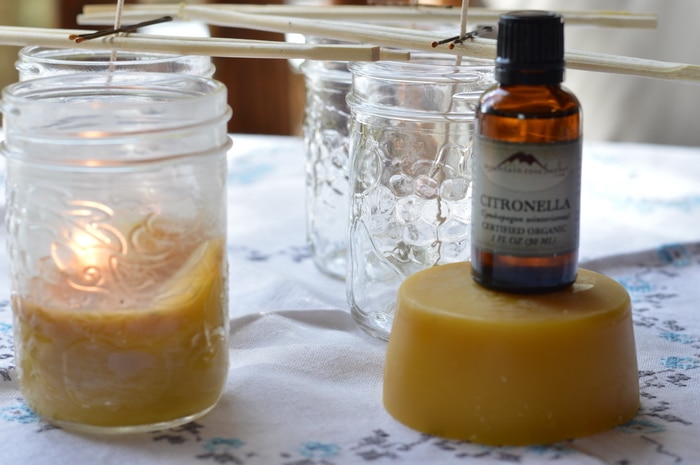
You can recycle wax?
I know someone is going to ask me. You can use paraffin for these candles, and even meltdown candle stubs from partially burned candles. It’s important to use only one kind of wax in each candle though. Different waxes burn at different temperatures and can create a problem with wick sizing when you mix waxes. However, paraffin candles are petrochemical products and will hurt air quality, just like those acrid mosquito coils. Cough. Cough.
I prefer beeswax candles and will melt down the stubs of beeswax tapers for this annual project. Beeswax is the only naturally occurring wax. Other cheaper waxes like paraffin wax and soy wax are made through chemical processes. They will pollute the air quality, while beeswax cleans the air of impurities. This is just as important out on the patio as it is in the kitchen.
Size is important
When gathering your materials for beeswax candle making the wick size you use is important to your success. Beeswax is a hard wax with a melting point of 145 to 147 degrees. The wick needs to maintain the flame long enough for a pool of wax to form. The pool of wax feeds the candle flame and ensures that the candle stays lit. It’s the citronella essential oil vaporizing in that pool of wax that keeps the mosquitoes away, so it’s worth taking the time to get the right wick for this project.
Choose a large wick diameter for these Mason jar candles, such as the one recommended. Plan to burn the candle for at least three hours before extinguishing to ensure that a large pool of wax forms each time the candle is lit. This will allow you to fully burn the candle.
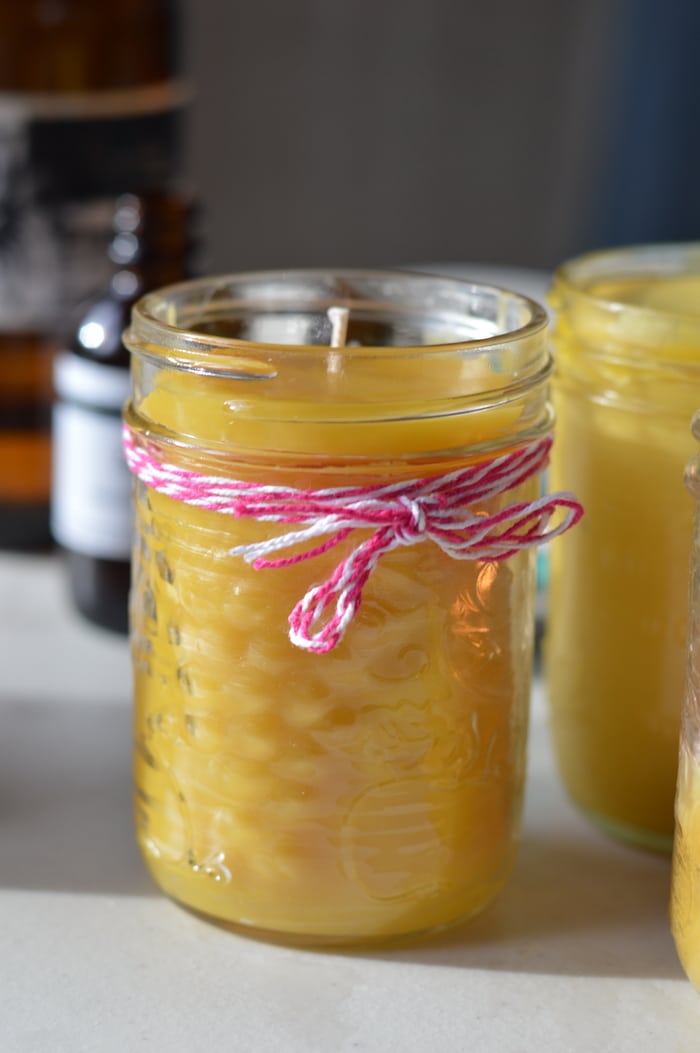
Make a 5% citronella candle using beeswax
This tutorial makes a 5% citronella candle in a jar, using beeswax.
You need:
- 6 inch prepared wicks (These are the ones I recommend)
- 1 cup Beeswax for each candle, (approximating 225 grams or ½ pound)
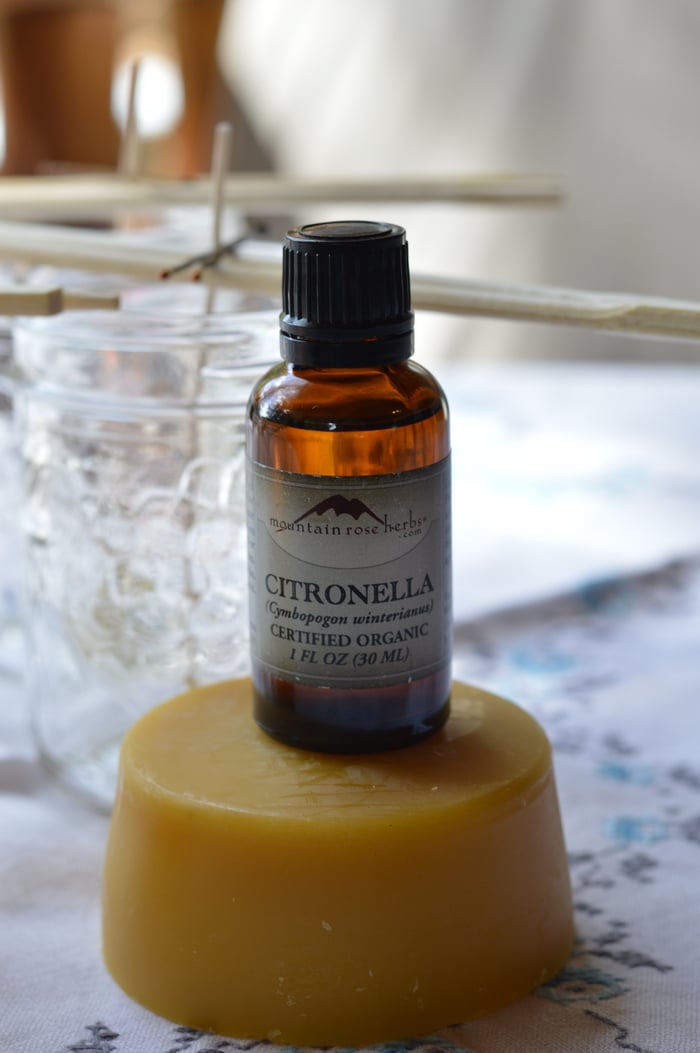
- 2 teaspoons citronella essential oil per candle (10 ml) (5 % citronella candle)
- Jam jars or 8 oz. Mason jar 1 per candle
Equipment:
- Saucepan
- 2 cup glass measuring cup or recycled tin can
- Canning jar ring
- 2 chopsticks for each candle
- 1 bobby pin for each candle
Directions:
- If you are making just one or two jar candles, create a double boiler by putting the canning jar ring on the bottom of a saucepan. Place your tin can or glass measuring cup on the ring. Fill the saucepan with warm water so that it’s halfway up the side of the tin can or cup. This is your double boiler.
- If you are making 3 to 6 jar candles you’ll want to create a double boiler using a large wax melting pot and a large saucepan as the double boiler.
- Never melt wax in a pot placed directly on a heat source. Wax is highly flammable. The double boiler ensures that the wax never reaches the flashpoint, which is 400°F for beeswax. Never leave melting wax unattended.
- Fill the glass cup or melting pot with ½ pound of beeswax for each candle you are making. Beeswax pastilles melt faster than solid beeswax. If you are using a solid block of beeswax it will take some time to melt the wax. Simmer the water in the saucepan until the beeswax is fully melted. You may need to add more water to the saucepan, as the water in the saucepan evaporates. You can leave the melted beeswax in the double boiler, retaining the heat to keep the wax melted.
- While the beeswax is melting prepare your jars. Clean the jars and dry them thoroughly. Insert the wick tabs into the bottom of the jar by dipping the wick tabs into the melted wax and quickly pressing the tab into the bottom of each jar with your fingers. If your jar is narrow or deep use a chopstick to center the tab and press it down firmly.
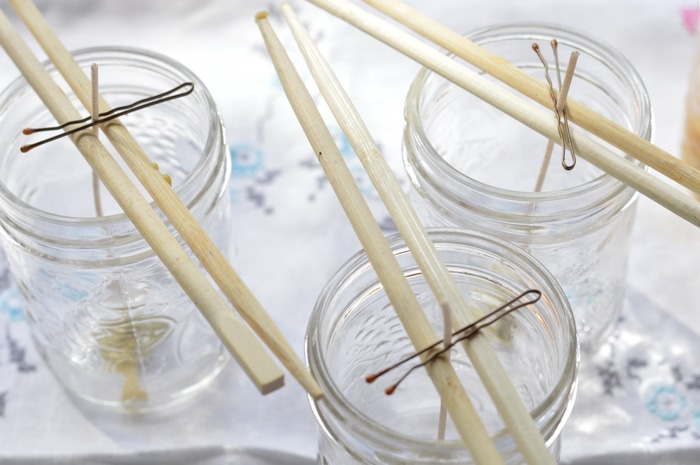
- Center the wick in the top of the jar using two chopsticks and a bobby pin, like this:
- Once the wax is fully melted, add 2 teaspoons of citronella essential oil for each cup of beeswax in your melting pot. Stir with a chopstick to fully mix the essential oil into the wax.
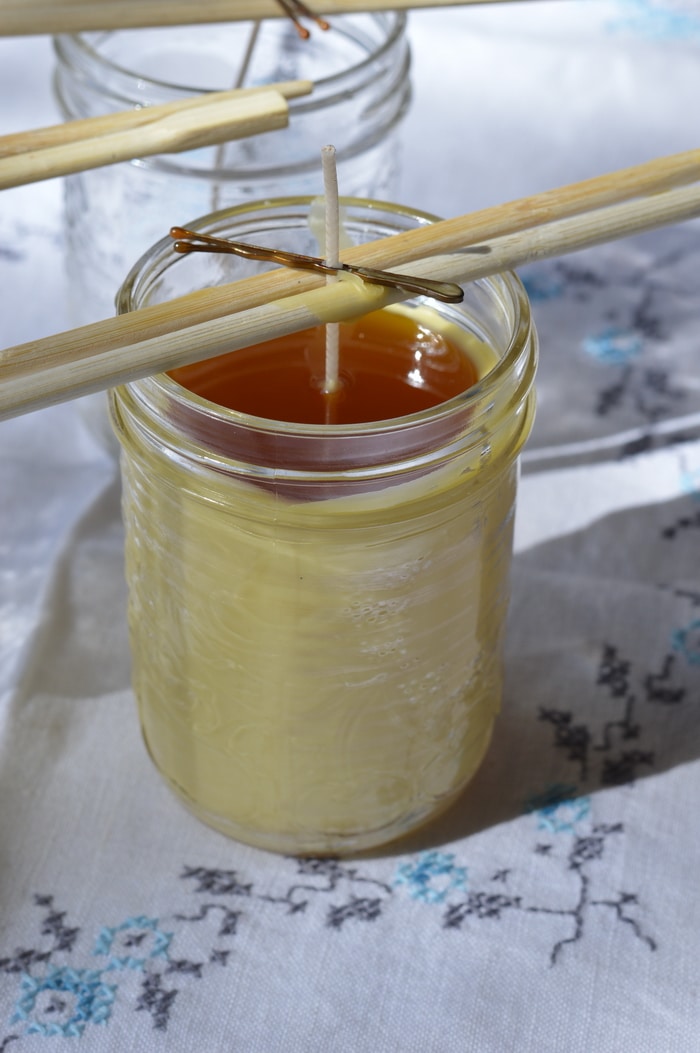
Pouring the beeswax candle
Pour the beeswax into the jar, keeping the wick centred. Reserve a small amount of beeswax in the melting pot. Keep the melting pot warm in the hot water for topping up the candle wax.
Cooling the candle
As the candle is cooling, keep the candle away from drafts and cold air. If the candle cools too quickly it will crack. By cooling it slowly, the wax will crystalize forming a smooth surface at the top of the candle. Should you experience cracking of the candle as it cools, use a heat gun about 6 inches away from the wax to gently melt the wax on the surface of the candle. Allow it to cool again away from drafts and cold air.
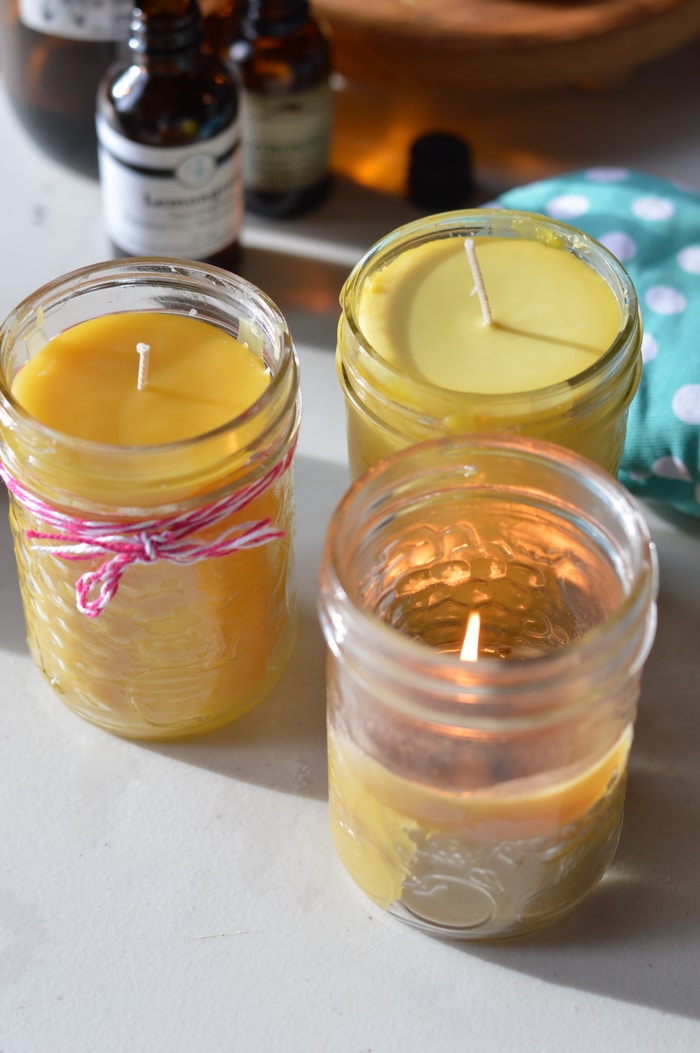
Top up
As the citronella candle is cooling the top and sides of the candle will cool while the area around the wick remains liquid. When you see this it’s time to top up the candle to ensure that a solid wax core remains close to the wick, to allow even burning of the candle.
Take a chopstick and poke the top of the candle closest to the wick. It will be dimpled. Poke down the side of the wick until you reach liquid beeswax. Pour the beeswax that you reserved into the hole you just made and let it pool across the top of the candle in an even, but thin pool of wax. If necessary straighten the wick so that it remains above the surface of the wax.
Allow the citronella candle to cool naturally. Trim the wick so that it is no more than half an inch above the wax. Allow the citronella candle to set for at least 48 hours to let the crystalline structure of the wax re-establish, before lighting it.
Beeswax candle safety
Each time you burn the candle allow it to remain lit for at least three hours so that a pool of melted wax is established around the wick, that extends to the sides of the candle. Stop burning the candle when ½ an inch of wax remains at the bottom of the jar. This will ensure that the jar doesn’t get too hot. The candle wick should self-trim. If the candle wick gets longer than one inch, blow out the candle and trim the wick to half an inch before relighting.
Use them outdoors on the patio or beside the path
Beeswax citronella candles are safe for outdoor use. The jar protects the candle from blowing out in a gust of wind. Use it on the picnic table, when camping, or beside the hot tub under the stars. Citronella candles should be placed 18 inches apart and in groups of two or three for best effectiveness.
Warning: Citronella candles alone should not be relied upon for protection from mosquito bites in areas where mosquitoes carry malaria, dengue fever, West Nile virus, or other serious insect vector diseases. Note that studies show that combining citronella essential oil with vanillin, a synthetic vanilla flavouring derived from wood pulp, can extend the effectiveness of citronella, when used as a spray-on repellent, making it comparable to chemical sprays. Other studies show that other essential oils such as lemon-eucalyptus, lemon myrtle, and rose geranium may be more effective than citronella essential oil at deterring the species of mosquitoes that carry malaria.
References:
Plant-based insect repellents: a review of their efficacy, development and testing Malar J. 2011; 10(Suppl 1): S11.
https://www.ncbi.nlm.nih.gov/pmc/articles/PMC3059459/#
http://webdb.dmsc.moph.go.th/ifc_nih/applications/files/16_entomo%20e.pdf
http://webdb.dmsc.moph.go.th/ifc_nih/applications/files/17_Entomo%20E.pdf
Moore, S.J., Hill, N., Ruiz, C., Cameron, M.M., 2007. Field evaluation of traditionally used plant-based insect repellents and fumigants against the malaria vector Anopheles darling in Riberalta, Bolivian Amazon.J. Med. Entomol. 44, 624–630.
Be inspired with more beeswax recipes from my book The Beeswax Workshop:
Beeswax is easy to work with and a versatile ingredient for DIY Perfumes, salves, and personal care products. It’s not just for candles, even though DIY candles are wonderful, too. Grab my book The Beeswax Workshop, and learn more about this amazing ingredient.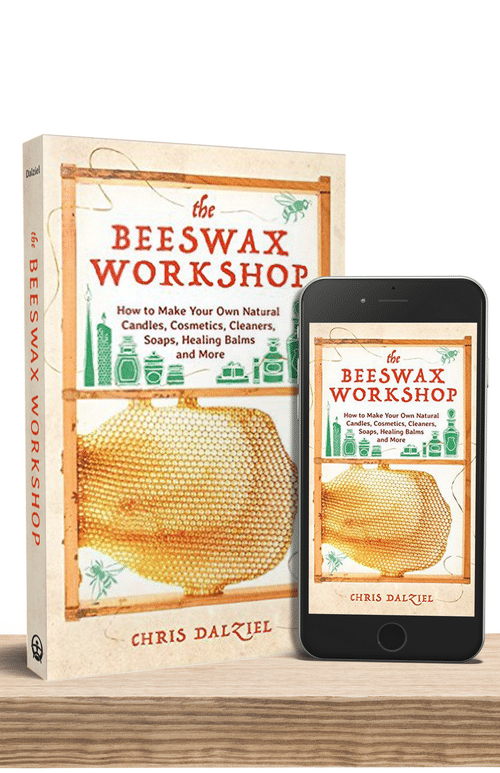


Great, thank you! I got the wick size you recommended, and then got information overload from the internet. 🙂 Looking forward to this! Thanks again!