These DIY envelopes are quick to make, fun to make, and great for card, seeds, and anything you would want a paper envelope for. Use free magazines for that glossy paper effect, or use other free paper to make these envelopes just cost time and a bit of effort. They’re great for kids to make, too.
15 Reasons to DIY Envelopes
Do you hate to throw away those glossy magazines, seed catalogs, and pretty sales catalogs? Do they sit in a pile waiting for some good purpose? You can make envelopes out of them. “Who needs envelopes!” you say. Why, YOU do.
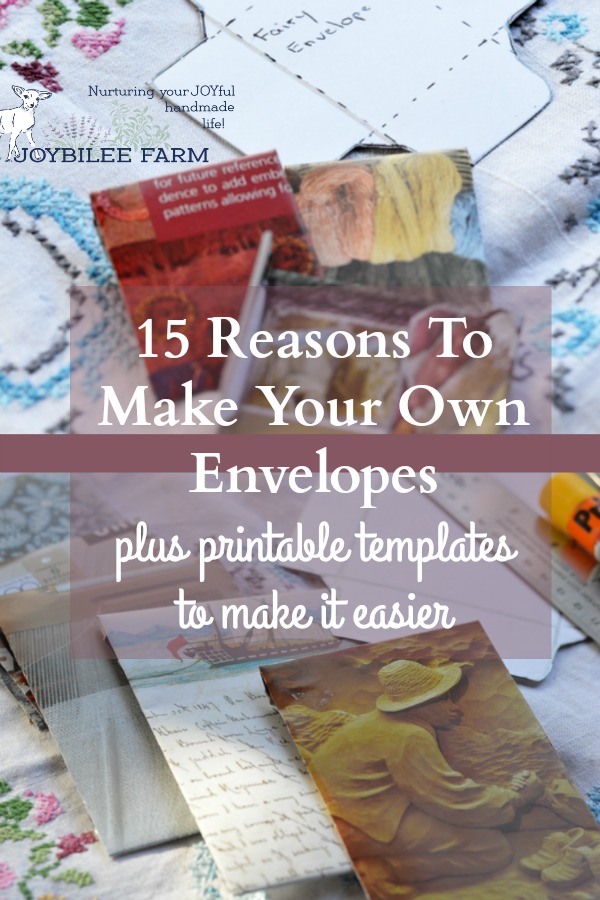
- Envelopes hold precious things like seeds, gift cards, and well-wishes.
- They are useful to put things in.
- You can file things in envelopes, like mementos, important dates, jewelry, and recipes.
- Use an envelope to tuck in a note when you send cookies, gifts, or flowers.
- Use an envelope to hold a gold chain so it doesn’t get tangled in your jewelry box.
- Place a smaller DIY envelope inside a larger letter for a special greeting or message.
- Send a tiny diy envelope to your granddaughter, inside a card for her parents.
- Send a book or article query to a publisher in a handmade envelope, to get your idea noticed.
- Send your resume and job application in a classy, handmade envelope that expresses your commitment to the values of ethics, thrift, culture, attention to detail, and creativity.
- Put your budget in envelopes to keep on track – it’s called “the envelope system.”
- Tuck a love note into a lunch kit in a tiny diy envelope.
- Envelopes are the first step in renewing the lost art of letter writing.
- Envelopes let you put to good purpose the pile of beautiful glossy magazine, gift wrap, seed catalogs, and holiday catalogs coming in the mail.
- Making envelopes is an easy craft to share with your children, the girls’ club, the elderly, and the local ladies’ group.
- Tiny envelopes made from pretty paper can be customized for scrapbooking, collage, and multimedia artwork.
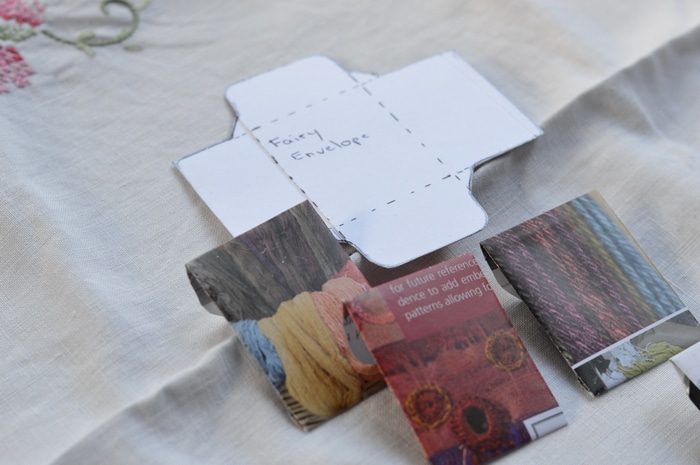
It’s almost free!
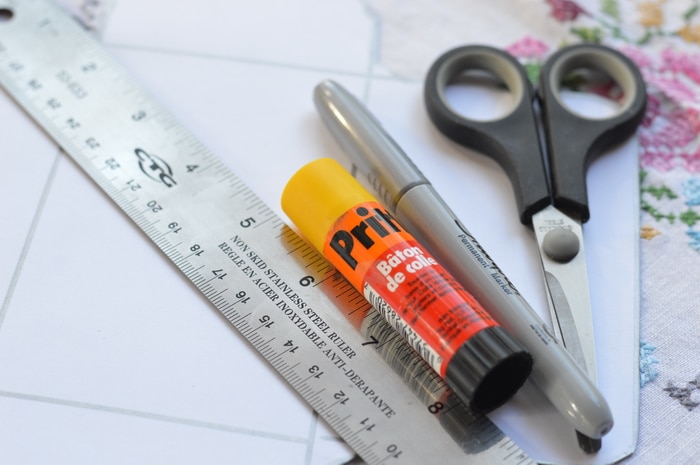
Making envelopes is almost free. You only need paper to recycle, a glue stick, scissors and an optional ruler.
How to DIY the exact envelope that you need
To make it easier to replicate the perfect envelope every time you’ll need a template. But don’t worry I’ve got you covered. Download this DIY Envelope Blueprint.
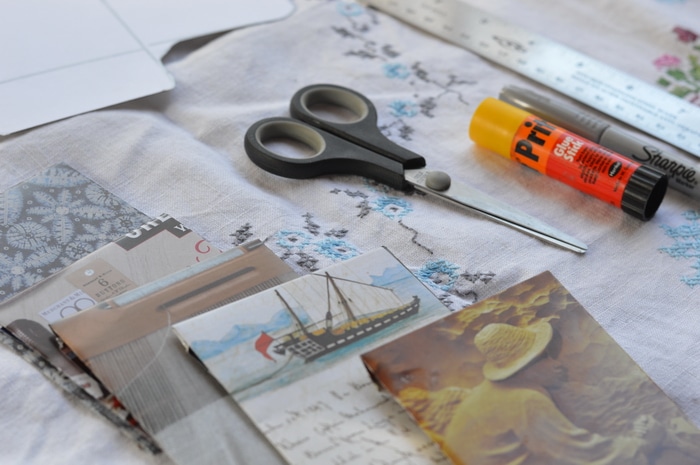
It has templates for 3 different envelope sizes. There’s a template for a 3 ½ by 5 ¼ inch envelope – the perfect side for love notes, seed saving, and gift cards. This is the size you’ll use to keep your gold chains in. And it’s a good size for scrapbooking. There’s a template for 6 ¼ by 4 ½ inch envelope. This is the size you’ll need for a homemade card or a letter printed on 8 ½ by 11 paper, folded in quarters. The tiny envelope template that’s just the right size for a single love note, scrapbooking, and collage is 1 ¾ by 2 ¼ inches. You can use this one to create envelopes from the smaller glossy catalog pages. Fairy notes to leave in the garden fairy’s mail box use this size envelope.
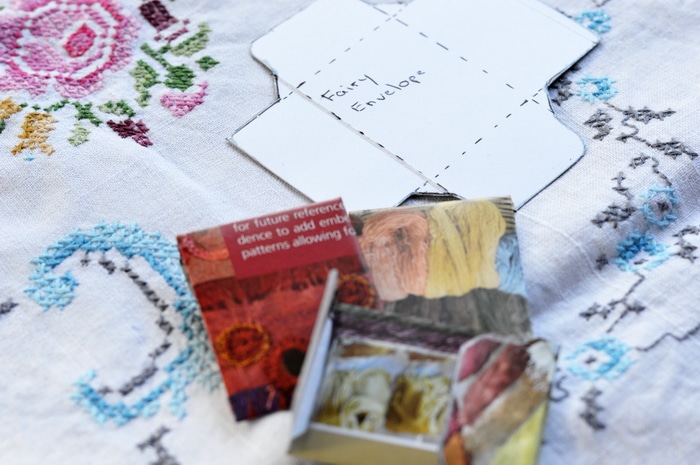
And if you need another size envelope bigger or smaller than the templates in this Printable, just use your printer controls to print the template larger or smaller than 100%. 120% will enlarge all the envelopes by 1/5th larger. 80% will decrease the size of all envelopes by 1/5th.
Once you’ve downloaded the templates just follow these step by step directions to create the most beautiful envelopes out of paper you were going to send to the recycling.
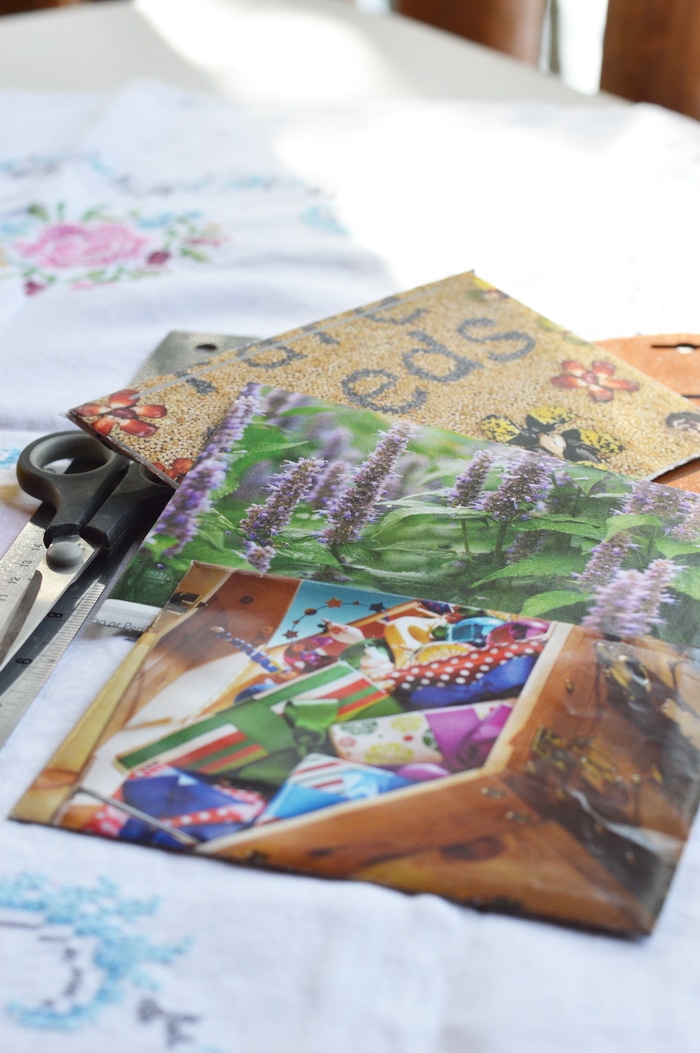
Step by step tutorial for DIY Envelopes
Yield: Unlimited
Tools You Need:
- Envelope templates
- Printer
- Card stock for the printer
- Glossy paper to upcycle or Kraft paper
- Permanent marker
- Scissors
- Ruler
- Glue Stick
- Rubber stamps and stamp pad(optional)
- Stickers (optional)
Directions:
- Download the DIY Envelope Blueprint with free printable templates.
- Print out the templates on computer paper or card stock.
- Trace the outline of each envelope template onto card stock, cardboard, stiff plastic, or 1/8th inch plywood. Cut them out using an appropriate tool for the material you’ve chosen.
- Place your template on top of your paper. Line up the straight edges with the edge of your paper. Check your paper design and make sure that your template is upright on the design. You don’t want your envelope to look upside down.
- Pressing down on the template with your non-dominant hand, trace around the outline of the template with a permanent marker. Cut out the outline of your envelope with scissors.
- Line up the fold lines of your envelope with the straight edge of a ruler and fold the envelope along all fold lines. Crease the fold lines with your fingers.
- Glue the envelope along the sides and the bottom and fold over to create the envelope. Leave the top flap unglued.
- Your envelope can be further embellished using rubber stamps, embossing, or even gold leaf. Be as creative.
Now that you know what to do with that stack of glossy magazines and catalogs you can stop feeling guilty for the clutter. Just spend an afternoon with a cup of tea, maybe a few friends, and enjoy a day of crafting that doesn’t cost anything. And at the end of the day you’ll have a box of DIY envelopes that exactly fit your needs, from fairy mail to DIY cards, gift cards, and everything in between.
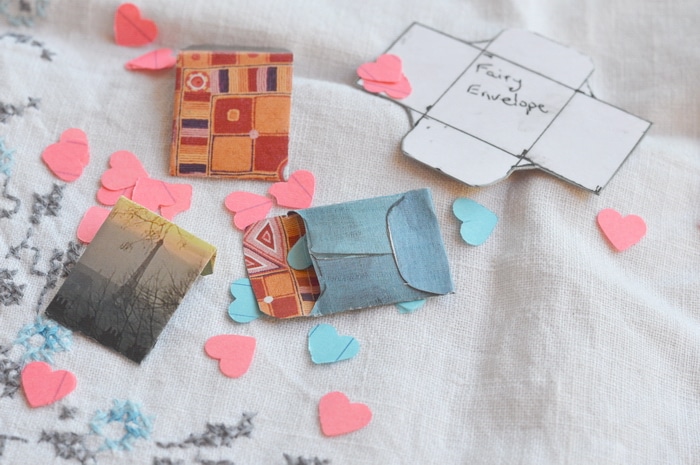
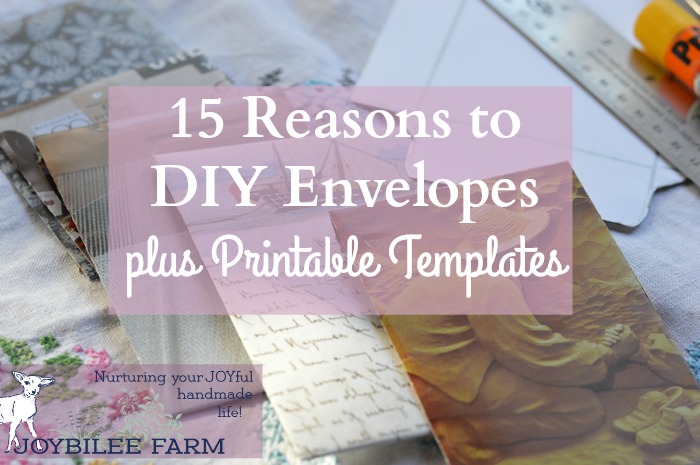
Hint: If your envelopes will be for a romantic occasion you can scent them with a single drop of essential oils. Try rose geranium, sandalwood, or lime for an uplifting, romantic scent.
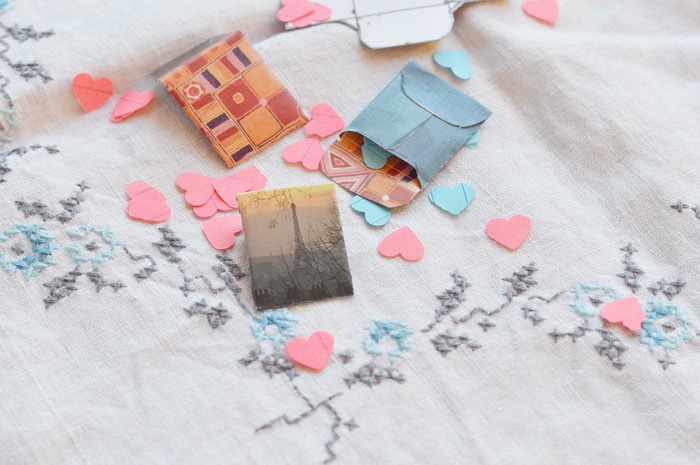
You’re Welcome!
Some ways you can use your DIY envelopes:
- Wedding favours
- Party favours
- Valentine’s Day greetings
- Party games
- Mail a letter
- Query a publisher
- Send your resume and job application
- Mail a greeting card
- Send a thank you card
- Gift tag on a gift or with flowers
- Christmas greetings
- Offering envelope
- Lunch box love letter
- Passing notes instead of texting
- Secret pal notes
- Encouragement cards
- A craft for when a child is sick
Bonus: Make Your Own Lickable, Kosher, Gluten Free Envelope Glue
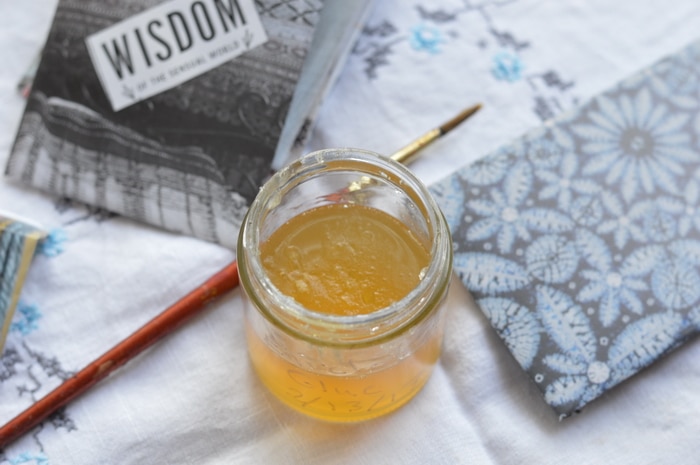
DIY Envelope Glue Recipe Here!


Hi, I am not finding the template. Were you able to get it up? I love your site and so appreciate all the work that you have put into it- no worries if you don’t have it. I just figured if it was my mistake I would ask.
Yes, I’m sorry. The link broke and I haven’t been able to figure out how to fix it yet.
I get an error page 404 shows up when I try to download the envelopes template.
Ellen
These are adorable! Now I can make envelopes rather than be frustrated that I can’t find where I put the plain envelopes! Thanks for sharing these super cute envelopes.