DIY beeswax candles make great holiday gifts and are a great source of clean, clear, and bright light for your home. Candles are always a favorite for setting ambiance, and these tapers will look good in any candle holder and any circumstance. They even work for power outages and emergency kits!
In the last article, I showed you how to make your own wicks for making DIY beeswax candles. By making your own wicks, you can reduce your exposure to chemical pesticides, reduce the miles that cotton candle wicks usually travel, and control the additives that your wicks contain. For candles that are good for both you and the environment, you want to make your own candles from natural beeswax.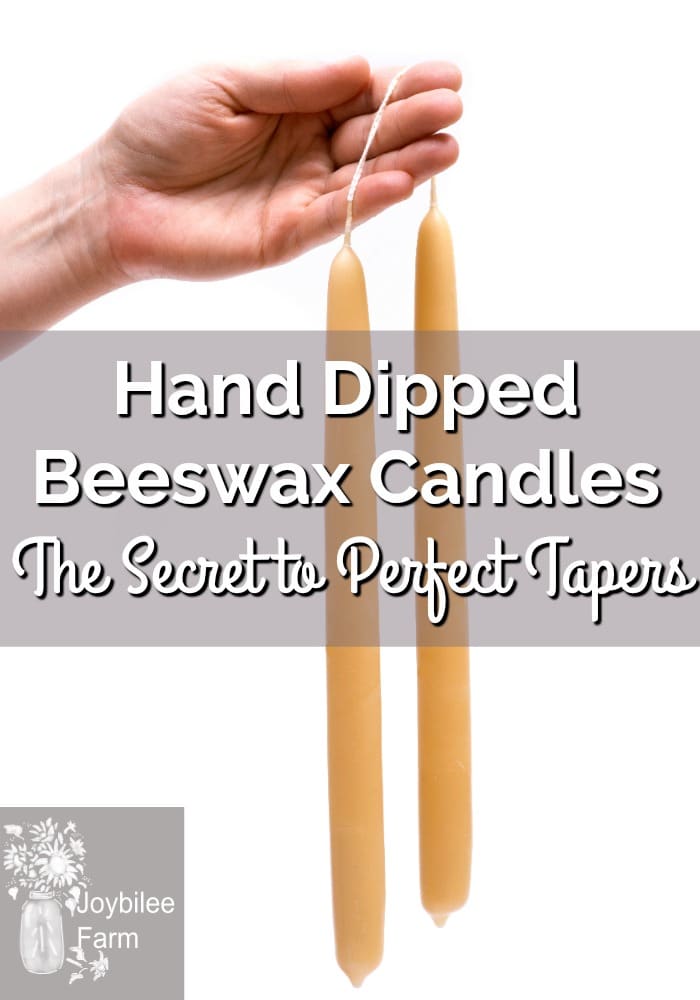
Most candles are made from paraffin, or from a combination of paraffin, stearic acid (a derivative of beef or sheep fat) and beeswax with chemical additives to raise the burning point, increase hardness, and add colour and scent. These candles are toxic and add to the positive ions already polluting your indoor air. One alternative to toxic paraffin is less toxic soy wax. However, soy wax is not a natural product, either. Made from GM soy oil that has been expressed from GM soybeans through chemical extraction, then hydrogenated, as well as other vegetable oil additives like coconut oil and palm oil. Burning it releases hydrocarbons into your indoor air, as well as soya’s endocrine disruptors that affect your thyroid gland and promote carcinogenic estrogens. Remember estrogen, is fat soluble. Additional chemicals are added to soy wax to increase the hardness of taper candles and change the scent from icky rancid fat to pleasant perfume. Bleach and chemical colourants, another known carcinogen, are also added. You don’t want to burn that in your home.
Beeswax and bayberry wax are the only naturally occurring waxes. Beeswax comes from the top wax of the honeycomb and is part of the honey production and reproduction of bees. How do bees make wax? I know you want to know. Worker bees, that live only 35 days, have a special wax producing gland on their abdomen. From day 10 to day 16 of the work bee’s life cycle, this wax gland is in peak production. Then it gradually atrophies and wax production slows down until the bee dies, and another worker bee takes her place in the hive. This wax producing gland exudes scales of transparent wax through the pores on the bee’s body. These scales are chewed by the bees to soften them, and as the waxy scales mix with the bee saliva, they change colour, first to white and then to yellow, darkening with age in the hive. The worker bees consume honey and sweat it out of the gland in their abdomen as beeswax. 6 to 8 lbs of honey are consumed to make just 1 lb. of wax. The chewed up beeswax contains the same healthy pollen that the honey contains, and that’s what gives it its honey scent and its golden colour. So beeswax is basically bee sweat and bee spit. The wax is used by the worker bees to construct the honeycomb, seal the cells, and make cells for new bees. You can find out more at beeswax.com.
Your local beekeeper is the best person to contact to find beeswax. Local beeswax will contain the pollen from the plants that are growing in your region, so burning local wax candles will help you if you have pollen allergies, just like consuming raw, local honey helps hayfever. Expect to pay anywhere from $5 to $10 per lb. for local beeswax depending on if you are buying large quantities or 1/4 lb. blocks. With the crisis in the bee industry, prices for beeswax and honey are expected to rise. Beeswax doesn’t go bad, so you can buy in quantity, if the price is better, and use it over several seasons. You can also melt down used candles when they get stubby and remake them, without any loss of quality.
In this tutorial, I’m going to show you how to DIY beeswax candles, by making simply dipped tapers.
1. Prepare your work area.
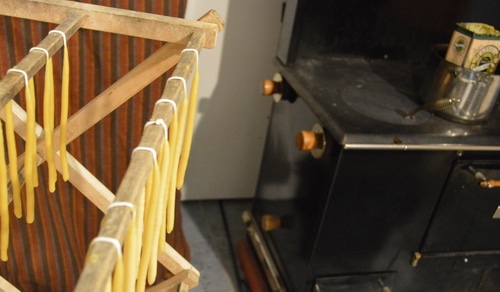
Prepare your work area by laying down an old sheet or waste fabric — I use an 8 x 6 piece of muslin spread out on the floor from the woodstove to the clothes rack, where the candles are cooling between dips. Set up a wooden clothes rack or other places to drape your wicks as they are cooling.
You will also need a table or countertop to roll the candles on to keep them straight and a stove or other heat source to melt the wax. The closer the stove is to the place where the candles are cooling, the fewer steps you’ll have to walk.
2. Melt the wax
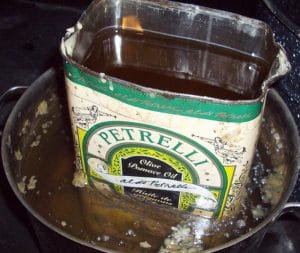
Melt your beeswax in a double boiler-type arrangement using a recycled can to hold the wax and a pot of water that you’ve set the pan in. I use a dedicated pan because the pan gets spilled wax in it and it’s very hard to clean the wax out of the pan. But the wax is not toxic.
Warning: Never pour wax or waxy water down your drains. When the melted wax cools on the way down, it will plug your drains. If you accidentally did this, very carefully flushing some baking soda with boiling water down the drain might unclog it. But avoiding wax down the drain is the best policy.
Beeswax becomes liquid at 145 F but you want the wax to be hotter than this for dipping. If it begins to cool down you will get bumps and ridges on your tapers as you are dipping. So if you see ridges develop, simply increase the temperature of the wax to 155F is ideal.
Have extra melted wax so that you can top up your wax can as the wax is used up by your candles. You can plan on 6 kg (14 lbs. of wax) to dip 20 pairs of candles, but you will actually only use up 3.5 kg. of the wax. The rest is needed to top up the pot so that you always have the full height of the wax when dipping, otherwise contaminants can get into the candle.
3. Prepare the wicks
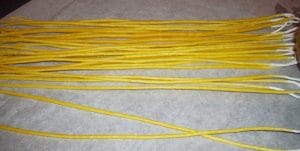
Your wicks need to be primed with beeswax to remove any trapped air in the wick. See the previous article for detailed instructions on how to do this. If you are just joining in now, dip the prepared wicks into the melted beeswax until no more bubbles are rising in the wax. If your wick is soft, this may take up to 5 minutes. Remove from the wax and allow to harden on a piece of parchment paper. Pull the wick between your hands to straighten it before it gets fully hard.
If you plan to dip a pair of tapers at a time, the way I do it, you will need to measure 25 inches of wick for each pair of candles. I usually do 20 pairs of candles at a time and it takes about 4 hours.
4. Dip your DIY beeswax candles.
To dip the candles you hold the wick, doubled over your hand into the hot wax. And immediately lift it out again, allowing the excess wax to bead off and back into the pot. Re-dip immediately. Do this 4 times, each time holding the wick over the wax, and allowing the excess wax to drip back into the melting pot. You need to keep the two sides of the wick from touching each other as you are dipping. I do this by spreading my fingers and flexing my hand. If you do touch the two together in the pot just pull them apart and dip again.
If you plan to dip a lot of candles you can also make a wooden or wire mold to hold the string taut during the dipping process. Commercial honey producers often do this.
If you aren’t using a frame, you will need to straighten the candles periodically during the dipping. Each wick will be dipped 4 times and then cooled while you continue with the remaining wicks. When the wick is barely covered with wax, you can straighten the candle by pulling on either end of the wick, while the candle wax is still warm, but solid. Once the candle is 1/2 in diameter, roll the still warm candle across a smooth flat surface, like a marble slab or a countertop. Excess wax will clean up with hot water and a brush or you can protect your counters using a sheet of parchment paper.
5. Keep on dipping.
It seems to take a long time to go from a primed wick to a candle that is 1/2 inch in diameter. But then suddenly your candle dipping starts producing noticeable results. The fatter candles pick up wax faster and grow in circumference quickly. This is an important time to make sure that your wax is hot enough and that the candle is straight.
Troubleshooting: If the candle begins to get ridges on it when you dip it, your wax is too cold, increase the temperature to 155F. If your candle gets globs of wax on the side, it might be coming from wax droplets that are cold and have fallen back into the pot. Wait a few minutes between dippings to allow the excess wax to be remelted.
As the wax is used up, top it up with reserved melted wax and bring the temperature back up before resuming our dipping.
6. Periodically check the diameter of your candle.
It helps to have a candle holder nearby to check the diameter of your candle. You want the candles to fit snugly into the hold so that they don’t tip when lit. You will need to trip the bottom of your DIY beeswax candles, as the dripping of the tapper produces a rounded bottom.
7. Final finish
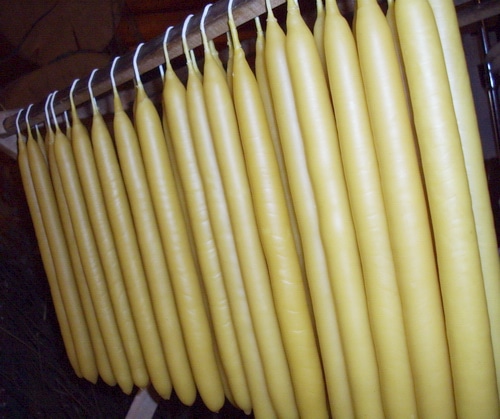
You’re done when the candles fit snugly into the candle holder of your choice. Roll your candles on the flat surface to straighten them one final time. Give the candle one final dip in very hot wax to give it a nice finish. Allow it to drip excess wax back into the can. Then plunge it into cold water to finish it and seal it. Hang to dry until cold. Polish with a linen cloth to bring out the beeswax sheen. Trim the bottom of the candle to give it a flat, rather than rounded shape, if desired.
8. Package ready for gift giving or for use.
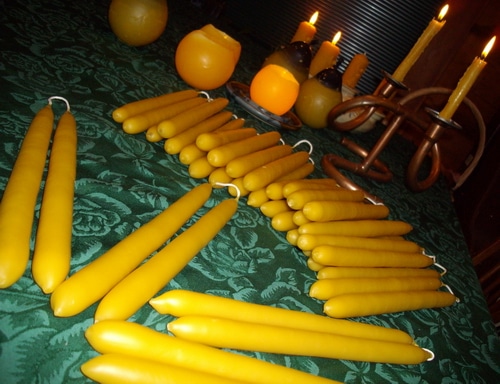
These DIY beeswax candles are the perfect addition to your sustainable Christmas Stocking, as well as, making ideal hostess gifts. They will be treasured by any adult on your list. Don’t give candles to those on oxygen support as the open flame is a fire risk.
The candles may bloom if they are stored for a long time. This bloom can be removed by polishing with a linen cloth, but they do not harm the candle. The bloom is crystallized oxidized wax.
Other candle making tutorials at Joybilee Farm:
How to make hand dipped candles for Chanukah
How to make your own wicks for candle making
How to make beeswax luminaries
How to make hand rolled candles for Hanukkah
How to make beeswax tea lights
Be inspired with more beeswax recipes from my book The Beeswax Workshop:
Beeswax is easy to work with and a versatile ingredient for DIY Perfumes, salves, and personal care products. It’s not just for candles, even though DIY candles are wonderful, too. Grab my book The Beeswax Workshop, and learn more about this amazing ingredient.