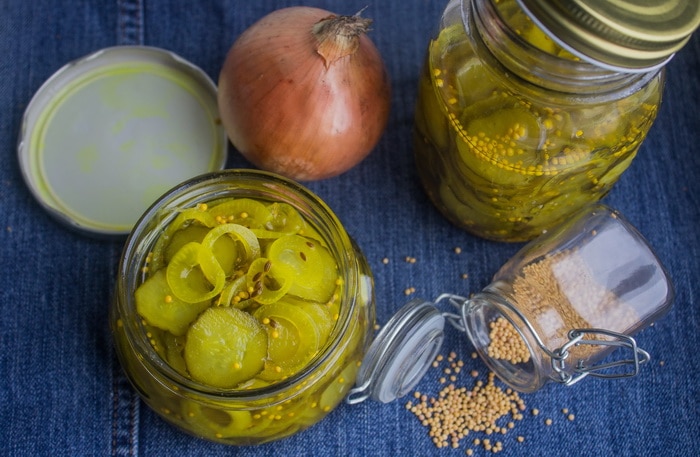
Most bread and butter pickle recipes are high in both sugar and vinegar. Not this sugar-free bread and butter pickle recipe. Bread and Butter pickles are sweet and sour at the same time. That’s what makes them the perfect accompaniment to potato salad, burgers, hot dogs, and sandwiches. At our house, we serve this bread and butter pickle recipe up with tongs over burgers. So skip the big jars of bread and butter pickles at Costco and instead make these lacto-fermented bread and butter pickles in your own kitchen.
This fermented bread and butter pickle recipe uses no sugar and no vinegar. It has healthy, gut healing probiotics. The sweet-sour flavor comes from natural fermentation, not sugar.
This recipe is requested over and over again by my readers because it’s reliable, quick to make, and you can make it anytime cucumbers are available. You don’t have to wait for pickling season.
The fresher the better
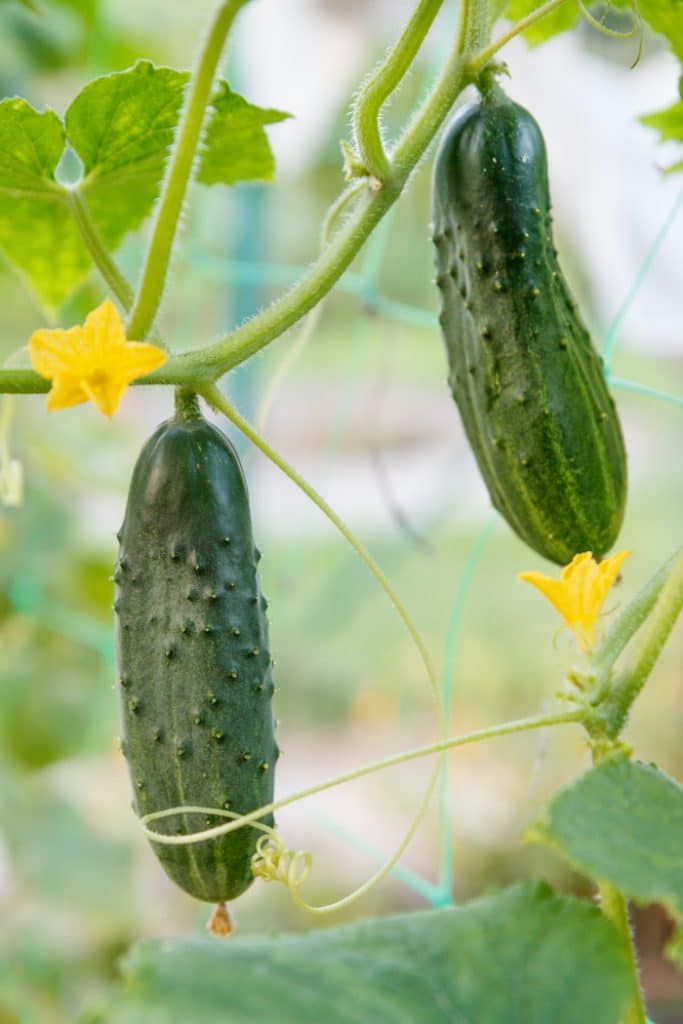
The fresher the cucumbers though, the better your pickles will turn out. So get them from your own garden or freshly picked the same day, at the Farmer’s Market. You only need 3 pounds of pickling cucumbers or slicing cucumbers. Any variety will do. The closer to harvest that you can make these the better they will turn out.
The onions you choose for this recipe can shift the flavor, too. Sweet onions like Walla Walla or Vidalia onions give it less kick than red onions or yellow Spanish onions. I tend to use red onions. They’ll lose some of their color as the ferment shifts the brine to acid. Choose your own favorites.
This is another spot where garden fresh adds more flavor.
Print
Sugar Free Bread and Butter Pickles That Are Ready in a Week
Description
Quick and easy bread and butter pickles that don’t need canning. A plus! These are sugar-free and rich in gut-healthy probiotics.
Ingredients
- 3 pounds of cucumbers, pickling or slicing
- 2 medium onions, thinly sliced
- 2 tablespoons whole mustard seed
- 2 inch piece of fresh turmeric root, peeled
- 1 tablespoon Himalayan salt
- 2 cups of boiled and cooled water
- 2 tbsp. active culture from a successful batch of fermented vegetables (optional)
Instructions
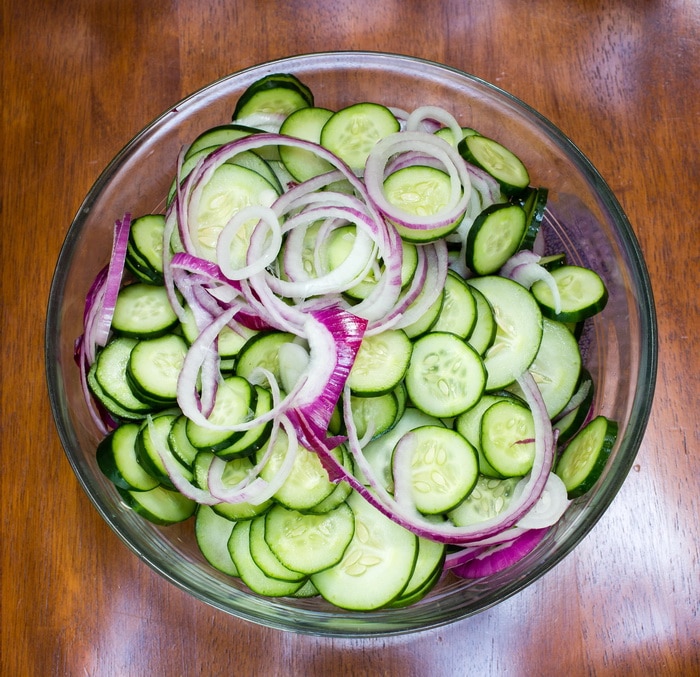
- Wash the pickling cucumbers, and rub off any sharp spines. Remove the stem end and the blossom end and discard. Thinly slice the cucumbers into uniform slices, about 1/8thof an inch thick.
- Peel and slice the onions into uniform, thin slices
- Peel the turmeric root with the edge of a spoon. Slice as thinly as possible with a sharp knife.
- Wash and sanitize the jar, and all fermentation equipment.
- Place the mustard seed in the bottom of the jar. Place alternating layers of sliced cucumbers, turmeric, and sliced onions. Fill to the top of the shoulders of the jar. Shake the jar gently to redistribute the contents uniformly.
- Add two tablespoons of the juice from a successful cucumber pickle ferment. If this is your first batch of fermented pickles, you can omit this step. Adding culture from a successful ferment can speed up the time it takes to colonize the jar with good lacto-bacteria.
- Mix two cups of cooled water and the salt together and stir until the salt is dissolved. Pour the brine over the contents of the jar.
- Using a clean knife, dislodge any air pockets in the jar and top up with more water, if necessary.
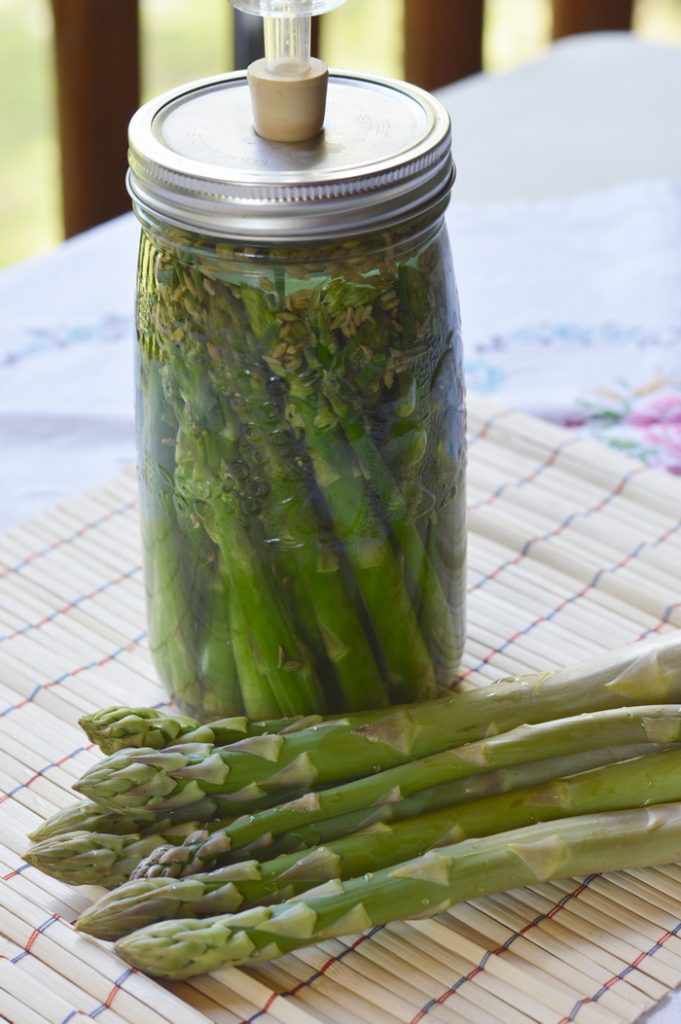
- Place the glass fermentation weight into the neck of the jar. Gently push down on the glass weight until all the cucumbers and onions are below the surface of the liquid and there is liquid over the glass weight in the neck of the jar. Leave a one-inch head space in the neck of the jar to allow for any overflow of the brine.
- Place the fermentation lid in place on the jar and secure with the metal band on the neck of the jar. Place the jar on a plate to catch any overflow, just in case.
- Keep the jar out of direct sunlight in a warm place. After 24 to 48 hours the jar will begin to bubble. The bubbles will begin as fine bubbles and then change to coarse bubbles. The contents of the jar will rise under the pressure of the active fermentation. After five to seven days the fermentation will stop. The contents of the jar will sink. The pickles are finished fermenting.
- At this point, remove the fermentation lid and the weight from the jar and replace the lid with a plastic lid, to prevent corrosion. Refrigerate the pickles. You can eat them now or allow the flavors to meld over a month or two.
- This Bread and Butter Pickle recipe will keep for up to a year in the fridge, without canning, and retain its crunchiness and flavour. But they don’t last that long in my house.
Bread and Butter Pickle Recipe
You’ll love how easy these pickles are to make. Start them tonight and you’ll be serving them fresh from the fridge in a week.
(Yield: 1 quart)
Ingredients:
- 3 pounds of cucumbers, pickling or slicing
- 2 medium onions, thinly sliced
- 2 tablespoons whole mustard seed
- 2 inch piece of fresh turmeric root, peeled
- 1 tablespoon Himalayan salt
- 2 cups of boiled and cooled water
- 2 tbsp. active culture from a successful batch of fermented vegetables (optional)
Equipment:
- 1 quart wide-mouth Mason jar
- Wide-mouth ring for the jar (sold with the jar)
- Fermentation Lid
- Fermentation weight
Method:
Wash the pickling cucumbers, and rub off any sharp spines. Remove the stem end and the blossom end and discard. Thinly slice the cucumbers into uniform slices, about 1/8th of an inch thick.
Peel and slice the onions into uniform, thin slices
Peel the turmeric root with the edge of a spoon. Slice as thinly as possible with a sharp knife.
Wash and sanitize the jar, and all fermentation equipment.
Place the mustard seed in the bottom of the jar. Place alternating layers of sliced cucumbers, turmeric, and sliced onions. Fill to the top of the shoulders of the jar. Shake the jar gently to redistribute the contents uniformly.
Add two tablespoons of the juice from a successful cucumber pickle ferment. If this is your first batch of fermented pickles, you can omit this step. Adding culture from a successful ferment can speed up the time it takes to colonize the jar with good lacto-bacteria.
Mix two cups of cooled water and the salt together and stir until the salt is dissolved. Pour the brine over the contents of the jar.
Using a clean knife, dislodge any air pockets in the jar and top up with more water, if necessary.
Place the glass fermentation weight into the neck of the jar. Gently push down on the glass weight until all the cucumbers and onions are below the surface of the liquid and there is liquid over the glass weight in the neck of the jar. Leave a one-inch head space in the neck of the jar to allow for any overflow of the brine.
Place the fermentation lid in place on the jar and secure with the metal band on the neck of the jar. Place the jar on a plate to catch any overflow, just in case.
Keep the jar out of direct sunlight in a warm place. After 24 to 48 hours the jar will begin to bubble. The bubbles will begin as fine bubbles and then change to coarse bubbles. The contents of the jar will rise under the pressure of the active fermentation. After five to seven days the fermentation will stop. The contents of the jar will sink. The pickles are finished fermenting.
At this point, remove the fermentation lid and the weight from the jar and replace the lid with a plastic lid, to prevent corrosion. Refrigerate the pickles. You can eat them now or allow the flavors to meld over a month or two.
This Bread and Butter Pickle recipe will keep for up to a year in the fridge, without canning, and retain its crunchiness and flavour. But they don’t last that long in my house.
Serve them generously with hamburgers, potato salad, or sandwiches, to get your daily probiotics.
While you are harvesting more cucumbers and other veggies fresh from the garden check out my other recipes for lacto-fermented pickles. They are so easy to make you’ll have several jars ready to eat in just a few days.



I’m excited to find this recipe. Thank you. Could you advise if turmeric powder can be used? If so much how much?