Make this easy melt and pour soap during your next snow-day, or other day indoors. It is simple, easy, fun to make, and the final product looks stunning. Use as gifts, guest soap, or just to enjoy yourself.
It’s a snow day. School is cancelled and the roads are quiet. Snow days are like getting an extra Sunday in your week to stay home and read or make crafts. This soap is a perfect easy project, with just a little bit of finesse and a lot of creative fun.
The finished soap reminds me of snow as it lands softly on the lake at the cottage. This soap is scented with natural essential oils using a Christmas blend from Plant Therapy, that is a mixture of fir, Virginia cedar wood, and spearmint essential oils. This blend reminds you of a sleigh ride through the snowy woods.
Snowflake Melt and Pour Soap
Description
A fast and fun melt and pour soap to make during your next snow day.
Ingredients
- 1 ounce goat’s Milk Melt and Pour Soap Base
- 16 oz. Honey Melt and Pour Soap Base
- ¼ teaspoon natural indigo dye powder
- 1 teaspoon Frosted Mint Essential Oil Blend
- 99% Isopropyl Alcohol in a Spray Bottle
- 1 x 4 cavity snowflake silicone mold
- 1 dropper applicator
Instructions
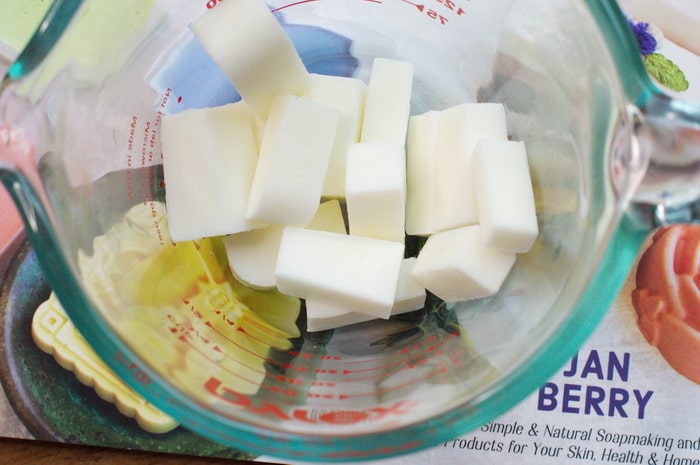
- Weigh the goat’s milk melt and pour soap. Cut into ½ inch cubes. Place the prepared melt and pour soap into a 1 cup glass measuring cup. Melt the goat’s milk soap either in the microwave in 20 second bursts or in a double boiler over medium heat.
- Stir the goat’s milk soap until it is smooth and no lumps remain. Spritz the cavities in the mold with isopropyl alcohol. Using the dropper applicator, drop the goat’s milk soap carefully into the snowflake pattern outline in the bottom of the mold cavity, being careful to drop soap only in the snowflake depressions in the mold.
- Set aside to harden. Once the mold has hardened use a tooth pick or fondant tool to remove any excess soap from the mold cavity to clean up the snowflake design.
- Prepare indigo dye powder. Place the indigo dye powder in small glass jar. Pour 1 teaspoon of isopropyl alcohol into the jar. Stir to dissolve the indigo. Set aside.
- Weigh the honey melt and pour soap. Cut the honey melt and pour soap into ½ inch cubes. Place the prepared soap in a 1 quart glass measuring cup. Melt the honey melt and pour soap either in the microwave in 20 second bursts or in a double boiler over medium heat. Once the honey melt and pour soap is fully melted, stir in the prepared indigo. If there is any grainy indigo left in the glass jar, retain it. Don’t pour it into the soap. It can make the soap splotchy.
- Allow the honey melt and pour soap to cool to 120°F. Add the essential oil blend to the honey melt and pour soap.
- Spritz the mold cavities with isopropyl alcohol. Pour the honey soap into the mold. Spritz the top of the soap again with isopropyl alcohol to remove any surface bubbles. Set aside to cool overnight.
- Remove the soap from the mold gently to preserve the design.
- Wrap immediately to prevent glycerine sweat on the bars. Bars can be wrapped in plastic wrap and heat sealed with a heat gun for a professional presentation.
Ingredients
- 1 ounce goat’s Milk Melt and Pour Soap Base
- 16 oz. Honey Melt and Pour Soap Base
- ¼ teaspoon natural indigo dye powder
- 1 teaspoon Frosted Mint Essential Oil Blend
- 99% Isopropyl Alcohol in a Spray Bottle
- 1 x 4 cavity snowflake silicone mold
- 1 dropper applicator
Directions:
Weigh the goat’s milk melt and pour soap. Cut into ½ inch cubes. Place it into a 1 cup glass measuring cup. Melt the goat’s milk soap either in the microwave in 20 second bursts or in a double boiler over medium heat.
Stir the goat’s milk soap until it is smooth and no lumps remain. Spritz the cavities in the mold with isopropyl alcohol. Using the dropper applicator, drop the goat’s milk soap carefully into the snowflake pattern outline in the bottom of the mold cavity, being careful to drop soap only in the snowflake depressions in the mold.
Set aside to harden. Once the mold has hardened use a tooth pick or fondant tool to remove any excess soap from the mold cavity to clean up the snowflake design.
Prepare indigo dye powder. Place the indigo dye powder in small glass jar. Pour 1 teaspoon of isopropyl alcohol into the jar. Stir to dissolve the indigo. Set aside.
Weigh the honey melt and pour soap. Cut it into ½ inch cubes. Place the prepared soap in a 1 quart glass measuring cup. Melt it either in the microwave in 20 second bursts or in a double boiler over medium heat. Once the honey melt and pour soap is fully melted, stir in the prepared indigo. If there is any grainy indigo left in the glass jar, retain it. Don’t pour it into the soap. It can make it splotchy.
Allow the honey melt and pour soap to cool to 120°F. Add the essential oil blend to the honey melt and pour soap.
Spritz the mold cavities with isopropyl alcohol. Pour the honey soap into the mold. Spritz the top of the soap again with isopropyl alcohol to remove any surface bubbles. Set aside to cool overnight.
Remove the soap from the mold gently to preserve the design.
Wrap immediately to prevent glycerine sweat on the bars. Bars can be wrapped in plastic wrap and heat sealed with a heat gun for a professional presentation.
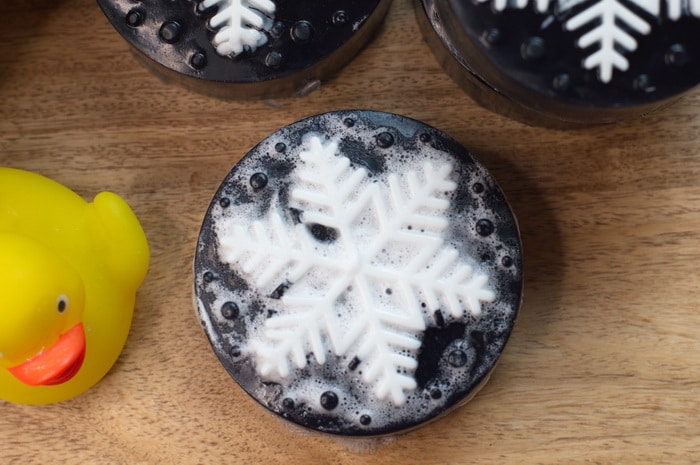
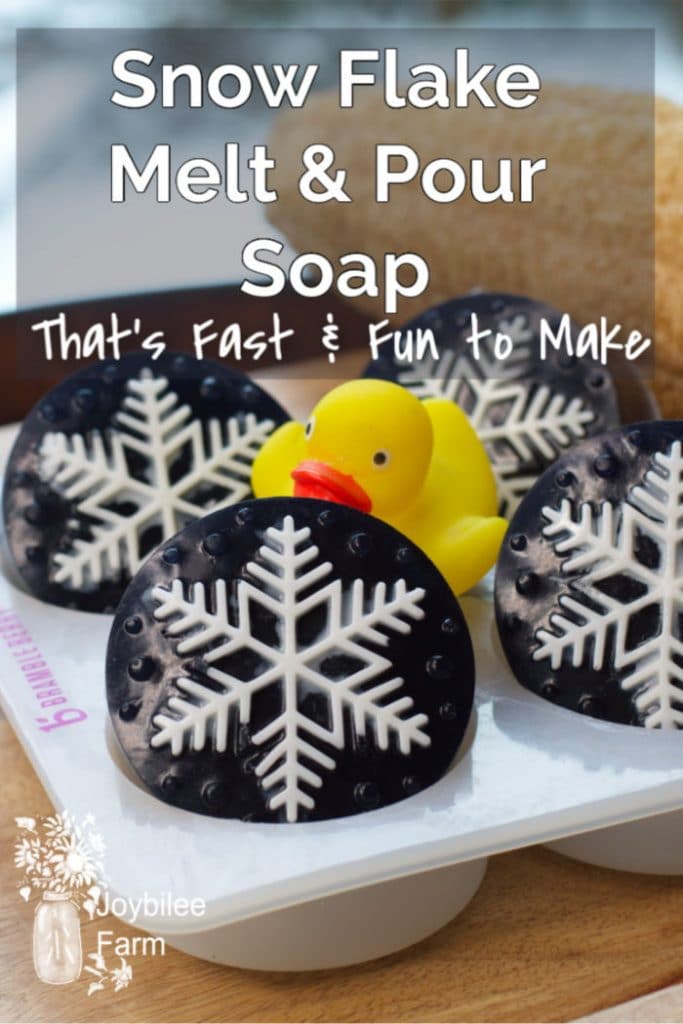
Enjoy the cooling scent and the copious bubbles in this stunning melt and pour soap, DIY project.
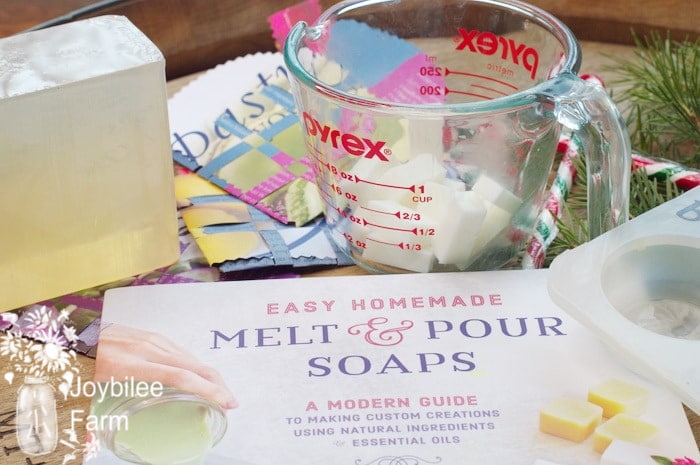
Melt and pour soap book for inspiration
This DIY melt and pour soap project was inspired by Jan Berry’s latest book, Easy Homemade Melt and Pour Soaps, a Modern Guide to Making Custom Creations Using Natural Ingredients and Essential Oils. Melt and pour soap is a quick and easy project that requires only a small investment in equipment and supplies but offers stunning results even to the beginner.
Jan Berry’s new book is full of inspiration, easy to follow instructions for melt and pour soap making, and the stunning photography that we’ve come to expect from her other books on natural skin care and natural soap making. But it also includes some new ideas that are unique to Jan’s approach to skin care and soap making.
For instance Jan suggests infusing the melted soap base directly with herbs to bring the antioxidant skin care qualities of natural herbs to the soap. This is genius and adds a whole new dimension to DIY soap making.

Jan also includes a tutorial for using natural dyes to color soaps so that soap makers are no longer dependent on chemical dye colors for stable soap colors. Natural dyes like woad, indigo, madder, turmeric, and marigold, as well as cosmetic clay, herbs, and spices can be used to tint melt and pour soap clear colors from yellow to blue to red. In cold process soap many natural colors sourced from plant materials turn brown with the chemical reaction of the plant sugars with lye. But in melt and pour soap these natural dye colors remain clear.
Jan includes several technique tutorials in her book to jump start your melt and pour soap making from good to fabulous. Learn to load the soap mold for special effects like pencil lines, diagonals, marbling, or layers. Understand the different soap bases and choose the base that is perfect for your needs. Play with novelty embeds to make your DIY soap look stunning.
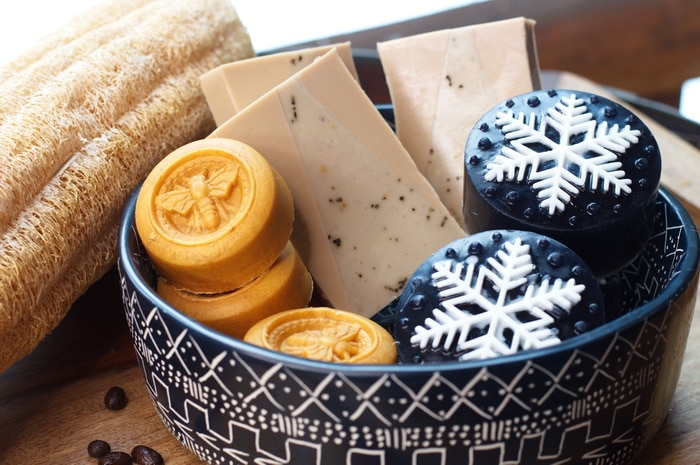
If this is the first time you’ve made soap and you’ve been afraid to try cold process soap because of the dangers of sodium hydroxide, this book will make a soap maker out of you.
If you’ve been making cold processed soap for years for your family, but you’ve been getting in a rut with the same old soaps year after year, this book will inspire you to step outside the plain white cold processed soap you’ve gotten used to, and tap into your own creativity by making melt and pour soap.
Thanks, Jan, for this inspiring book and thanks for sharing your extensive knowledge on natural soap making and skin care with the world.
Your Turn:
Making melt and pour bars is easy and creative. Which project are you going to try first?



They look adorable. I am inspired to make these as gifts this holiday season!