Beeswax wraps are easy to make with just a few ingredients. Forget the plastic bags and plastic wrap. Using reusable DIY beeswax wraps will save you money and allow you to get rid of endocrine-disrupting plastics around your food.
While you can buy already made bees wax wraps in the grocery store or kitchen specialty store, ready made beeswax wraps can be pricey. You can make your own for just a couple dollars. This tutorial comes from my book, The Beeswax Workshop, How to Make Your Own Natural Candles, Cosmetics, Cleaners, Soaps, Healing Balms, and More. It will save you money, reduce your use of single use plastic, and offer a natural, sustainable alternative to plastic food wrap. Use this tutorial to make your own beeswax wraps.
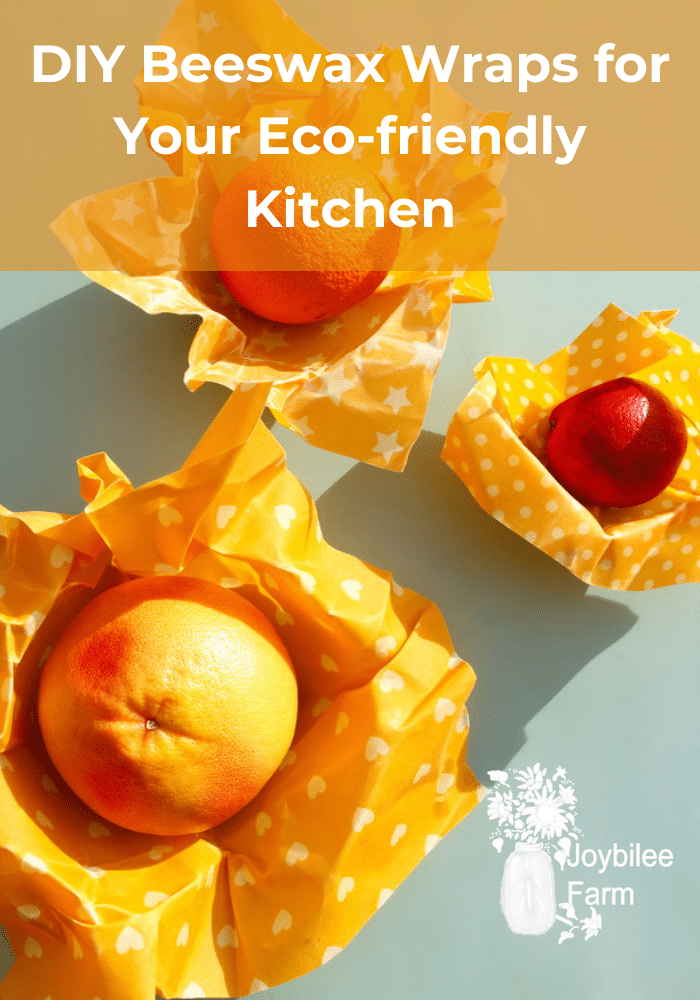
How to make DIY Beeswax Wraps
This recipe makes four DIY beeswax wraps that are big enough to cover a bowl or wrap a sandwich. Double the recipe when you make it and include enough cotton fabric to make beeswax food wrap for friends and family too. Homemade beeswax wraps make thoughtful gifts for friends and neighbors.
Beeswax wraps can be used to cover bowls, wrap sandwiches or store snacks. They replace single use snack bags, sandwich bags, plastic cling wrap, aluminum foil, and other single-use plastic or tin foil. They are eco-friendly, using renewable beeswax, tree resin, and organic cotton fabric.
The secret ingredient in these waxed cotton food wraps is pine resin. It’s what makes the cloth able to cling to the bowl, and even though it’s sticky, it dissolves in oil. This means you can use a little olive oil to help with the sticky cleanup. If you live in the pine forests or have a pine tree in your neighborhood you can use the resin from the trees, but do render it before you use it to make beeswax wraps. If you don’t have any trees, you can find already rendered pine rosin here.
Beeswax is a natural by-product of bee keeping. It doesn’t harm the bees. When we take the surplus honey from the hive at the end of the season, there is a small amount of beeswax that is scrapped off the frames to allow the honey to drain from the frames. This is the beeswax that is used for candle making and other beeswax crafts. The wax in the rest of the hive remains to hold the honey that the bees use to get through the winter, and to raise their brood in. Wax making is a natural process.
How Much Does it Cost to Make Beeswax Wraps?
If you already have the fabric or are using upcycled 100% cotton napkins the cost to make this recipe is about $2.00 US, or 50 cents per beeswax wrap. If you need to purchase fabric for it, the cost of fabric varies. You’ll need 4 fat quarters or about a yard of fabric.
Fabric can be upcycled for this project provided the fabric is 100% cotton, linen or a blend of cotton and linen. Cotton oxford shirts, dinner napkins, linen tablecloths, sheets, thinner toweling, or woven clothing can all be used to make beeswax wraps provided that the fabric is 100% cotton or linen and woven rather than knit. Knitted fabric like t-shirt fabric doesn’t work as well, as woven fabric.
One of my favorite sources for fabric is to look through the tablecloth section of thrift stores. You can often find vintage linen tablecloths in this section for just a few dollars. As people clear out their grandparents homes, many of these beautiful tablecloths end up at the thrift stores. There are many ways to upcycle vintage linen and make beautiful, useful items, including beeswax wraps.
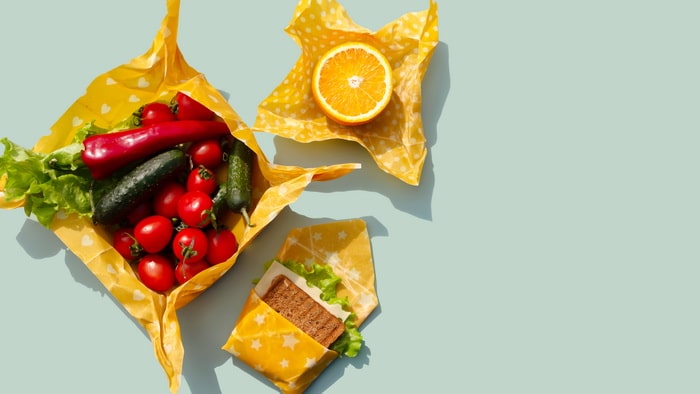
DIY Beeswax Wraps
Yield: 4 (14 x 14-inch) reusable food wraps
Ingredients:
- 1/4 cup of beeswax or beeswax pellets (48 grams)
- 1 tablespoons of pine rosin. (read this article to learn how to render pine resin from trees)
- 1 tablespoon of jojoba oil or coconut oil
- 4 (14 x 14-inch) squares of 100% cotton fabric (quilting fat quarters work)
Equipment:
- parchment paper
- cookie sheets
- 1-inch wide natural bristle, disposable paint brush
- clothes drying rack
Instructions:
- Prepare the fabric: To remove the fabric sizing, wash the cotton fabric pieces well and hang them to dry. Press them with a steam iron to remove wrinkles before waxing. You can finish the edges with a zigzag stitch if you want, or cut the fabric with pinking shears to prevent fraying.
- Make a double boiler using a glass measuring cup and saucepan. Melt the beeswax and pine resin together in the glass measuring cup, inside the pot, over medium heat. When the wax and resin are liquid, drizzle the jojoba oil into the mixture, while stirring. You may need to scrape the bottom of the cup to get the pine resin off the bottom of the jar and stir it into the beeswax. Leave the melted mixture in the double boiler on low heat so it remains melted.
- Once you have the fabric ready and the wax melted, line a baking sheet with a piece of parchment paper. Preheat the oven to 225°F.
- Working with one piece of fabric at a time, place the fabric in a single layer in the baking sheet, on top of the parchment paper and using the paintbrush or sponge, wipe the melted was mixture onto the surface of the fabric.
- Place the baking sheet in the oven and leave it only long enough to melt the beeswax mixture into the fabric. You’ll know it’s ready when the fabric darkens and glistens, showing that the beeswax is fully melted into the fabric. Remove the baking sheet from the oven.
- Use the paintbrush to evenly distribute the melted beeswax mixture into the fabric. You’ll find that the wax has pooled in some areas, leaving other areas too dry. Move the wax around the fabric, using the paintbrush as necessary. Don’t waste any wax. Blot excess wax using another piece of prepared muslin laid out over the first piece.
- When the fabric is saturated with the melted wax mixture, flip the fabric over on the baking sheet (on top of the parchment paper) so that the blotting fabric is on the bottom and takes the excess wax. Using your hands on the warmed fabric, work the excess wax into the less saturated areas of the fabric. Return the baking sheet briefly to the oven, just long enough to liquefy the wax again. Remove the first fabric from the baking sheet and drape it over your clothes rack to dry.
- The blotting fabric now becomes your working fabric. Use a brush to spread more beeswax pine mixture around on the fabric. Try to cover the fabric evenly with a thin layer of the wax mixture. Repeat steps 6 and 7, by spreading the wax with a paintbrush, placing the covered fabric in the oven, and then using a new piece of prepared fabric to catch the excess wax.
- Repeat with as many squares are you have prepared. Allow the beeswax-impregnated fabric squares to fully dry on your clothes rack. Once they are dry, and before using, wipe both sides of each piece of fabric with a damp cloth to remove any residual wax or resin.
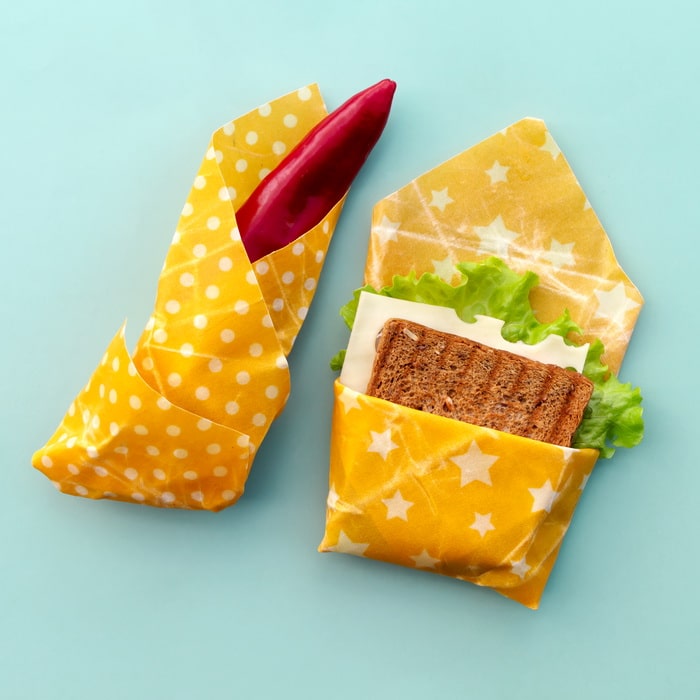
How to use DIY Beeswax Wraps
These beeswax wraps can be warmed in your hands and will conform to the shape of the bowl it is covering. This blocks out fridge odors and prevents your food from drying out in the same way that plastic wrap does. As an added benefit, pine resin is naturally antimicrobial and adds strength, cling, and bendability to the wrap.
Use it to wrap sandwiches, snacks, veggies, cheese or even loaves of bread. Just make sure that the wax covering is large enough to encircle the whole loaf.
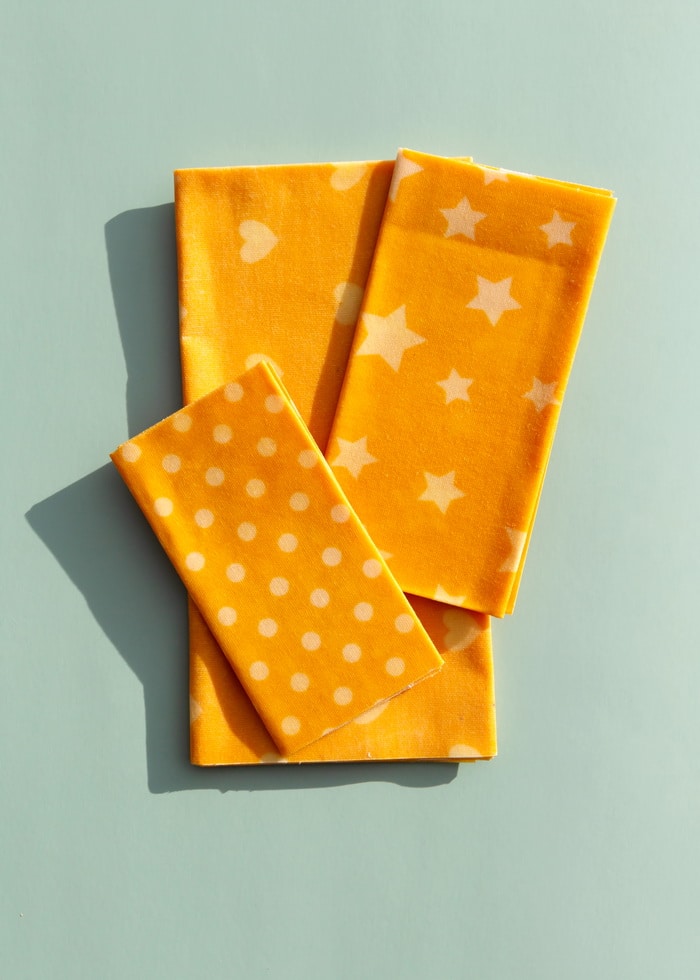
Cleaning reusable beeswax food wraps
You’ve just made yourself 4 reusable beeswax wraps. Here’s how to care for them. Wash in cool water or barely warm water, using mild dish detergent or mild soap, like castile soap, and then hang to dry. Once dry, fold them and store them until their next use.
Do not wash in the machine or dishwasher. Do not wash in hot water. This will remelt the wax and can cause problems if the wax goes down your drain.
Other fun things to make with beeswax
42 Things to Make with Beeswax
How to Make a Rolled Beeswax Havdalah Candle
Make Tea Light Candles from Beeswax
Rolled Beeswax Christmas Tree Candle
Be inspired with more beeswax recipes from my book The Beeswax Workshop:
Beeswax is easy to work with and a versatile ingredient for DIY Perfumes, salves, and personal care products. It’s not just for candles, even though DIY candles are wonderful, too. Grab my book The Beeswax Workshop, and learn more about this amazing ingredient.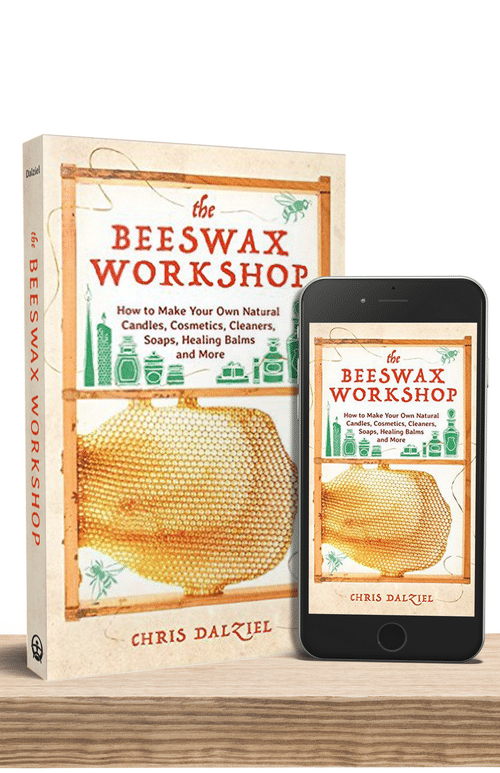


Leave a Reply