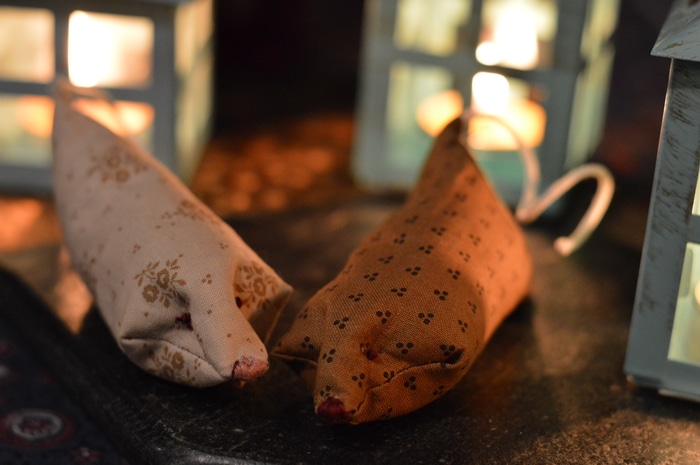
DIY Cat Toys, like this catnip toy mouse for kittens and indoor cats, are easy and quick to make at home with fabric scraps, quilting fabric precuts, and dried catnip from your garden. Cats love these cat toys, too.
DIY Cat Toys help
- Indoor cats reduce boredom
- Calm scaredy cats and make them more social
- Help kittens learn to mouse
- Reduce unwanted biting and scratching
- Prevent damage to plants and furniture
These easy to make DIY cat toys are the perfect gift for a new kitten or older cat. You can make one in 15 minutes using dried catnip from last summer’s garden. If you don’t have any catnip from your summer garden you can purchase catnip from Amazon, Mountain Rose Herbs, or Starwest Botanical, for this project. A mere 4 ounces of catnip will be enough to stuff several catnip mouse toys.
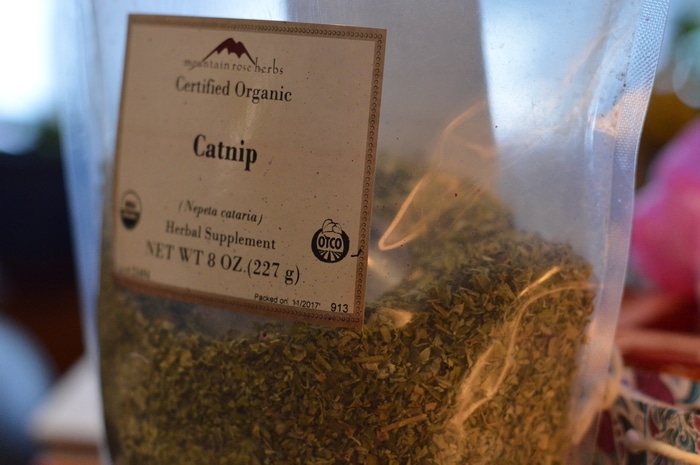
Why use catnip for DIY cat toys?
Catnip is a euphoric herb for cats. When a cat smells catnip it stimulates its pleasure sensors, relieves boredom, and makes them a little crazy for a few minutes. When they eat catnip it relaxes them too and helps them sleep. The effect is immediate, and then the cat becomes immune to the drug-like effects for 30 minutes before its brain will allow them to react again.
The chemical in catnip that is believed to stimulate a cat’s behaviour is nepetalactone. About 70% of all cats, including some wild cats, have this response to catnip. The response is hereditary. So if a cat has the response it’s very likely her kittens will have the same response to catnip. Kittens under the age of 3 months sometimes seem immune to the effects of catnip, so if your kitten is young and doesn’t respond right away, try again in a few weeks.
How to make a DIY catnip mouse
A catnip mouse makes a good toy for indoor cats. It helps relieve boredom and gives them pleasure without putting them in danger. While not all cats respond to catnip in the same way, it’s worth trying it out with your cat, to see how they respond.
You can make this catnip mouse in just 15 minutes. And it will give your kitten pleasure for several months before the catnip in the mouse is exhausted.
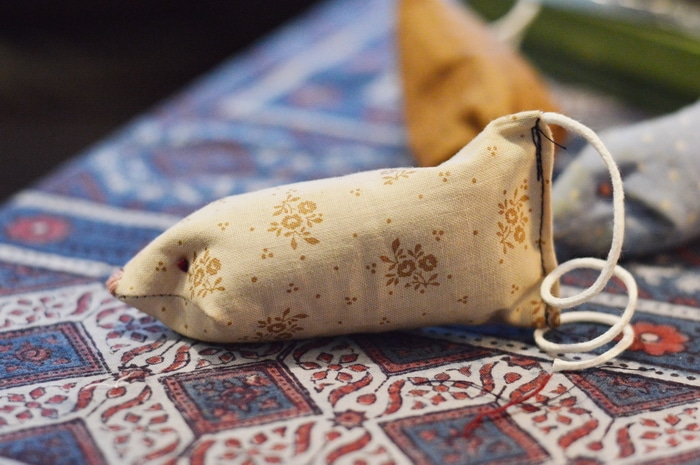
For each catnip mouse you’ll need:
- ½ cup catnip, dried
- 5 x 5-inch cotton square or cotton precut
- 18 inches of embroidery floss
- 6 to 8-inch piece of candle wicking or other braided cord
- Sewing thread in matching OR contrasting colour
- 10mm jingle bell (optional)
Equipment
- Basic Sewing Machine
- Embroidery Needle
Skill level: Beginner
Directions:
Creating the mouse body
Fold the square of fabric in half with the right sides together. Sew a straight ¼ inch seam along the longest edge of the fabric. You’ve made a 5 x 2 ¼ inch tube.
Open the tube so that the seam line is lying in the center on one side. Press flat, right sides together. Mark a triangle from the end of the seam to one inch on the edge of the fold line.
Stitch along the two sides of the triangle moving from the seam to the edge. You are creating the mouse’s nose and ears.
Open up the tube and turn it right side out. Use a pin to pull the nose of the mouse to a point, on the right side of the fabric.
With the seam in the center of the bottom and the nose of the mouse in the place, stuff the mouse firmly with dried catnip, through its tail end. Place a bell in the center of the stuffing if you are using the optional bell. Continue stuffing the mouse with catnip until the mouse is firmly stuffed.
Fold over the edge of the fabric around the tail opening. Slip a piece of candle wicking in the top of the tail opening. Close the tail opening and pin the seam in place.
Machine stitch the tail closed, being sure to lock at least a half-inch of the tail into the mouse body.
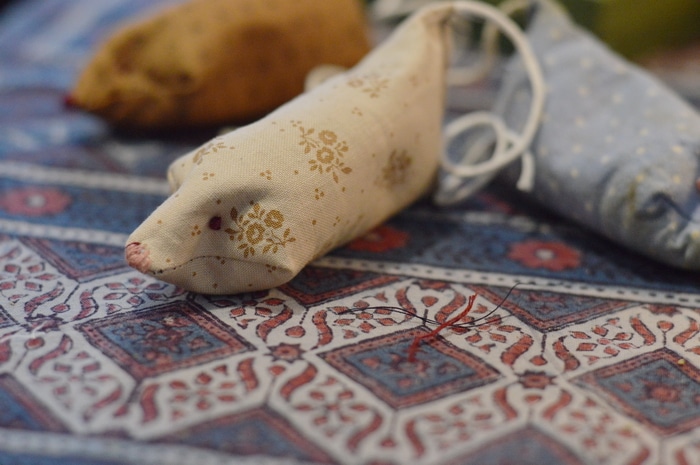
Creating the mouse’s face
Using embroidery thread and an embroidery needle, push the needle into the face of the mouse about ¾ of an inch from the nose and about 1 inch from the seam line. Push the needle through the mouse to the other side, to pinch in the face. Pull the thread all the way through, so that the end is hidden in the stuffing of the mouse. Place the needle back through the mouse between the “eye” placements two more times to pinch in the face and define the eye socket.
Create a French knot for the eye on one side of the mouse’s face. Do the same on the other side of the mouse’s face. Two eyes made.
Push the needle through the eye socket again but bring it out through the snout. Using a satin stitch, define the mouse’s nose. Done.
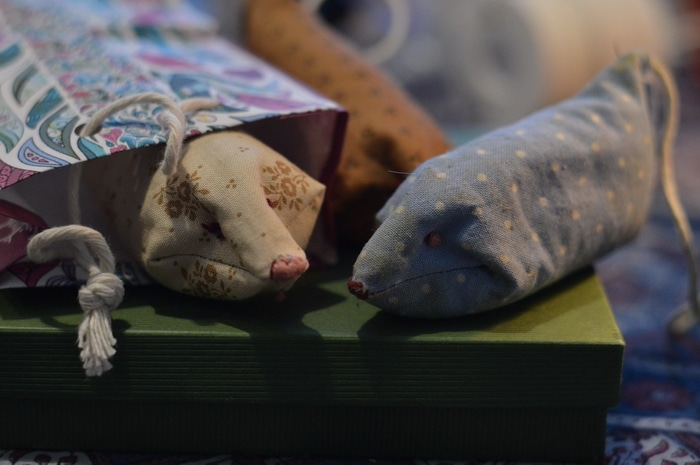
DIY cat toy gift
Now you’ve got a gift for the cat in your family. These are so quick to make you can do several in an hour. If you have a lot of cats on your Christmas list or you are making this for a market item in your herb booth, you can save time by batching each step. Sew all the center seams at once. Sew all the nose seams at once. Do all the stuffing at one time.
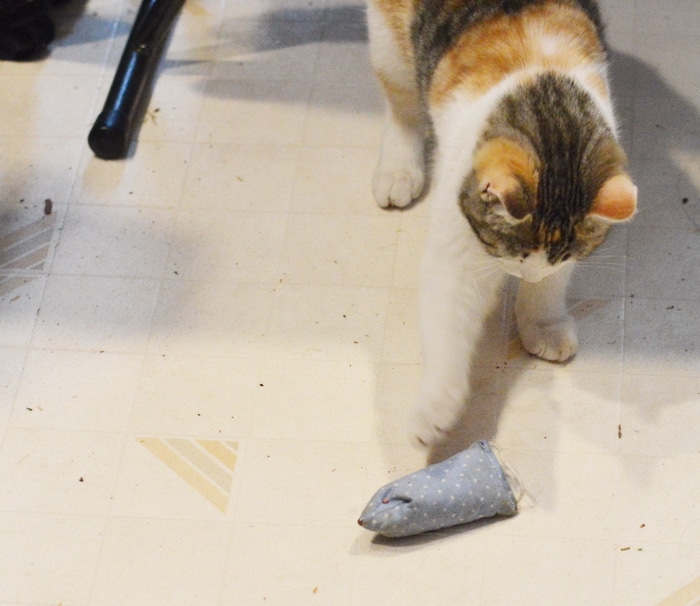
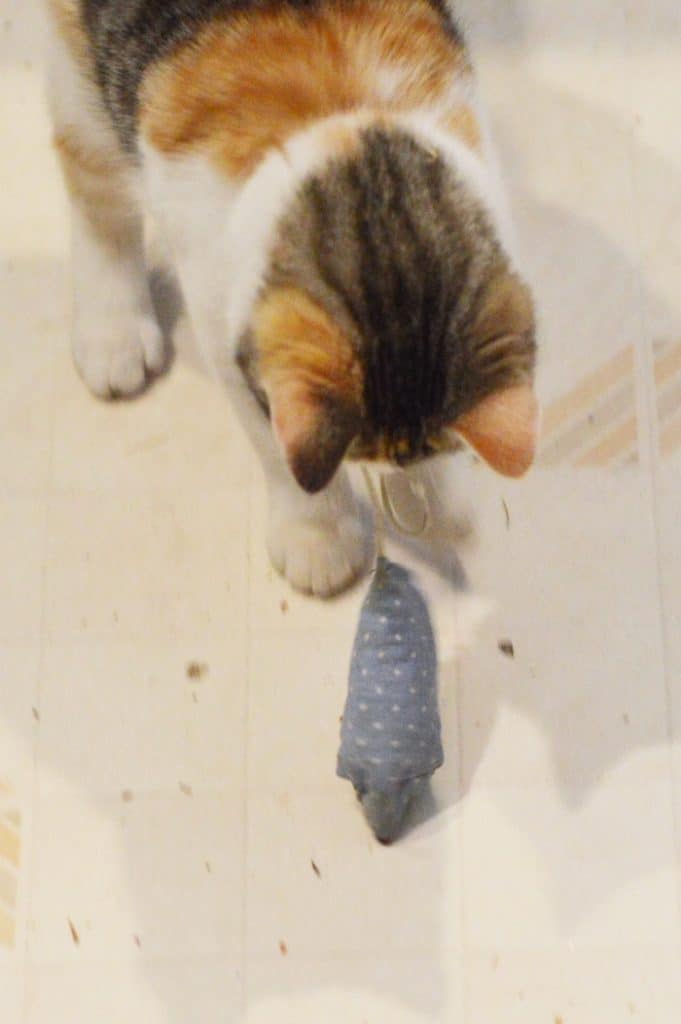
I used this DIY cat toy to entice our shy and timid kitten to come out and play. After just 2 exposures to the catnip mouse the ice was broken, and she now calmly comes for petting instead of hiding under the furniture when we are in the room.
Will catnip harm a cat?
Catnip won’t harm a cat. A cat knows not to overdose on it. Catnip also repels fleas and lice so it’s a good herb to keep around your pet.



Leave a Reply