Professional secrets to make your chocolate making perfect
When you work with chocolate to make chocolates, chocolate bars, chocolate bark, or any of the other delectable treats of the holiday season, there is one step that separates the professional from the ameteur. Professionals create chocolates that have snap, sheen, and a smooth mouth feel. Their chocolates don’t have fatty white streaks. The texture is crisp rather than crumbly. Professional chocolates are dry not sticky at room temperature. The secret that professional chocolatiers know that amateurs miss is something you can do at home. Professionals temper chocolate before they use it.
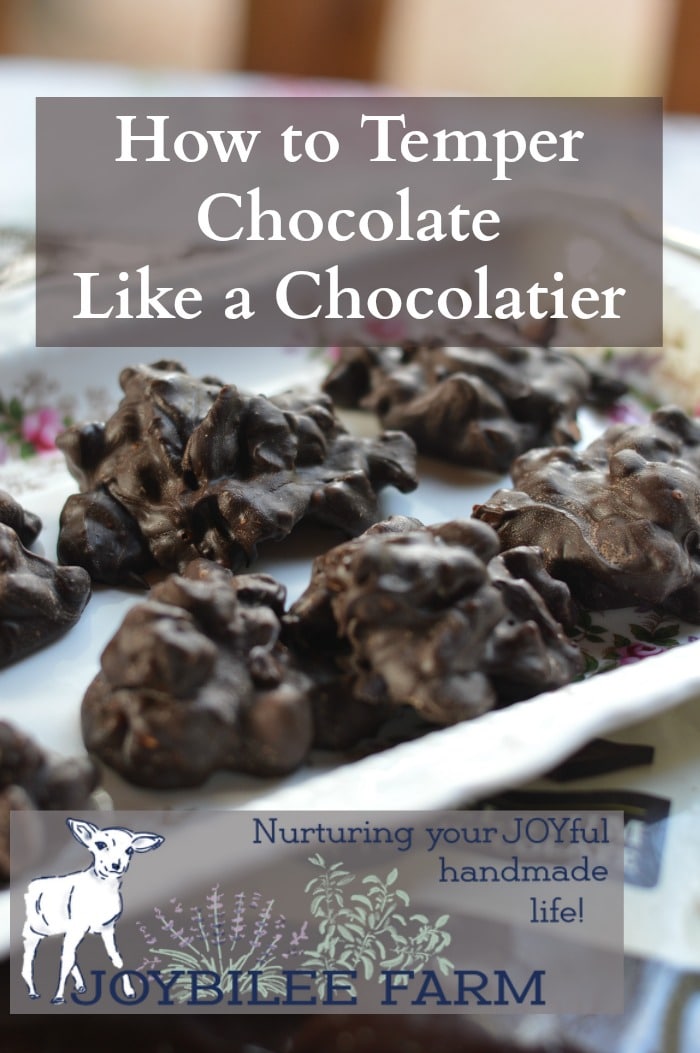
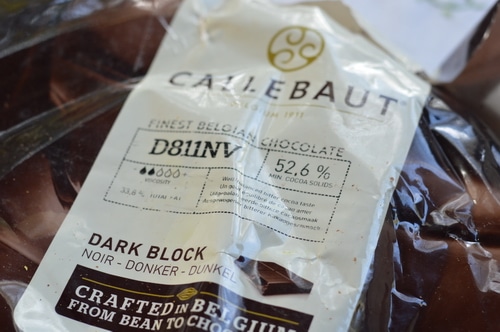
When you buy chocolate in the store or from the specialty shop it comes tempered. The chocolate has a glossy sheen on the surface. If you were to snap the chocolate bar along its score lines, it would snap cleanly. You can hear the crisp, clean, break. The mouth feel is smooth and creamy.
When you take that chocolate though and melt it, whether in the microwave or on the stove top in a double boiler, the chocolate loses its temper. It has to be re-tempered before you use it in recipes for chocolate bark, chocolate clusters, chocolate cups, or chocolate bars.
Chocolate has a crystal structure, just like sugar. When you raise the temperature of chocolate above 90°F it loses the crystal structure and comes out of temper. If you let it cool after melting it, without tempering it, the resulting chocolate will develop white streaks and a crumbly texture. It will stay soft at room temperature and remain gooey and sticky, instead of hard, smooth, and shiny.
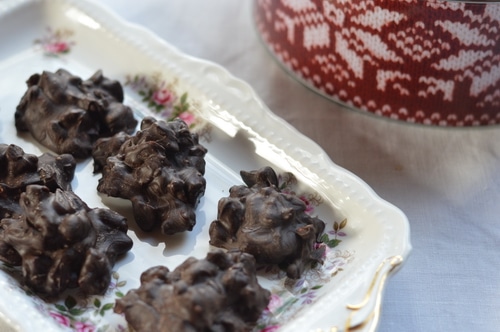
In chocolate factories the manufacturers use expensive equipment to temper chocolate. However, you can temper chocolate at home, by adding some unmelted tempered chocolate to the melted chocolate as it’s cooling, “seeding the chocolate” to help it regain it’s fine crystal structure.
To temper dark chocolate:
- Heat the chocolate in a double boiler or in a microwave to 115°F. Remove the chocolate from the heat.
- Add in a piece of tempered chocolate. This can be a piece of unmelted chocolate from the same block or a chocolate bar.
- Stir the mixture with the tempered chocolate to keep it smooth and creamy. The piece of tempered chocolate will melt as you are stirring. Add more tempered chocolate to the melted chocolate and keep stirring until the melted chocolate cools to 90 °F. Use a thermometer to check the temperature.
- Test the chocolate for temper. If the chocolate doesn’t pass the temper test, keep stirring and allow it to cool a little longer, and then test again. Tempering chocolate is an art more than a science. There are variables like the amount of cocoa butter in the chocolate and the amount of chocolate liqueur in your particular chocolate, that can affect the temperature that a batch of chocolate tempers at.
To test chocolate for temper
Take a bit of tempered chocolate and drop it on a baking sheet, lined with parchment paper. Using a spatula spread it thinly, into a wafer. Allow it to harden. Properly tempered chocolate will:
- Harden quickly, within 2 or 3 minutes
- Lose some of its shine as it dries.
- Snap cleanly when it is broken in half.
- Not streak or become matt, but will still have an even color and semi-matt finish.
Tempering Milk Chocolate or White Chocolate
The technique for tempering milk chocolate and white chocolate is the same as for tempering dark chocolate, however the temperature is different.
Heat milk chocolate or white chocolate to 110°F, before adding your “seed” of tempered chocolate. Cool milk chocolate or white chocolate to 87°F, while stirring constantly. The test for temper is the same as with dark chocolate.
Using Tempered Chocolate
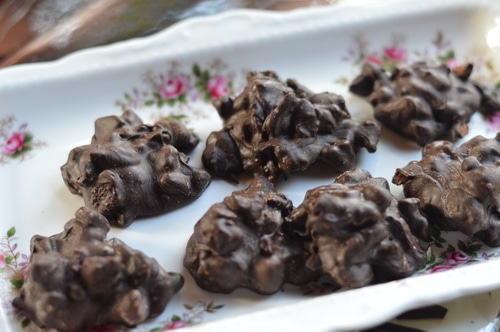
Here’s a very easy recipe to use your tempered chocolate in. The ginger is festive, chewy, and aids digestion, while the walnut gives the cluster a nice crunch. You can make this in less than 5 minutes once your chocolate is tempered.
The recipe is very flexible, so add your favorite chewy dried fruit and crunchy seeds or nuts to make a chocolate cluster you’ll be excited to serve to guests. Package your chocolate clusters in a gift bag, or cookie tin for a fun and lovely neighbor gift.
Print
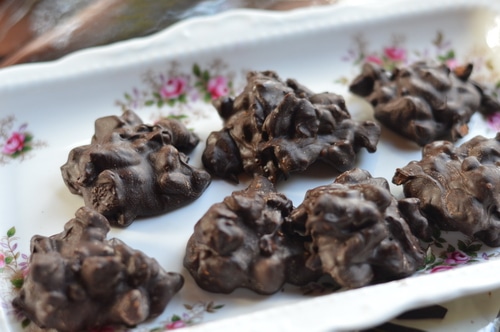
Ginger Walnut Chocolate Clusters
Description
A tasty and spicy chocolate cluster, perfect for holidays and gift giving.
Ingredients
- 2 cups tempered dark chocolate, divided (14 ounces)
- ¼ cup candied ginger, chopped finely
- 1 cup walnuts, chopped finely
Instructions
- Chop the dark chocolate into uniform pieces. In a 2 cup glass measuring cup, add 1 ½ cups dark chocolate.
- Melt the chocolate over hot water or in a microwave until the chocolate reaches 115°F. Use a thermometer to test the temperature. Remove the cup from the heat.
- Stir in ¼ cup of chopped dark chocolate. Stir the dark chocolate pieces into the melted chocolate. Stir for 10 minutes. Add the remaining ¼ cup of chopped chocolate.
- Continue stirring to temper the chocolate, until the chocolate cools to 90°F.
- Add candied ginger and walnut pieces to the chocolate and stir to coat them completely.
- Prepare a baking sheet by lining it with parchment paper.
- Drop the chocolate mixture onto the baking sheet in uniform clusters about 1 tablespoon in size, in the same way you would make drop cookies.
- Set the cookie sheet aside to let the chocolate clusters harden. If the chocolate is properly tempered the clusters will be firm in about an hour at room temperature (70°F). In a warmer room this may take longer
- Store in a sealed container, in a cool, dry place.
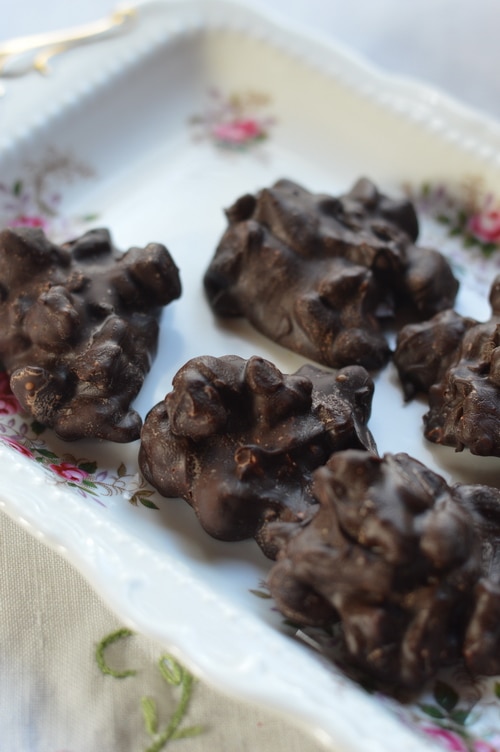
Ginger Walnut Chocolate Clusters
Yield: 24 chocolate clusters – 1 pound of chocolate
Ingredients:
2 cups tempered dark chocolate, divided (14 ounces)
¼ cup candied ginger, chopped finely
1 cup walnuts, chopped finely
Directions:
Chop the dark chocolate into uniform pieces. In a 2 cup glass measuring cup, add 1 ½ cups dark chocolate. Melt the chocolate over hot water or in a microwave until the chocolate reaches 115°F. Usea thermometer to test the temperature. Remove the cup from the heat. Stir in ¼ cup of chopped dark chocolate. Stir the dark chocolate pieces into the melted chocolate. Stir for 10 minutes. Add the remaining ¼ cup of chopped chocolate. Continue stirring to temper the chocolate, until the chocolate cools to 90°F.
Add candied ginger and walnut pieces to the chocolate and stir to coat them completely.
Prepare a baking sheet by lining it with parchment paper.
Drop the chocolate mixture onto the baking sheet in uniform clusters about 1 tablespoon in size, in the same way you would make drop cookies. Set the cookie sheet aside to let the chocolate clusters harden. If the chocolate is properly tempered the clusters will be firm in about an hour at room temperature (70°F). In a warmer room this may take longer.
Variations:
Cranberry-hazelnut clusters
Use ½ cup of cranberries and 1 cup of hazelnuts, in the place of the ginger and walnuts called for in the above recipe. Toast the hazelnuts and rub off the skins, then chop them coarsely, before adding to the chocolate.
Pineapple-macadamia nut clusters
Use ½ cup of dried pineapple, chopped and 1 cup of salted macadamia nuts, chopped, in the place of the ginger and walnuts in the above recipe.
Apricot-almond nut clusters
Use ½ cup of dried apricots, coarsely chopped and 1 cup of almond slivers, toasted, in the place of the ginger and walnuts called for in the above recipe.
Chocolate Bark
Make one of the above variations but instead of dropping the mixture by the spoonful onto parchment paper, spread the mixture in a thin layer over the parchment paper. Allow the mixture to set for 2 hours. Cut the mixture into squares or break into bark. Package in gift bags or Christmas Cookie Tins.
Discover more secrets for making chocolates like a chocolatier
Lots of bloggers are given free courses, books, and products in the hopes that they will recommend them to their readers. I wanted you to know that I bought this course so I could help you make better candies this holiday season. I’m recommending it because I thought it was amazing and timely. Your holiday chocolate making just rose to new heights. The following links are affiliate links.
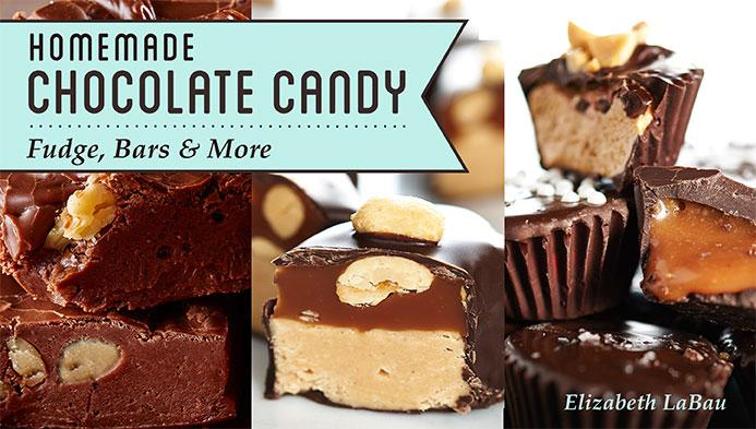
Homemade Chocolate Candy: Fudge, Bars & More with Elizabeth LaBau
Elizabeth teaches you how to temper chocolate like an expert. Then she quickly moves on to making chocolate clusters, ganache, creamy filled chocolates, chocolate cups, marshmallows, old fashioned fudge, and chocolate bars. There are enough tips and tricks in this course to help you with any obstacle you encounter when you make homemade chocolates, caramel, marshmallows, and other candies.
You’ll discover how delicious fresh homemade candy is compared to stale, tasteless store bought candy. You’ll learn how to true your thermometer and how to make adjustments for altitude. You’ll see how quickly homemade candy can move from simple to sensational. You’ll quickly master the techniques and amaze your family and friends with delicious, homemade chocolate treats, just in time for the holiday season. You may even discover a new hobby.
Here’s the recipes you’ll master in the course:
- Tempered dark chocolate, tempered white chocolate, tempered milk chocolate
- Crispy chocolate bars
- Apricot and pistachio chocolate clusters
- Chocolate truffles
- Dipped chocolates with creamy centres
- Ganache
- Caramels
- Chocolate caramels
- Caramel apples
- Chocolate caramels
- Marshmallows
- Mini-marshmallows
- Chocolate marshmallows
- Fruit marshmallows
- Marshmallow – chocolate pops
- S’mores chocolate bark
- Peanut butter cups
- Truffle Cups
- Caramel cups
- Marshmallow cups
- Chocolate fudge
- White chocolate fudge
- Rocky road chocolate bars
- Caramel peanut chocolate bars
I watched the entire course in about two hours, while I was tempering chocolate and making these Ginger-walnut clusters (my own recipe).
I was having so much fun and wishing I could watch these videos with a group of friends while making the fun recipes. Just imagine your BFFs and you making chocolate clusters, homemade marshmallows, caramels, truffles and fudge, and at the end of the day, packaging up the bounty into Christmas cookie tins. Wouldn’t your family be surprise! Your Christmas gift making would be off to a great start. You’d have help with the cleanup. You’d make some amazing memories, and chocolate treats you’ll be proud of. Win-win.

You could even use the valuable information in this course to add to your craft fair and farmer’s market sales. (Check the Cottage Food regulations in your region).
I’ve been making fudge, truffles, and chocolate bark for decades, but I learned so much in this course that I can use to immediately improve my candy making. If you’ve given up on trying to make candy because of seized fudge, streaky chocolate, damp and gooey marshmallows, or burnt caramel, the tips in this course will quickly help you overcome those amateur mistakes. You’ll be making candy like a chocolatier in the very first lesson. And you’ll never waste expensive ingredients with failed candy again. Oh and one more thing, when you make the candy yourself, you can control the ingrendients, use organic sugar instead of GMO sugar. Substitute honey for corn syrup. Use fresh organic milk and cream instead of lower quality industrial milk. Use homemade vanilla extract instead fake vanillin. Use Kosher gelatin instead of pigskin gelatin.
Enroll in the course early so you can use the information for homemade candies, chocolates, truffles, and more. The money you save by not buying boxes of chocolates at the store for friends and clients, can pay for the course and buy all your ingredients.
About the instructor:
Elizabeth LaBau is the author of the blog Sugar Hero and served as About.com’s candy expert for nearly 10 years, breaking down complex recipes, writing her own recipes and creating photo-tutorials for her readers. Now she shares her passion for sugar on her blog and in her candy cookbook, The Sweet Book of Candy Making. (from Craftsy)
Learn more here.
Other Craftsy chocolate making classes to raise your candy making game:
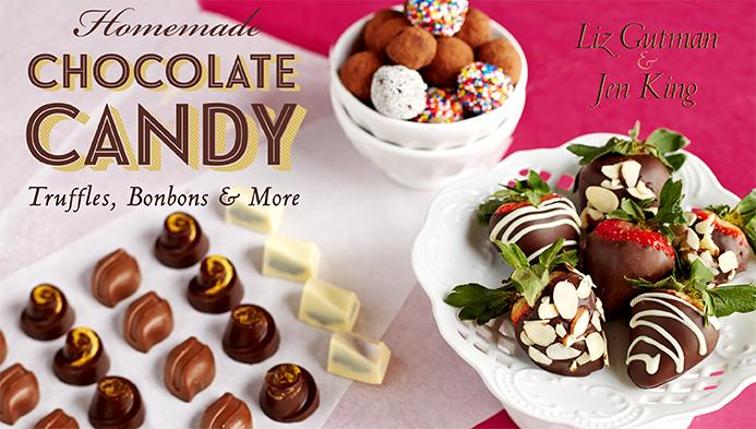
Homemade Chocolate Candy: Truffles, Bonbons & More with Liz Gutman & Jen King
Jacques Torres’ Ultimate Box of Chocolates with Jacques Torres
Your turn:
What is your biggest struggle with making homemade chocolates and candy? Are you ready to take your chocolate and candy making to a new level?




There was a problem with my sign ups. I think I’ve fixed it now. Thanks for letting me know, Bea.
Hi Chris, tried to leave you a comment but right at the end it deleted the whole thing so … I really enjoyed your blog and would like to follow you but when I hit enter I got a message that said add a value? Thanks for the tips and all the information.