Gardening can be expensive. When you are growing a homestead garden you want to make sure that the cost of the garden doesn’t exceed the value of the crop that you will reap from it. Here’s some gardening tricks to help you get the most from your garden without breaking the budget.
Gardening has many benefits that reach further than the vegetables, greens, and herbs themselves (source). There is an inherent satisfaction in seeing the progress from seed, to plant, to table, that cannot be replicated by other means. Gardening connects us with the seasons in a tangible way, and brings beauty and growth into our lives. It’s also a great health boost, particularly if you add a few stretches in before starting for the day.
1. Recycle for pots and containers
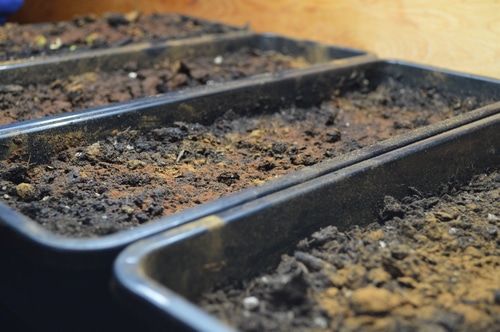
Even if you have a lot of gardening space, you may want to have some containers to use for starting seedlings or for having some tender plants close to the house for easy pickings. Seedlings can be started in pots made out of newspaper. These are sturdy enough to get things going but get fragile after a few weeks. Great if you plan to pop them into the ground but not so great if you want to hold them over for several weeks, while the soil outside warms up. You can make pots out of plastic containers, vitamin pill bottles, juice bottles, Milk bottles.
Be sure and thoroughly wash and disinfect the containers before using them. Non waterproof containers can be made water proof by lining with a plastic bag.
Be sure to add a few drainage holes in the bottom to allow the soil to drain thoroughly after watering. If you line newspaper containers with plastic, do not try to plant them out directly as the plastic will not let the roots through in the same way as plain newspaper pots.
2. When starting seedlings use spices to prevent damping off disease.
One of the good gardening tricks is to use cooking spices instead of commercial anti-fungals. Spices are powerful antioxidants. They contain antifungal, and antibacterial properties. Cinnamon, tumeric, clove, and mustard have strong antifungal properties. I sprinkle the spice on top of the soil when I plant my seeds in pots, in the house to prevent damping off, and to prevent mold growth on houseplants. I reapply the spices periodically after watering.
3. When watering indoor plants add 1 tsp. hydrogen peroxide per 1 litre of water to inhibit fungal disease in the plants.
Hydrogen peroxide increase the oxygen going to the soil, which inhibits fungal and bacterial soil diseases that thrive in anaerobic conditions.
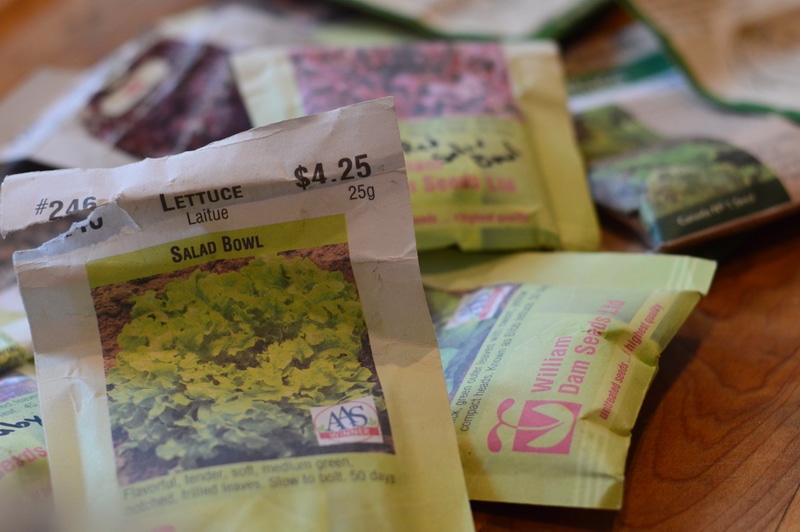
4. Don’t buy fresh seed every year — pre-germinate your seed and plant it.
Buying seed is expensive. Most of us have older packages of seed in storage, and buy new seed, just in case. Instead pre – germinate your seed and only plant the seed that germinates. 100% germination rate. Large seeds like peas, beans and corn can easily be soaked overnight like sprouts, then rinsed and drained for a few days until the seed coat splits and a tiny root appears. Plant immediately. Smaller seed can be germinated on a damp paper towel, inside a plastic sandwich bag and planted into pots, one seed per pot, to grow until the soil warms up. While it seems like a bit of extra work, it allows you to plant for proper spacing and you don’t lose time to unnecessary thinning. The key for this to work is to make sure soil temperatures are adequate before planting outside. As one of the simplest gardening tricks, it is especially relevant if you are planting expensive seed. General germination testing will also help you determine what less-expensive seed you need to replace.
You can also use seeds from foods you consume, like apples, pears, or stone fruit, to grow new plants. This is especially great if you want root stock for propagation, or to try and find new varieties as an adventure.
5. Plant varieties that will mature in the amount of frost free days that you have.
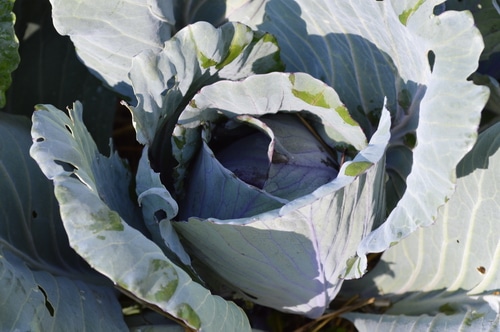
Many vegetables have several options to chose from in seed catalogues. For instance, when looking at cabbages there are some varieties that will be ready to pick in only 65 days, such as the hybrid savoy cabbage “Alcosa,” while others, usually called “Main Season-types” can need as long as 110 days. By choosing varieties for shorter growing seasons, I can usually get a harvest. So when choosing your veggie seeds, consider how long your growing season is and choose accordingly.
6. Save your coffee grounds
You can add coffee grounds directly to the soil, without composting first. It will break down during the growing season and nourish your plants. Coffee grounds are rich in nitrogen. If you need more than you produce yourself, go ask at your local espresso bar. If your local coffee place isn’t involved in the program talk to their Green consultant, and ask them to get it going.
7. Water your containers and seedlings with old coffee and tea
Another fun one of the gardening tricks is to not pour old coffee or tea down the drain. Use it on your potted plants or containers. Its rich in nitrogen, but a bit low in phosphorous. Worried about chemicals in the coffee? Switch to organic, fair trade coffee. This works best on acid loving plants. If you are growing plants that prefer a neutral soil, don’t do this more than once a month.
8. Make plant markers from sticks.
Plant markers can get expensive. Metal markers and clay markers, wear out over the years and the plant names become illegible. Instead grab some 12 inch, straight branches from willow, popular, birch, dogwood or other straight, nonbranching sucker. Carve off a strip of the bark, which is easy to do in the Spring. Write the plant name directly on the wood and pop into the soil. Willow may root over the season, giving you a plant to transplant to another bed. Most other species will behave when pushed into fertile soil as a plant marker.
9. Mulch, you can’t afford not to.
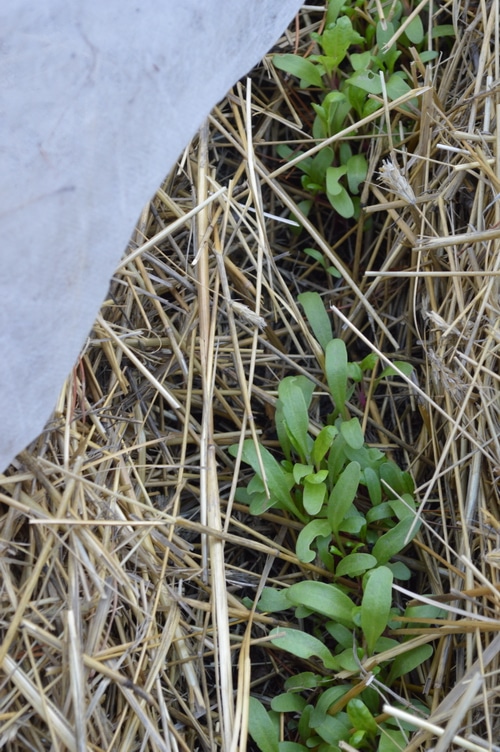
Mulching reduces your needs for fertilizer, water, and weeding. It holds in soil moisture. It breaks down, nourishing your plants, and it prevents weed germination. Not that you won’t need to weed at all. Depending on what you use for mulch there may be weed seeds that germinate, but weeding is easier. Soil stays light and doesn’t compact under a layer of mulch. Mulching can also change soil temperatures. Plastic mulches allow heat through and can warm up soil temperatures in the Spring. Carbon mulches like straw or wood chips, cool soil temperatures and should not be applied until after the soil has warmed up and the plants are off to a good start.
10. Hi-hoe, hi-hoe its off to weed, we go
Using a sharp hoe to cultivate around transplants twice a week can make weeding easy and prevent weeds from getting a firm grip on you garden. Weeds will rob the soil of fertility and slow down plant growth. A sharp hoe uses no gasoline or electricity and gives you easy exercise, too. Its way easier to hoe around plants than to bend over and pluck up the weeds by the roots. Hoe in the morning on a warm day, that you don’t plan to water. This will let the roots of your weeds dry and prevent them from regrowing. If you neglect your hoe you will have more weeding to do as the season progresses.
11. Make compost tea from weeds, manures, and garden waste
One of the easiest gardening tricks is to make compost tea to give plants nitrogen and micro-nutrients to continue rapid growth during the season. We make compost tea in a garbage can from fresh llama and rabbit manure, comfrey leaves, and garden weeds. Fill the can 1/3rd full and top up with water. After 2 weeks the tea is ready to use. Cabbages, cauliflower, and broccoli, and other rapidly growing plants benefit from an application of manure tea at the root zone. Avoid getting it on leaves of plants that you intend to eat. Woad and other dye plants also benefit from applications of compost tea after the first harvest of leaves.
12. Have a plan for the harvest and preserve it.
In the middle of August there are a lot of vegetables coming into the kitchen. Have a plan to use them up or preserve the harvest with drying, canning or freezing so that it doesn’t go to waste. Don’t let it sit in the fridge after harvesting, losing condition. Instead put aside what you can use within 3 days and preserve the rest at the peak of freshness. This will maximize the available nutrients and give you good food to eat all winter, extending the benefits of your summer garden year-round.
13. Don’t leave vegetables past their prime in your garden.
Chard is prolific for me. But chard isn’t my favorite vegetable. When its in its prime so is my lettuce, zucchini, and kale and so the poor chard gets neglected. Harvesting it at its prime and preserving right away, would give me vegetables longer. In February chard is more appreciated. Harvest each vegetable when it is at its peak to maximize nutritional content. And preserve each vegetable right away to extend the benefits of your gardening endeavours year-round. Here’s a recipe that you’ll love to use up that prolific chard!
14. Compost kitchen scraps
I live in bear country. Composting of kitchen scraps is discouraged. But we do compost. By burying compost in ground right in the garden, or under the manure pile we avoid the bear problem and still get a rich soil. You can build a compost bin out of many things from wood pallets to chicken wire. Have some carbon rich additives like straw, dried leaves, or shredded paper. To build your compost pile add nitrogen rich vegetables, coffee grounds, manures. Then top them with the carbonaceous additives. Repeat in layers, finishing with the carbon. If you leave the pile and let it work naturally, you’ll have finished compost in about a year or two. It takes longer if the temperatures are very cold. Less time in a warm climate. You can speed up the process by checking the internal temperature of the compost pile and turning it whenever the pile cools down. I like to throw in red wiggler worms that I find under the mulch in the garden. While not exactly a worm bin, the red wigglers help to speed up the decomposition of the pile. Free fertilizer is always good to have.
15. Encourage beneficial insects
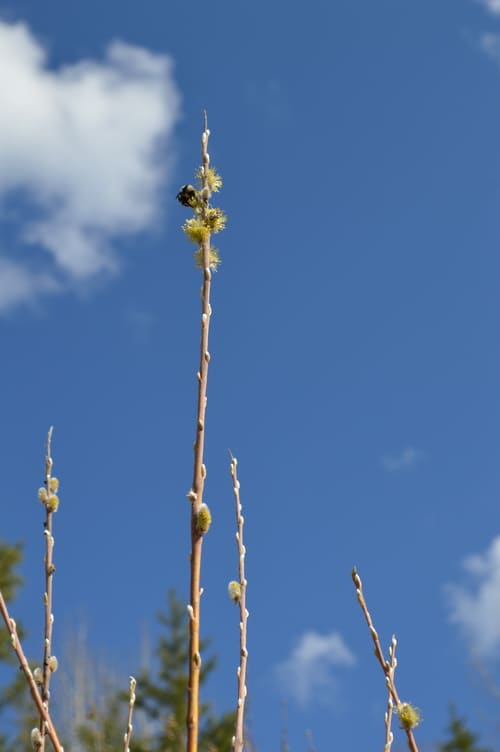
One of the best gardening tricks is to encourage beneficial insects, they help with pollination, eat malicious insects, and predate on certain weed species. Mason bees, bumble bees, parasitic wasps, spiders, to name only a few, work together with you to keep your garden plants free of aphids, and caterpillars. For them to thrive, they need food, homes, and freedom from poisons. You can give them food by planting flowers and nectar sources. Don’t remove sources of weeds for them to lay their eggs. By not cleaning up your garden completely in the fall, you give them room to lay their eggs and ensure that they will show up again next year. I leave a riparian zone around the garden for this purpose. You can also add insect nesting sites to your garden space to encourage their breeding.
16. Get the slugs drunk
Don’t ignore slug damage. Deal with them as soon as you see one. Slugs have a two year lifespan and lay eggs in their second year. They are most active in the early morning and during the night. One slug can totally destroy may weeks of work. The beer cure will help you to rid your garden quickly of slugs. Place a shallow dish in a depression in your garden, pour a small amount of beer into the dish and go out twice a day and pick out the drunks and drown them in a bucket of soapy water. Ducks love slugs and if you have a few you get let them patrol your garden. But be aware that they may also eat your seedlings and munch at the leaves of lettuce and kale. We’ve had the best success by handpicking the slugs and feeding them to the ducks. None get away.
17. Cover plants to prevent insect damage
By covering your growing beds with a light row cover, plants can be protected from marauders like the cabbage butterfly, that lays her eggs on all Kole plants. The eggs hatch into cabbage caterpillars that decimate your crop. Carrot rust fly can be blocked out of your carrot plants in the same way. Gardening tricks to protect your harvest are better than using poisons to control plant predators.
18. If you live in deer country, protect your garden from the critters with a high fence
You can extend the height of a 4 foot fence with rope and fence post extensions gathered from surrounding hedgerows. We weave binder twine from our hay bales, between fence posts extensions to extend the height of the fence to 6 feet and successfully keep out deer, who begin to look lustily at the garden in late September, when the broccoli is beginning to head and the surrounding fields are brown from late summer drought.
19. Properly space your plants to allow for maximum growth
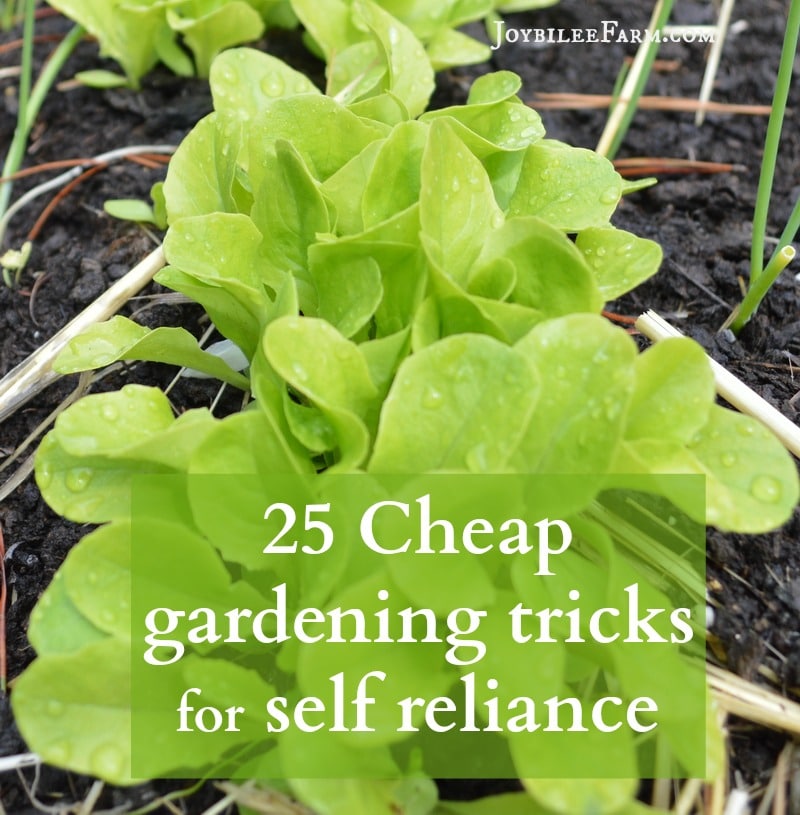
Many of the current books on gardening suggest very close plantings in small spaces. If you have the space, spread your plants out to allow for maximum growth. They will need less fertility and less water if they aren’t competing with other plants in the same area. Closer spacing doesn’t allow plants like squash and cabbage to fully develop, and leaves you with stunted growth. I usually plant two beds of lettuce, one spaced really close for early spring greens, and another with proper spacing to allow for fully developed heads later in the season.
20. With expensive hybrid seed consider beginning the seed in flats and transplanting out at proper spacing.
If you start them indoors use a growlight so that your plants get the correct amount of light and don’t end up too “leggy.” This maximizes your value from the purchase of expensive seed, because you don’t waste any of the plants. When transplanted out at proper spacing each plant grows to its full potential and you reduce your water usage. If you pay for water, this is one of the very relevant gardening tricks.
21. In areas where water is scarce plant in a hollow rather than using raised beds.
A logical member of the inexpensive gardening tricks arsenal, use your land and rainfall to your advantage. Raised beds work great when water is abundant and soil temperatures are slow to warm up in Spring. Where water is scarce, however, you want to ensure that available water goes to your roots. By planting at wider spacing and planting in a hollow the available soil moisture will go to your plants where it is needed most. Raised beds dry out faster than hollows. However, as hollows also get frost sooner than raised beds you’ll want to take this into account in your planning and protect from frost where necessary.
22. Don’t waste the ashes
Use the ashes from your woodstove (untreated wood only) in your garden to add potassium to root vegetables, especially beets. Ashes will raise the pH of the soil, if you have plants that lean toward being alkaline loving.
23. Keep the pH of your soil between 6.5 and 7.0
Of all the gardening tricks, checking and maintaining your soil will do more than expensive additions and fertilizers. You want to keep the soil pH between 6.5 and 7 for most vegetables. So check your soil pH and don’t add so much wood ash that the soil pH locks up essential nutrients from your plants. Soils with a pH above 7.5 will prevent plants from absorbing trace elements. Acid soils below 5.0 will lock up phosphorous . Calcium, magnesium, and potassium also leach out of acid soil. Soil pH can be raised by the addition of bone meal, oyster shells, lime and ashes. If the soil becomes too alkaline. You can amend alkalinity by adding pine needles, sawdust or wood chips, peat moss or leaf mould.
24. Plant marigolds and other companion plants
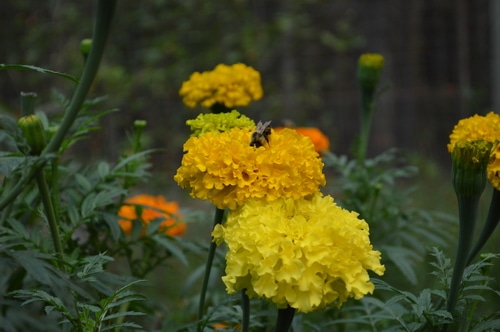
When you’re planting the plants anyway, one of the quickest gardening tricks is to use companion planting to prevent pests. Marigolds are amazing plants. They are strongly scented and discourage some insect pests. But their main benefit is in their roots. They discourage soil nematodes, soil pests that destroy the roots of your plants before they even begin to fruit. When soil nematodes abound in your soil, yields suffer and get worse each year. Marigolds of the tagete species discourage soil nematodes and cleanse the soil. Harvest the heads for a bright yellow natural dye. Save a few plant for seed. The flower heads produce seed through insect pollination, so you might needs a few plants outside your greenhouse for strong, viable seed each year. Seed from 10 flowers will keep you in marigolds each year.
25. Plant green manures in the fall (Fall rye, winter wheat)
This may not seem like one of the logical gardening tricks. But, each fall, when you are putting your garden to bed, rototill the beds and plant a green manure like fall rye or winter wheat. The green manure will add fertility to the soil and keep the garden beds from blowing away in the wind or hardening in the cold and snow. In the Spring, once the soil can be worked, allow the green manure to grow to a height of 6 inches to a foot and till it in. Till in about 6 weeks before the final frost in your area. The green manure will decompose quickly and be ready to plant in a month.
Get more useful tips by subscribing to the Joybilee Farm newsletter and pick up my Free eBook, “4 keys to Food Security and Homestead Abundance” to help you with your gardening plans this season.
Your turn:
What tricks and tips can you share for successful gardening? Leave a comment.
Carolyn M says
I love all the useful suggestions. Im pinning this for reference later.
I have found that like you suggest you dont need need seed every year. I have some seeds that are about a decade old and germinate well each year .
For the vegetable garden Im trying to select things that are expensive in the stores.
Tammy Erdman says
Very helpful for first time planters just moved into home last year and thought we would try to grow veggies &strawberries started to late we’re in Pa so lots of stuff is taking forever can you tell me when best time to start a garden would be?
Thomas Lloyd says
I really like your blog very informative and helpful me thanks for sharing.
Bryson Owens says
I appreciate your reminder to put some drainage holes in the bottom so that the water doesn’t pool. My cousin is trying to get a new garden around her property this year. She needs to make sure she has the right soils and tools to do this job properly so that she can successfully grow her crops.
Dan Collins says
I can’t wait to try all these tips and tricks in my own little garden. I have learned a lot from this post and I hope to read more posts like this from you. Thank you.
Ilario Longden says
I’m very late to this post but I loved it and wanted to let you know. Thanks, so much! Just moved to a place where I can have a lovely, big veggie garden and I can’t wait to start. I’ve got a tarp laid out on the grass and I’ll be covering the area in composted manure so it’ll be all ready for no-dig planting in the spring. Your blog is always a pleasure, and the only one I subscribe to. Thanks, JOYBILEE!
Thomas says
Great tips and tricks to learn. My husband will love these when he can learn and apply for his own small garden.
Jane says
Nice to know these tips and tricks. Thanks for your sharing so I can apply for my own garden. Great!
Sylvia says
Thanks for all the tips in regards to snails and slugs. Who would have ever thought getting them drunk would be a deterrent!
Jason says
We always have a snail problem. Marigolds seem to attract snails. I found that the red pepper flakes that you get for free with pizza deliveries keep snails away. Sprinkle around flowers such as dahlias it also keeps the pets from digging in that area.
Marlene Affeld says
Informative and well-written article: worth reading.
Roxanne says
A couple of ways I help save money on containers; first I let everyone I know what I want saved. Be it the containers salads come in with clear tops, (great as mini-greenhouses) rotisserie chicken containers, etc. Also, in our town, all of the big box stores let customers recycle flats and plant containers from past purchases at their stores. I have never had any store turn me down if I ask to take a few. I try not to be too greedy, I can always get more on my next trip. I even caught one store just as they were throwing out plants left over at the end of the season. I asked if I dumped the plants in the trash for them, could I keep the containers. Helpfulness always wins out. A final reminder, always remember to wash out and bleach all used containers prior to re-usage. You do not want to bring contaminates into your planting area. And, as mentioned previously, cinnamon is a fungicide. I sprinkle it across the flat when starting seeds. And, I add a good dash along with a couple of teaspoons of Epsom salt into the hole prior to planting in the garden, along with asking God’s blessing over my garden for the season. I then continue throughout the growing season to sprinkle cinnamon across the plants as they grow. It will stay on the plants for quite awhile, but you must reapply after a rainstorm. Many of the bugs that attack veggies cannot stand the cinnamon. It is abrasive to them. I remember learning in school that insects breath through their bodies. So, to keep most insects out of our gardens, we do not have to use poisons, we just need to find the correct unpleasant substance for your insect problem. And, lastly, I promise you I’m almost done (smile:) If you have a greenhouse like I do, some insects can quickly become a problem in such a closed environment. White flies are one such insect, along with aphids. I have added a site to make a white fly trap that is easy and non-poisonous. You do not have to use the sticky substance listed; just search the web for other things you may have around the house. http://www.instructables.com/id/Make-Your-Own-Sticky-Fly-Traps/
Hugs & Happy Growing!!
Joybilee Farm says
Awesoem, Roxanne. Thanks so much for sharing your ideas.
Gill Fraser says
Hi I love all your tips – I am a new gardener in Scotland and reading your blog I have realised that i may have made a schoolboy error in not realising I needed to sow veggie seeds for our short summer – I have collected black pebbles from the beach that warm up during the day to help keep their feet warm I just hope that I don’t run out of sun before my tomatoes and squashes ripen ! I will definately read the small print in the glossy seed catalogue this year and not just look at the pretty pictures !
Emily Heise says
Thanks for the share.
Ryan Scott says
I love reading this wonderful post.
Cind says
thank you for ALL your wonderful information!
Silvia says
Hello,
I like your blog.
I have good experiences with using mobile little greenhouses from wood and plastic to cover the earth to extend the growing period. You can build them yourself.
Manure from rabbits or chickens is like gold in the compost bin.
When I buy vegetables, I look for some to regrowing from scratch. Cabbage, salat, onions, sellery and fennel are fine to regrow new plants.
When you integrate wild plants in your diet, it is frugal and good for your health. We seek mushrooms, berries, greens and wild plums when we walk the dogs. There are no weeds, you can eat or prepare for tea many plants.
Against the problem with snails and slugs we have ducks. They give you eggs for baking.
Some plants you can grow yourself from one mother plant, like currants, gooseberries, blackberries, strawberries and raspberries. I have mushrooms under the raspberries in the straw, that we take from our rabbits to mulch and fertilize the soil. It is like permaculture.
I like the books from John Seymour about selfreliance.
Greetings, Silvia
Bev @ Tymes Past says
I have used direct composting in my raised beds the last couple of years and even do it throughout the winter if the ground is soft enough to dig under its layer of leaves. The scraps breaks down quickly and my worm population is multiplying. This winter, however, something has been digging it up every time I bury scraps. I wake up the following day to a hole and dirt flung everywhere out over the sides of the beds into the mulched paths. I spied a possum one evening when I happened to look out to see if it was snowing…beady little eyes staring back at me before he scurried off. Not sure if he is the culprit every time or not. Anyone have any tips to keep critters from digging up the scraps?
Joybilee Farm says
This is going to sound gross, but if you have a man around get him to pee where you are burying the scraps. It’s a signal that this is his territory, and most creatures will mind the sign and leave your garden alone. We’ve done it to deter cougar and bear, as well as rabbits, ground hogs, and voles here. Male pee is a stronger deterent than female pee, though.
Becky Sewell says
I lived at nearly 9,000 feet elevation, in Colorado, for 22 years and had to relearn gardening for that climate! However, I was able to harvest the first sweet corn that had ever been grown to maturity (an extra-early hybrid blend), as well as Siberian tomatoes (I think – it’s been a long time since that year!), beans, peas, root crops, leafy greens, etc. I just had to use the earliest and hardiest types I could find, because while the seed companies claimed I was in Zone 4, it was more like 2 or 3!
Where is Joybilee Farm and what’s your elevation?
Seeds of Change carries some really frost-hardy corn (multi-color sweet corn) that puts up several stalks and 2-3 ears per stalk – THAT one got started about 3 weeks too late, so it was just starting to ripen when frost hit, but the stalks kept going after the leaves froze and I had a few nibbles of raw ripe corn when I finally pulled the plants! The one I planted was called Triple Play, but they stopped carrying that and have a similar one. The kernels start out white, turn pink, the purple and blue, and can be eaten fresh or dried for cornmeal.
Now I’m living in the Finger Lakes region in New York at less than 1,000 feet elevation and am having to relearn gardening AGAIN! One thing I started last year was starter bushes of Honeyberry, or Haskap, Lonicerea caerulea sp. It is the only edible honeysuckle fruit in the world, the color of blueberries, but the fruit is all kinds of strange shapes depending on the cultivar, contains 2-3 times the antioxidants and nutrients that blueberries have, and are super-hardy. The flowers will still bear after being at 20F, and the plants are hardy to at least -40F because they’re native to the boreal forests of northern Canada, Siberia and norther Japan. They aren’t fussy about soil, as blueberries are, but will grow in dry or wet, clay or sand or loam, and they don’t sucker like most other honeysuckles. I would advise that you, in your short-season area, buy from HoneyberriesUSA.com, located in Bagley, MN, although BerriesUnlimited.com in Arkansas has a larger selection. The plants start blooming in very-early spring and the fruit ripens BEFORE the first strawberries!!! As I said, I just planted my first ones last year, and have more coming in March, 18 plants of 12 different cultivars (only a few duplicates) for best cross-pollination. I’ve been a bit nervous this winter because we haven’t had much freezing weather to keep them from leafing-out, but are presently in the teens with new snow on the ground, so we’re safe for a little while. The haskaps are best pollinated by bumblebees, which is good because most of the honeybees are gone in my area, and the bumbles emerge from hibernation before honeybees. Although I’ve not yet tasted a honeyberry, I’m really gung-ho on these plants, hoping to eventually have a U-pick operation, or to harvest enough berries to sell at a roadside stand or farm market.
Thanks for all your tips – I’ll definitely try sprinkling spices on my seed flats this year. I’ve been mulching with folded newspapers (as they come from the bundle), laid on the ground and overlapped like roofing shingles! Works great to block the light but not the water, keeps the soil moist, produce clean, and can be walked on right after a rain without getting muddy. Can’t rototill them under, though – they have to be shredded for that, or pulled up and composted. Oh – instead of just tilling your winter wheat, try mowing it first so the plants don’t tangle in your tiller! Same goes for leaves; they decompose a lot faster when run over with a mower.
Thanks, and happy gardening!
Joybilee Farm says
Excellent tips. Thanks. I have two haskaps planted 2 years ago. They were supposed to be companions but I believe they were mislabelled as they had tons of both flowers and native bee but I only had one berry from two bushes. I may just need to get another 4 varieties and see if we can improve this situation.
Carole says
We have a three bay compost system as well as two of those black plastic compost bins. In autumn, I take large plastic trugs on wheels and the rake and drive to where the streets have deciduous trees and I collect fallen autumn leaves for the compost pile. I also take my neighbours garden weeds and shrub and tree prunings off their hands for our compost bays. As well as composting our own kitchen scraps in the black plastic compost bins (then adding to the bays when they are fairly well broken down) I also pick up vegie and fruit waste from our fruit and veg markets. They put it out for people who have chickens and goats and we take it for our compost bays. Every little helps! I also do a coffee grounds collection from a local café on a weekly basis and this goes into the compost bays too. We hot compost in the bays and turn it over when it reaches a certain temperature. The high temps kill weed seeds so we can add weeds to the bays too. I also make compost and or weed tea. Our grass clippings are saved for a few months till they are broken down enough to use as mulch on our plants. We grow our vegies from seeds rather than seedlings as it is cheaper. Our compost bay is made of corrugated iron and timber – recycled as is one of our raised garden beds. Am also using plastic kiddie paddling pools to raise herbs and lettuce. Just drill holes around the sides about 2 inches from the bottom for drainage.
Brenda says
Great tips! I have a fence for the deer but that doesn’t stop the ground hogs. I have found that pin wheels keeps the!m away. You only need a few by plants that they like.
Anna Bender says
I put cuttings from my mint and anise hyssop plants over, around, and nestled in my cabbage and suchlike plants. it confuses the cabbage butterflies because they can’t tell where the plant is to land and lay eggs.
Joybilee Farm says
That’s a wonderful idea.
Donna Barnes says
Fishing line makes a perfect fence around my garden ! It deters deer every time ! Coons and rabbits not so much !
maria says
When I clean my chicken coop in spring put on my garden. I also save my egg shells and smash them up and put on my garden. Some ashes not much though. I plant my marigolds where they need be. i also have sunflowers planted so birds leave other plants alone. I use the orange snow fence around my garden to keep wild critters and my critters I put rocks on bottom of fence. You can put little bells or something on corner of fence to help with keeping deer out. Just a few tricks
Morningstar335 says
Thanks for all the great tips!!
Joybilee Farm says
It’s my pleasure.
Vickie - Mustardseedmindset.com says
You’ve come up with a list of great gardening tips for both indoor and outdoor gardening. I never knew that you could use certain spices to prevent dampening off disease. Do you have a mix ratio on the spices that you use?
Carolyn mccollem says
Thank you. I did find it I have a question. What to do for the squash borer. I can gave big beautiful vines, then go in the afternoon and it will be wilted and down on the ground. Then it’s gone
patty says
my first garden was so good it was like a fairy tale with many veggies and flowers that grew as high as my roof top. my second year garden was struck down by a fungus that killed a lot of plants. through internet research i learned what to do. one tablespoon of baking soda in one gallon of water sprinkled over the entire garden killed the fungus. that was five years ago and it’s still gone. in my third year of gardening coons got my corn. last summer i had an idea to grow baby corn and outsmart the coons. i’ll just pick it while it’s small and keep successives started in the green house. the grand kids will love them. a person could grow successive cabbage too and eat them before the worms find them. if you grow from seed you can eat baby veggies all summer keeping one step ahead of the bugs and keeping new plants started in the green house. learning never ends with gardening. last summer i was sick and couldn’t work in the garden. my veggies and flowers grew among the weeds like it didn’t matter and i had plenty to eat and freeze while hardly lifting a finger. this winter i had an infestation of fleas inside due to taking in some homeless cats during a cold spell. after more internet research i learned about diatomaceous earth. it works. the fleas are gone and my dog is happy again. this summer i’ll be trying it on slugs, stink bugs, cabbage worms, and the squash vine borer. anyone who uses diatomaceous earth needs to know to use only the “food grade”, don’t breathe it in, and that it kills beneficial insects including bees. so do some research and learn how to use it responsibly.
Gale says
Great list! One thought about “Don’t leave vegetables past their prime in your garden.” What about vegetables that are unusable once they start to bolt? Do you think it’s worth the space to leave at least a couple plants to seed so you can gather the seed in stead of buying new seed?
Joybilee Farm says
Definitely pick which ones you want to save for seed. But be careful that you don’t take a plant that bolts prematurely and reserve for seed. You will end up with a lot of future plants that bolt prematurely. Especially true of lettuces, chard, and cabbage family crops. I prefer to start my seed saving plants early in the house and put them out after May first, when the soil has warmed up some. For us, putting plants out too early makes for premature bolting. But our season is too short to get seeds on plants naturally.
Rea says
There are many great ideas here. Wonderfully informative post for beginners and good reminders for the old timers as well. Thanks for sharing it!
Joybilee Farm says
My pleasure, Rea. Thanks for leaving a comment.
Chris.
Kathy Atkinson says
Amazing post! Thank you so much for sharing on Wildcrafting Wednesday! 🙂
~ Kathy
Becca @ Sweet Swan Songs says
These are some great tips, thank you! My hubby and I are about to start my second year gardening- the first year was a bust. All we got was cilantro! The squirrels, coons and birds got all of our tomatoes and beans and our potatoes didn’t survive either. This year, we’re doing container gardening so we can control exactly what is in the soil. I’ll definitely be using several of these tips for helping our soil be richer and to deter pests.
Joybilee Farm says
Thanks for your comment, Becca. It takes a few gardens to figure out your own personal micro-climate and the critters that you have to fence against. In my first year at our homestead here in the mountains, I planted corn. They can grow corn just 30 minutes from here so I thought it would work. We had the daytime heat — many July and August days over 100F. But I hadn’t counted on frost. Just as the stalks were tasseling we hit 30F. Mountain climate takes some adjusting to your plans. But you never know how you need to adjust until you try. Keep trying. (My potatoes bombed last year, too. Because of summer frost. It was the coldest summer I’ve ever seen).