Learn how to make pickles in the traditional way. You can use this knowledge to make other lacto-fermented food like salsa, hot sauce, dilly beans, carrots, lemons, sauerkraut, and other healthy side dishes. Lacto-fermented pickles are a powerhouse of nutrition, probiotics, and flavor.
How to make pickles — the secret to kosher dills like Bubbe made
These kosher dill pickles can be made in summer and stored in the refrigerator through winter, to enjoy even when there’s a foot of snow outside. Even in winter, I can be cozy warm next to my wood cookstove, while I savour this healthy taste of summer. The garlicky dill pickle flavour is just slightly sour and full of probiotics.
There is no harsh vinegar to hit the back of your throat as you bite down. There are no chemical additives to keep the pickles crunchy. In fact, kosher dill pickles are still crunchy, healthy, raw food, without any processing and without any chemical preservatives. Lacto-fermented kosher dills need no canning. Kosher dill pickles need no vinegar. Fermented dill pickles keep raw in your refrigerator or in a cold room, transformed and preserved by the lacto-bacteria in the fermentation process. If you have a cool place to store them, they are also shelf-stable and can be stored without refrigeration.
There is no need to boiling-water bath can lacto-fermented pickles. So put away the hot brine, canning funnel, hot jars, the ladle, and the jar lifter. These kosher dills don’t need any of the canning equipment to preserve them. And they taste 100 times better than dill pickles canned with hot vinegar and pickling spice.
How to make pickles
Kosher dills are not kosher because they are made according to Jewish dietary laws, per se. They are called “Kosher” because they follow the traditional method of lacto-fermentation using just kosher salt or sea salt and water to preserve them, with a few spices alongside. Kosher pickles are traditionally made with just 4 ingredients — small cucumbers, dill, garlic, and non-iodized salt, sometimes called “Kosher” salt. What is sold in sealed jars as “Kosher” pickles are vinegar pickles with garlic and dill, not traditional Kosher dill pickles. That’s why the jars of pickles at the grocery store don’t taste like Bubbe’s pickles. You might find authentic Kosher pickles at a Jewish deli in the pickle barrel. Or you can make them at home. Keep reading and you’ll learn how to make pickles just like grandma.
In July, I bought 5 lbs. of organic pickling cucumbers at the farmer’s market, when they were cheap. I took them home and made 3 – 2 quart jars of kosher dill pickles – one jar using all the smaller cukes, whole, and two jars using sliced cucumbers from the larger pickling cukes in the bag. In the warm July days, the pickles fermented quickly on the counter and were ready to refrigerate within a week. But don’t taste them yet. Once the active fermentation stops, they need at least a month for the garlic and dill flavours to permeate the jar of pickles.
Now, in January, they are even tastier than they were in August. The pickles are still crunchy and the active bacteria and enzyme base are ready to inoculate any batch of fermented vegetables that I want to get going now – even Kimchi, which makes use of the abundant Chinese cabbage and daikon radishes that are in season all winter. Pickles are a great low calorie snack, and are a great way to preserve summer’s abundance.
Fermented vegetables are good for you. They have more probiotic micro-organisms than yogurt and help drive bad bacteria out of your body. And they are super easy to make at home, just requiring vegetables, in this case, cucumbers, and salt. You probably have lots of lactic acid bacteria already in your home, so it’s easy to catch these and get your batch going. You can increase your chances of success by taking 2 tablespoons of brine from a successful batch and adding it to your new batch of pickled vegetables. Sally Fallon suggests adding some whey if you don’t have any fermented vegetables on hand. But many successful batches of sauerkraut and pickles are started with nothing more than salt. Bubbe made pickles without the additional whey — because after all, if you add whey you are adding dairy and then you can’t use them in pastrami and rye.
Note: These are a naturally fermented pickle, and this is not a canning recipe. You do not need a water bath canner, or to boil the jars or brine. There’s no need to seal these jars, once fermentation is done. There is no white vinegar, just salt, dill seed, garlic, and cucumbers. The flavors for lacto fermented pickles are distinct, and less vinegary than traditional canned pickles. These will need to be refrigerated or stored in a cool place like a root cellar or basement cold room, but they are also different than your standard refrigerator pickles recipe.
Print
How to Make Kosher Dill Pickles
Description
A simple and basic lacto-fermented dill pickle, like grandma used to make.
Ingredients
- Enough baby pickling cucumbers to fit in a 2-quart jar – about 1 ½ to 2 lbs.
- 15 to 20 peeled, whole garlic cloves
- 2 heads of fresh dill
- 2 tablespoons Himalayan salt or Celtic salt
- 2 tablespoons pickle juice from a successful batch of fermented vegetables or 2 tbsp. of whey (optional)
Instructions
- Clean and sanitize a 2-quart canning jar, a plastic lid or glass weight that fits inside the canning jar, and a two-piece canning jar lid with an airlock.
- Wash pickling cucumbers well and rub off any spines.
- Tip and tail them to remove the stem and blossom end.
- Peel the whole garlic cloves from about 5 heads of fresh garlic.
- Place both pickles and garlic in a 2-quart jar, alternating layers until the jar is half full.
- Place 1 head of fresh dill in the jar. Sprinkle with 1 tablespoon of salt.
- Continue alternating layers of cucumbers and garlic. Place another head of fresh dill at the top of the jar. Sprinkle with another tablespoon of salt.
- Let it sit for an hour or two. This will draw the liquid out of the cucumbers.
- Top up the jar with filtered water. Using a clean knife, dislodge any air bubbles in the jar. Top up with more brine, ensuring that the brine completely covers the cucumbers and garlic.
- If you have a successful batch of pickles or sauerkraut take 2 tbsp. of the brine from the successful batch and inoculate the jar. Otherwise, you can use whey from live culture yogurt to do the same, if desired.
- Place a weight over the cucumbers in the jar, or a plastic lid, cut to fit the shoulders of the jar, to keep the cucumbers from rising above the brine, ensuring that the liquid in the jar covers the lid by ¼ inch or more.
- Put it on a kitchen counter so you can remember to check it daily to ensure that the brine stays above the cucumbers. The jar will begin to bubble and the liquid will rise in the jar. I like to take a clean knife and push the cucumbers down every morning. Once the liquid stops bubbling, the fermentation process is finished. The cucumbers should have gone from bright green to olive green.
- Take the fermentation lock off the jar and replace it with a plastic storage mason jar lid. Place pickles in the fridge.
- After 4 weeks you can start to eat your pickles. They are even better after 4 months though.
- Save some pickle juice for inoculating your next batch.
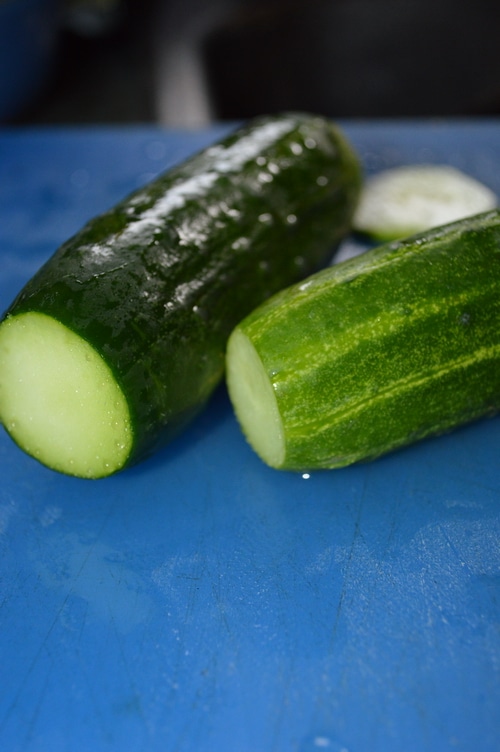
You’ll need:
- A fermentation lock or fermentation lid. I use this one.
- A wide mouth ring for the canning jar
- A 2-quart glass canning jar
- A glass weight. I use this one
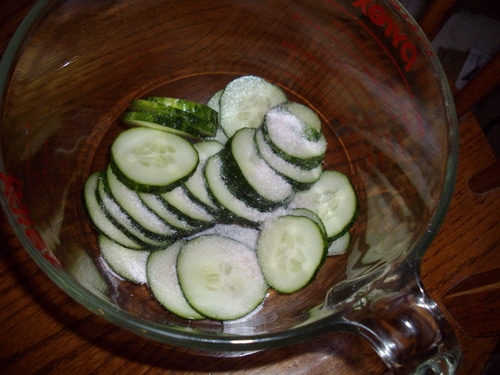
Kosher Baby Dills
Ingredients:
Enough baby pickling cucumbers to fit in a 2-quart jar – about 1 ½ to 2 lbs.
15 to 20 peeled, whole garlic cloves
2 heads of fresh dill
2 tbsp. Himalayan salt or Celtic salt
2 tbsp. pickle juice from a successful batch of fermented vegetables or 2 tbsp. of whey (optional)
How to make pickles:
Clean and sanitize a 2-quart canning jar, a plastic lid or glass weight that fits inside the canning jar, and a two-piece canning jar lid with an airlock. If you only have a small amount of cucumbers, you can make these in a pint jar. If you have a lot of cucumbers you can make it in a gallon jar.
Wash pickling cucumbers well in soapy water, and rub off any spines. Tip and tail them to remove the stem and blossom end of the cucumbers. Peel the whole garlic cloves from about 5 heads of fresh garlic. Place both pickles and garlic in a 2-quart jar, alternating layers until the jar is half full. Place 1 head of fresh dill in the jar. Sprinkle with 1 tablespoon of salt. Continue alternating layers of cucumbers and garlic. Place another head of fresh dill at the top of the jar. Sprinkle with another tablespoon of salt. Let it sit for an hour or two. This will draw the liquid out of the cucumbers. Top up the jar with filtered water. Using a clean knife, dislodge any air bubbles in the jar. Pour in more brine, ensuring that the brine completely covers the cucumbers and garlic.
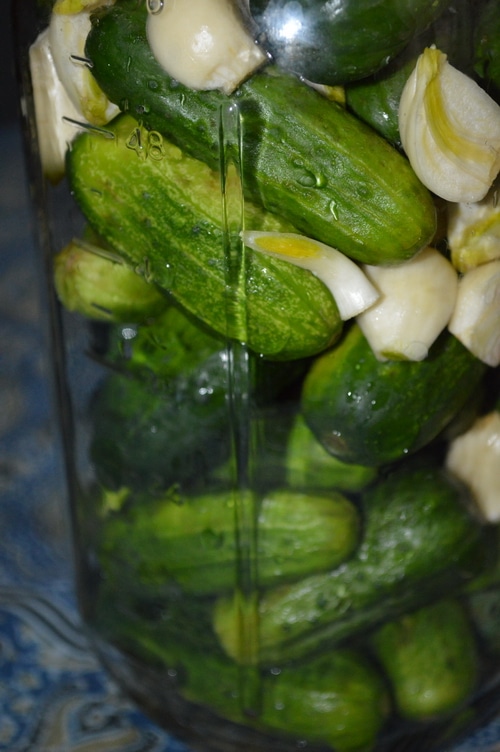
If you have a successful batch of pickles or sauerkraut take 2 tbsp. of the brine from the successful batch and inoculate the jar.
Place a weight over the cucumbers in the jar, or a plastic lid, cut to fit the shoulders of the jar, to keep the cucumbers from rising above the brine, ensuring that the liquid in the jar covers the lid by ¼ inch or more.
Put it on a kitchen counter so you can remember to check it daily to ensure that the brine stays above the cucumbers. The jar will begin to bubble and the liquid will rise in the jar. I like to take a clean knife and push the cucumbers down every morning. Once the liquid stops bubbling, the fermentation process is finished but the pickles aren’t done.
I also like resting the fermenting jar on some folded towels, just in case the brine overflows during the fermentation process.
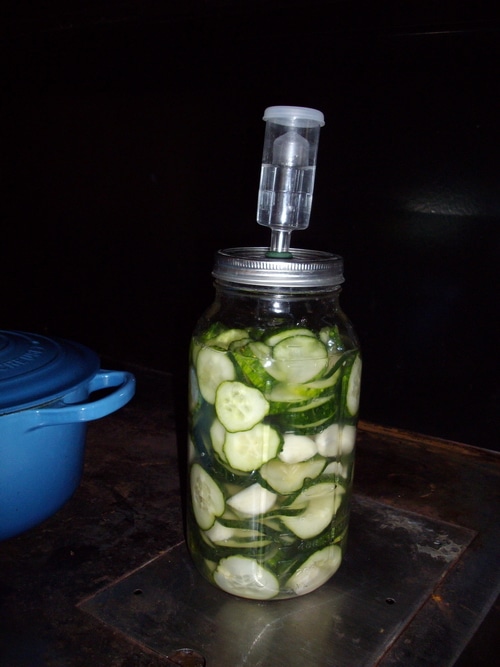
Not done yet…
Take the fermentation lock off the jar and replace it with a normal mason jar lid. I like to use a plastic lid at this point because this will stay in storage in your fridge for a few months. The 2 part metal lids can be used but the brine is hard on them. The plastic lid doesn’t come in contact with the food, and will screw on securely.
You’ll notice as the fermentation progresses that your pickling cukes looked bright green when they went into the jar. Over the course of a month, they’ll change colour to more olive green, and the white flesh will change to the same colour as the skin of the pickle. They’ve changed from salty cucumbers to pickles when they are a uniform, medium olive green colour.
You may see a white, cloudy deposit in the bottom of the jars. This is not mold. This is lacto-bacteria and is perfectly safe. In fact, if you see this you know you have the correct bacteria fermenting your pickles.
On the other hand, if you see any mold forming on the top of your brine, that’s bad bacteria. Your jar may have been contaminated before you started. Toss the whole contents and start again with fresh cucumbers, salt, and a sterilized jar.
After 4 weeks you can start to eat your pickles. They are even better after 4 months though. I made 3 jars from 5 lbs of pickling cukes so that I could eat one and have two for winter.
Save some pickle juice for inoculating your next batch. In your next batch, try varying the flavors if you like spicier pickles or different flavors of pickles. You can add mustard seeds, coriander seeds, bay leaf, or even whole black peppercorns to change the flavor of these basic dills.
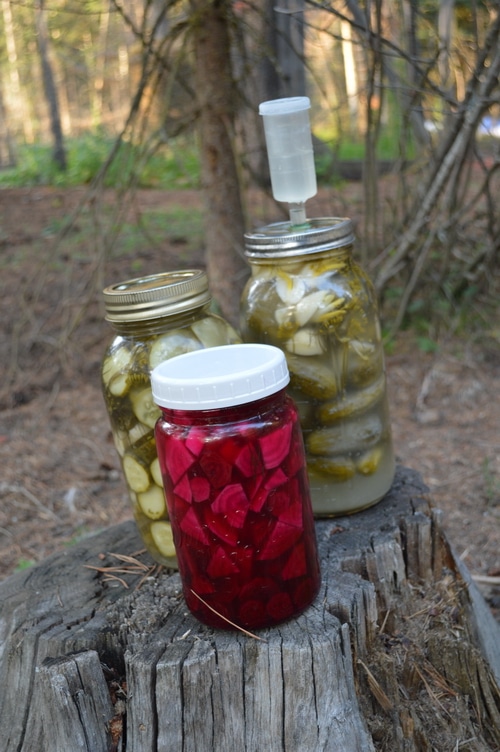
Other uses for raw fermented pickle brine
Hint: The pickle juice is also yummy in salmon chowder. Add it with cream just before serving to retain those healthful lacto bacteria in the soup.
Take a tablespoon of pickle juice at the first sign of nausea. If you think you’ve been exposed to a stomach bug raw, fermented pickle juice might just knock it out of your body.
Add a tablespoon of raw, fermented pickle juice to a glass of water for healthy electrolytes after exercise.
Now you know how to make pickles in the traditional way. You can use this knowledge to make other lacto-fermented condiments like salsa, hot sauce, dilly beans, lacto-fermented carrots, lemons, sauerkraut, and other healthy side dishes. Lacto-fermented vegetables repopulate your healthy gut bacteria and helping not just your digestion but your brain.
Intrigued with lacto-fermented pickles?
Try these recipes for 10 fermented foods to help heal your gut


You do not need a culture to start. It should be already present on the outside of the cucumbers. The culture is if don’t have good luck in your house — that can happen in homes with mold issues or other off-bacteria in the air.
Wanting to start my first batch but wondering if I NEED the culture to start or can I do it without and save some going forward?
You may have had too clean of materials. If everything you put in the jars is sterile, there will be no bacteria to start the fermentation process. After washing and de-spining the cucumbers, let them sit on the counter for a while so that bacteria can settle onto the surface.
When I make sauerkraut, I let the shredded cabbage sit uncovered for at least an hour to get a good dose of bacteria from the air. I also add some juice from a prior batch.
You want clean, but not sterile!