How to Make Soap at Home
If you do everything else to boost your immune system but forget to wash your hands with soap, you will defeat your purposes. Handwashing is the single most effective health action you can do to protect yourself and your loved ones from disease. Hand washing reduces your risk of diarrhea, pneumonia, cholera, the flu, H1N1, and even Ebola. Unfortunately, most people don’t wash their hands. In fact, 4 out of 5 people don’t wash their hands after using the toilet, at all? Eeeeew. When was the last time you shook someone’s hand?

Making soap at home is a fun craft and a good way to improve both your health and your budget. I want to teach you how and give you a basic soap making recipe that is easy to follow and uses ingredients that you probably already have in your house. The only thing you may need to purchase is lye. But first, let’s look at why soapy handwashing saves lives.

Handwashing habits are formed in childhood
Handwashing habits are formed in childhood. By the time a child enters school, at 5 years old, their habits are already formed. If they didn’t learn how to properly wash their hands and make that a habit by school age, they will be one of the 4 out of 5, and they will likely bring home every bug and virus they encounter, to the rest of their family. Handwashing habits begin as soon as a child begins to use the toilet, or starts to feed herself, and should continue through adulthood.
When my son, Ian, worked at Micky D’s they taught staff to wash their hands with soap, sudsing for as long as it took them to sing “♪Happy ♫ Birthday ♪ to me♫” Try it. It seems like a really long time while you are looking at yourself in the mirror — about 30 seconds. Just rinsing your hands under the water tap isn’t enough to remove the bad bacteria and viruses that are sitting on doorknobs, and light switch plates — or even those 4 out of 5 hands that you might shake today. You need soap and water and you need to do it long enough to be effective. So don’t spare the soap, and be sure to sing more.
Myriam Sidibe: The Simple Power of Handwashing — TED talk:
Dr. Myriam Sidibe is a warrior in the fight against childhood disease. Her weapon of choice? A bar of soap. For cost-effective prevention against sickness, it’s hard to beat soapy hand-washing, which cuts down the risk of pneumonia, diarrhea, cholera and worse.
Watch her TED talk and find out how industry, public health, and communities are fighting infant mortality with a simple bar of soap.
The good news is that soap is cheap. In fact, soap is the cheapest way there is to boost your immune system and clean up the bad viruses, bacteria, and other microbes in your environment. Soap doesn’t harm the good microbes like lactobacillus, that are on your skin preventing infection, either. And you can even make it at home.
How to make basic soap at home
Simple soap can be made with just three ingredients: Fat, like tallow, olive oil (pomace grade is best for soap making), canola oil (a good way to use up the GMO canola oil in your preps), or shortening ( a good way to get rid of the GMO, hydrogenated oils in your preps), lye (sodium hydroxide or potassium hydroxide), and plain water. Sodium hydroxide makes a hard bar of soap and potassium hydroxide, Granny Hillbilly’s leached ashes make liquid soap. By the way, it doesn’t work well to just take a hard bar of soap, dissolve it in water and call it liquid soap. It will eventually harden and clog in the bottle that you store it in. Instead, you need to use the right kind of lye to make liquid soap, potassium hydroxide.
Working with lye
Lye is a “dangerous goods” and can’t be sent through the mail. So you may need to get it in person or have it shipped by courier. Amazon carries both kinds of lye. Don’t get drain cleaner — you want the “food grade” though you would never eat it. At my local Home Hardware, lye can be ordered in 3 kg. sturdy containers. If you are making soap for your own family — that size container will last you many years. You’ll only need 125 grams, or less, for 10 bars of soap. Keep it tightly capped when you aren’t using it and it will last for years.
While working with lye can be risky, lye is caustic, it isn’t any more dangerous than some other homestead activities, like injecting a cow with antibiotic, cutting firewood with a chainsaw, or making hay. Take appropriate precautions and you will be fine. We’ve been making soap for 30+ years and have never, ever been burned by lye or had any other problems. Wear gloves, and eye protection, have good ventilation near the lye and keep a bottle of vinegar close at hand to neutralize any splashes or spills. Of course, you wouldn’t make soap with a toddler hanging on to your leg or a baby in a sling around your middle. You want to be undistracted so wait till you have an hour or so where you can focus, without interruptions.
Once you’ve tried a basic soap recipe you’ll be ready to expand your repertoire to get special qualities in your homemade soap, like rich, moisturizing lather, aromatherapy (see my lavender soap) or extra cleansing power for dirty mechanics hands (see my gardener’s soap) or odour reduction (see my coffee soap). Please read and understand the whole method before you start.
Safety first. This process takes 24 to 48 hours from start to finish and another 3 weeks before you’ll have useable soap, so be patient as you learn the process. The actual hands-on time is only 5 to 20 minutes and the rest is waiting.
Homemade soap makes a wonderful DIY gift that is better than store-bought. Once you learn the simple process you’ll be able to make outstanding gifts personalized to the people on your list with just this basic soap recipe.
Basic Goat’s Milk Soap Recipe:
This is the recipe I use when I teach soap making workshops. This is not the same recipe that I use for the soap that I have for sale in my online shop. It’s a good all-purpose bar of moisturizing soap for handwashing, showering, and bathing. It uses hydrogenated oils so it will help you use up that GMO hydrogenated shortening that you have in your food storage. Don’t substitute tallow or other liquid oils for the oils in this recipe. Different oils require different amounts of lye to fully saponify (the chemical reaction that makes oils and lye into soap.)
(Makes 3# of soap — 10 4 oz. bars)
Prepare a plastic shoebox-size container with a lid. This is the same size that people use to package their Operation Christmas child gifts. This size will hold a 3 lb. batch that can be cut into 10 4 oz. bars. Line the plastic shoebox with parchment paper and secure it to the sides of the box with packing tape. When your soap is finished, you’ll just lift the parchment paper out of the box and your bars will be ready to cut.
Ingredients:
2 cups of canola oil shortening or another vegetable shortening
1 cup of coconut oil.
1 cup of pomace olive oil
100 ml cold H2O
117 grams of lye (sodium hydroxide)
2 tsp. essential oil like lavender, lemon verbena, or tea tree. Citrus essential oils don’t have staying power in soap.
1 cup frozen milk (goat’s milk, cow’s milk)
Method:
Precautions: Wear heavy protective gloves and eye protection. Have a bottle of vinegar close at hand to splash on any lye or green soap splashes to neutralize any splashes or spills.
In a 1-gallon stainless steel pot, melt oils together and allow to cool to 115*F.
Mix together cold water and lye. Always add the lye to the water, and not the other way around. Avert your face so that you don’t breathe in the fumes, and be sure to have good ventilation. We make soap outside on our deck or in winter, put a fan blowing out the window, over the sink where the lye is sitting. The lye will super-heat the water and the fumes can burn your lungs. Always avert your face.
In a glass measuring cup, stir the lye and water until the lye is dissolved. I use a disposable chopstick for this. Immediately add the frozen milk. It will change colour to a deep yellow as the sugars in the milk caramelize with the heat of the lye. Don’t worry about it. By the time the milk melts in the lye solution, the solution will be at the correct temperature to mix with the oils. 95*F is your goal temperature for the lye and milk solution. If any of the milk proteins solidify in the lye, don’t worry about it. Just pour it in the oils.
With the oils at 115*F and the lye-milk solution at 95*F, pour the lye solution into the oils and stir it either with an immersion blender that you can reserve for soap making or with a large wooden spoon. This is the immersion blender I use. It doesn’t splash the oil/lye emulsion in the same way as other brands I’ve tried. Stir the mixture with back and forth motions rather than in a circular motion. You want to mix every molecule of oil with the lye solution, not create a whirl. Move your tool from bottom to top as you stir and from top to bottom in slow steady strokes. Do not splash.
The mixture will begin to change colour and become opaque. It will begin to thicken. When it is the viscosity of vanilla pudding and swirls made in the top of the mixture do not disappear, you have reached trace.
Trace is the critical stage. This is when you add any additions to the soap like essential oils, clays, flower petals, colouring. Add your essential oils and stir briefly. Then immediately pour into your prepared mold.
Smooth the top of your green soap with a silicone spatula. And cover with the top.
Protect a surface with a thick towel that you’ve doubled. Put your green soapbox on the towel and cover the whole thing with another towel to retain heat.
Don’t peek. For the next 24 hours, your soap will go through a special chemical process that turns the oil-lye mixture into soap. This process is called saponification and it is truly magical. But it takes patience.
The chemical reaction of saponification:
Here’s what happens while it saponifies:
The soap mixture is green soap when you mix it and it moves to the trace stage. Even though it looks yummy like vanilla pudding, don’t taste it. It will be shockingly caustic — it may burn your mouth. It will certainly not be pleasant. (Never mix soap making and drinking alcohol. I didn’t do this but I know someone who did…..long story).
Within an hour, your soap will change from being opaque to being translucent. When this happens your soap is doing what it’s supposed to do and you know that all is right. Keep it insulated with the lid and the towel and let it do its magic.
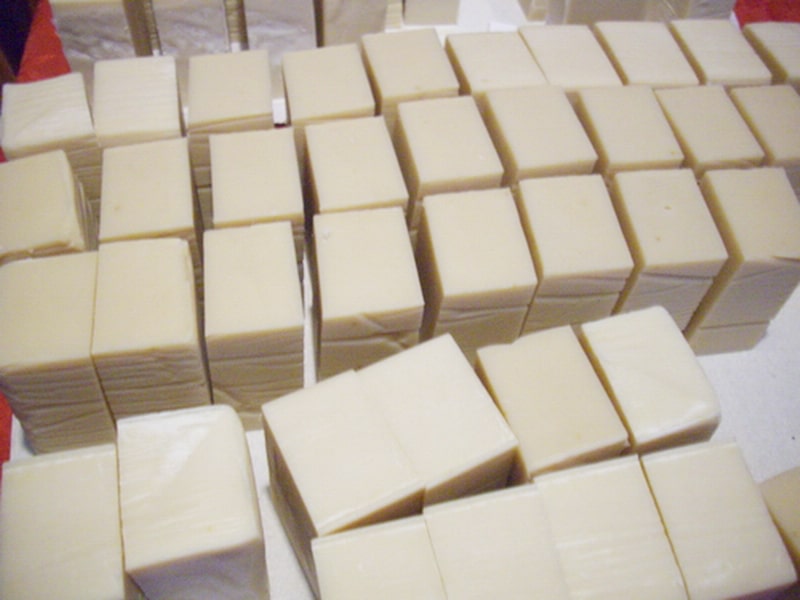
After 24 hours it will gradually turn back to opaque and become solid. The centre of the soap is the last to change from translucent to opaque, and then solid. Once it is solid throughout, and the soap has cooled completely, it’s ready to cut into bars. It’s still considered green soap and needs to cure for at least 3 weeks before you use it.

Curing:
The longer it cures the better quality it will be. In Syria, before the civil war, a thriving cottage soap industry produced soap that was aged a minimum of 2 years with the very best aged up to 10 years. You can read about the fascinating history of soap making in Syria in “Soaping Up”, while you wait for yours to cure. But you don’t have to wait 10 years to get soap that’s better than store-bought. After 3 weeks your soap will be safe to use, and probably kinder to your skin, and less likely to dissolve in water, than any commercial detergent bar you can buy.
Goat’s milk soap doesn’t dry your skin the way detergent bars do. If you don’t have time to make your own, Mr. Joybilee just happens to make the best goat’s milk soap in the world. Our customers tell us so. Joybilee Farm goat’s milk soap ages a minimum of 2 months before it is packaged for sale. Try some. Buy some for yourself and some for gift-giving, too.
Soap making beyond the basics:
There are many recipes for homemade DIY soap. This basic recipe is just the beginning. Once you’ve mastered the basic sequence of steps you’re ready to move on to more complicated recipes, knowing that you have the safety aspects of working with lye down pat.
Try this special complexion bar for Dead Sea Clay Soap.
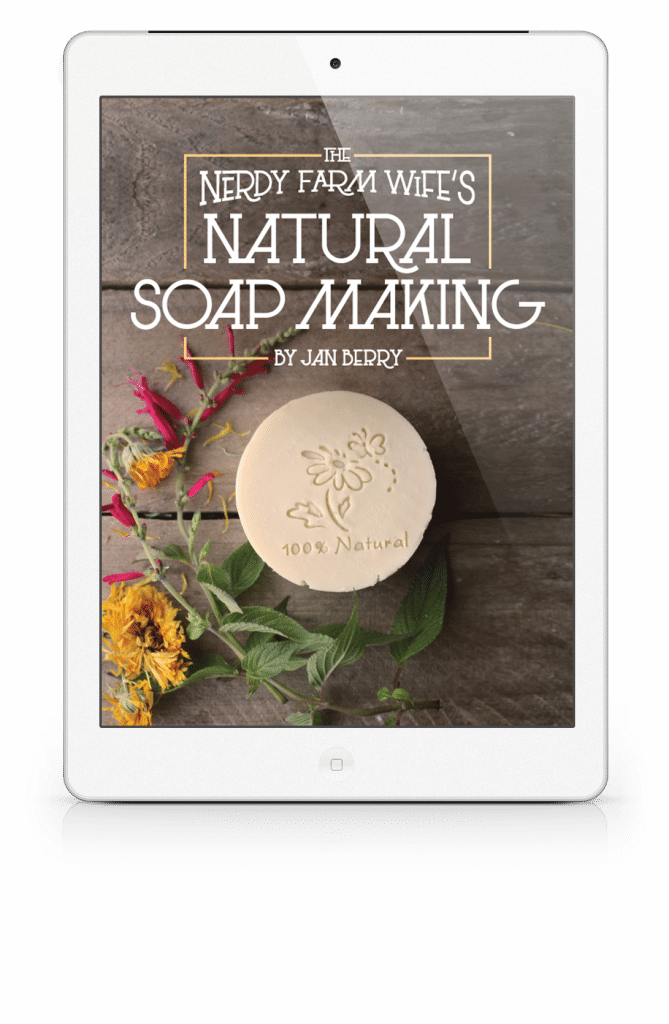
The Nerdy Farm Wife’s Soap Making Ebook is a good introduction to soap making using natural herbs, clay, and colourants.
The Beeswax Workshop, my own book, has two chapters devoted to homemade soap using beeswax and honey, for long-lasting, moisturizing natural soap bars.


You are right, everyone wants some, but no body wants to make it. I have been making goat milk soap for our family for quiet a while. and we love it. I even give it as gifts for Christmas. Lady Lee go a head and make your soap, you will never use bought soap again.
You’ll love it. Homemade soap is like a canvas for your creativity. And once you get into the rythm of it, everyone will be wanting your soap.
Soap making is on my TO-Do list for this Winter! I have been wanting to try it for so long. I was looking for a beginner recipe, thank you for sharing this!