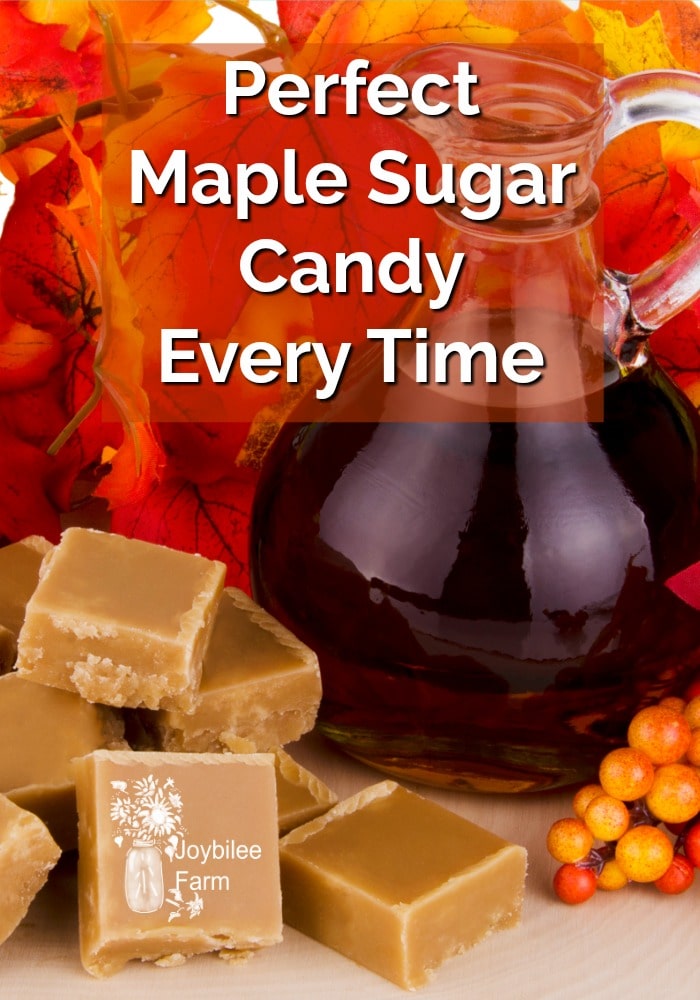
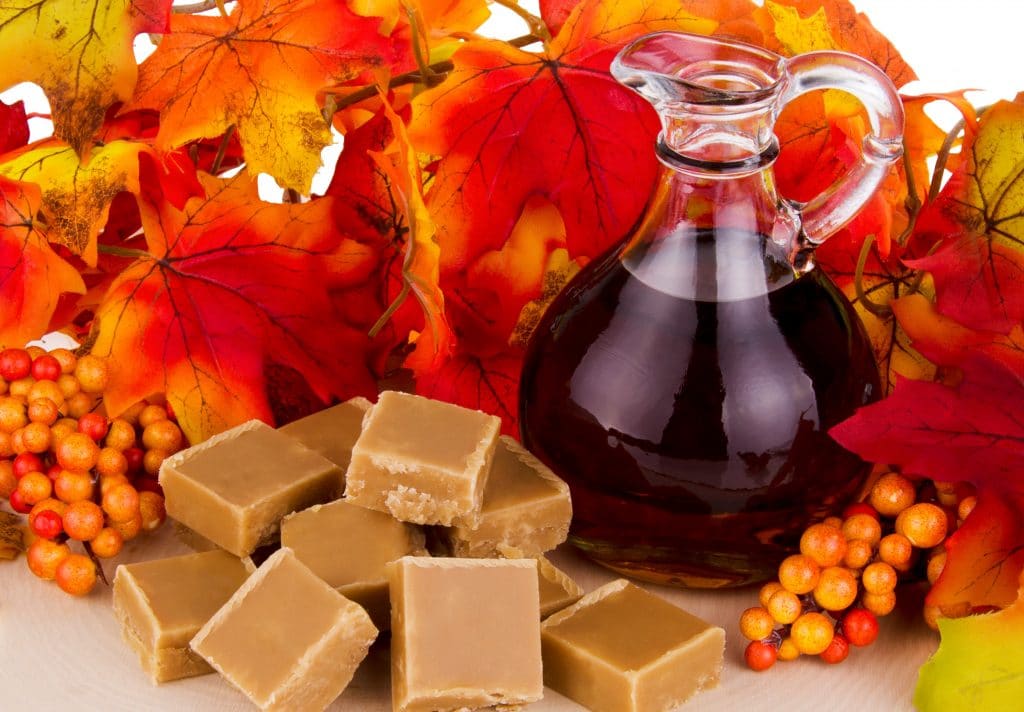
Craft your own maple sugar candy this holiday season, and enjoy the sweet taste of maple at home. These traditional candies combine soft and firm textures, with a rich creaminess that is unique to maple sugar candy. These are a great option for stocking stuffers, and holiday gift giving – if you can manage not to eat them all first!
When I was a child of 6 or 7 years old, there was a corner store on the way to school in the North York area of Toronto. I lived in the basement of a duplex at the corner of Bayview and Sheppard and walked along Sheppard avenue, past the People’s Church, on the way to school. My brother and I used to walk together past the corner store, with the Coke Truck, picking up glass bottles from the store, parked in the alleyway behind the store. Empty glass pop bottles were worth 2 cents apiece and we would look for them on the way home from school. If we were lucky and came across any pop bottles we would trade them in for Maple Sugar Candy. A piece of Maple Sugar Candy, poured into the bottom of a muffin cup, cost 5 cents, so we needed a case of 6 pop bottles to buy one each, with 2 cents left over for Double Bubble gum. For a child, living on the edge of poverty, Maple Sugar Candy was a treasure.

Today, I buy Maple Sugar Candy from The Maple Man in Kelowna or at the Oliver Christmas craft fair. Rene makes maple syrup at his family farm in Quebec every winter and brings it back to Kelowna to sell at the Farmer’s Market there. If you love Canadian maple syrup, you need to get it from the farm. Maple Syrup from the grocery store is often thinned with sugar. Rene sells several grades of Maple Syrup, as well as maple butter, and maple sugar candy. I buy the dark Maple Syrup, Grade B, in 1 litre glass bottles for a rich maple flavour.
Since meeting Rene, we’ve been buying Maple Sugar Candy for Christmas Stocking treats. Maple sugar candy is expensive. Running about $40 per lb, making your own saves you money and gives you control over the process. It is crunchy on the outside and melt-in-your-mouth creamy on the inside with intense maple sweetness.
Maple sugar candy is a fudge-like candy that you put into moulds to harden. You can make it yourself in an hour, so the dollar savings works out to a good hourly rate for your time. A recipe uses 2 cups of maple syrup for 12 ounces of candy. Prepare the candy moulds by buttering thoroughly. Maple leaf molds are available but you can use shaped ice cube trays.
Use a large heavy saucepan with at least a 3 litre capacity. When the syrup boils it can overflow so make sure the pot is deep enough. Prepare moulds ahead by buttering thoroughly. You can use tin candy cups or candy moulds. You will need a candy thermometer to do this right.
The key to successful fudge is to prevent sugar crystals from forming prematurely, which will cause the fudge to crystallize and seize too soon.
Adding milk, butter, or fructose to the candy helps to inhibit the formation of sugar crystals. In this case, I’m adding a tbsp. of butter. You can omit the butter if you want.
Stirring, allowing sugar to form on the sides of the pot, and beating while the mixture is very hot will promote the formation of sugar crystals. You want to avoid these things.
Maple sugar candy is a form of fudge. You do want sugar crystals in fudge but you want to control their formation and avoid large crystals. Begin the boiling stage with a lid on the pot to promote steam forming on the sides of the pot. You can brush sugar crystals that form on the sides of the pot back into the mixture to dissolve, by brushing them down the pot side with a damp brush. Avoid stirring the mixture at this stage.
Recipe: Maple Sugar Candy
Yield: 12 ounces
Ingredients:
2 cups of maple syrup, dark
1 tbsp. butter
1 tsp. vanilla (optional)
Directions:
This is actually a fudge recipe. So if you’ve made fudge before you’ll know what to do.
Add syrup to a large, heavy saucepan. Bring to a boil. Boil over medium heat, being careful not to burn. Turn down the heat if it starts to smoke or scorch. Do not stir. Boil till it reaches 233 F, the softball stage on a candy thermometer. Remove from heat. Allow it to cool to 110F, without stirring. With a heavy wooden spoon begin to beat the mixture, stirring in vanilla extract if desired. Beat hard until mixture changes colour and looks creamy. While it is still malleable spoon into prepared buttered moulds. The change between easy to beat and hard happens quickly so work fast and have the moulds prepared ahead of time. If you don’t have moulds you can spoon into a buttered glass pan and cut into squares. Allow to cool and harden in the moulds before turning out onto a plate.
If you begin to beat the boiled syrup too soon, before it has cooled to 110F, the mixture will crystallize prematurely and seize so make sure that it has cooled to 110F before beating.
It takes approximately an hour to make this candy and a bit longer to cool it and take it from the molds. Allow it to harden completely on a wire rack. Once the candies are cool, store them in an airtight container. It should keep for a month in an airtight tin. For longer storage place the container in the freezer and thaw before serving. What a treat!
Note: If you live at higher elevations you can get a more exact measure of the temperature at which to remove the syrup from the heat, by determining the temperature at which water boils at your elevation. Add 27 degrees F. to the boiling temperature to reach the temperature that candy at your elevation reaches the softball stage.
Print
Maple Sugar Candy
- Total Time: 1 hour plus cool down
- Yield: 12 ounces 1x
Description
A Yummy Maple Sugar Candy
Ingredients
- 2 cups of dark Maple Syrup
- 1 tbsp. butter
- 1 tsp. vanilla (optional)
Instructions
- Add syrup to a large, heavy saucepan
- Bring to a boil. Boil over medium heat, being careful not to burn (Turn down the heat if it starts to smoke or scorch. Do not stir!)
- Boil till it reaches 233 F, the softball stage on a candy thermometer
- Remove from heat
- Allow it to cool to 110F, without stirring
- With a heavy wooden spoon begin to beat the mixture, stirring in vanilla extract if desired
- Beat hard until mixture changes colour and looks creamy
- While it is still malleable spoon into prepared buttered moulds (The change between easy to beat and hard happens quickly so work fast and have the moulds prepared ahead of time.)
- Allow them to cool and harden in the moulds before turning out onto a plate
Notes
- The change between easy to beat and hard happens quickly – so work fast and have the moulds prepared ahead of time
- If you don’t have moulds you can spoon into a buttered glass pan and cut into squares
- It should keep for a month in an airtight tin. For longer storage place the container in the freezer and thaw before serving.
Back to you:
What kind of candy do you like to make?
If you are looking for ways to DIY Christmas gifts and make happy Christmas memories while living within the health and budget constraints that have been handed to you this year, I created a resource that will help.
This DIY Christmas Planner workbook will help you make a solid plan you can live with for a Happy Holiday season. You’ll find inspiring DIY gift ideas, space to reflect on what is important to you, and a place to set goals for bringing a happy and meaningful Christmas to your family this year.
Get on Santa’s Permanent Nice list by staying organized, calm, and in control this Christmas Season.


