Using Vintage Linen to Make a Patchwork Pillow Cover
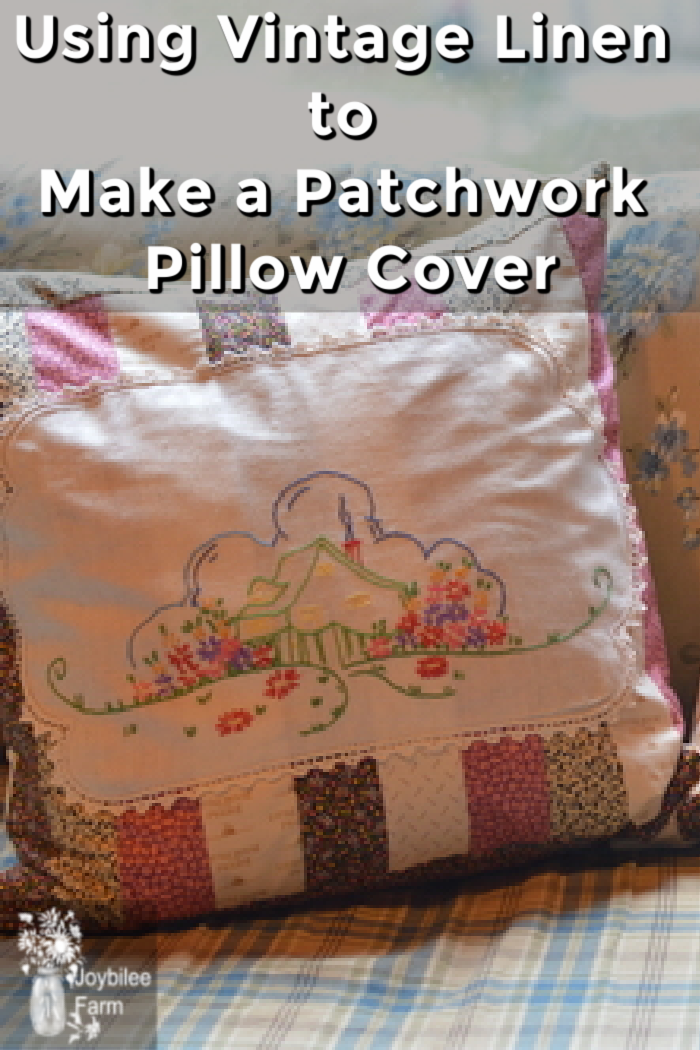
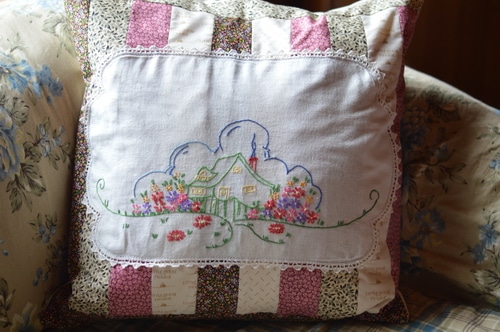
I collect vintage linens and I’m always looking for a way to showcase the handwork from generations past. I decided to make 2 patchwork pillows from 5 fat quarters. Learn how to make a one-of-a-kind patchwork pillow with vintage linens to add a touch of whimsy, history and originality to your home.
Why use vintage linen?
Vintage linen is a rare commodity. They don’t make quality linen-like they used to. Remember those days when girls learned to embroider by doing samplers? Those were embroidered on durable linen to last a lifetime. There was no “busy work”. Even learning to embroider was important.
Mr. Joybilee’s Aunt Margaret was in her 90s when I first met her in the 1980s. Margaret was one of the pioneers who first settled Robson, BC. Her family came to Robson from Scotland via Winnipeg in the 1880s to settle the West. We had tea at her house in Trail, BC, surrounded by her handwork. There were white antimacassars on the backs of the upholstered chairs and couches. There were arm covers, too. The side tables were dressed in doilies. The kitchen table had a crocheted table runner. She was busy crocheting with the fine white thread while we visited.
I asked her about her handwork. She told me that during the week she knit utilitarian items like socks. But it wasn’t proper to knit underwear with the company, so she switched to her “white work” — the beautiful lace pieces created from the white thread, that adorned the house. She told me these special items were made on Sunday because to make utilitarian pieces was “breaking the Sabbath”. I was blessed to receive one of her table runners as a wedding gift – crocheted in an ecru thread, in a wheat motif for fruitfulness and prosperity.
Aunt Margaret was the end of an era. Her skill in needlecrafts was honed over a lifetime. Only those she loved received the gift of her handwork. Artistic women like Margaret left behind a legacy of needle arts that their children, grandchildren, and great-grandchildren didn’t value. Now many of those vintage works of art can be found in thrift stores and estate sales. If you are lucky enough to come across those special pieces take them home. They aren’t making them anymore.
As you know, I collect vintage linens and I’m always looking for a way to showcase the handwork from generations past.
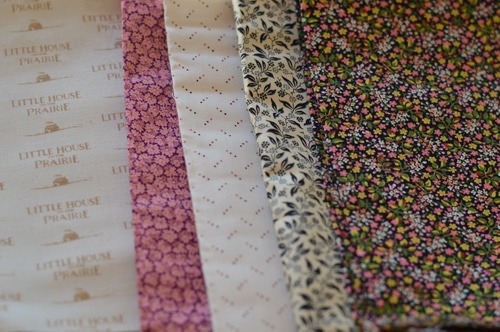
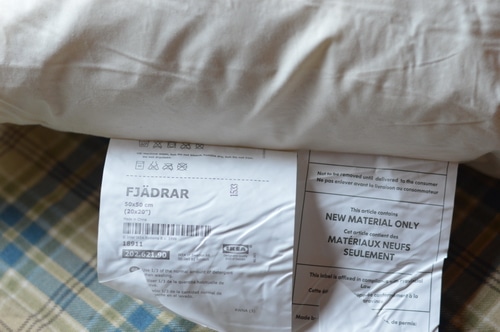
I had a serendipity moment at the end of October. First, I was invited to participate in Little House on the Prairie® Andover Fabrics Collection kickoff. This collection of quilting pieces of cotton is reminiscent of the tiny calicos that were popular in the 1880s in the United States. I received 5 fat quarters in the mail and was given the challenge to make something. Then, last week at Ikea, I came across the FJADRAR feather pillow inserts for $7CND each. I brought home 2 because I thought they’d be the perfect foil for working with the pretty calicos and prints inspired by the Little House books. Challenge accepted.
Design Challenges
I decided to make 2 patchwork pillows from the 5 fat quarters that I received. The tutorial for the first pillow is here.
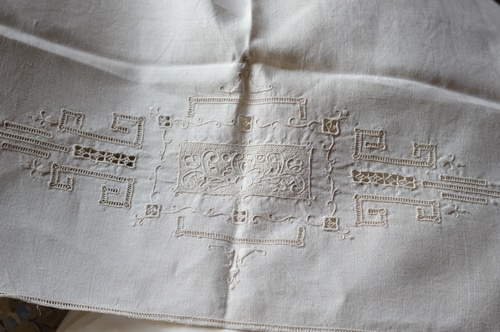
For this second pillow, I wanted to showcase a fine linen antimacassar in cutwork embroidery. The antimacassar was used to protect cloth upholstery from being damaged by the Macassar Oil used in men’s hair products during the Edwardian period. I have two of these linen cutwork antimacassar pieces in my collection that I picked up from a local thrift store.
The pieces measure 16 inches wide by 25 inches long. My pillow insert measures 20 x 20 so I will need to add 2 inches on either side of the linen piece to make it wide enough for my pillow insert. I’ll use the plain part of the antimacassar as the back of the pillow and the cutwork embroidered part as the top of the pillow.
The easy strip patchwork decorates the pillow front and sides. The patchwork strip will need to be 13 inches deep and 21 inches wide to accommodate the pillow insert, with an additional 2 ½ inch strip on the closure to accommodate the buttonholes. You can make this in 3 hours or less.
(affiliate) Find Little House on the Prairie fabrics and quilt kits online at Craftsy.
Materials:
1 linen antimacassar approx.. 16 inches wide by 25 inches long or another piece of vintage handwork
5 fat quarters torn on the grain into 2 ½ inch strips as follows
Colour A “Little House on the Prairie Motif” 3 strips – 18 inches long by 2.5 inches wide, 14 ½ inches long by 2.5 inches wide, 7 ¼ inches long by 2.5 inches wide. (When you tear these strips along the grain be sure that you are getting the words “Little House on the Prairie” in your strip. Adjust the width of your strips to accommodate the motif.
Colour B Dark – 2 strips 18 inches long by 2. 5 inches wide
Colour C Medium – 3 strips 18 inches long by 2.5 inches wide
Colour D Medium – 2 strips 18 inches long by 2.5 inches wide plus 1 strip 21 inches long by 2.5 inches wide. 1 strip 4 inches long by 2.5 inches wide
Colour E Light – 2 strips 18 inches long by 2.5 inches wide
Notions:
White thread
3 vintage ¾ inch mother of pearl buttons
1 – 20 x 20 pillow form
6 x 2-inch x 1 inch Pellon iron-on interfacing, lightweight
Directions:
Button Holes:
Press the linen antimacassar.
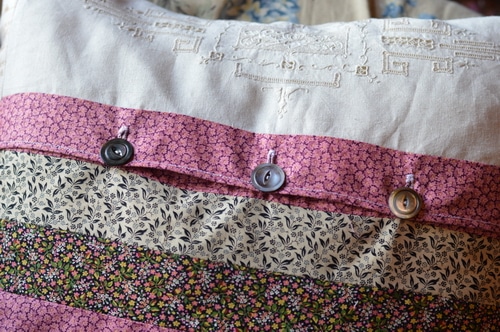
Take 1 of the Colour C strips and sew it right sides together onto the decorated edge of the linen piece, using a 1/8th inch seam. Open the seam and press. Turn the long raw edge under ½ inch and turn it under again to make a ¼ inch hem. Topstitch the hem in place. Press. Place a piece of interfacing in the center by the hem and iron in place, to reinforce the buttonholes. Repeat on either side about 4 inches from the raw edge.
Make 4 buttonholes in the calico fabric to accommodate your ¾ inch buttons. Place one in the center and 1 on either side about 4 inches from the edge. Press. Put this aside.
The patchwork front
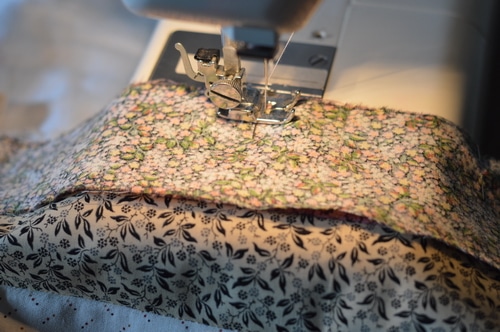
Stitch 7- 18 x 2 ½ inch strips together on their long edges, using a ¼ inch seam in the following order, from the bottom to the top:
(bottom) B, E, D, C, B, D, C (top)
Press each seam open after stitching.
On the top edge – Strip colour C – Fold the raw edge under 1 inch, and under again ½ inch to make a ½ inch hem. Topstitch the hem in place. Press. Place a piece of interfacing in the centre of this strip, on the wrong side and press in place to reinforce the buttons. Repeat on either side, about 4 inches from the side edge.
Attach the linen piece to the patchwork
With right sides together, pin the bottom dark strip (fabric B) along the bottom edge of the linen piece and stitch in place using a ¼ inch seam. Press. You now have a long strip that begins with buttonholes at the top and goes around the pillow form to the button at the other edge. (Don’t stitch the buttons on yet.)
It’s not yet wide enough to handle the pillow form though.
The sides of the pillow top
This is the trickiest part of the whole operation so go slowly.
Take the two strips E and D that you have remaining and stitch them right sides together along their short edge (2 ½ inch edge). Fold the top edge of colour E (the lightest fabric) under ½ inch, and under again ¼ inch to make a secure hem. Topstitch the hem in place along the short edge.
Layout the patchworked linen piece on your work table. Lay the strip that you just sewed, with right sides together on the right edge of your patchworked piece. Place the lighter portion beside the linen cutwork at the top of your pillow top. Pin in place along the long edge. Stitch in place using a ¼ inch seam. Open the seam and press in place.
Placing the Little House Motif correctly
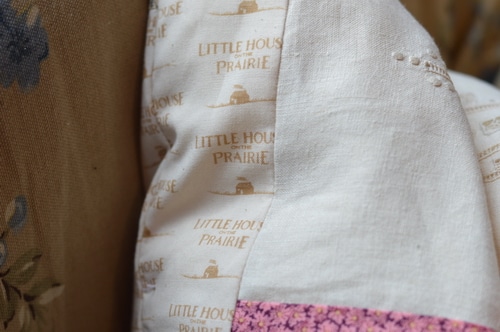
On the Left-hand edge of your pillow top, the Little House on the Prairie motif of Colour A will be placed. This is tricky. You want to make sure that the words are upright on both the front and the back of your pillow. There is some fudge room. 1 strip will be 18 inches x 2 ½. I stitched a 4-inch x 2 ½ inch patch in colour D at the end of this strip along the short side. One strip is 14 ½ inches long and 2 ½ inches wide and the second strip is 7 ½ inches long and 2 ½ inches wide.
Take the 7 ½ inch strip and lay it on your work table, right side up, with the words upright↑, facing you. Lay the 4-inch patch↔, right side down on the top edge of this strip. Pin in place and stitch along the short edge with a ¼ inch seam. Open the seam and press. Lay the patch worked strip on your work table again, right side up. The next strip is the 18-inch strip. This strip should have the words upside down ↓and right sides together along the open short edge of the patch. It will be the opposite orientation to the first strip. Pin this strip into position and stitch the seam along the short edge. Press the seam open. Place the strips right side up on your work table with the longest strip facing you with the words upside down. Place the final strip right sides together with the longest strip and pin in place. The words will be facing the right way up direction↑. Stitch with a ¼ inch seam. Press the seam open.
On each end of this long patchworked strip, fold the short edge over ½ inch and fold it under again ¼ inch to make a ¼ inch hem. Press in place and topstitch.
When this strip is applied to the pillow top and folded each section will be facing in the correct orientation.
To remind you which direction each strip should face:
↑↔↓↑
Pin the long strip to the linen-patchwork body, right sides together, ensuring that the orientation of the words is correct. Before sewing, check the orientation of the Little House on the Prairie motif by folding the pillow top, with the fold line at the bottom of the patchwork section, and a second fold line at the coloured patch, at the top of the cutwork embroidery. Make any necessary adjustments.
Stitch the strip to the pillow body using a ¼ inch seam. Open the seam and press it into place.
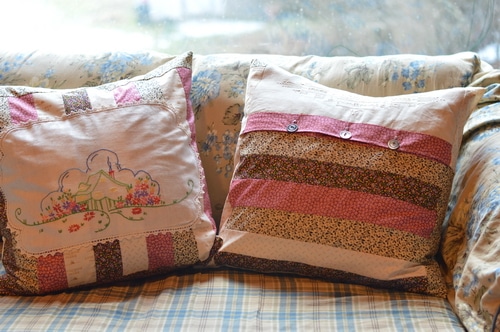
Assembling the pillow top
Fold the pillow top so that the bottom of the patchwork section – where it meets the linen, is the bottom of your pillow. Press this line at the fold. Fold over the top portion about 20 inches from the bottom fold. Press this fold line as well. This will give you an overlap where the button placement is about 1 inch.
Open your pillow top out with right sides up. Fold over the top at the fold line and pin right sides together to the back. Fold over the bottom at the fold line and pin this over in place, overlapping the top by 1 inch. Sew a ½ inch seam along both sides.
Zigzag the edge of this seam, next to the stitch line, to reinforce the corners.
Open the pillow top and press. The buttonhole will be stitched overlapping the button rows. The words should be right side up on the pillow top, regardless of orientation.
Finishing
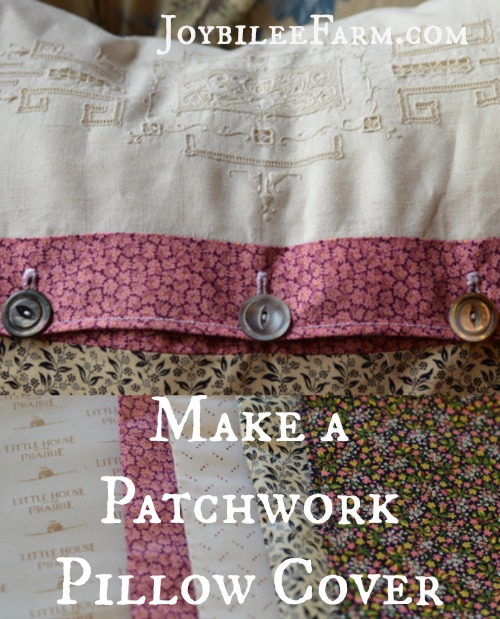
Sew 3 vintage Mother of Pearl buttons on the bottom edge of the pillow top opening. Cut the buttonholes to fit the buttons.
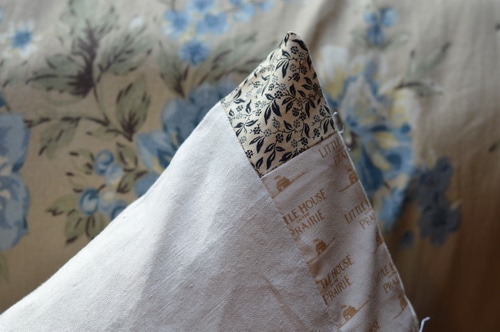
Using a straight pin, pull out the corners of the pillow to a point. Press.
Insert the pillow insert into the Pillowtop. Ensure that the corners of the pillow fit into the corners of the pillow top. Button closed.
Enjoy!
Check out the tutorial for Patchwork Pillow 1 here
(affiliate) Find Little House on the Prairie fabrics and quilt kits online at Craftsy.
Use Fatquarters to make a Christmas Stocking with this tutorial from Timber Creek Farm. Or teach your students to sew with this strip quilted dolls quilt made from Little House on the Prairie Andover Fabrics at Schneiderpeeps. All these projects are made with Fat Quarters.
Back to you:
I hope this motivates you to hunt for vintage linen at thrift stores, garage sales, and estate sales. A woman, like you, devoted hours to make these works of domestic beauty. It is only proper that they should continue to be cherished and her skill remembered.
Do you have a story of an aunt, a mother, or a grandmother (or a dad?) who was skilled in needlework? I’d love to hear your story. Leave it in the comments.



Hi, Martha
I’m glad you are finding things that interest you here. Welcome aboard.
You are a women after my own heart. You are from Canada (I’m from southern Manitoba) I love old lace and pillow cases, table clothes. Also any thing that has been hand embroidered. My favorite item to collect is ladies hankies. (Handkerchiefs). I’ve also been colleting items with the white and blue ducks on them. I have a runner that i am coving a lamp shade with. I’m not a big sewer but this may get me to open up my machine that is sitting and collecting dust. I will be spending time reading your bogs. You have so many articles that I want to know more about.
i know I am off the topic here but I wanted to say that I will be checking out all your garden and flower ideas to grow my own medical gardens also and a Herb garden. I had one last year but i got sick and wasn’t able to harvest any of it. I want to make my own salves. I have used oils for many years. Thanks. great job. Looking forward to reading more.