10 Tips for Successful Pressure Canning
Pressure canning doesn’t have to be scary. Use these 10 tips to get started preserving food for your homestead pantry. Preserve with confidence.
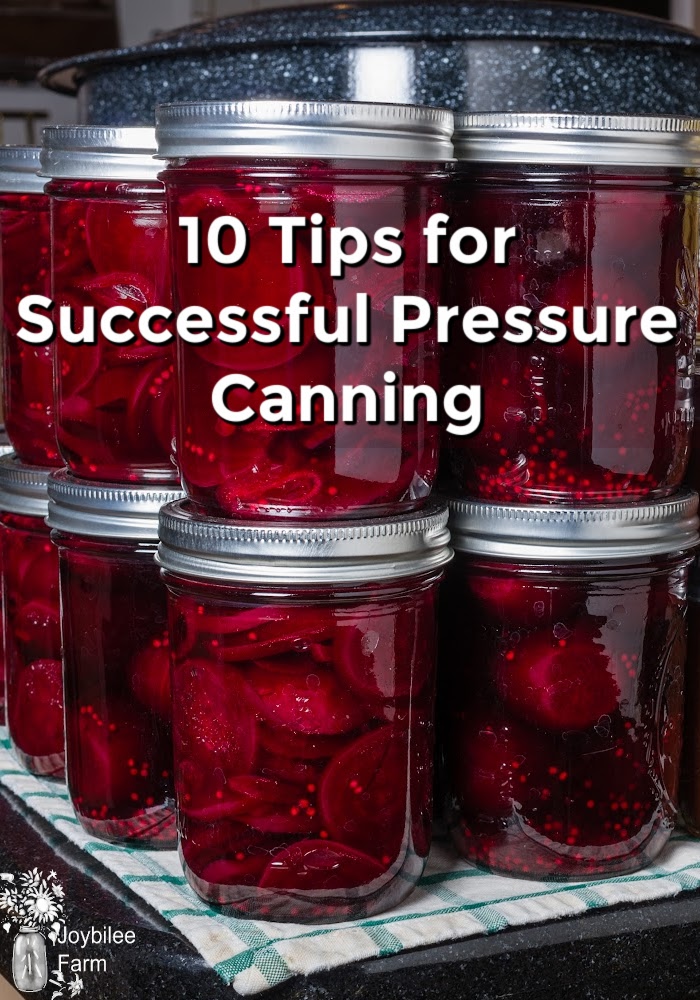
Using a boiling water bath canner or an oven to can vegetables, tomato sauce, meat, or fish is asking for trouble. Botulism spores survive boiling water and are colourless and tasteless in food. Botulism produces a toxin that can kill.
I spoke to a friend last week who cans in her oven, the way her grandmother canned. She reasons that Grandma didn’t die of food poisoning so it must be safe. That’s flawed thinking in our modern days. All food poisoning from home-canned foods is due to not following safe canning practices. You should always err on the side of caution when preserving food for friends and family.
Things have changed significantly since grandma’s day, be sure to read up on the best pressure canning practices. These tips for pressure canning success will help.
Risk of food spoilage
Four agents cause spoilage in food — enzymes, molds, yeasts, and bacteria. Enzymes, molds, and yeasts are arrested by boiling. And in high acid foods like fruits, sauerkraut, jams, and jellies a boiling water bath is enough to prevent spoilage.
Dangerous Bacteria rarely develop in a high acid environment. However, in a low acid environment as with canned tomatoes, vegetables, meats and fish, bacteria can multiply and release toxins. Pressure canning heats water above boiling temperatures which kills bacterial spores like botulism. It is impossible to heat food above 100C (boiling at sea level) in a boiling water bath canner.
Whereas, pressure canning food at 5 lb. pressure will heat it to 110C, 10 lbs. pressure heats it to 115C and 15 lbs. pressure heats it to 120F, effectively arresting food spoilage organisms.
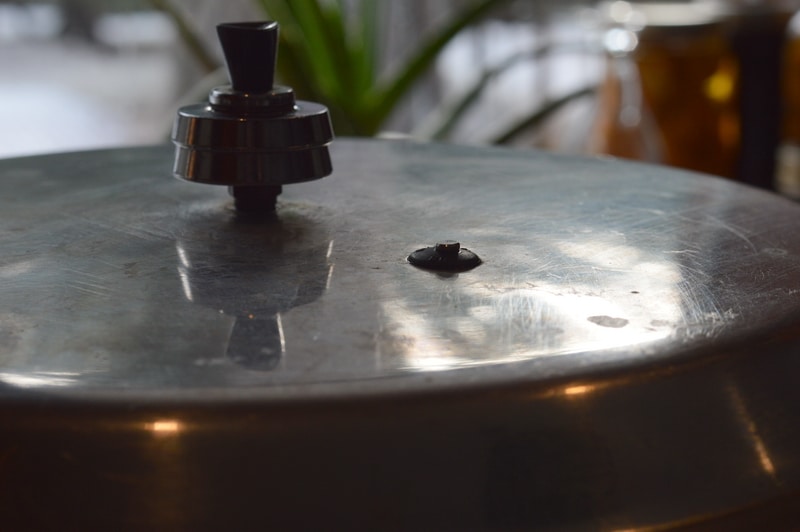
High altitude pressure canning
If you live at elevations of 2,000 to 8,000 feet above sea level you should increase the pressure of the canning batch by 5 lbs to achieve safe canning. At my altitude, 2700 ft., water boils at 90C, so I add 5 pounds of pressure to the recommended amount when I do pressure canning. Fruit is canned at 5 lbs. pressure, so I process it using 10 lbs. Meat, Fish and low acid vegetables are canned at 10 lbs. pressure so I use 15 lbs.
CAUTION: Do not use a pressure canner above 8,000 feet (2400 m) above sea level. Instead of canning use other food preservation methods such as drying or Lacto-fermentation.
Replace your boiling water bath canner
While your boiling water bath canner is useful for canning fruits, jams, pickles and relishes it should not be used for canning vegetables, like beans, or meat, fish and soup. Boiling water bath canners are cheaper to buy, but the metal is thinner and rusts easily, necessitating replacing your canner every 5 to 10 years. On the other hand, pressure canners are made of thick aluminum and will last for decades. By the way, pressure canners are not the same as pressure cookers, don’t get them confused
Presto continues to manufacture parts for their canners, including handles, pressure gauges, and rubber gaskets, so a used Presto brand canner can be retrofitted for renewed use. Be on the lookout at garage sales, Craig’s List and local Facebook Groups for used pressure canners and let people know that you are looking for one. Someone may just have an unused one lying around waiting for you.
If you can’t find a used one, a new pressure canner is a good investment. Get the large canner (23-quart capacity) which holds 7 quart or 20-pint jars. Since a pressure canner can last decades, the initial investment is amortized over many years.
A pressure canner can be used as a boiling water bath canner. However, it can also be used to pressure can fruits, jams, and jellies. Pressure canning uses less water and energy to can than a boiling water bath canner.
When I seal jams and jellies in a boiling water bath I have to heat a full canner of water to 2 inches above the tops of the jars. Many boiling water bath canners don’t extend a full 2 inches above the tops of quart jars, which means that you have to fill your canner to the top and boil the water over the canner. What a mess that makes on the stovetop!
Sealing jars in a pressure canner uses only 3.5 litres of water, no matter what size jar you use. You seal the canner, bring it to boil, let the pressure rise to 5 lbs. and then turn it off and let the pressure drop of its own accord. This takes a mere 15 minutes on high heat and then another 15 to 30 minutes to drop the pressure, saving you both time and money.
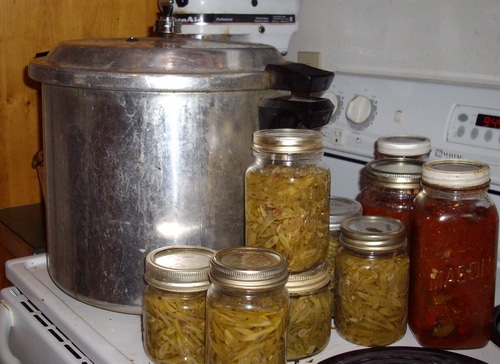
Tips for Pressure Canning: 10 Steps to a successful pressure canning session
1. Use a pressure canner that is in good repair.
Replace your gasket seals and pressure automatic air vent if there are leaks when you bring your canner up to 5 lbs. pressure. I like to keep an extra seal on hand at all times. Amazon carries them. Make sure you get the correct seal for your canner model.
2. Place 3.5 litres of water in the bottom of the canner.
It is not necessary to completely cover the jars in a pressure canner. As discussed, this saves a tremendous amount of water and energy.
3. Place the filled jars in the canner.
Make sure that you have added the canning rack to the bottom of the canner. This will keep the glass jars from touching the bottom of the canner. If you have misplaced the rack, wire 5 to 7 jar rings together and place the jars on top of that.
Filling the jars:
Allowing for 1-inch of headspace between the food and the top of the jar. Use two-piece canning lids and rings and according to the manufacturer’s directions, complete the seals on jars. Usually, that means, bringing new lids to a boil, then turn off the heat and let them sit so the rubber can soften. Some newer lids do not need this step, so be sure to read the directions on the box.
Then dip a towel into the boiling water and wipe the rims of the jars, removing any food that may be present. Place the appropriate lid on the jar and tightening a ring over the seal until finger tight.
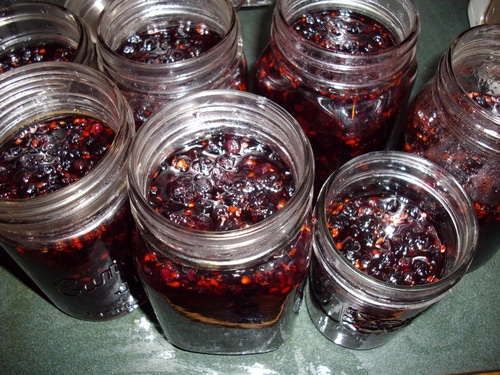
Place the sealed jars in the pressure canner. You can stack jars in a pressure canner, allowing you to process up to 8 quarts or 16 pints in a large pressure canner. Regular jars fit closer together than wide mouth jars.
4. Put the lid on the canner and bring it to a boil.
Be sure to check and make sure that the steam vent is unblocked when you begin. You can draw a pipe cleaner through the vent to clean it if necessary. Place the lid on the canner and securely lock the lid in place.
Bring the canner to a boil and allow the steam will come out through the vent hole as pressure builds up in the canner.
5. Exhaust the steam for 7 to 10 minutes, then adjust.
Once the steam has exhausted for 7 to 10 minutes, reduce heat to allow for moderate steam flow. If you are using a rocker-type canner you would put the pressure regulator on the canner at this point. If you are using a pressure dial canner, watch the pressure regulator and when it registers the pressure that you identified, turn down the heat source.
I prefer the rocker type of pressure regulator as it releases pressure as it’s rocking. The dial kind of pressure regulator is more difficult to control.
Slow and steady – if pressure builds too high the automatic air vent will blow off the canner, speedily releasing pressure. This is a safety mechanism to ensure that the canner itself won’t blow up, under pressure. Because of the rapid decrease in pressure, jars can break inside the canner if this happens.
6. Maintain pressure for the required amount of time for your product.
Once the pressure regulator is up to pressure, maintain the pressure for the amount of time necessary for each type of fruit, vegetable or meat. The instruction manual that comes with the canner will tell you how long to keep the pressure on.
- Most fruits are canned at 5 lbs. pressure (10 lbs at high altitude) for 8 minutes
- Vegetables are canned at 10 lbs. pressure (15 lbs. at high altitude) for varying times
- green beans are 20 minutes
- peppers are 35 minutes.
- Dense foods like pumpkin chunks need a longer processing time to get the internal temperature up to safe levels.
- Meat and Fish are canned at 10 lbs. pressure (15 lbs. at high altitude) but because the meat is a denser product than vegetables, it requires a longer processing time; 75 minutes for pints and 90 minutes for quarts.
- Canning salmon? Use 10 lbs. pressure, can in pints only, and process for 100 minutes. You don’t use any water when canning salmon. The fish is soaked in a brine solution for an hour, drained and packed solidly into pint jars. The pressure from processing releases juices from the fish.
8. Turn off heat and allow pressure to drop of its own accord.
Once you have reached the processing time turn off the heat and let the cooker sit until all the pressure releases naturally.
9. Once the pressure has dropped, remove the lid so that steam escapes away from you.
You’ll know that the pressure has dropped because you’ll be able to remove the lid. If there is any pressure it will not turn. Keep basic safety in mind as you open the canner and lift the lid away from you.
10. Remove the hot jars.
Using a jar lifter, remove the hot jars and place them on a kitchen towel. If it is a cool day, I also like to cover the jars with another towel so they don’t cool too quickly. Cool jars completely. Be sure to admire your work!
The next day, label and date the jars. Store them in a cool, dry place, away from light, heat, and frost.
I’d love to hear about your canning session. Why not write and tell me about your success with pressure canning? Just leave a comment below.
Some resources to help you in your pressure canning adventure:
Presto 1781 23-Quart Aluminum Pressure Cooker/Canner
Jar Lifter
Putting Food By (Fifth Edition)
Stocking Up: The Third Edition of America’s Classic Preserving Guide
Canning and Preserving For Dummies
Use these 10 tips for pressure canning as you plan your next canning session. If you have only learned water bath canning, branch out into pressure canning too. It doesn’t have to be scary. Preserve with confidence when you follow the steps.


Leave a Reply