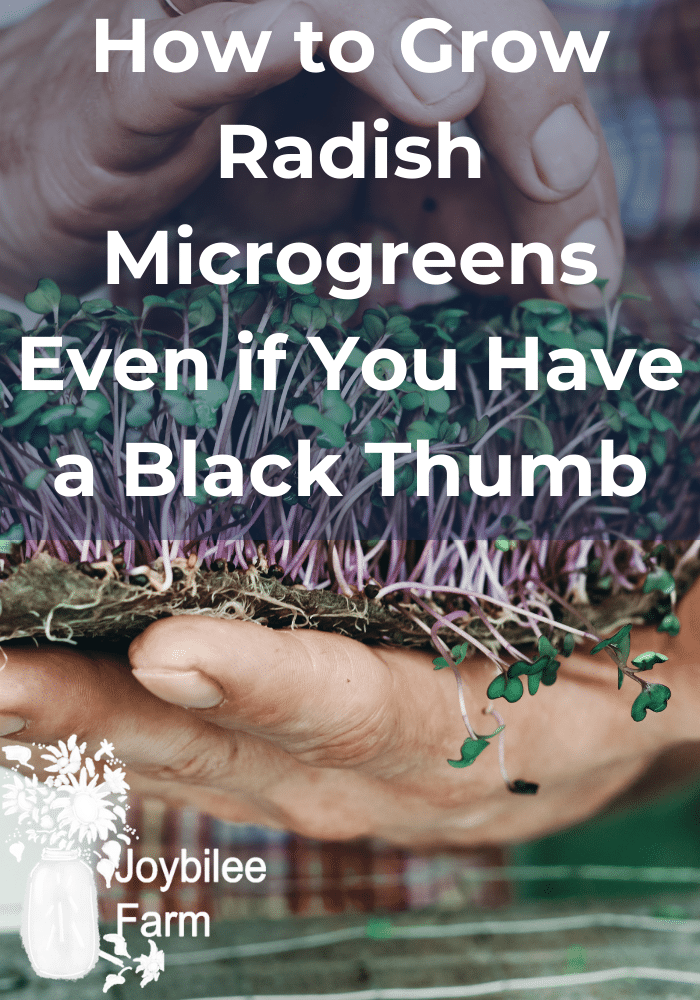
Radish microgreens are an awesome and tasty addition to salads, stirfrys, sandwiches, and just for snacking on. They are quick and easy to grow, and are one of the most colorful and rewarding microgreens to work with. Even if you’ve never grown anything before, and can’t keep a house plant alive, you can grow these delicious dinner additions.
Radishes are a quick growing garden crop, that flowers in hot weather, is great for pollinators, and makes awesome radish microgreens and sprouts from the seeds. Radish microgreens have the perfect combination of spice, juiciness, and crunch. They make an awesome addition to any meal. What’s the difference between sprouting radishes and growing them as microgreens, check out the differences between microgreens and sprouts here.
Radishes make one of the fastest growing seed options when you are growing microgreens. Other tasty options include sunflower, broccoli, peas, and mixed greens. There’s a wealth of ways to use your microgreens in cooking, even if fresh eating is delicious.
These small plants pack a powerhouse of nutritional value and are high in antioxidants, vitamins and minerals. The young sprouts are actually higher in vitamins and minerals, by weight, compared to the same weight of edible adult plants. So, a cup of radish microgreens has more nutritional value than a cup of sliced radish root.

What you Need:
Radish seeds, the most important part of the green growing equation is the plant seeds themselves. You will want to use radish seeds that are specific for sprouting, not the ones that are specific for in-ground planting. True leaf has several beautiful options with radish sprouts in a rainbow of delicious colors. The brighter the greens the more antioxidants, and other health benefits the sprouts have.
A microgreen tray is great, but if you don’t have a specifically designed tray you can substitute in an aluminum pan, salad clamshell, or other mostly flat container. You’ll also want a second container that fits inside the first to act as a weight in the first step of the process.
Potting soil is useful, but you don’t actually need potting soil for these. You can use lower nutrient base options like seed starting mix, coconut coir, specifically designed microgreen mats, or even a rockwool mat. The mat base isn’t to provide nutrients to the seedlings, it’s just to hold their roots and help water spread so that they can grow just enough to harvest.
A dark cupboard and a south facing window or grow light. Yep, these are opposites, but you do need both at different times during the growing season.
Growing Your Radish Microgreens
The amount of seed you’ll need depends on the size of your growing container. An 8 inch by 18 inch tray needs about one tablespoon of seed, for radishes.
Pre-soak the seed for 2 hours in a small glass jar, with 1/2 teaspoon hydrogen peroxide. The hydrogen peroxide helps improve germination, and helps kill off any mold or fungus spores that might be on the seeds.
Prepare your tray with your seed starting mix, coconut coir, or microgreen seed mat. The growing medium should be thoroughly wet down, but should not have standing water.
Sprinkle the soaked seeds over the microgreen tray in an even layer. If the seeds are touching, spread them out a bit more, the seeds should have just enough space for breathing room. Sprinkle a light layer of cinnamon powder over the seeds to help prevent mold or damping off from starting on your microgreens.
Place a weight on the seed tray. This can be a done by placing a sheet of plastic wrap over the tray, so that it touches the seeds, and then placing a few old magazines on top. The weight is simply to encourage the seeds’ roots to grow downward, without forcing the seed upward, and mimic the weight of soil that would normally be over the seeds in normal planting.
Place the prepared tray in the dark, in a cool cupboard or room, for 2 days.
After three days the seeds should have started to germinate. Remove the weight and leave for an additional 2 days. This is so that the seedlings get a bit leggy, and you have an easier time cutting them.
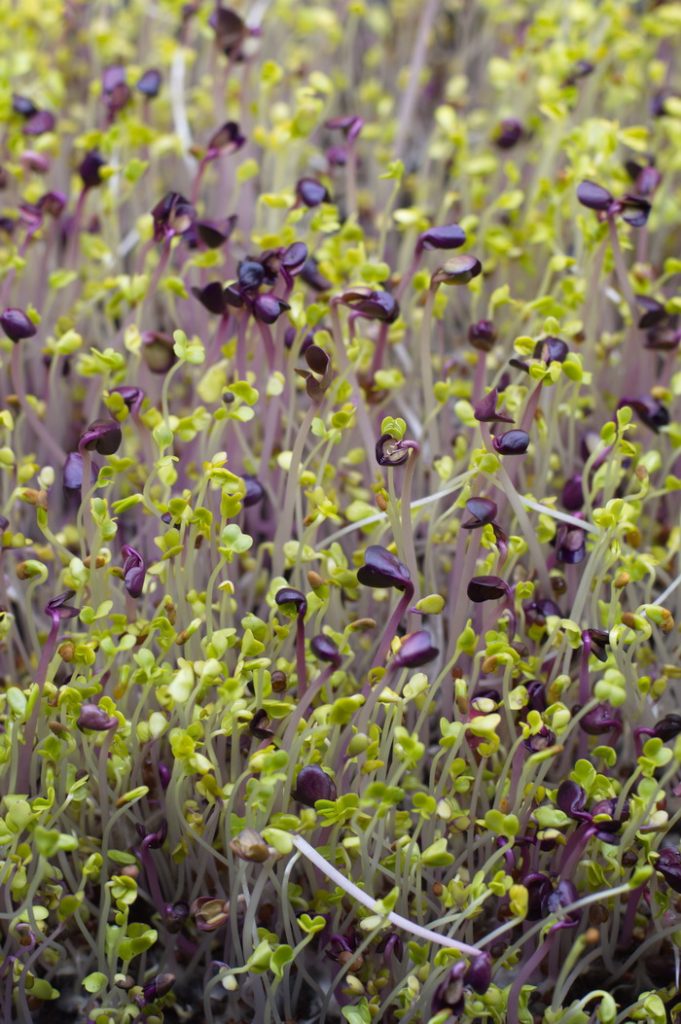
After the seedlings are a comfortable height in the growing tray, about 1 – 1.5 inches. Bring the tray out into natural daylight or under a grow light. The microgreens will have a blanched, yellow appearance. After 4-6 hours the natural light should trigger them to turn green.
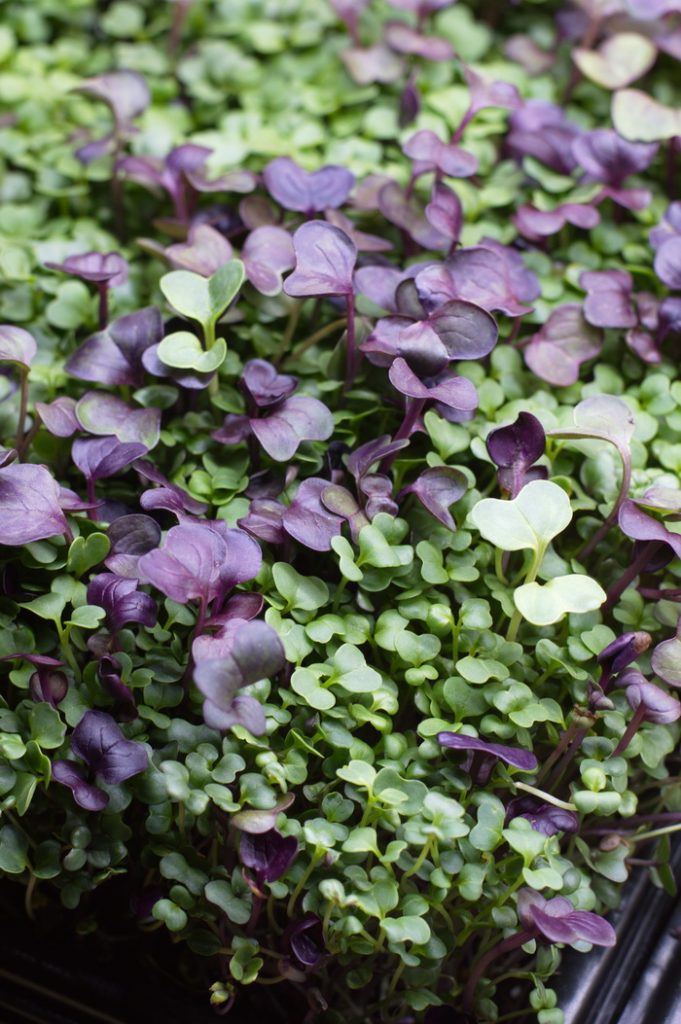
Let greens grow an additional day or two to fully leaf out. Microgreens are harvested shortly after the first true leaves begin to appear. Depending on your temperatures, once the green trays are uncovered, mist them daily until harvesting.
Harvest, by cutting with scissors, as soon as the first one or two true leaves appear, as the seeds have only enough energy to grow to a small size before they will begin to wilt due to lack of nutrients. You can harvest radish microgreens all at once and store in the refrigerator for up to a week.
Storing your Microgreens
After you’ve cut your radish microgreens, you can store them for up to a week in the refrigerator. Simply rinse off the microgreens of any dust they may have accumulated during growth. Place a dry papertowel in the bottom of a seal-able glass refrigerator storage container. Place microgreens on top of the paper towel, this gathers the excess moisture from the sprouts and helps prevent wilting and slime from developing. Close the container and store in a low shelf of the fridge where it won’t freeze, the crisper drawer is also a good option.
New to growing microgreens?
Check out the Fill Your Salad Bowl workshop and learn how to use 3 different growing methods, at home, so you can fill your salad bowl with super food, nutrient dense, greens every single day. These are greens you can use in your salad bowl, greens you can add to soups, stews, and pasta dishes, and even greens you can use in a stir fry.
In this mini workshop you will learn how to fill a salad bowl every day with food you grow yourself.
- Even if you don’t have any land.
- Even if there is 3 feet of snow covering your garden
- Even if you’ve killed house plants in the past.
- Even if you think you have a black thumb.
Have a look at what’s covered in this workshop and see if its a good fit for you, by clicking/tapping the blue button below.


I love your site. I just found you and it’s perfect timing since I just moved to GA and have a bit of land to cultivate now.( a dream come true-thank you to Jesus.)
You have many interesting and helpful articles here that are well-explained. Nice to ‘meet’ you here on Joybileefarm!
Pam