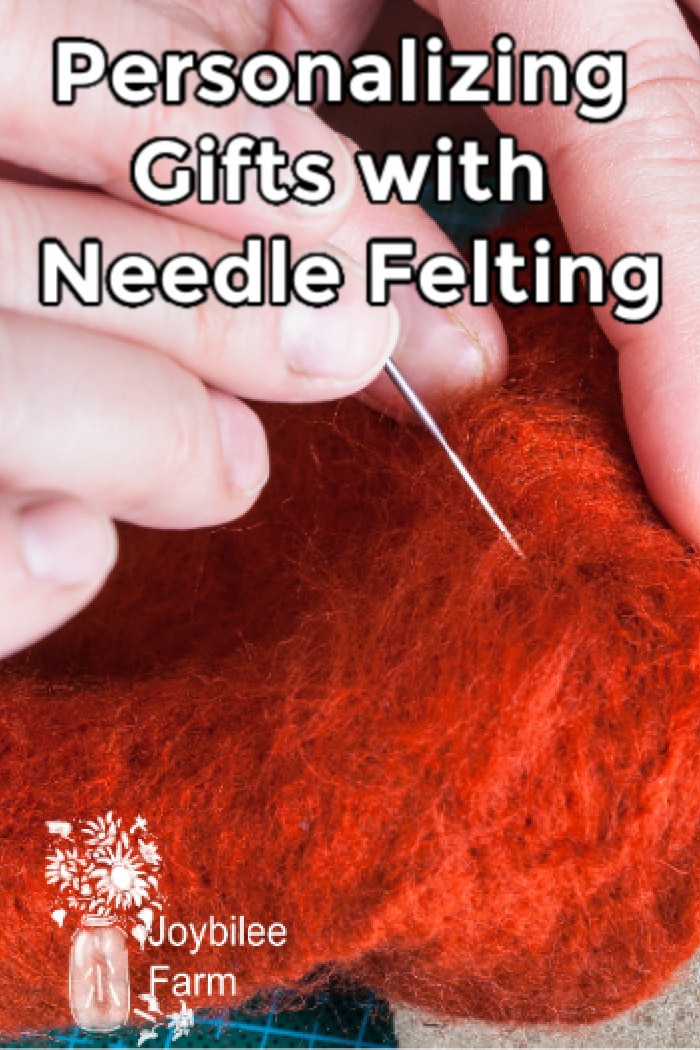
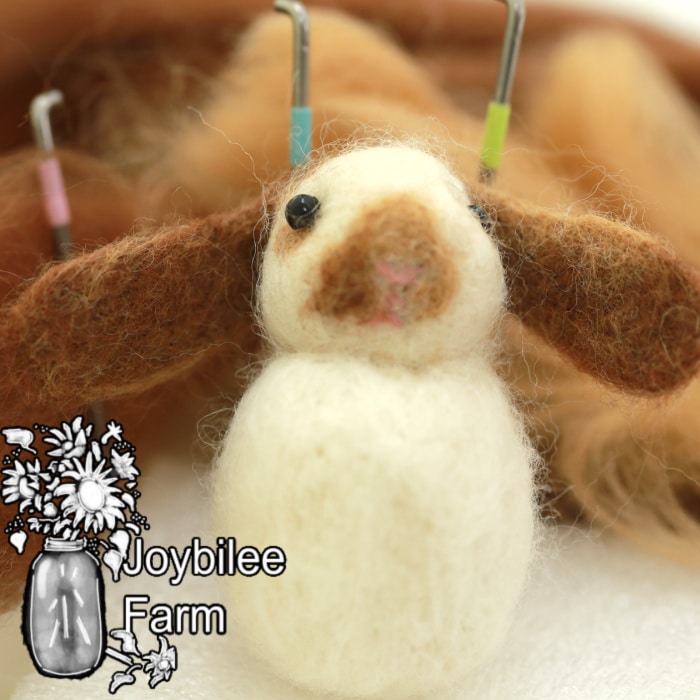
Personalize your own knitted, felted, or woven items with needle felting designs. You can also use needle felting to personalize commercially knit items, or to re-design and up-cycle thrift store items for gifts or family members. This embellishment technique is quite forgiving, fun, and a great, quick, creative way to create unique and personalized wearable art.
One of the difficulties with doing an exacting design on felt or any wool garment is the difficulty of transferring lines or drawings. You can’t use computer transfer paper to move the design from your computer to the piece of wool. Its difficult to trace a design directly on wool, although I’ve tried. You can find some more felted gift ideas here, if you need more holiday inspiration.

The usual way to create personalized embellishments, and art, is to needle felt with a free hand, like drawing with wool. You can also use a stencil which is held over the wool base and you needle felt inside the design. Cookie cutters work well for this, but the design can end up flat and look like a cookie cutter shape. A bit of creativity can help with that though.
Sometimes, however, you want an exact design with complicated lines, like a celtic symbol or an initial, that must be exact to look clean and iconic. To transfer the design you will need water soluble interfacing. This is sold under the Solvy brand name and is marketed to quilters. It is a plastic – polyvinyl alcohol – that dissolves completely in water. It is used as a base for embroidery, quilting, and several other embellishing and decorating needle arts.
Unfortunately, it is a plastic and that means that the plastic goes down the drain and into the water table, which doesn’t make me happy. This product could be designed as a corn protein rayon instead and would have the same water soluble properties. Someone should get on that and “green” the quilting industry. End of rant!
You could technically substitute a fine tul netting as long as you trimmed close to the design before beginning to do the needle felting and were careful to make sure it didn’t pull in as you worked with it.
Transferring the Design onto water soluble stablilizer
To use the water soluble stabilizer with needle felting, you first transfer your design onto the paper. It can be printed on directly by your ink jet printer if you add a paper backing, like butcher paper. I didn’t need to use a whole sheet of stabilizer for my design, so instead I printed the design the size that I needed onto computer paper, and then transferred the design by tracing it with a fine tipped permanent market directly onto the stabilizer. Either option will work, depending on the size and complexity of your design.
Needle Felting Supplies at the Ready
- A small foam block that would fit inside the hat.
- A medium felting needle
- Two colours of wool roving for this interlocking celtic design
- And the felted hat base — a Tam-O-Shanter for a kilt wearing son.
You will need the foam block and felting needle, wool in the right color for your design, and your base of choice for needle felting onto.
Once the design is traced onto a square of the stabilizer you can pin it to your wool, or place it in an embroidery hoop with the fabric. Put your foam block in place and start needle felting your design.
At first it seems like you are punching the needle through plastic, which you are. But once a few layers of wool are poked through it feels more normally like needle felting. Make sure that the design is pinned in place so that it doesn’t shift as you are working around it. You can get so absorbed in art that you don’t notice a slight shift, but you will notice when its finished so take the care at the beginning.
If you want the design to look embossed rather than a flat design, add extra bulk in the middle of a line and pierce it more along the edges to make it puff in the center of the line like an embossed line does.
When you’re finished with creating your needle felting design, wash the finished piece in warm water and put over a mold to dry. Flat knit objects can be dried flat after needle felting, shaped felted objects should be dried over a form to preserve their shape.
That’s the basics of transferring a design from an image to a piece of wool for needle felting. There are several kinds of water soluble stabilizers available — all under the solvy brand name. One is more fabric like, one is more like paper and the others are very thin plastic films. If you want a heavier piece of plastic film you can attach several layers together by lightly pressing with a just warm iron. The fabric example is more like poly interfacing. All dissolve completely with cool to warm water, without tearing at your design. Amazon carries a few of these products through their affiliate stores, in case you have trouble locating it through your local quilt shop or fabric store.

This article is part 2 of a 2 part series on transferring designs for needle felting on wool. For part 1 of this 2 part series — where to locate designs for needle felting go here.
Your Turn:
What ways have you relied on to transfer designs onto felt? Leave a Comment


Leave a Reply