Kratky hydroponics are a low-maintenance, low impute hydroponic system that is simple and easy to set up. Use it for everything from herbs, to greens, to tomatoes and peppers, for a successful indoor garden this year. You can also use hydroponics in a balcony, or greenhouse, setting as long as there is adequate light for the plants to thrive.
Indoor gardening is a great way to start your journey toward self-sufficiency, and greater food independence. The Kratky method can be done on a kitchen counter, or on a small side table. The main concern is following the method, using sturdy containers, and making sure your plants have sufficient light.

History of Kratky
The Kratky method was developed at the University of Hawaii by B. A. Kratky. It is a variation of deep water hydroponics, and is also known as suspended pot, non-circulating hydroponics. Traditional deep water hydroponics adds in an airstone or water circulation system, this can be seen in table-top hydroponic systems as well, such as the Aerogarden. With the Kratky method, the only electricity needed is for an indoor growlight, and you can even do the Kratky method on your balcony.
Many users of the Kratky method prefer it for smaller, fast growing plants like lettuces, spinach, and other leafy greens or herbs. These plants make it easy to get a fast harvest, and these plants sometimes don’t need to have the water reservoir topped up during their growth, or at least not until the first harvest.
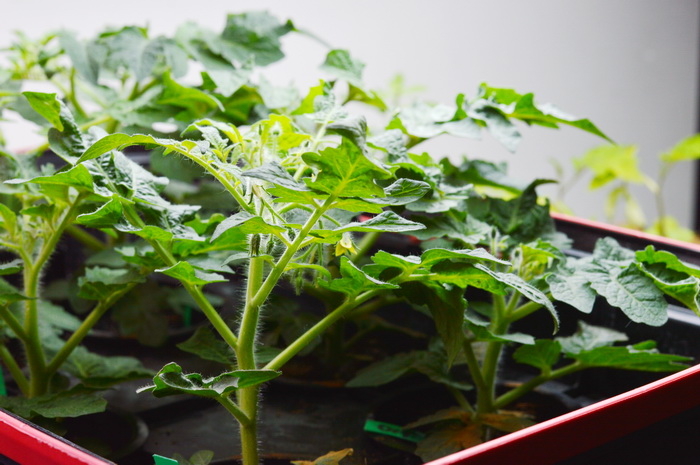
Fruited plants, like tomatoes and peppers grow well in the Kratky hydroponics. However, they end up requiring water top ups, nutrient top ups, and sometimes pH adjustment.The original method didn’t do nutrient top ups, though water top ups were sometimes done. Sometimes plants use water faster than calculated, especially in mid-summer or if growing outdoors.
They may also require supports if using non-dwarf or micro varieties. Cucumbers, melons, and even ginger have been grown using this method, though the ginger is recorded as cracking the crocks used to hold it!
Equipment to Get Started
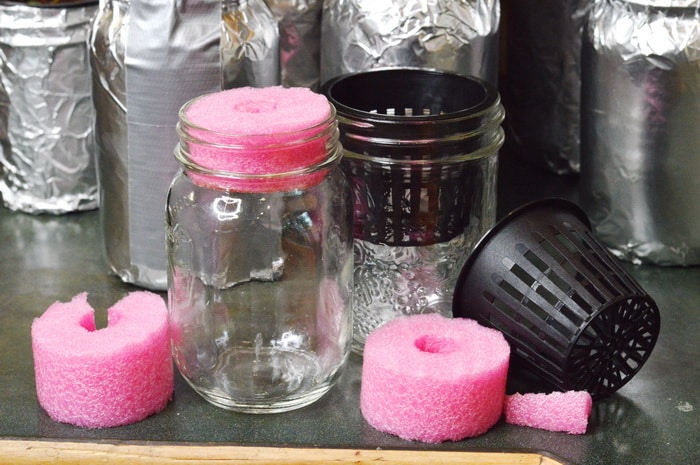
The container: Any container can be used for this hydroponic method. For lettuces or herbs, a wide mouthed mason jar makes a great, and accessible, container. These also work well for micro tomatoes. Larger containers, like plastic totes, can work as long as they are opaque or can be made opaque, and have a secure lid. Chose tip resistant containers whenever possible. Totes have also been used, especially for larger plants like tomatoes or cucumbers where the need for tip resistance is higher.
Net pots and Growing Medium: You can get Kratky specific net pots that fit into the top of a wide-mouthed mason jar. I’ve seen people use Aerogarden net pots in mason jars, by drilling a hole in the two part mason jar lid to fit the smaller net pot. I’ve also seen people punch holes in plastic cups and use those as net pots, so there’s a lot of net pot options for this hydroponic method. For the growing medium, coconut coir is often used especially with seeds, but you can use hydroponic clay pellets if you’re working with seedlings. You can also use sponges, a rockwool cube, or even a cut pool noodle. It just has to let roots through, and draw some moisture up.
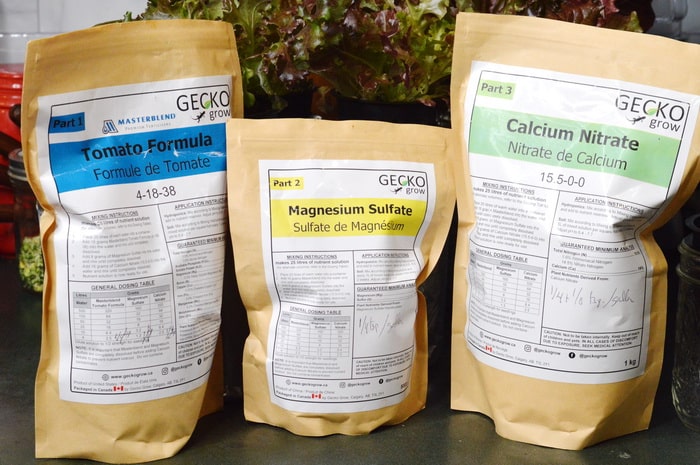
Nutrients: The most common nutrient mix to use for Kratky hydroponics is known as the “masterblend.” It is a three part formula, with some formulas being for specific types of vegetables. There is a masterblend combo that is specifically formulated for growing and fruiting tomatoes, for example.
Lighting and Location: A secure spot to set your hydroponic containers is a good idea. A very sunny windowsill can work, but be aware that the jars can overheat and kill the roots if there is too much sun. I prefer using a grow light with this method, or large containers on a deck or balcony where they won’t be tipped over and can less direct sun, but a good amount of natural light.
Seeds or Seedlings: You’ll need either seeds or seedlings for your desired plants. If using coconut coir as the growing medium, you can start seeds for lettuce, tomato, peppers, basil, or any other leafy or fruiting plant that you want. If starting with seedlings, using clay pellets as the medium can help you hold their roots in place. Seedlings will need their roots washed free of dirt, before being secured in your hydroponic growing medium.
How to Mix Masterblend:
The masterblend formula is specifically designed for this passive method of hydroponic growing. It is a three part system that is mixed one part at a time into the water. For 1 gallon of solution I use 1/4 teaspoon of each nutrient. It is an economical nutrient solution, more economical than pre-mixed hydroponic fertilizer formulas.
The key is to ensure that each part is fully dissolved in the water before you add the next part. So 1/4 teaspoon of the base formula, for tomatoes that’s a 4-18-38 (N-P-K) and fully dissolve it in one gallon of water, then add 1/4 teaspoon of Magnesium Sulphate (Epsom Salts) fully dissolved in the same water/nutrient solution. Then finally add 1/4 teaspoon calcium nitrate and fully dissolve it in the nutrient solution before adding it to the jar or container. This should be done at room temperature, with room temperature water.
Remember to chose a base masterblend formula that will work for what you want to grow. Tomatoes and other fruiting plants need more P and K than N, while leafy greens will need higher N numbers. Flowers will be in between the two, if you decide to grow flowers in kratky hydroponics.
Don’t let the nutrient become too saturated
Occasionally top up the Kratky jars with plain water, when the solution in the container gets low. As the nutrient solution drops in the jar, the solution becomes more concentrated. This concentrated solution might burn plant roots. Plain water helps to keep the pH level of the jars even, and prevents fertilizer burn on the plants. Too much nutrient solution will curl the leaves of your plants and might kill the main stem of your tomatoes, and generally make the grow fail.
While many people recommend mixing your Kratky nutrients specifically to fully support the plant from seed to harvest, that works less-well with water hogs like tomatoes, or if you happen to have several hot-dry days causing additional moisture loss for the plant. Topping up the water keeps the roots from being burned, and also lets you monitor the plant’s health and root health.
Grow Your First Plant:
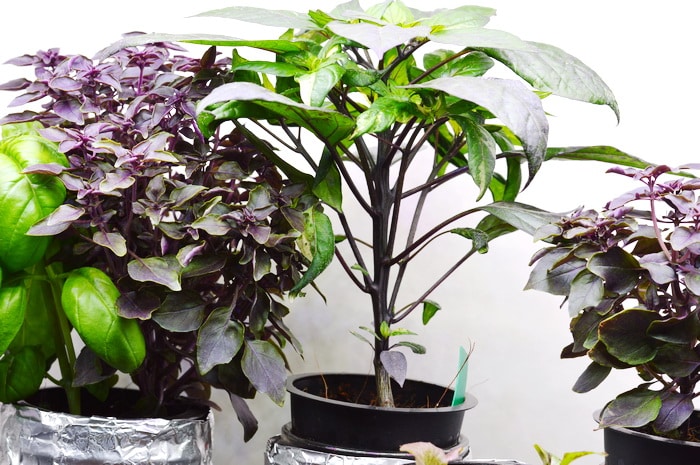
The easiest plant to start in kratky hydroponics will be lettuce, basil, a micro tomato, or a pepper. I find tomatoes and peppers especially fun to grow, as watching the flowers form and open, and the fruit form and ripen is fascinating. Chose the plant you want to start with. If starting with seed, remember to use coconut coir as your growing medium inside your net pot.
- You can use quart mason jars, and start by setting up four plants. This makes it easy to use the one gallon masterblend nutrient solution. Otherwise, adjust the masterblend ratios to the container size you want to start with.
- Fill your net pots with substrate, coconut coir, pellets, or other wick-able medium. Place the net pots in the lid of the container, and make sure the open portion of the lid doesn’t have any sharp spots, especially if you have kids or toddlers around who might try to disassemble the jars.
- Add your seeds, or bare-root seedlings to the net pot and suspend in your container.
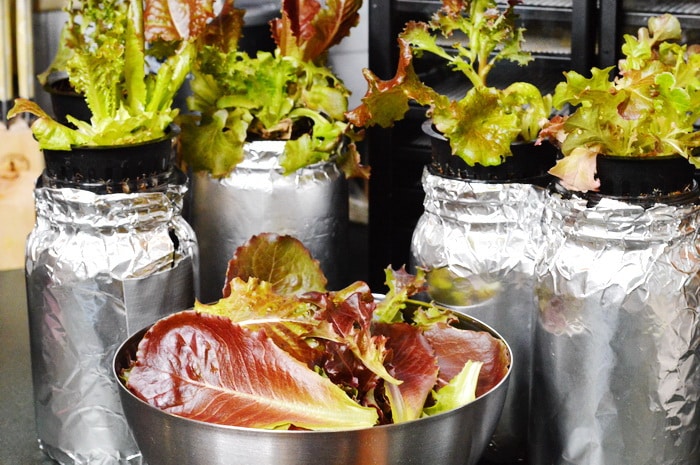
- If your container is opaque, place in your grow-spot under a grow light, or in a sunny windowsill, or outdoors on a sunny balcony or patio. If your container is clear or barely translucent, cover the outside of the container in aluminum foil, or black paper to cut out light. This helps prevent algae growth in the nutrient solution, and on your plant’s roots.
- As your seedling starts growing, it will use up some of the nutrient solution. Eventually you may notice a difference in the roots that reach the solution, vs. the roots that are in the moist air above it. These roots are known as air-roots and need to be kept in a moist air environment to help the plant breathe and thrive.
- When your nutrient solution is below half (if using a pint or quart jar), top up by about half an inch to one inch with clean water. Make sure to leave the air-roots enough room or the plant can smother. If using a larger container as a tank, make sure that the plants have at least one additional inch below the net pots for the air roots.
Air roots are feather-like roots that develop above the water level in Kratky Hydroponics grown plants. They feed oxygen to the plant while the longer water roots feed the plant the nutrient solution. Air roots need to stay out of the nutrient solution so that the plant can maximize its growth. If the air roots end up submerged it can trigger root rot, which will kill the plant.
Next Steps:
Kratky hydroponics are super easy to set up, cost effective for small plants and small fruiting plants, and super fun. This growing method gives a fun way to test new types of herbs, leafy greens, and small plant-sized tomatoes and peppers, even in the middle of winter. It’s also an awesome way to introduce your kids, or class, to the fun of growing plants and food themselves.
With active hydroponics there’s a need for pumps and extensive setup. The kratky system is simple to set up, and helps avoid common garden pests. It can be a great hydroponic growing method for everyone, from apartment dwellers, to farmers who don’t like paying 7$ a head for lettuce in December.
Since it’s a passive system, there’s no need for additional energy costs, unless you run a grow-light. I use a grow light for my indoor houseplants, like aloe vera, and many indoor herbs, so adding in a kratky jar to existing plants is simple. Give the kratky method of hydroponics a try, and let us know how it works for you in the comments!



Leave a Reply