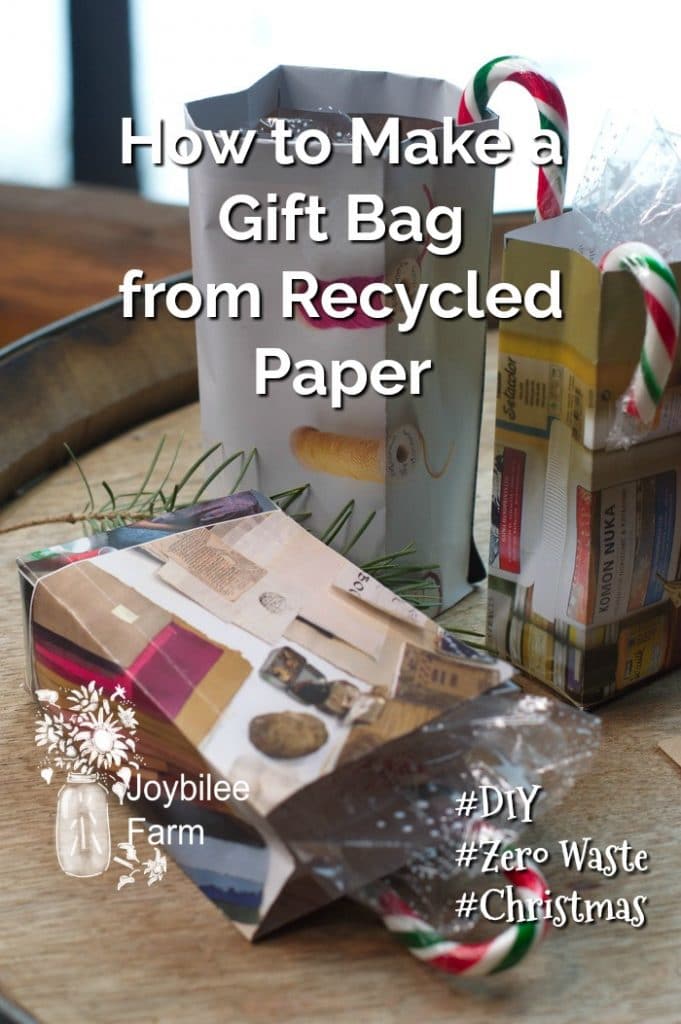
Learning how to make a gift bag that compliments your handmade gifts is easy and satisfying. Make these out of pretty calendar pages, glossy magazines, seed catalogs, or even handmade paper. Download the template and start a zero-waste tradition.
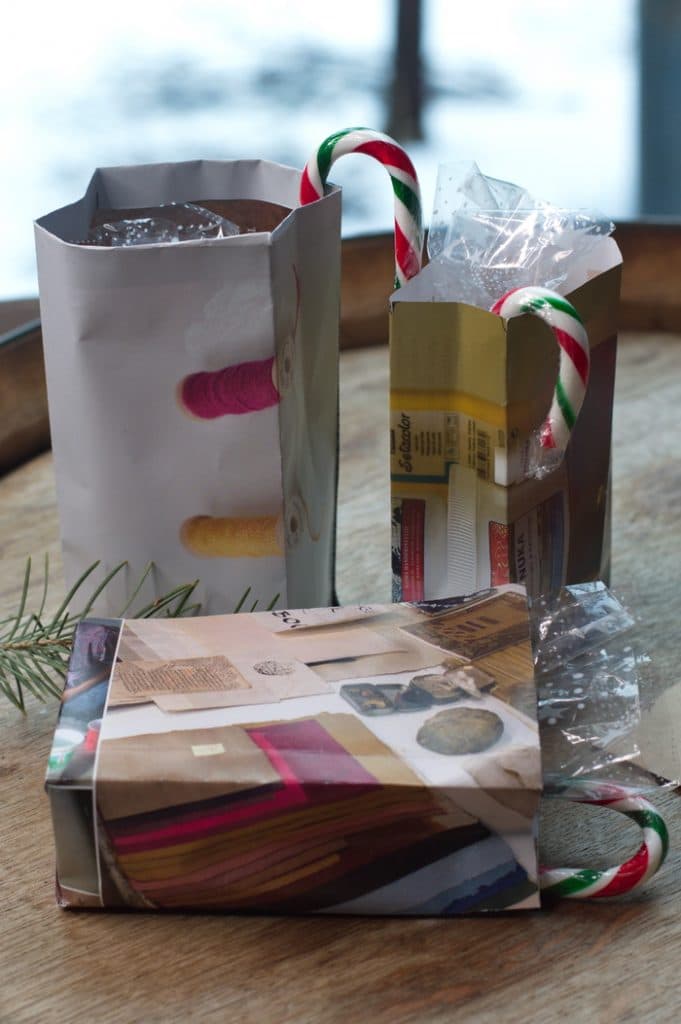
DIY gift bags can be made with beautiful paper, glossy magazine pages, seed catalogs, and calendar pages. They add a thoughtful touch to your hand crafted lip balms, salves, herbal remedies, knitted socks, knitted mittens, sock lambs, candles, and other small hand made gifts. Plus you can make these handmade gift bags in bulk and have them ready to fill when you need them. So you aren’t hiding in a bedroom wrapping gifts with tissue paper late on Christmas Eve, make a batch of these easy to make gift bags now.
When you make a gift bag out of recycled paper you aren’t just saving money, you’re also making a statement about your own values of using resources wisely, taking care of the earth, and valuing beauty and hand made over mass-produced, disposable goods.
And this easy and quick to make craft can be completed in minutes so why not gather some friends, download the template and make gift bags together.
These small gift bags also look stunning as Christmas Tree and wreath decorations, when made out of glossy magazine pages, wall paper, calendar pages, sheet music, or other pretty papers.
First download the gift bag template here. Then follow the directions below as you learn how to make a gift bag.
Here’s a few tips to help you make your first gift bag
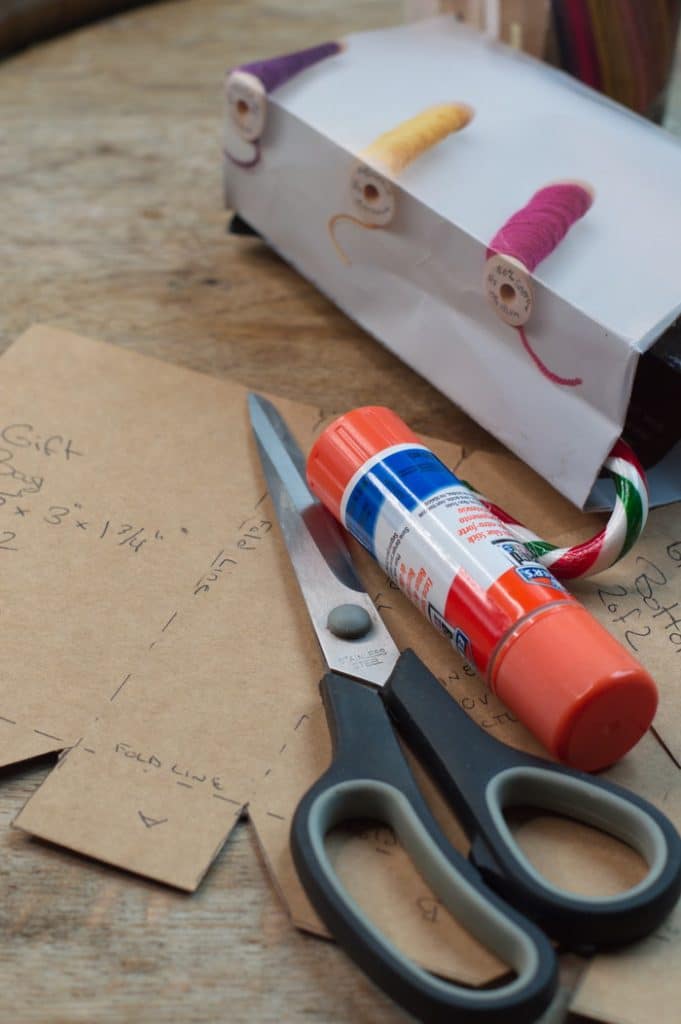
Print the template onto 8 1/2 by 11 inch card stock using your computer printer. If you don’t have any card stock you can print the pattern on regular paper and then trace the template onto a piece of cardboard, a shoe box lid, or the side of a cereal box. You’ll want a firm template so that it is easy to trace around.
Use a ruler to help you mark the straight lines for the template before you cut them, if you are starting with a paper pattern.
Once you’ve made the cardboard template either by printing the template onto card stock or by tracing around the template onto a piece of cardboard, place the template on your chosen paper and check the direction of any pictures on the paper. Orient the template so that the pictures are upright or they make a pleasing design. You’ll want to avoid putting faces or words upside down.
Trace around the template using a gold, silver, or bronze marker like this one. The gilded markers show up well on both light and dark glossy pages, making the lines easy to see and easy to cut around.
Use a ruler or other straight edge to guide your paper folding to ensure that you get straight and crisp fold lines.
Reinforce the bottom of the bag by gluing a rectangle from the same magazine page into the inside of the bottom of the bag.
Plain gift bags can be made fancier by choosing silk or organza ribbons for the handles.
You can also cut out pictures from other magazine pages and glue them onto the front panels of your gift bags.
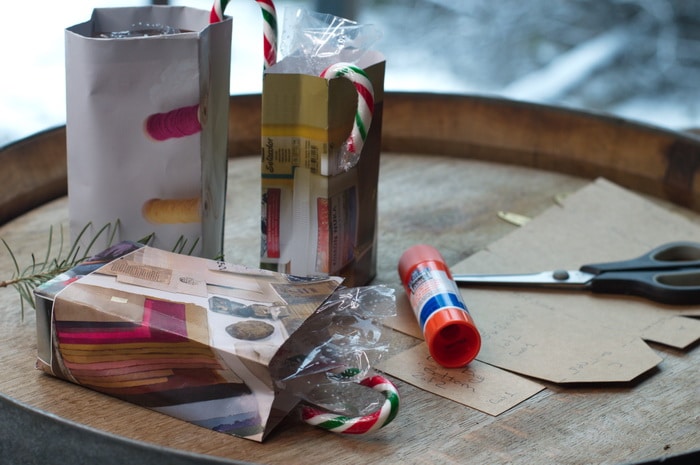
How to Make a Gift Bag
- Print out just the page with the Gift Bag Template on card stock using your computer printer.
- Cut the card stock around the Gift Bag Template just along the solid lines. Do not cut the dotted lines. This is your Gift Bag pattern.
- Lay the Gift Bag Pattern on top of a glossy magazine page. Trace around the outline of the card stock pattern onto the glossy magazine page. Cut out the gift bag from the glossy magazine page, by cutting around the outline that you just drew.
- Fold the top edge of the glossy magazine page over ¼ inch, toward the wrong side of the bag, wrong sides together. Crease this fold. Glue in place using a glue stick.
- Fold the side flap A, wrong sides together. Crease the fold. Do not glue yet.
- Fold the remaining vertical fold lines, wrong sides together, creasing each fold firmly. I found this easier to do using a ruler on the inside of the fold line to mark the fold and ensure that the fold line was straight.
- Place fold A on the opposite edge of the bag, gluing the right side of A to the wrong side of the opposite edge. The gift bag now forms a bag that is open on both the top and the bottom
- Fold the bottom tabs (B) and flaps (C) along the dotted lines, creasing each fold after it is made. Place the tabs (B) inside flaps (C) on the bottom of the bag. Glue the tabs and flaps into place using a glue stick.
- Punch two holes parallel the top of the bag and press matching holes on the back of the bag, using a hole punch.
- Cut a piece of butcher twine or jute twine 15 inches long.
- Thread the twine through the holes in the top of the bag so that it makes a continuous circle. Hide the knot inside the bag.
- Pull up in the center between the two holes on either side of the bag to form the handles.
- You can reinforce the bottom of this gift bag by cutting a rectangle out of heavy paper that is 1 ¾ inches by 3 ¼ inches. Glue this into the bottom of the bag to reinforce the bottom flaps.
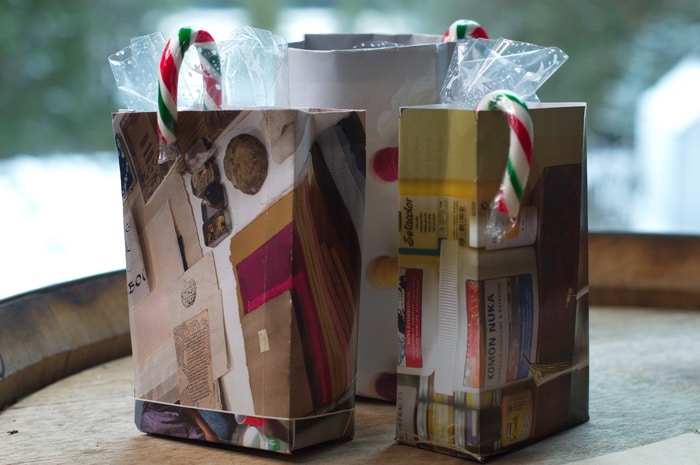
The final bag dimensions are:
3 ¼ wide by 1 ¾ deep x 5 inches tall
Download the Gift Bag Template here.
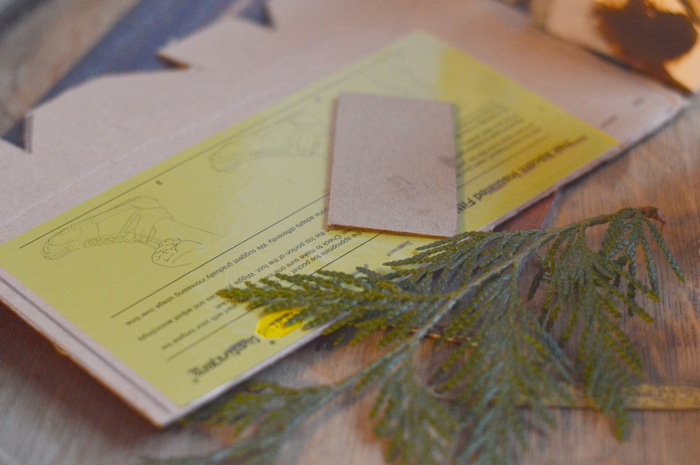
Try these pretty papers for your DIY Gift Bags
- Glossy magazines
- Catalogs
- School Calendars
- Year Books
- Maps
- Sheet Music
- Old Picture Books
- Wall paper scraps
- Used wrapping paper
- Sketch book pages
- Children’s drawings
Download your free Gift Bag Template now
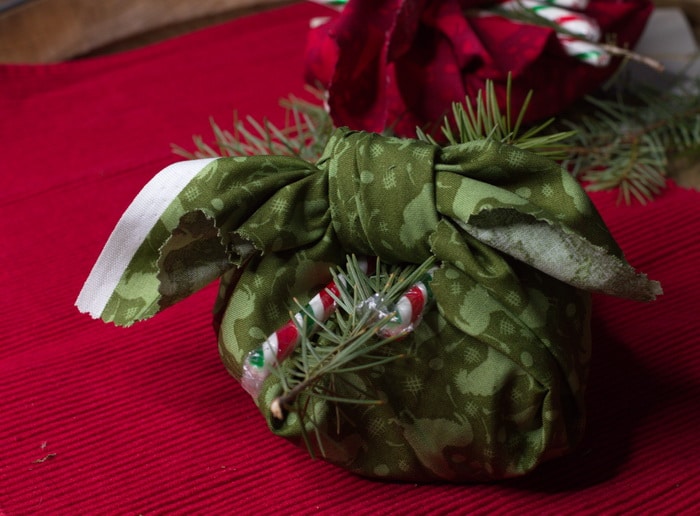
Find 9 more zero-waste gift wrap ideas in the post:



This has been a great read for me and I am sure many others will love it as well, Thanks for your efforts here.