Growing mushrooms on logs is a simple, fun, and easy way to diversify your homestead or garden. With these simple how to grow mushroom steps, you can create a perennial mushroom area, and enjoy the benefits and fun of fresh mushrooms at home.
If you are looking for mushroom spawn or want to learn the basics before you venture into mushroom cultivation on logs check out this post.
You can grow mushrooms at home. You don’t need a scientific laboratory to grow mushrooms at home. You don’t even need to buy a mushroom grow kit. This post will show you how to grow mushrooms outdoors on logs from your woodlot or from the forest. You’ll grow them in a shaded area that isn’t suitable for vegetables. If you don’t have a wooded area, you can lean the logs on the North side of your house out of direct sun.
You’ll need mushroom sawdust spawn or spawned dowel plugs to get started. The plugs or sawdust have the mushroom mycelium, the mushroom roots, growing on them when you buy them. Mushrooms will grow where the mycelium grows.
Mushroom sawdust or mushroom dowel plugs?
When I ordered mushroom spawn I ordered sawdust spawn rather than plug spawn.
However, plug spawn is easier for beginners to use. You don’t need an inoculation tool. A drill bit and a wooden mallet are the only tools needed for hardwood plugs.
Plug spawn needs to be placed closer together on the log — one plug every 4 inches in a diamond pattern — 50 plugs per 4 inch x 4 foot log. Sawdust spawn is more efficient at myceliating the log so 1 sawdust hole is placed every 6 inches in a diamond pattern or 30 holes per 4 inch x 4 foot log. So you’ll need to purchase more plug spawn if you decide to go that route.
I have used both sawdust spawn and plug spawn. Plug spawn is by far, easier to use. I get my plug spawn in Canada from Grow Mushrooms Canada, in BC. Those of you in the USA have several very economical sources for mushroom plugs, like Field and Forest and Fungi Perfecti.
Note: At the time of writing (2015) Canadians can import mushroom mycelium from the USA with a USDA phytosanitary certificate. Import certificates are not required for mushrooms imported into Canada from the USA. Please check the legal requirements in your own situation rather than relying on this advice, before you order.
If you are in an area where mushroom spawn is not available to you, but you can find mushrooms at the grocery store, use these instructions to culture your own mushroom mycelium from a whole mushroom.
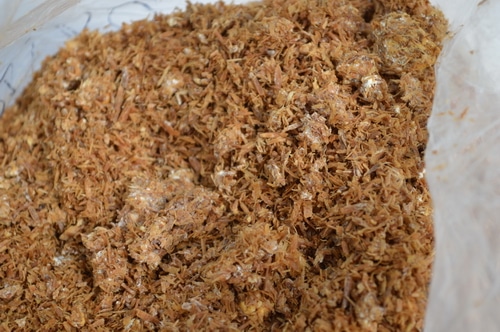
Sawdust spawn is less expensive if you have a lot of logs to do or if you plant to inoculate mushroom logs every year.
Every grain of sawdust has the potential to inoculate a substrate to grow more mushrooms. Using sawdust spawn I could potentially inoculate more logs for less cost than using dowel plugs.
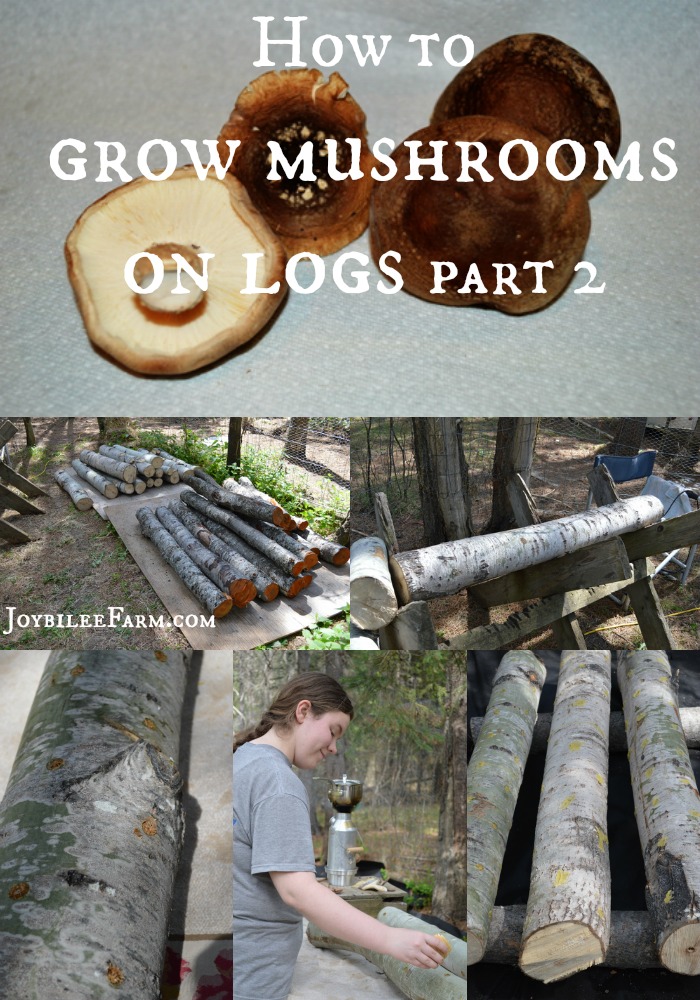
Using sawdust spawn to grow mushrooms on logs
You’ll need:
- Sawdust spawn for shiitake mushrooms or oyster mushrooms
- A spawn inoculation tool like this one (Field and Forest in the USA has a good selection of mushroom cultivation tools.)
- A 12mm drill bit with a stop collar — I recommend buying one when you order your spawn and your inoculation tools. The drill bit for mushroom logs is a little different than a regular drill bit. It has a stop collar so that your hole is exactly the right depth, and it clears the hole of sawdust as it drills. You’ll use it every season so make it easy on yourself and get it when you start out. Store it with your mushroom equipment to keep it uncontaminated and easy to find. (Your drill bit fits with your spawn inoculation tool, so be sure to match the size. If you are using hardwood dowel plugs you’ll need an 8.5mm drill bit with a stop collar, to match the size of the hardwood dowel plugs.)
- A powered drill or a hand brace and the chuck key for the drill
- A source of power if you are using a powered drill
- Beeswax or Cheese Wax
- A way to melt the wax and keep it melted – camp stove, electric frying pan, Kelly Kettle, wood fire.
- A way to apply the wax – sponge brush, paint brush, a batik tool, or even just a pillar candle. If you are using a brush, have at least 2 so that one can be melting while the other is being used. The wax will build up on the brush and solidify.
- A log cradle to hold the logs securely while you drill the holes in them.
- Two portable tables – one to plug the logs and one to apply the wax
- A team of three people (at least) to share the work – If you are doing this alone you’ll want to work with one log at a time, through all three steps, to discourage contamination with wrong fungi.
Set up your work area in your mushroom yard
See this post on how to set up your mushroom yard.
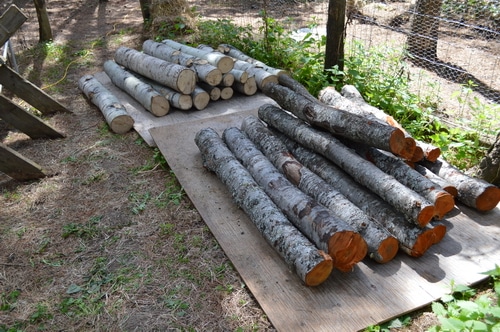
Have the logs piled up beside the log cradle on a tarp or a piece of plywood. Avoid putting them on the ground. You want to avoid getting any undesirable fungi in the logs before the mushroom mycelium has a chance to run.
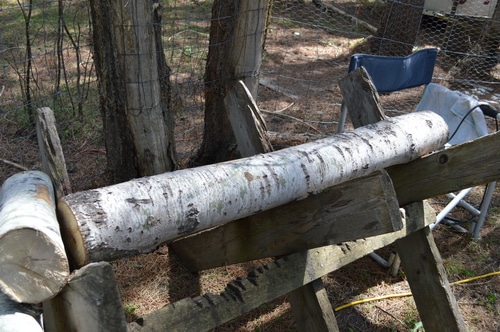
Set up the two tables in a line moving toward where you will put down the logs to let them lay – called a laying yard. Wipe down each table with a bleach solution, ½ cup of bleach to a gallon of water. Cover each table with a clean cloth, towel, woven rug, or canvas. This gives you a clean place to lay down your tools.
You will be leaning over the table for a few hours. Most portable tables are just hip height. I recommend putting the table surface up to belly button height by putting the legs up on solid blocks, if you can rig this and still keep the table solid. It will alleviate back pain and allow you to work quickly and without fatigue.
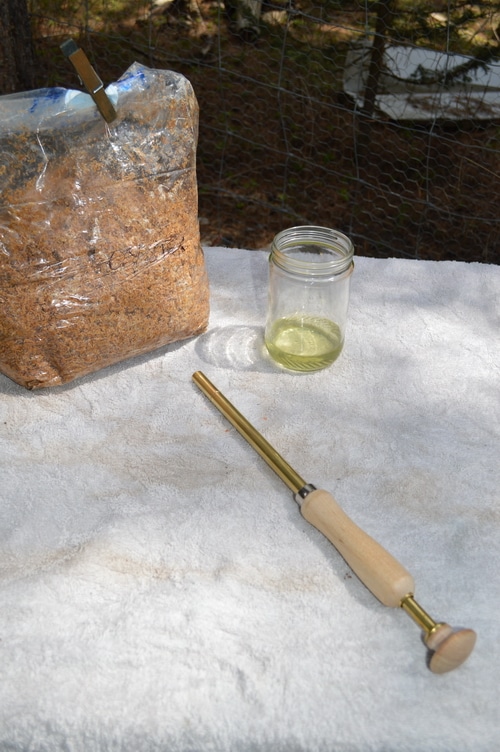
Assemble your inoculation tools on table 1 – the spawn plug tool, and the bag of sawdust spawn. There is a small jar of rubbing alcohol to wipe the tool down if it should fall on the ground.
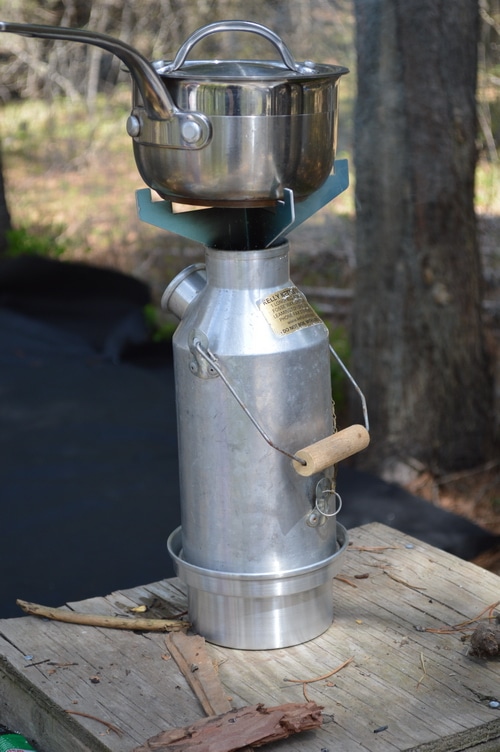
On table 2 you’ll need a heat source to melt the wax and keep it melted. A tool to apply the wax and at least 2 cups of melted wax in a disposable can for 20 logs.
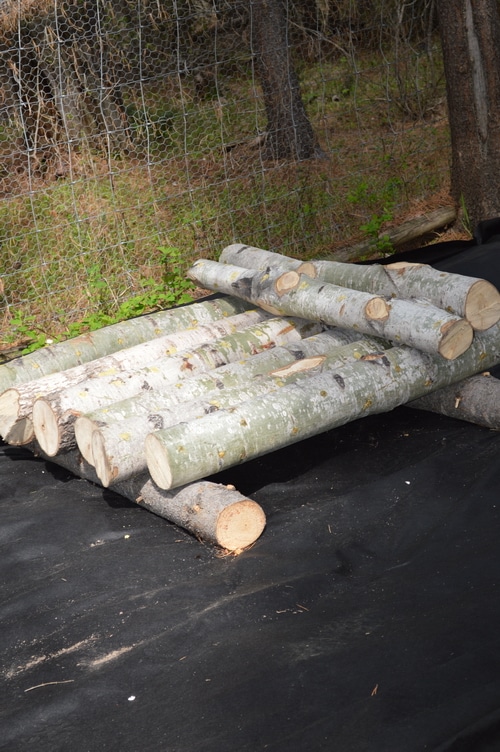
Prepare the laying yard by covering the ground with landscape fabric or a heavy bark chip mulch to keep down weeds and to discourage pests like slugs that will attack your logs. Slugs love mushrooms.
The bottleneck in the efficiency of our mushroom inoculation:
Keeping the wax melted was the bottle neck in our operation. If you can find an efficient way to do this, you’ll keep the assembly line moving.
We had a difficult time keeping the wax melted. We started with a pot of melted wax over a live flame in a Kelly Kettle. We started applying the wax with a spounge brush but it solidified quickly.
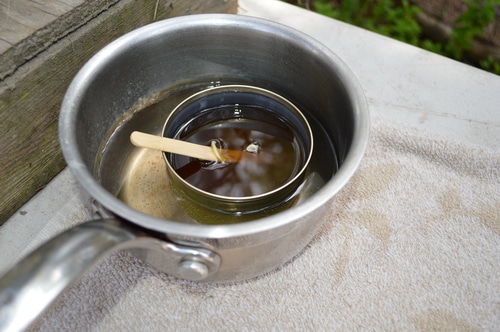
We switched to apply the wax by dripping it from a stick. Not the most efficient way to apply the wax but it worked for a few logs before the wax solidified. We tried to apply the semi-solid but pliable wax with our fingers, and that was fast. However the wax hardened quickly in the can, and we had to stop and try and remelt it.
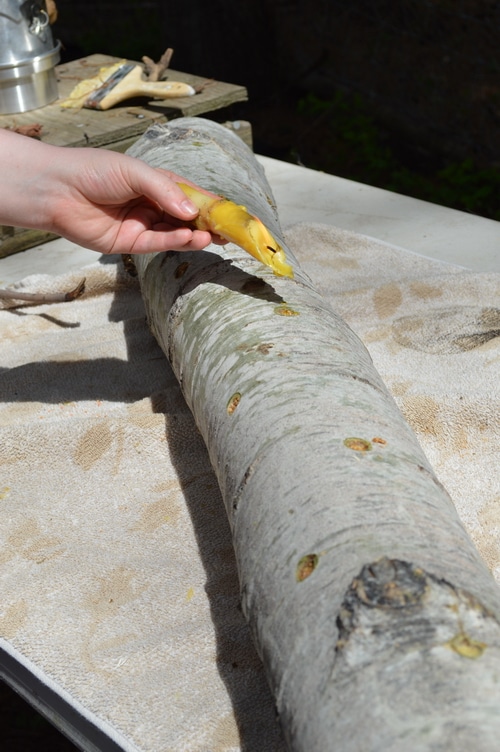
Note the heavily waxed brush in the background.
Then we switched to a dripping candle which worked for a while but it was slow, melting the wax at the tip of the candle and then dripping it into 30 holes in each log.
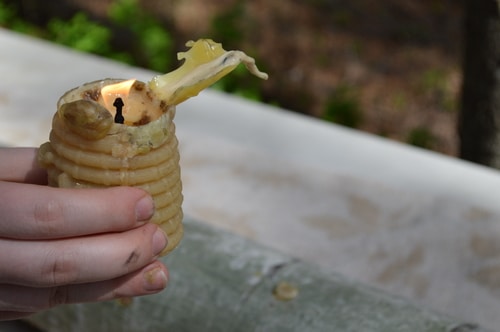
This is what we finally settled on — a pillar candle with a spout made from the edge of a taper, used to guide the wax into the plug holes to cover the sawdust. This worked well and allowed us to finish the job without losing patience. Thanks to Sarah for her homeschool ingenuity!
Sarah suggested trying a large batik Tjanting, to keep the wax flowing. I will try that next time. (You may already have one of these tools in your fiberarts stash!)
Once you get a rhythm going the inoculation can keep pace with the drilling of the holes in the log. The wax was our bottleneck.
Allow a full afternoon to inoculate 20 to 30 logs. Put dinner in the crock pot early in the day so that you can feed your helpers when you’re done.
Step by step mushroom log inoculation
The pictures show aspen logs being inoculated with ‘Grey Dove’ Oyster mushroom sawdust spawn.
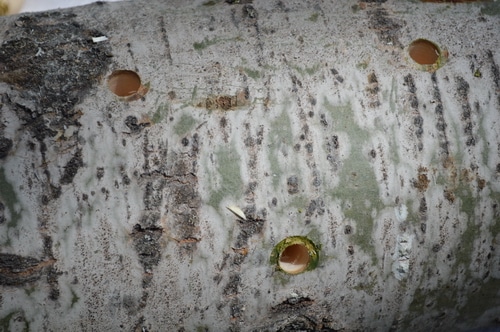
Step 1: Drill the holes in the logs 6 inches apart in a diamond pattern around the whole log. A 4 foot log that is 4 inches in diameter will take about 30 to 36 holes. Note that if you are using plugs instead of sawdust your holes will need to be closer together — 4 inches instead of 6 inches and each 4 foot log will need about 50 hardwood dowel plugs. Or 500 plugs for 10 logs.
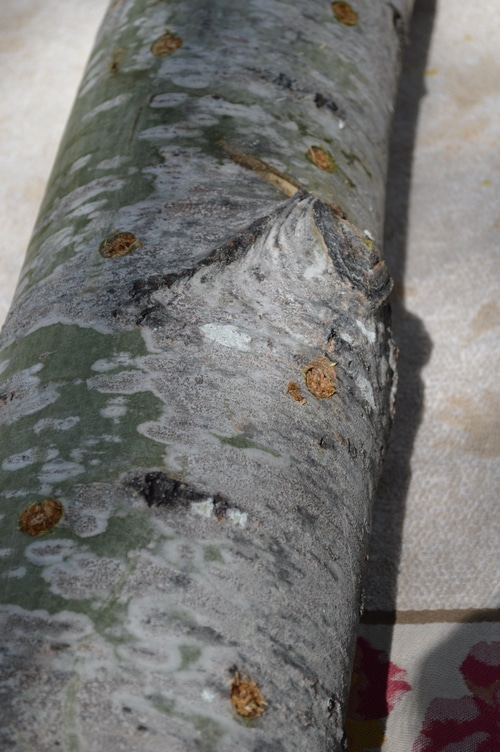
Step 2: Plug each hole with the spawned sawdust.

Step 3: Cover each hole with wax to seal in moisture and prevent undesirable fungi from gaining entrance.
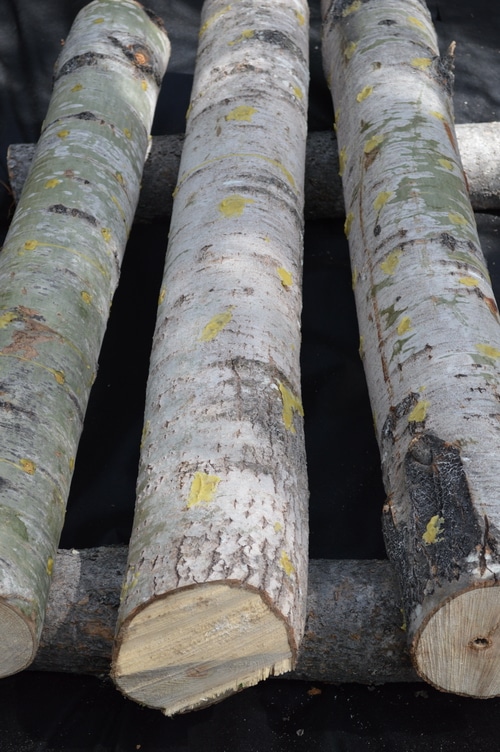
Step 4: Stack logs close to the ground, but off the ground, to keep moist for a season, to encourage spawn run. The logs will fruit after the mycelium has colonized the logs AND the moisture and temperature are right for that particular species of mushroom. Fast growing Oyster mushrooms may fruit in the same fall. Slower growing Shiitake will take a year before they are ready to fruit.
How long before I see mushrooms?
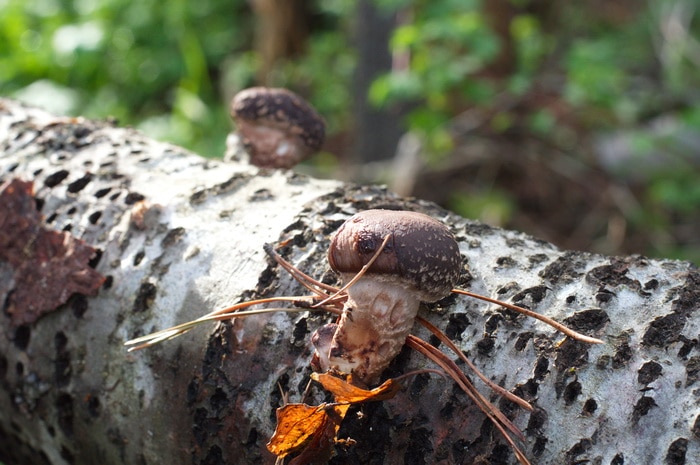
Mushrooms don’t produce fruiting bodies until the mycelium has filled every available space in your log. Oyster mushrooms, can show up anywhere on the log between 3-12 months after inoculation. Slower growing Shiitake mushrooms take 9 to 12 months before you’ll find mushrooms on the logs. But this is just an average. Check in the fall just in case your spawn run is faster than anticipated.
Protect the logs in winter
In very cold winter areas the logs should be protected from extreme temperatures and from drying out by covering with burlap or with evergreen branches. A heavy snow cover is good insulation.
Growing Mushrooms for Beginners
Sarah’s new book, Growing Mushrooms for Beginners, A Simple Guide to Cultivating Mushrooms at Home, is available on Amazon and Barnes and Noble. In this concise resource Sarah guides you step by step through growing mushrooms on logs, on straw, on wood chips, or even in Mason Jars at home. The book includes instructions for growing seven mushrooms including shiitake, oyster, lions mane, garden giant and more. Learn the unique characteristics, flavors, health benefits, and specific growing requirements for each mushroom as well as space saving tips and recipes to get the most out of your mushroom harvest.
In this interview Sarah and Chris discuss ways to grow mushrooms in the garden, and highlight some expert tips from Sarah’s book, Growing Mushrooms for Beginners, A Simple Guide to Cultivating Mushrooms at Home.
Get your copy of Growing Mushrooms for Beginners now.




I haven’t any experience with that but one book I read suggested using a wax-oil base stick like homemade lip balm, to seal the dowels when you are walking over your property and placing dowels in broken stumps. It’s to seal in moisture to keep the dowel from drying out.
re sealing wax – this seems to be the hold up in the whole operation! Do you know if I can use grafting paste to seal the dowels? It is often sold as a waterproofing agent, This cheap wound sealer is an asphalt-and-WATER based emulsion. On grapes it works fine.
What are your thoughts on using fruit tree wood? I have lots of plum trees that need pruning.
Going to try Shiitake 75