Microgreens grow fast. They are supercharged with vitamins and antioxidants to keep you healthy. Grow them in winter to boost your nutrition and eat in season.
Winter, especially in cooler climates, brings about a lack of fresh in-season and local veggies. While our food delivery system makes it easy to find what we want, whenever we want it. That winter lettuce and spinach is just not as vibrant as fresh from the farm, local produce. But, there is a fun and sustainable way to get that fresh taste, and powerhouse level nutrition, even in the depth of winter.
What are microgreens?
Microgreens are awesome little nutritional powerhouses that are somewhat bigger than sprouts, and a lot smaller than the full sized plant. These greens are grown in soil, started in darkness, and grown until they’re a few inches high, then cut down whole and made into salad, sandwich toppers, soup additions, and stir-fry add ins.
They are the sweetest, most tender, and most nutritious variation of your standard greens. They are a bit more involved than your normal sprouts, but are safe to consume during pregnancy since they don’t sit in water!
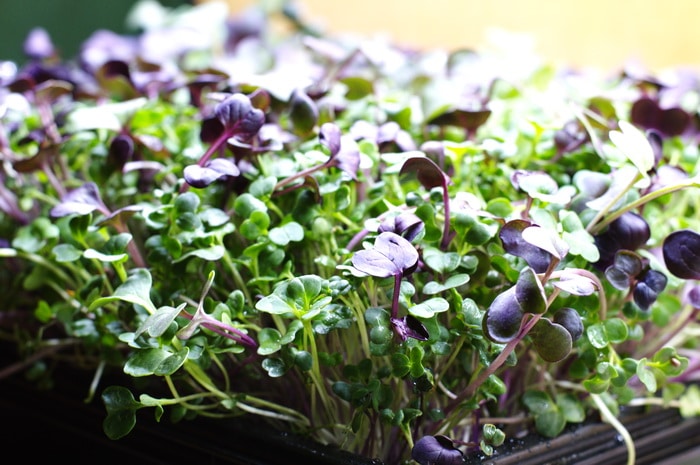
Health benefits of microgreens
Microgreens have a wide range of concentrated vitamins and minerals, and are usually the same, but a higher concentration, than the vitamins and minerals found in the adult version of the plant. Microgreens are also higher in nutrients than comparative plants from the grocery store, since they are harvested just before consuming, and don’t have the natural degradation of nutritive compounds that happens during shipping.
Red clover is a source of phytoestrogens that are great for bone health and hormone balance. Fenugreek is like clover, they are a legume and have some hormone balancing benefits. Fenugreek is also key food for nursing moms as it support a robust milk supply, and is a great microgreen to cook into curry and other spicy dishes. Radishes can really spice up your winter food. All brassica family microgreens are high in cancer-fighting sulforaphane, too. Broccoli, kale, and different types of mustards can all be grown as microgreens for their sulforaphane content.
Which microgreens are the best for beginners to grow
Peas and sunflower microgreens are two of the easiest and quickest microgreens to grow. Sometimes the peas can even give you a second flush of growth. I like peas and sunflower microgreens because they grow fast, are large, and give you a good weight of harvest for your time.
In reality, most microgreens are quick and easy to grow. Peas, sunflowers, clover, cress, and fenugreek all germinate quickly and grow fast. A tray of peas may take a week to a week and a half to be ready to begin harvesting. A tray of beets on the other hand, can take two weeks and still abort.
The most difficult microgreen is beets, because it grows slowly and has a very long germination time frame. Beets are very fine seedlings, for their seed size, and can sometimes damp off before they are ready to harvest. They do have a very rich color, and are rich in antioxidants and anthrocyanines.
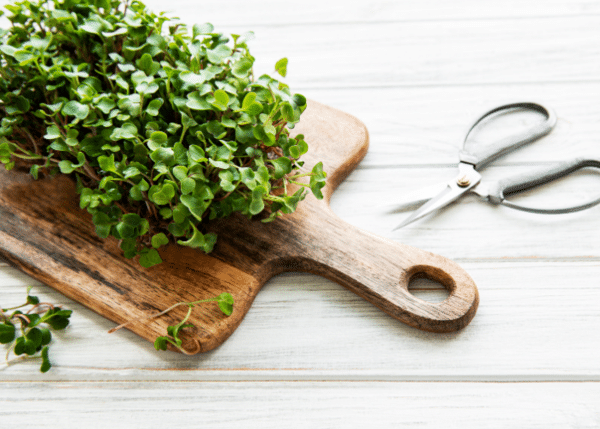
What grow medium works best for microgreens
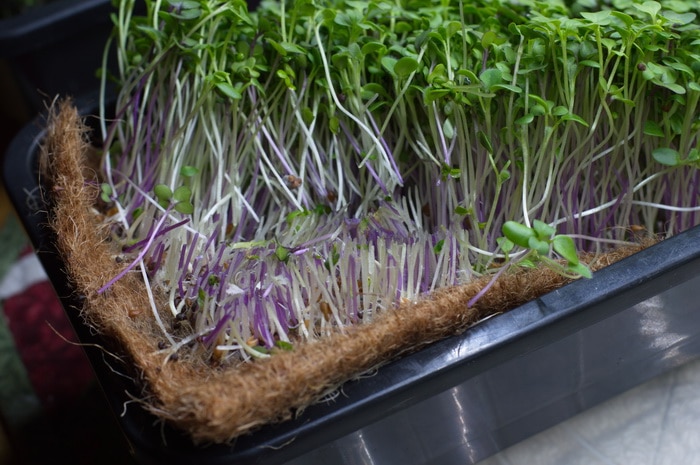
Any potting soil or sterilized medium can work for microgreens. Don’t use garden soil, unless you plan to pasturize it first. Otherwise you could bring bugs or pests indoors. Start with a commercial medium like seed starting mix, potting soil, or coconut coir. You do NOT need a microgreen specific mix, even if there is one out there. However, a coconut coir layer, a coconut coir mat, or seed starting mix layer will work the best. I have grown microgreens on top of newspaper, and on coconut coir, and in regular, cheap, potting soil. The coconut coir seemed to work the most reliably, but all mediums did work to a certain extent.
These miniature salad greens don’t need much in the way of soil, so a 1/4-1/2 inch thick layer is enough. You are only growing the seeds until the cotyledons are a decent size and maybe one or two true leaves have formed. With rapidly growing ones like peas, you’ll have more true leaves than with slower growing seeds like beets or broccoli.
Seed starting mix is a fine grained, low nutrient, seed base which provides protection for germinating seeds. Coconut coir is similar, it has very little nutritive value for the seeds once they are past the initial growth stage. With micro-greens however, you are harvesting them right as they reach the border between relying on their seed nutrients, and starting to rely on the growing medium/soil’s nutrients. So, low or no nutrient mediums will work fine for these.
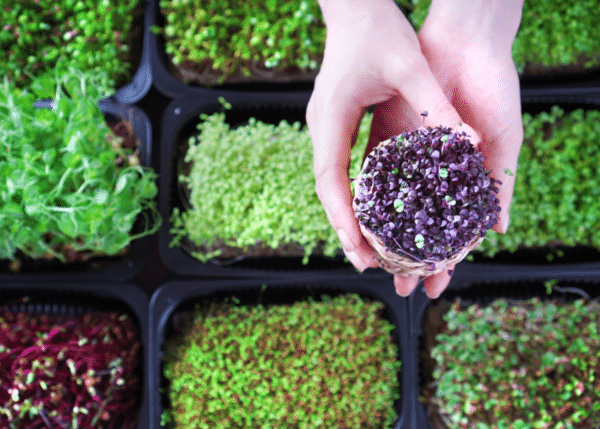
Containers that work best for microgreens
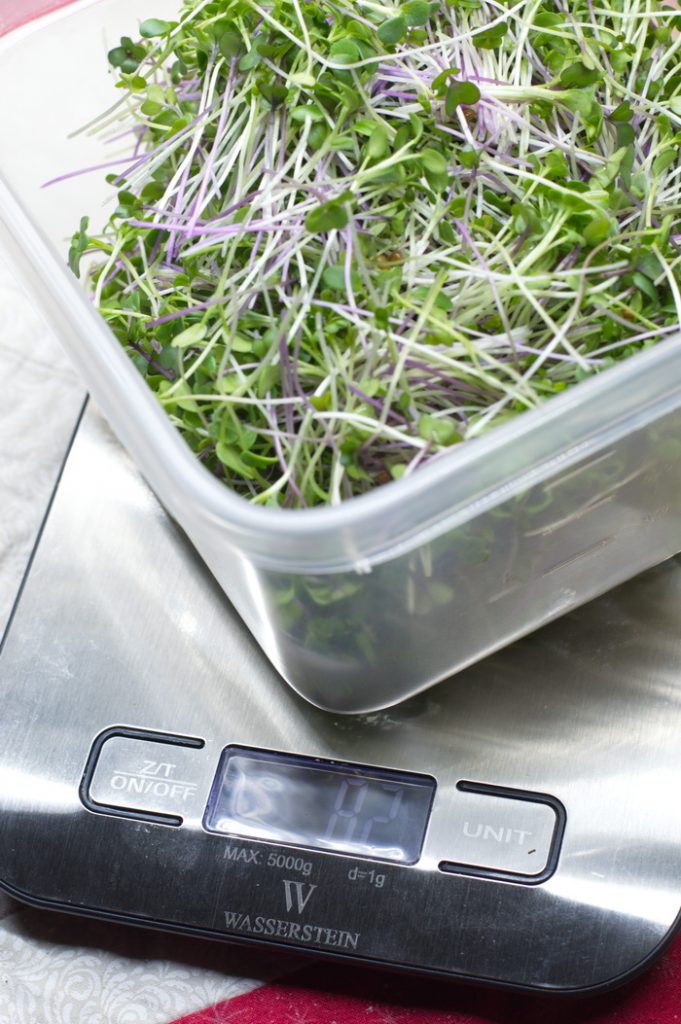
A dedicated microgreen tray may seem like too much hassle. However, they are well worth the value and do make it easier to grow, weight, and tend your growing microgreens.
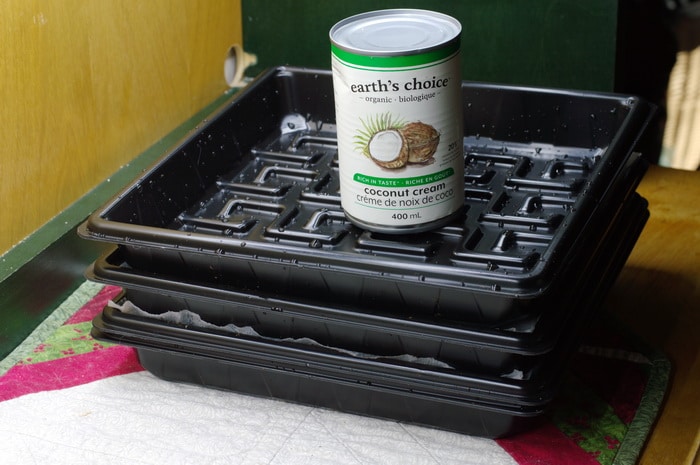
Dedicated trays: these are heavy weight plastic, with some molded in ridges for water direction and diffusion. Get a minimum of two trays so that one can be the weight on top of the other tray in the “dark, weighted, germination” step.
Recycled trays: any flat bottomed, smooth sided tray that is at least 1 inch deep can work. I don’t recommend using trays that are higher than 2 inches, as some microgreens only get 2-3 inches high, so a high sided tray makes it difficult to harvest.
I have used recycled aluminum trays, from freezer meals, and the base of empty plastic salad containers to grow microgreens in as well. They don’t work quite as well for the weighted stage, but they DO work too. A recycled tray is a great way to test whether you like the flavor and texture of these greens, or whether you’d rather just keep sprouting instead. It’s also a great way to grow microgreens while waiting for dedicated trays to come in the post, or to grow multiple small batches of different greens to have more variation.
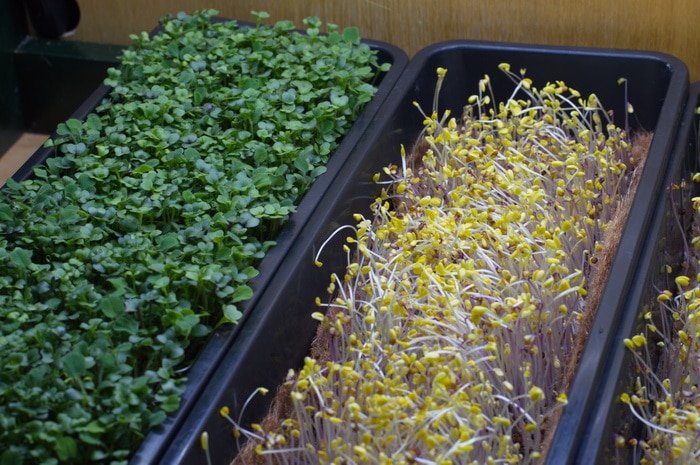
How to grow microgreens
- Start with good quality microgreen seed. If you don’t have microgreen seed on hand, this article discusses some reliable and vetted suppliers.
- Microgreen trays are helpful, or use a recycled tray if it’s your first time.
- Use coconut coir, or seed starting mix as the soil. Regular potting soil can also work. I’ve grown on newspaper with a bit of soil added on top.
- Determine how many seeds you need, I use 1/4 – 1/2 cup of seeds per tray depending on size. You can check while the tray is dry by pouring seeds in and shaking them into a single layer. Use just enough to evenly cover 5/6th of the tray to compensate for seed expansion after soaking.
- Soak the seeds for 4-6 hours, larger seeds require longer soaking. Your seed pack may have soaking instructions. I like to add a teaspoon of hydrogen peroxide to the water when soaking as well.
- Fill your tray with 1/2 inch of coconut coir or your soil of choice, dampen it down and let it sit while the seeds are soaking.
- When the seeds are soaked, drain them and spread them over the top of the soil in your chosen tray. The seeds should cover the soil surface without overlap.
- Place a weighted tray on top of the seeds and tuck into a dark closet, shelf, or other waiting location.
- Wait 3 days. This gives the seeds time to germinate and send roots down with weight.
- Remove weight but keep in the dark for an additional 2-3 days. During this time, water only as necessary. This lets the stems stretch for easy harvesting.
- Check length of microgreens, for fast growing types they should be 3-4 inches tall before being removed from the dark. Keep tray in the dark until desired base length is reached. Water as needed if the soil surface is drying out.
- Move microgreens under a grow light, or into a lighted window for 1-2 days. This lets them green up, and grow a bit more.
Troubleshooting problems before they happen
Damping Off: This common ailment of indoor seedlings can affect microgreen trays. Damping off is a fungal wilt and is best attacked by an active defense. Soak seeds in water with hydrogen peroxide and sprinkle cinnamon on the surface of the microgreen soil. If you have to water microgreens, add some hydrogen peroxide to the water as well
Microgreens falling over and wilting: This is likely a lack of water, spritz with water to which a splash of hydrogen peroxide has been added. Or thoroughly soak the tray with 1/2 a cup of water if it is a microgreen tray with water reservoir. Due to the shallowness of the soil, if your indoor air is very dry the tray will dry out during the growing process and need water about every second day.
Patchy Germination: This can indicate that your seeds are old, that they weren’t soaked long enough, or that they have been stored in a warm or dry environment and dried out. To preserve the germination rate of your seeds, store microgreen seeds in the freezer in an airtight container, and only remove how much you need for a week or two at a time, and keep that in the fridge. You can sometimes improve the germination by adding hydrogen peroxide during the soaking process.
Patchy Germination on Small Seeds: As well as the above reasons, small seeds can be easy to smother if they are soaked for more than 6 hours. Keep soaking to a 2-4 hour range on small seeds for the best germination rate. You can also test germination rate of small seeds by trying a sprout jar to see if it’s something in the microgreen process or just bad seeds.
Greens start strong but keel over after 2 weeks: If you’re growing microgreens with the goal of getting 4 or more true leaves you are going to use up the seed reserves before harvest. When that’s the case, the greens will look fine one day and be keeled over the next and not perk up for water. Harvest at seed leaves for sunflowers, and one or two true leaves for other varieties, and keep in the dark a day longer so they stretch more. Peas are an exception, and will grow several sets of true leaves before using up their seed reserves.
Greens are yellow: Not enough full spectrum light. Place under a grow light for 24 hours, or in direct but diffused sunlight if available.
Plants all lean one direction: Rotate tray so that the plants are facing the opposite direction of the one they want to lean in, they should naturally straighten up when trying to lean back that way. Rotate tray daily if plants are showing sun-seeking behavior.
When to harvest microgreens for the best taste and nutrition
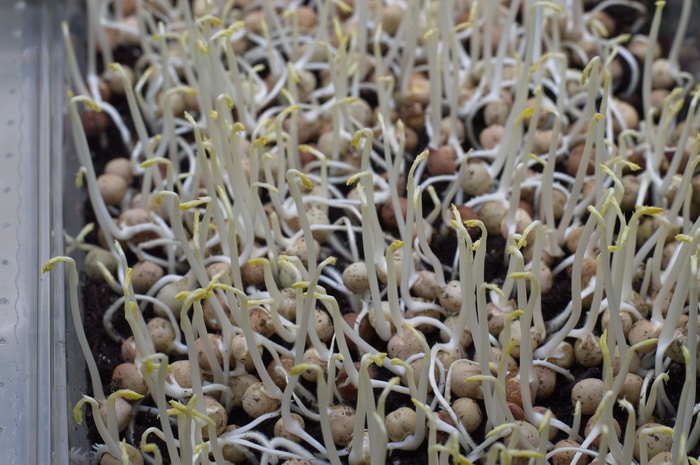
- Peas are a tall microgreen that easily grows a lot of true leaves. I like harvesting peas between 4 and 6 inches long.
- Smaller plants like lettuce, cress, clover, radish, and others are usually harvested as the first set of true leaves starts peaking out between the seed leaves.
- Sunflower microgreens should be harvested at the double seed leaf stage, before the true leaf starts forming. Sunflowers true leaves are fuzzy, and I find them less pleasant to munch than the tender, tasty, seed leaves and early stems.
- Beets are one of the longest growing microgreens and can take 15+ days to reach the double seed leaf stage with enough stem to harvest. Beets are harvested as just seed leaves, and are rich in antioxidants.
Depending on your temperature and the seed type you’re growing, the ideal harvest window can be from day 7-20.
Harvest And store microgreens
- Harvest your fresh microgreens by cutting with scissors. Cut across the top of the tray, if it has sides use those as a rest for the scissors.
- Rinse with cold water and let drain thoroughly.
- Use immediately or store in a sealable, glass, container in the fridge.
- For added longevity, place a dry paper towel under the microgreens, and one over top. This absorbs excess moisture, preventing the greens turning into a slimy mess, while still letting the greens breathe.
How to eat microgreens and use them in your cooking
Microgreens are great to use fresh, as a garnish. They assemble well in salads, and are tasty in sandwiches. Sunflower, pea,and bean microgreens go great in stir-fry and cooked dishes.
- Salads, either as the main part or as a garnish
- Sandwiches for crunch and nutrition
- As they are, a tasty, leafy snack
- In stir-fry’s
- lightly sauted with butter and herbs
- Nicked right off the tray because they look too good.

Recipes With microgreens
Eat your microgreens however you want. For ideas on how to use microgreens click here. That post has a full list of over 30 different recipes to use your microgreens in. Including in an omelette, a smoothie, potato salad, multiple other fascinating salads, and more.
My personal favorite use of sunflower and pea microgreens is as an addition to stir fries. This Garlic Scapes Stir Fry is great with microgreens. You can also add them to any other stir fry recipe. If you make stir-fry by rule of thumb, simply add your microgreen addition at the end, and just cook them in long enough to tenderize.
New to growing microgreens?
Check out the Fill Your Salad Bowl workshop and learn how to use 3 different growing methods, at home, so you can fill your salad bowl with super food, nutrient dense, greens every single day. These are greens you can use in your salad bowl, greens you can add to soups, stews, and pasta dishes, and even greens you can use in a stir fry.
In this mini workshop you will learn how to fill a salad bowl every day with food you grow yourself.
- Even if you don’t have any land.
- Even if there is 3 feet of snow covering your garden
- Even if you’ve killed house plants in the past.
- Even if you think you have a black thumb.
Have a look at what’s covered in this workshop and see if its a good fit for you, by clicking/tapping the blue button below.





Leave a Reply