Easier Fermented Pickles with the Right Tools
Ensure success with your fermented pickles by handling your cucumbers correctly and using the right tools. Here’s to easy pickles without heating up the kitchen.
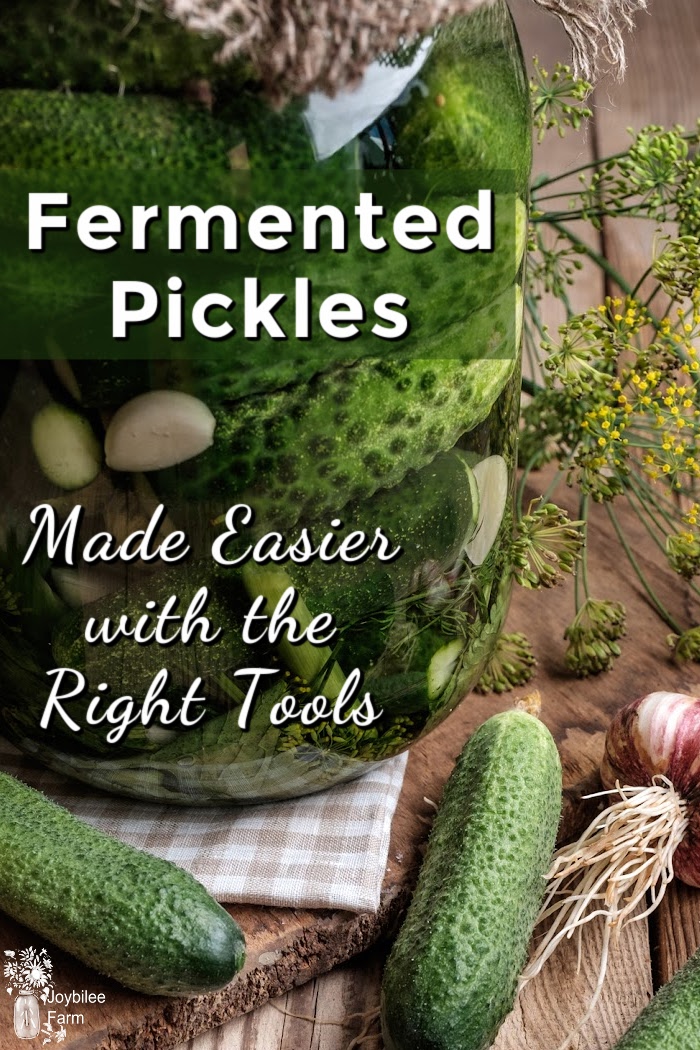
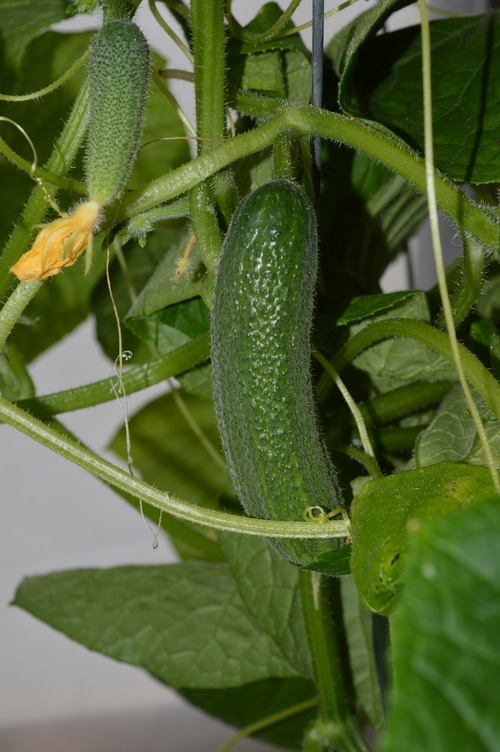
When you are growing your own cucumbers, you don’t get 10 lbs of pickling cucumbers all at once. Instead, you get one or two or a few cucumbers on the vine each week with lots of blossoms, promising more in the future. I have 5 pickling cucumber plants and I get enough for about a quart of fermented pickles every week. We’re pretty cold though so if you live in a warmer area you may get more blossoms setting each week than I get from 5 plants.
When I was first learning to pickle cucumbers a few decades ago, I did a double batch of vinegar pickles, from a recipe, using pickling spice from the store. Unfortunately, the pickling spice had hot peppers in it. The pickles burned and with the vinegar were actually painful to eat. I dumped 14 quarts into the compost.
Lately, vinegar pickles make me gag. I bite into the pickle and the vinegar hits the back of my throat. So I switched to making fermented pickles exclusively.
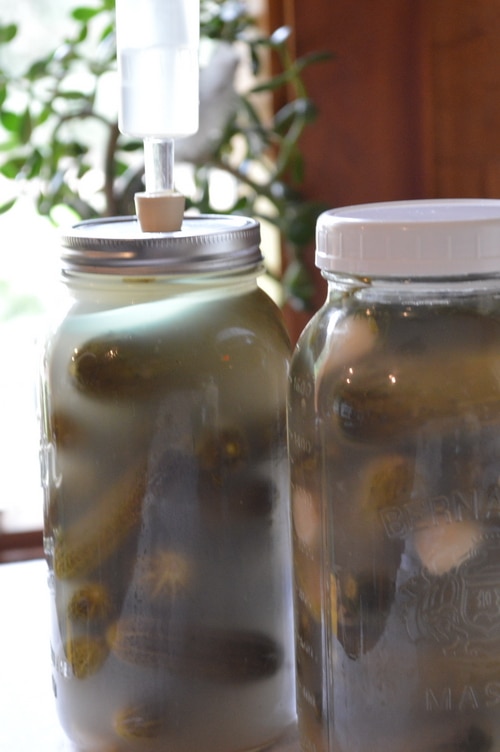
Instead of a full batch of vinegar pickles that need to be canned in a boiling water bath, I ferment my pickles one jar at a time. Fermented pickles allow you to pickle just a quart or two each week. In fact, it couldn’t be easier if you have a few pickling cucumber plants, to do a quart of fermented dills each week. By the end of the season, you’ll have a full larder, it keeps the kitchen cooler, and it’s less work. Plus fermented pickles are better for you, with healthful probiotics.
The key to successfully fermented pickles:
- Use an airlock to keep outside contaminated air out of the ferment
- Keep the cucumbers or other vegetables below the surface of the liquid
- Use a probiotic starter to ensure that the right bacteria is the one proliferating in the jar
- Keep the jar filled to exclude air
Frugal fermentation
I’ve tried several frugal methods to achieve these keys to ensure successfully fermented pickles. And I have to confess that I’ve had a few failures. Moldy lemons, off-tasting sauerkraut, mushy cucumber pickles. But I’ve had more successes than I’ve had failures. And I’ve learned better ways to manage the ferment on my kitchen counter.
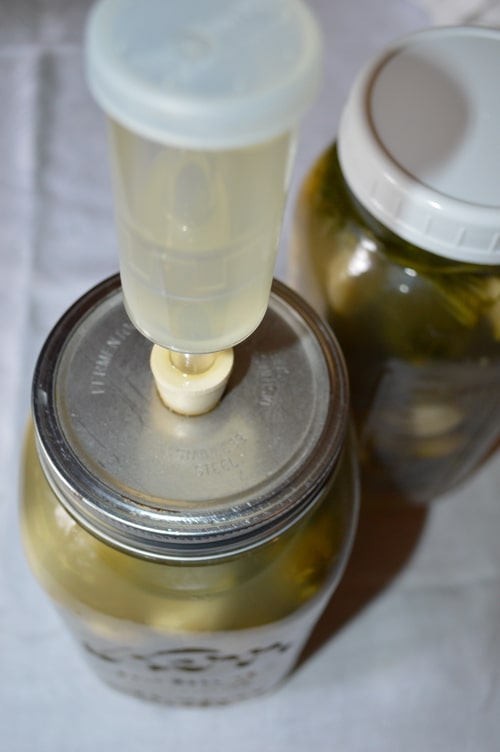
I created an airlock using a canning jar lid, a wine airlock, and two elastrator bands from the barn (new elastrator bands, I promise). While it worked fine, it’s hard to clean it. And during the fermentation process, the jar contents expand and this forces liquid into the hole in the lid, which tends to drip down the jar and pool on the countertop. To correct this, I added a plate under the jar to catch the drips, just until the active fermentation stops.
The contents of the jar still floated above the surface of the brine. That’s a no-no that’s sure to result in mold. And it has for me a few times. One way to combat this is to add weight to the jar. The weight has to be able to fit inside the jar with the lid and fermentation lock on tight. Not an easy feat to accomplish.
I tried using a cabbage leaf to cover the vegetables. But the cabbage leaf floated above the surface as the pressure began to rise inside the jar during the fermentation.
Then I cut a circle from a plastic yogurt lid, the size of the inside of my wide-mouth canning jar and pushed that down on top of the fermented pickles. This did keep the vegetables under the surface of the brine. But, the pressure of the fermentation process caused gasses to form under the plastic, allowing air into the ferment. I had to push the circle of plastic down every day with a knife, in order to release the trapped gasses and keep the fermenting vegetables underwater.
The plastic circle worked to keep the vegetables from floating to the surface of the ferment brine so it was a step in the right direction. It just took some daily maintenance to produce a successful batch of pickles. And there was the risk that each time I pushed the plastic down with a clean knife I could be introducing spoilage bacteria into the ferment. My hope was that the lactic acid bacteria responsible for fermented pickles would out-compete any microbes that I introduced with a knife. And usually, that is the case.
FermenTools Starter Kit
I was contacted by Matt Gross from FermenTools and invited to try out the FermenTools Starter Kit. I like fun tools, so of course, I said, “Yes.” The FermenTools are better tools for fermentation than my makeshift frugal solution. And we all know that having the right quality tools is always the best frugal solution.
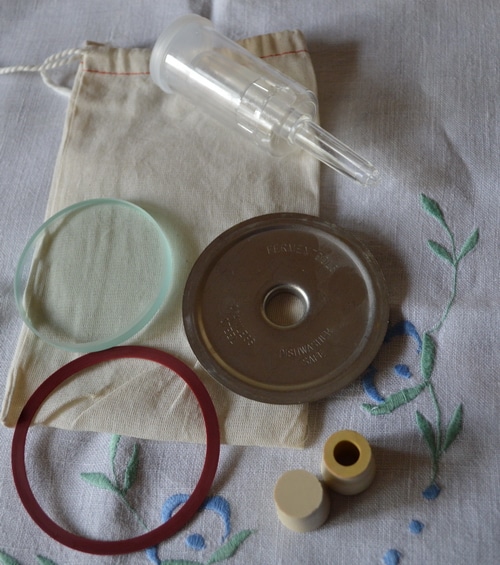
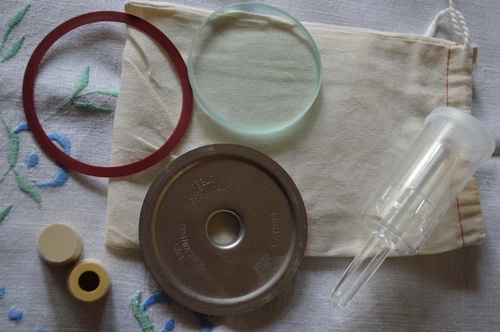
The kit arrived fast and I was surprised to see the quality of the FermenTools kit. It came attractively packaged in a cotton carrying bag, not plastic. Thumbs up! The bag is totally washable and reusable and makes the parts of the FermenTools Kit easy to find in the kitchen drawer when you need them.
What’s in the FermenTools Starter Kit?
A heavy stainless steel lid
2 stoppers
A gasket
A 3 piece fermentation lock
A heavy glass weight
A cloth bag to keep the kit together
A 1 lb. bag of extra fine Himalayan salt
The stainless steel lid and the glass weight are the cornerstones of this kit. Both are well made and finely tooled. Mr. Joybilee looked over the lid and weight and said how well made and carefully finished they were. There were no rough edges and nothing that could scrape or cut you. The lid is thicker and heavier than I was anticipating. And the glass weight fits perfectly in the neck of a wide-mouth mason jar.
The fermentation lock is like the ones you use for winemaking. You may even have a few at home. It’s easy to replace if you should damage it. And Matt said they were made in Canada, too!
(Note: Don’t pour boiling water over a plastic fermentation lock to sterilize it. Use a chemical solution like sodium metabisulphite. Don’t ask. It was at least a decade ago.)
There are two stoppers that fit in the hole of the stainless steel lid. One is solid and one has a hole to insert the fermentation lock. I can’t see me using the solid plug. I intend to keep the FermenTools kit in use throughout the gardening season, accumulating jars of fermented pickles, one jar a week. When a jar is done fermenting I’ll just remove the stainless steel lid. Replace it with a canning lid and store the fermented pickles in a cool, dark place. Then I’ll start another jar. Here’s to easy pickles without heating up the kitchen.
So how did it work?
My first batch of fermented pickles worked perfectly. I had a full 2 quart jar of pickles and the pickles are crunchy and sour-sweet, just like they are supposed to be. There was no difference in crunch, texture, or taste between my frugal fermentation setup and the FermenTools kit.
But in the second week, I ran into some trouble with my second batch of FermenTools pickles. In the first jar, I had enough pickling cukes to fill a 2 quart mason jar with cucumbers, garlic, and dill weed. It was almost perfect. The glass weight fit inside the jar mouth and the brine covered the cucumbers.
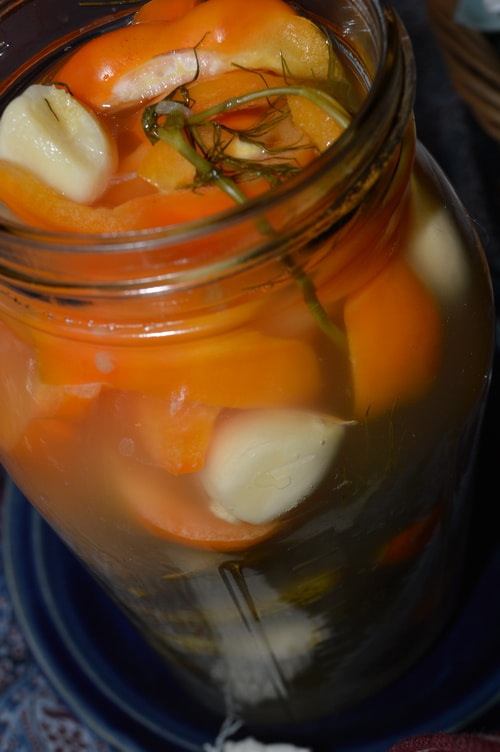
This second week though I had too many cucumbers to fit in a quart jar but not quite enough to fill a 2 quart jar. I thought I could compensate by adding orange sweet peppers to the remaining ¼ of the jar. Unfortunately, as the brine did its work and the jar began to ferment, the cucumbers and the peppers both lost volume. The pressure of the fermentation caused the cucumbers to rise in the jar, pushing up the peppers. The peppers displaced the lid and knocked it to the side and lower down in the jar. It was because there wasn’t enough solid mass in the jar to allow the weight to stay secure.
The resulting pickles were hollow but still crunchy. Possibly from the weight not keeping the pickles under the brine, or possibly because the cucumbers were gathered over a few days, and I didn’t put them in the fridge immediately after I picked them.
Here’s what the University of Minnesota Extension says about troubleshooting hollow pickles:
Why are my pickles hollow?
Hollow Pickles
-
If you experience problems with hollow pickles, the most common cause is too much time between gathering and pickling. Start processing as soon as possible after picking—preferably within 24 hours. If you cannot begin pickling immediately, refrigerate or spread out the cucumbers in a cool place with good air circulation.
-
Another cause is using poorly developed cucumbers. Check cucumbers during washing. Hollow cucumbers usually float on top. Use hollow cucumbers for relish or chunk-type pickles.
-
In fermented or crock pickles, the most common reason for hollow pickles is improper curing. Use proper brine strength and keep the product well-covered.
-
If the cucumber is too large, over 2 inches across, the pickling solution is not able to penetrate the core properly. Use smaller cucumbers for pickling.

With this batch of fermented pickles, I did leave the cucumbers on the kitchen counter for a day before I got them in the fridge. Since only about half the pickles are hollow and the rest are fine, I believe that is the cause of my hollow pickles. In future, I’ll refrigerate my cucumbers immediately after picking them.
Another advantage of making just one batch of fermented pickles. If you have a failed batch, it’s just one jar instead of 14 quarts going into the compost. Fermented pickles are good for your chickens, too. Just sayin’.
Get your Ferment Tools Kit
Buy a Ferment Tools Kit here and get started on this easier way to make dill pickles one batch at a time.
Disclaimer: I received a FermenTools Beginners Kit from FermenTools for the purpose of this review. Nevertheless, this represents my honest experience and opinion. I only share products that I find helpful in my own homestead journey with my readers.



Leave a Reply