Contact Dyeing Eco-Prints with Woad and Weeds
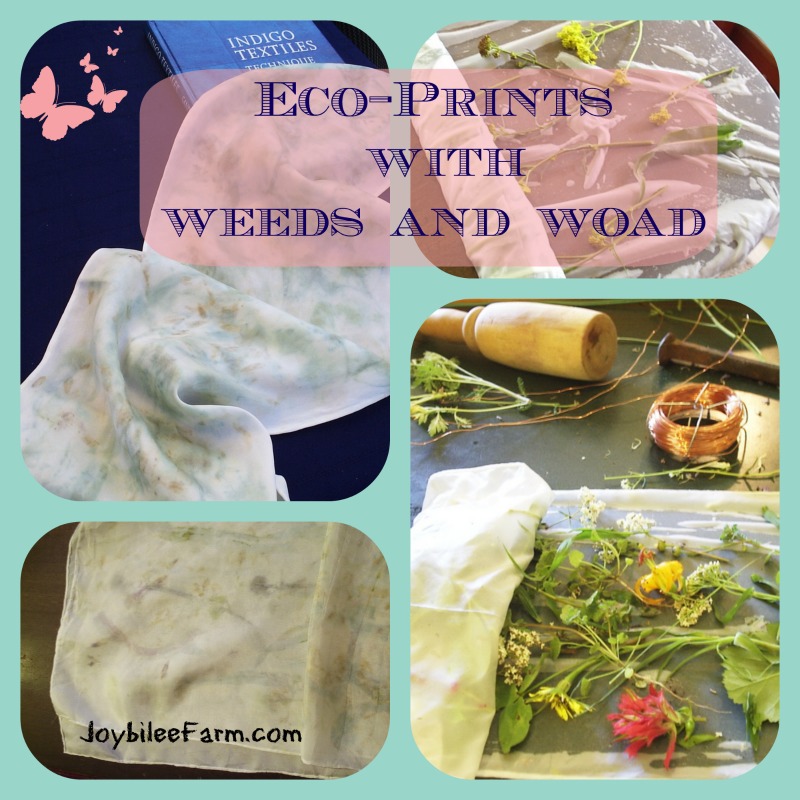
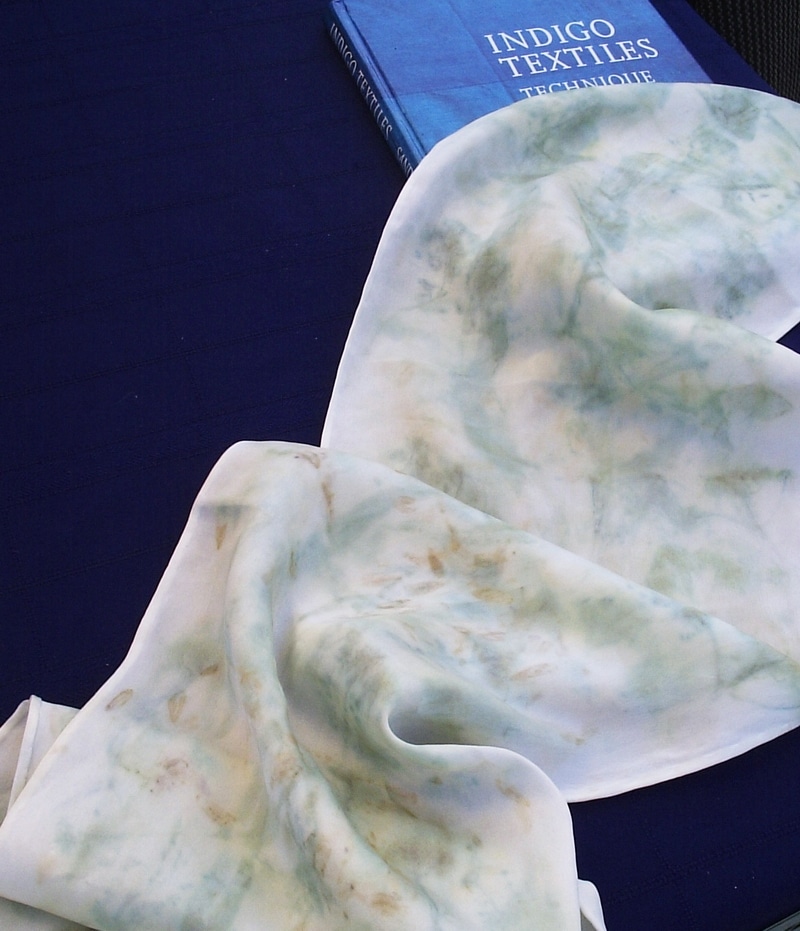
Contact Dyeing Eco-Prints is the art of natural dyeing. This technique for direct contact dyeing uses woad leaves, flowers, seeds, and whatever other garden plants are vibrant.
This is an easy and gratifying project to do with your daughters or granddaughters this summer when the flowers are fresh, and the leaves are green. You only need access to plants and some silk play scarves – you can get them at Dharma Trading Co. online. Make sure the scarves are actually silk and not polyester. This technique only works on natural fibres. I really like the effect on the heavier silk scarves like charmeuse.
Where did eco-prints come from?
The beauty of eco-printing with eucalyptus leaves and other plants is put forward in Chris MacLaughlin’s new book, A Garden to Dye For (St. Lynn’s Press: Pittsburgh) 2014. Check out page 126 in the book, for Chris’s directions for this project. I offer you the technique that we use here at Joybilee Farm. (If you don’t want to make your own you can buy the one-of-a-kind scarves that Sarah makes using this technique here.)
Direct contact dyeing eco-prints and woad
I first encountered eco-prints when my homeschooled daughter, Sarah was doing her Science project on Woad from 2007 to 2009. Sarah was corresponding with Historian, natural dyer, and textile scholar, Dr. Karen Casselman of Nova Scotia and came across Dr. Casselman’s article in the Clothing and Textile Research Journal, on Contact Natural Dyes – Dr. Casselman’s terms for a dye technique taught by India Flint at a conference that Dr. Casselman helped organize in the USA. India Flint subsequently published, Eco-colour, botanical dyes for beautiful textiles, — the result of her own extensive research on using eucalyptus leaves on wool, silk, and cotton to make amazing costumes and garments. Others have published about “flower pounding” and the technique is similar with a few variations that add to the permanence of the colour.
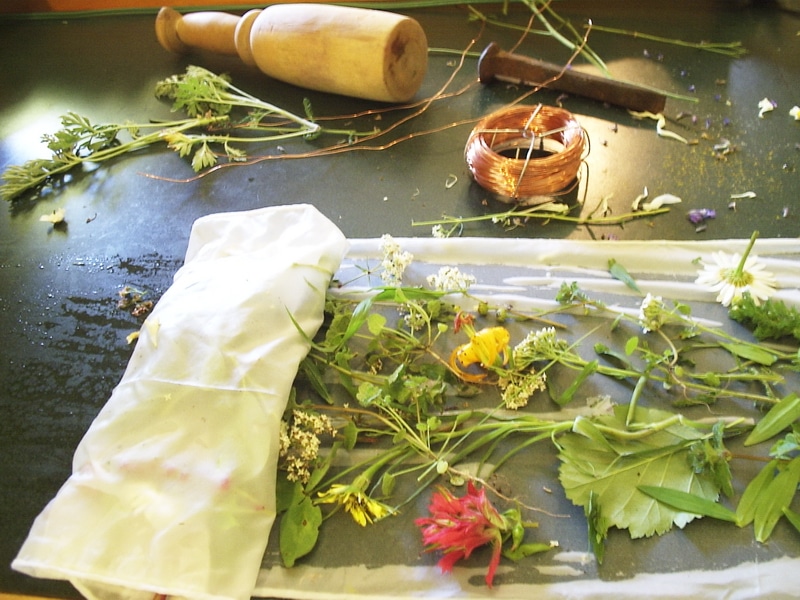
The technique itself is simple enough. Take prepared fabric. Layer flowers, leaves, and seeds, or even roots and berries. Add an acid for acid fibres and some tannin for plant fibres. Wrap the fabric with the plant material and steam, pound to break the plant cells, compost, or simmer. Add moisture. And wait, either in a dye pot, in a compost pile, or another warm place.
India Flint pounds and then composts her eco-prints for some amazing, earthy prints. When done with eucalyptus leaves the colour is permanent. Added acid in the form of vinegar, oxalic acid, willow bark, or lemon juice makes the dye more permanent and in some cases shifts the colour. Ms. Flint also adds seawater or soils to add metal salts to increase the permanence. Her work is distinctive, although her book is more technical than MacLaughlin’s.
MacLaughlin uses a dye pot of eucalyptus leaves and simmers gently for a few hours. The fragrance would be pungent and uplifting. I’d love to sit in her kitchen with a cup of tea, watch the alchemy and breath deeply of the heady scent.
Sarah’s technique
This is Sarah’s technique for direct contact dyeing eco-prints using woad leaves, flowers, seeds, and whatever other garden plants are vibrant and ready for your use.
Direct Contact Dyeing Eco Prints:
You’ll need
1 tsp. potassium alum
1-quart jar of hot water (chlorine-free)
1 to 5 silk scarves or play silks
Botanical material such as Woad seeds, leaves, or flowers, rose petals, hollyhock blossoms, marigold, coreopsis, or marguerites, or other deeply coloured flowers, leaves (avoid leaves with spines as they may damage the silk), roots, or berries.
Natural salt (optional)
Coffee grounds or tea bags (optional)
Copper wire or pieces of iron (optional)
Sandwich bags
Microwave or pot with steam insert
24 to 48 hours of patience (or even a week or two, the longer the better)
A wooden mallet or meat tenderizer for pounding
Technique:
- Wet the scarf thoroughly and wring out as much as possible.
- Lay the scarf on a counter, right side up.
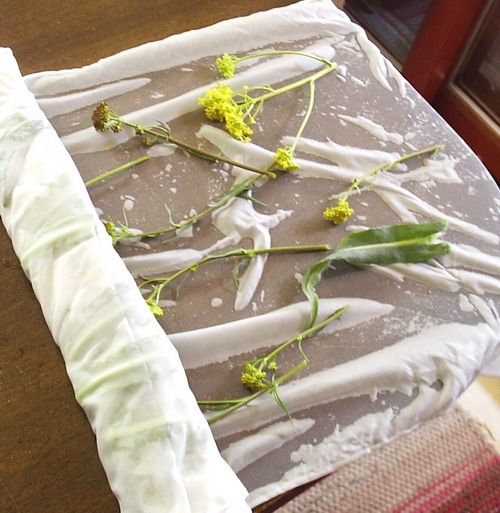
- Lay plant materials on the right side of the scarf.
- Sprinkle with sea salt, if desired.
- Roll the scarf into a snug but not tight bundle.
- Using your wooden mallet, pound the scarf with the enclosed plant material until you see the plant juices coming through the fabric.
- Moisten the scarf with alum solution (1 tsp. alum to 1 quart of hot water) till just damp, but not dripping.
- Roll up the scarf fabric tightly and place it in a sealed sandwich bag.
- Steam the sandwich bag over simmering water for 15 minutes or microwave on high for 2 min – twice.
- Put the sealed sandwich bag in a warm, dark place for 24 to 48 hours.
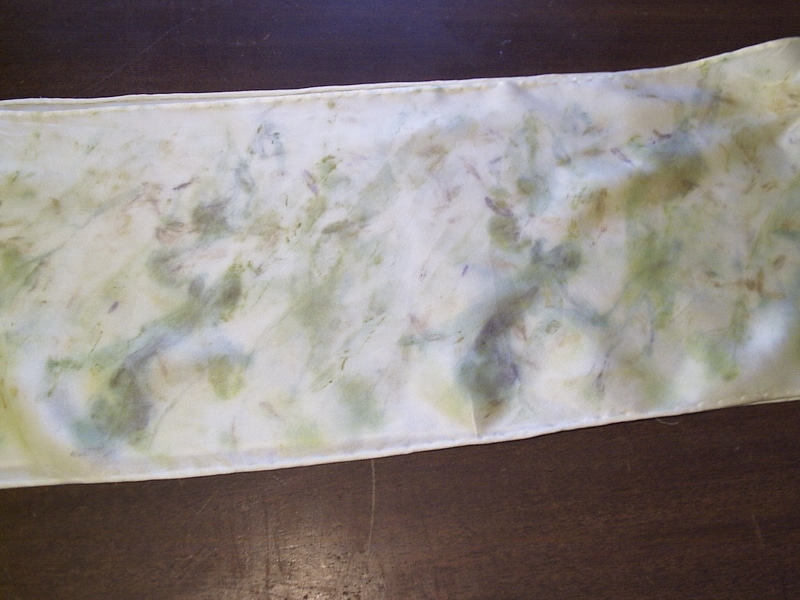
- Unroll outdoors, or over a sink. The woad blue, red, and purple colours will turn darker before your eyes. Clean thoroughly with mild soap and water.
- Hang to dry and then press to set the colours.
I love the surprises that come from this technique. No scarf is the same. Don’t be afraid to try a few traditional dye plants in your bundle, deeply coloured flowers, and lots of weeds. You may make some amazing discoveries, as Sarah did when she used woad in this project.
And most of all have fun. There are so many unique ways to enjoy natural dyes and share them with your children and grandchildren. Pass on the lost art of natural dyeing and enjoy the journey.
References:
Sara J. Kadolph and Karen Diadick Casselman, “In the bag: Contact natural dyes,” Clothing and Textiles Research Journal, January/March 2004 vol. 22 no. 1-2 15-21
India Flint. Eco-colour, botanical dyes for beautiful textiles. (Loveland, Co: Interweave Press) 2008.
There are still a few days left to enter the draw to win almost everything you need to start a garden of dye plants and set up your own natural dye studio from A Garden to Dye For. Check out my review and enter while you still can.


Hi, thanks so much for your detailed information. It is really helpful. I have been doing eco-printing last one year. I made 4/5 scarf rayon, cotton and silk. I soaked my scarf in alum solution and dipped leaves in iron water. Due to iron print came very nice but dark.
My Question is: can I just use alum and skip iron to get the vibrant color? I am afraid that if I totally skip iron the print will be not that good. I want your thought.
What is your measurement for iron mordant?
Thanks again for your beautiful clear instruction.